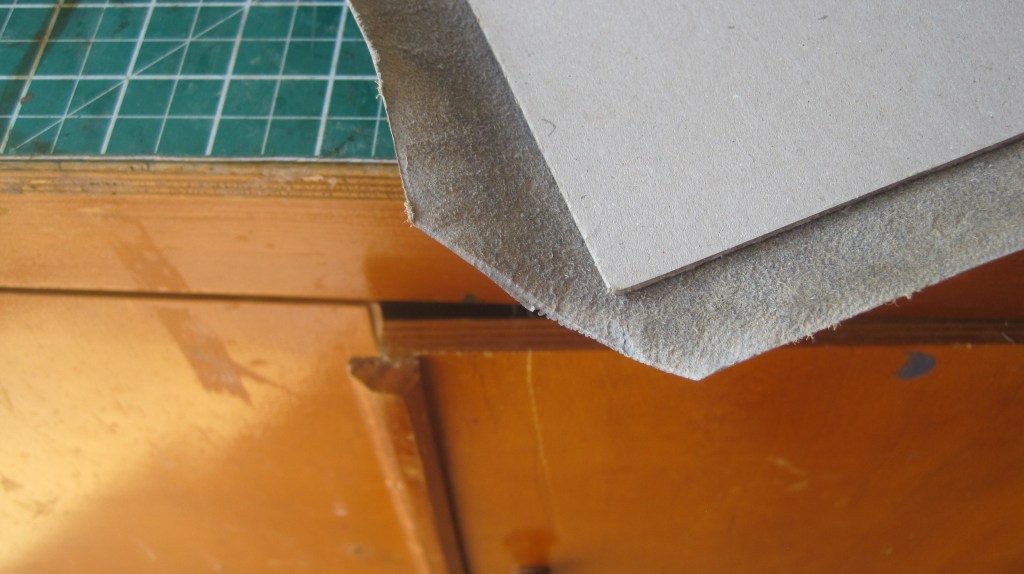
After blocking the title on the spine the book is covered. The spine is attached to the hollow on the back of the text with a mixture of paste and glue so the fine adjustment can be made to position it accurately. Before the sides are put in place the corners of the leather must be prepared so as to give a neat finish (see earlier post ‘It was going so well’)
Now for some more heresy. The traditional way to ‘put down’ the sides is to dampen the outer surface, apply two coats of paste to the flesh side, allow it to soak in and then smooth the leather over the sides, turning in the head and tail and forming the headcaps as a continuous process. This approach, sanctified by centuries of use, has at least two hazards:
First, the damp leather is very susceptible to surface marking from finger nails, however neatly trimmed, and any tool used for smoothing or shaping;
Second, because the texture of the leather naturally varies depending on its original position on the body of the animal – back, sides, belly, leg – it will stretch differently when smoothed, resulting in uneven shrinkage as the leather dries. This produces uneven warping of the dried covers which has to be corrected afterwards by paper linings. It doesn’t matter how carefully the cover boards have been made, in two layers with paper linings to each, the warping can still vary.
My heretical solution for this book (remember the spine has already been glued in place) is not to damp the leather on the surface and to apply glue, not paste, direct to each cover board, separately. The loose leather is then smoothed down and given a quick nip, between clean boards, in the press. When the glue has dried, say ten minutes, the head and tail can be turned in and the headcaps and corners formed, but in this case with paste not glue so that the leather is malleable.
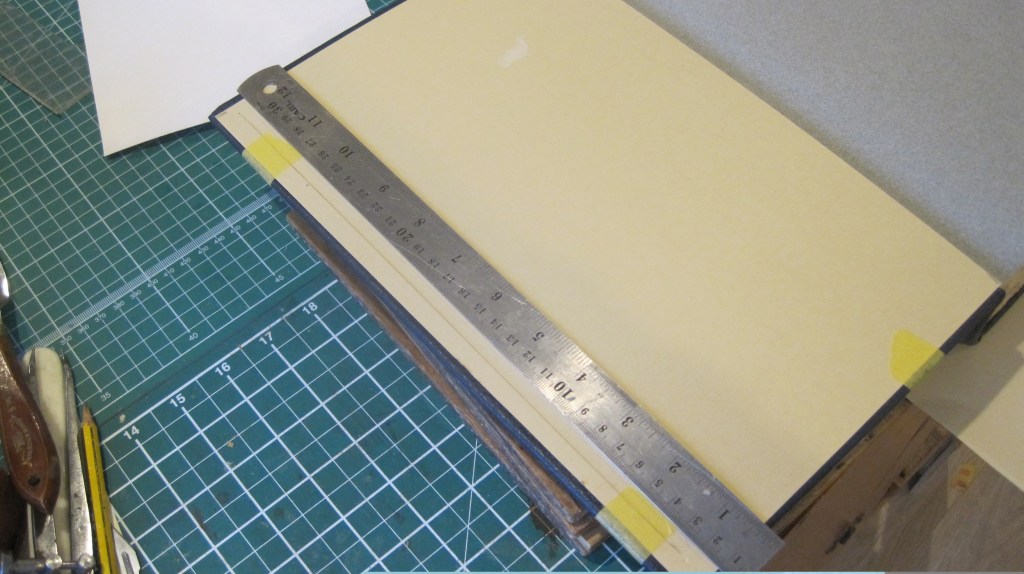
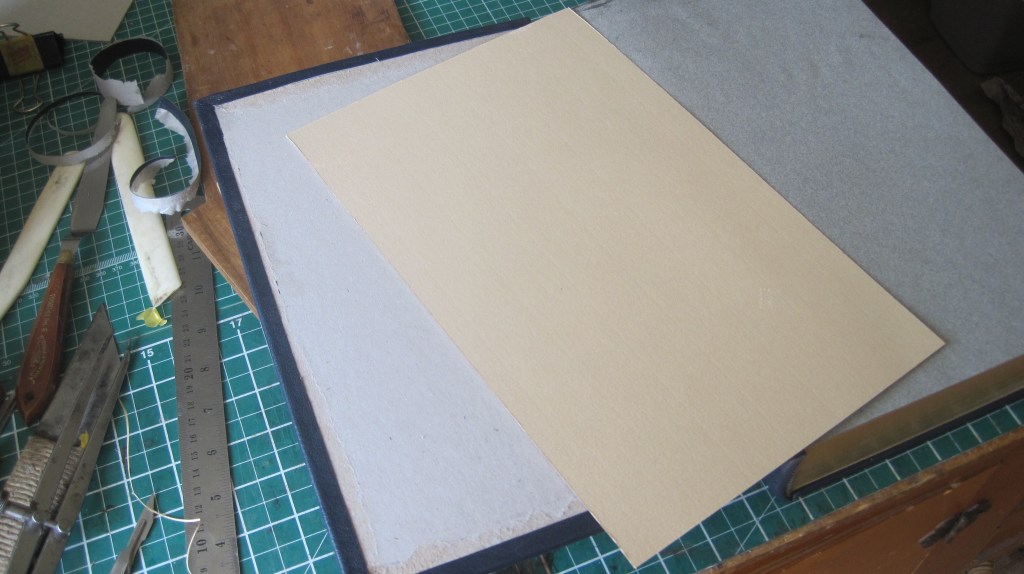
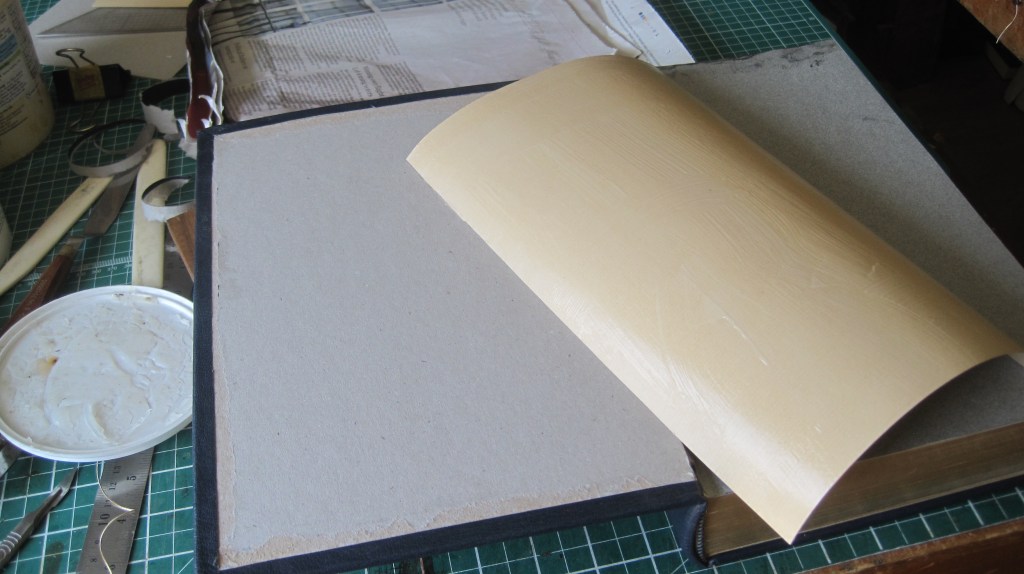
The boards will still warp outwards a little, but evenly, and this is corrected by the board linings after trimming out the inside of each.
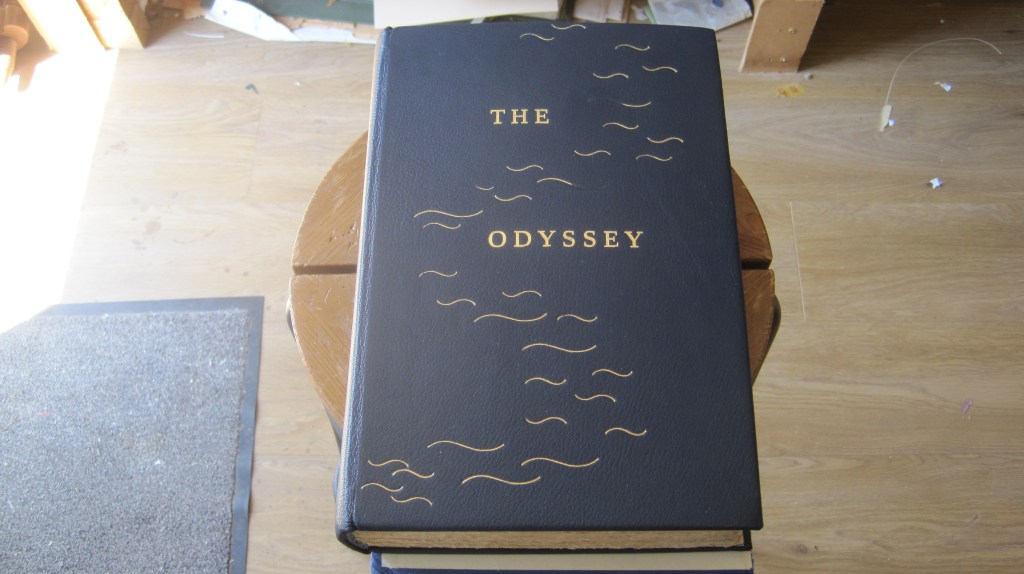
And then the covers are ready for decoration. As stated in the previous post I will use the same title block for the front cover as was used on the binding for that client a few years ago. The block is fixed to the heated chase which is raised to accommodate the thickness of the book. The book is positioned with low-tack tape and stamped. A good impression first time is important as there might be a slight movement a second time which will spoil the sharpness of the image. This time it worked fine:

Now the freehand ‘waves’ decoration can be applied.
This is as far I have got today – I will extend the design across the base of the spine and on to the back next.
And here is the result:
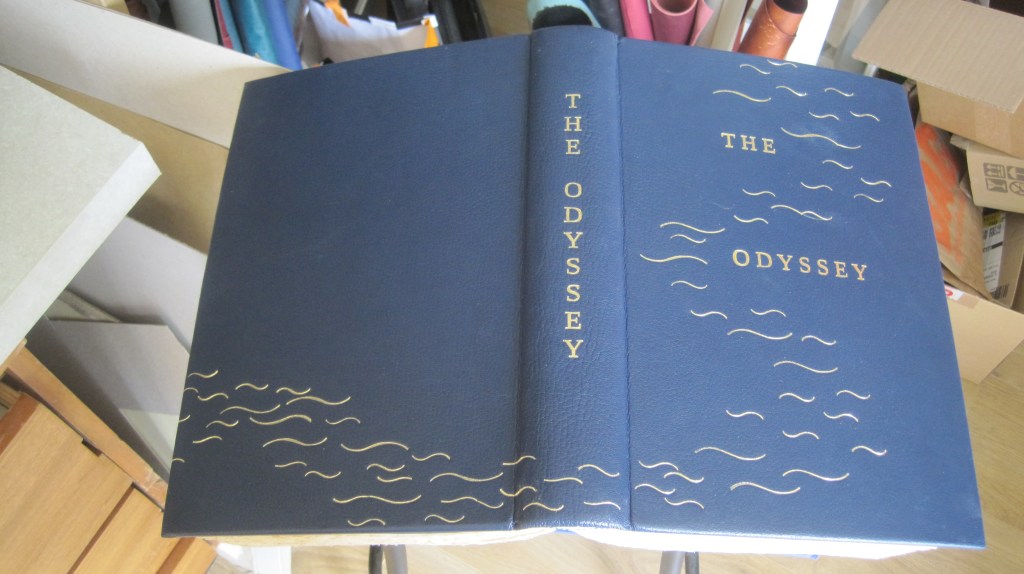
It is tempting to keep adding, but I think that’s enough.
