Occasionally the combination of damage from age and the original binding methods produce a nearly impossible challenge. Here is an example:
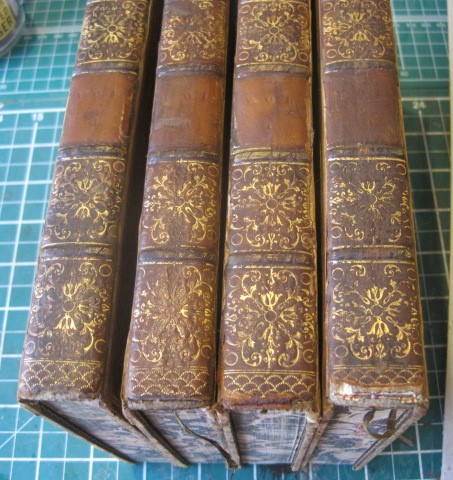
Four volumes of a rare edition of an account of touring through Italy in 1802. All spine labels were missing and all the covers (yes, all eight) were detached. The tight backs were still very decorative but the leather was dry and fragile and there was no possibility of removing them so as to re-attach the covers in the normal way, with new leather joints.
About thirty years ago Don Etherington in the US devised a compromise method, using repair tissue only. With one minor variation that is what I did.
First remove the endpapers. You want every bit if possible, so ease the endpaper up from the next leaf (usually a blank but possibly a half-title) by running the top of your fingernail under it to break the paste joint and gently pulling it away from the backing joint.
The new hinge for each cover is made by gluing a strip of strong Japanese tissue (I use Kozu paper, about 35 gsm) under the endpaper and then over the cover and under a flap of the cover leather.
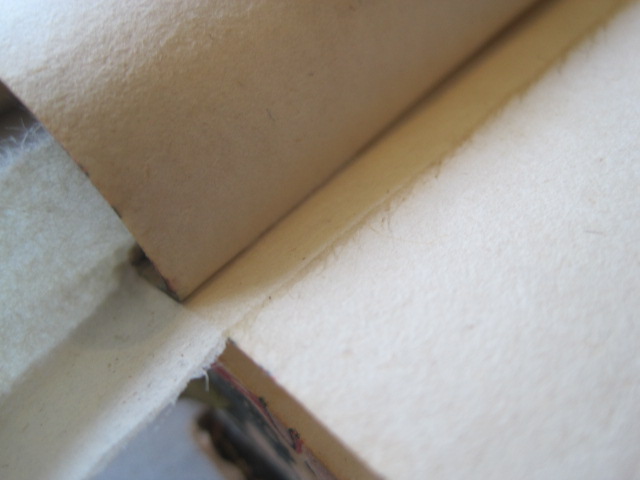
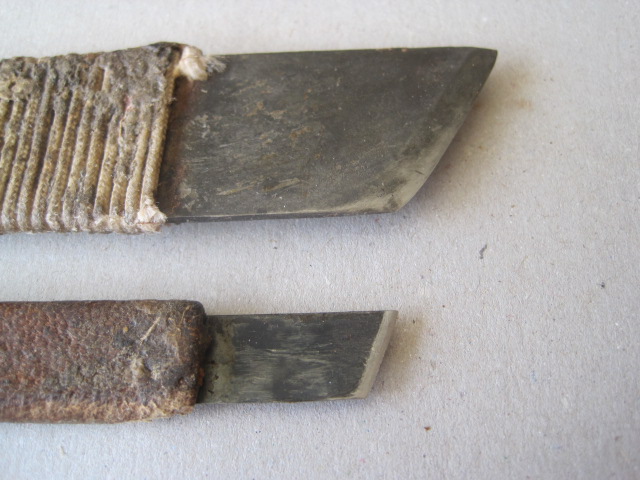
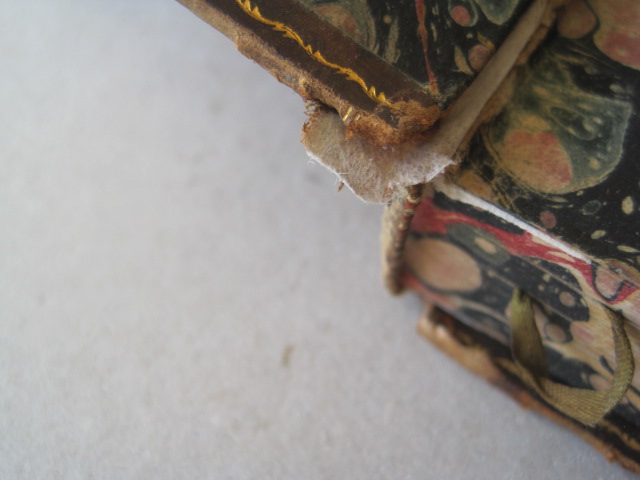
Lifting the flap of cover leather is easy if it is done in three separate actions. First cut along the outer edge of a gold or blind line with a sharp scalpel. Second, use that cut line to chisel under the line with a small lifting knife.


The next step is to colour the flap of tissue to match the cover leather. I use acrylic paint rather that spirit stain – it’s easier to get the shade right.

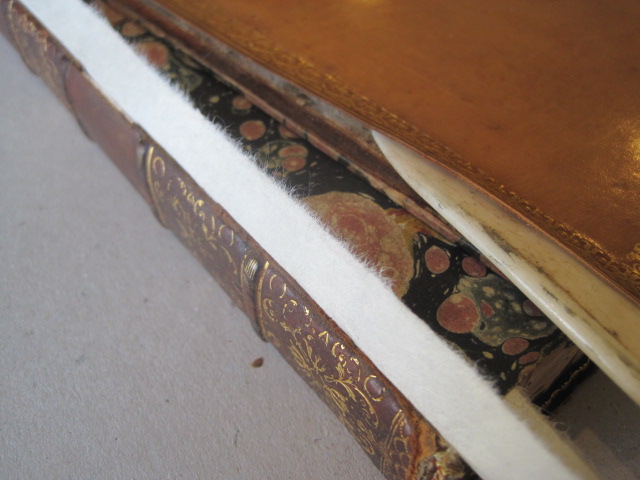
When the colour match is right, roughen the surface of the narrow strip of cover leather against the edge of the board so as to get a good adhesion when the tissue flap in glued down. If that narrow strip is badly decayed, remove it and replace it with a strip of thin card as shown on previous posts.

The tissue is trimmed flush against the edges of the end paper but a small flap is left at top and bottom of the cover board.
Next, check inside the joint. If the inside of the tissue hinge is very visible, cover it with another strip of the same tissue.

And colour it to simulate the marble effect.

Finally make new labels for the title and volume panels on the spine. There is an earlier post about making labels.
A good polish and the books are ready to return to the client.

I should add that this was a repair, not a restoration. Two headcaps are still missing and some of the corners bumped and worn. But the set is readable and can stand on the shelf securely.
