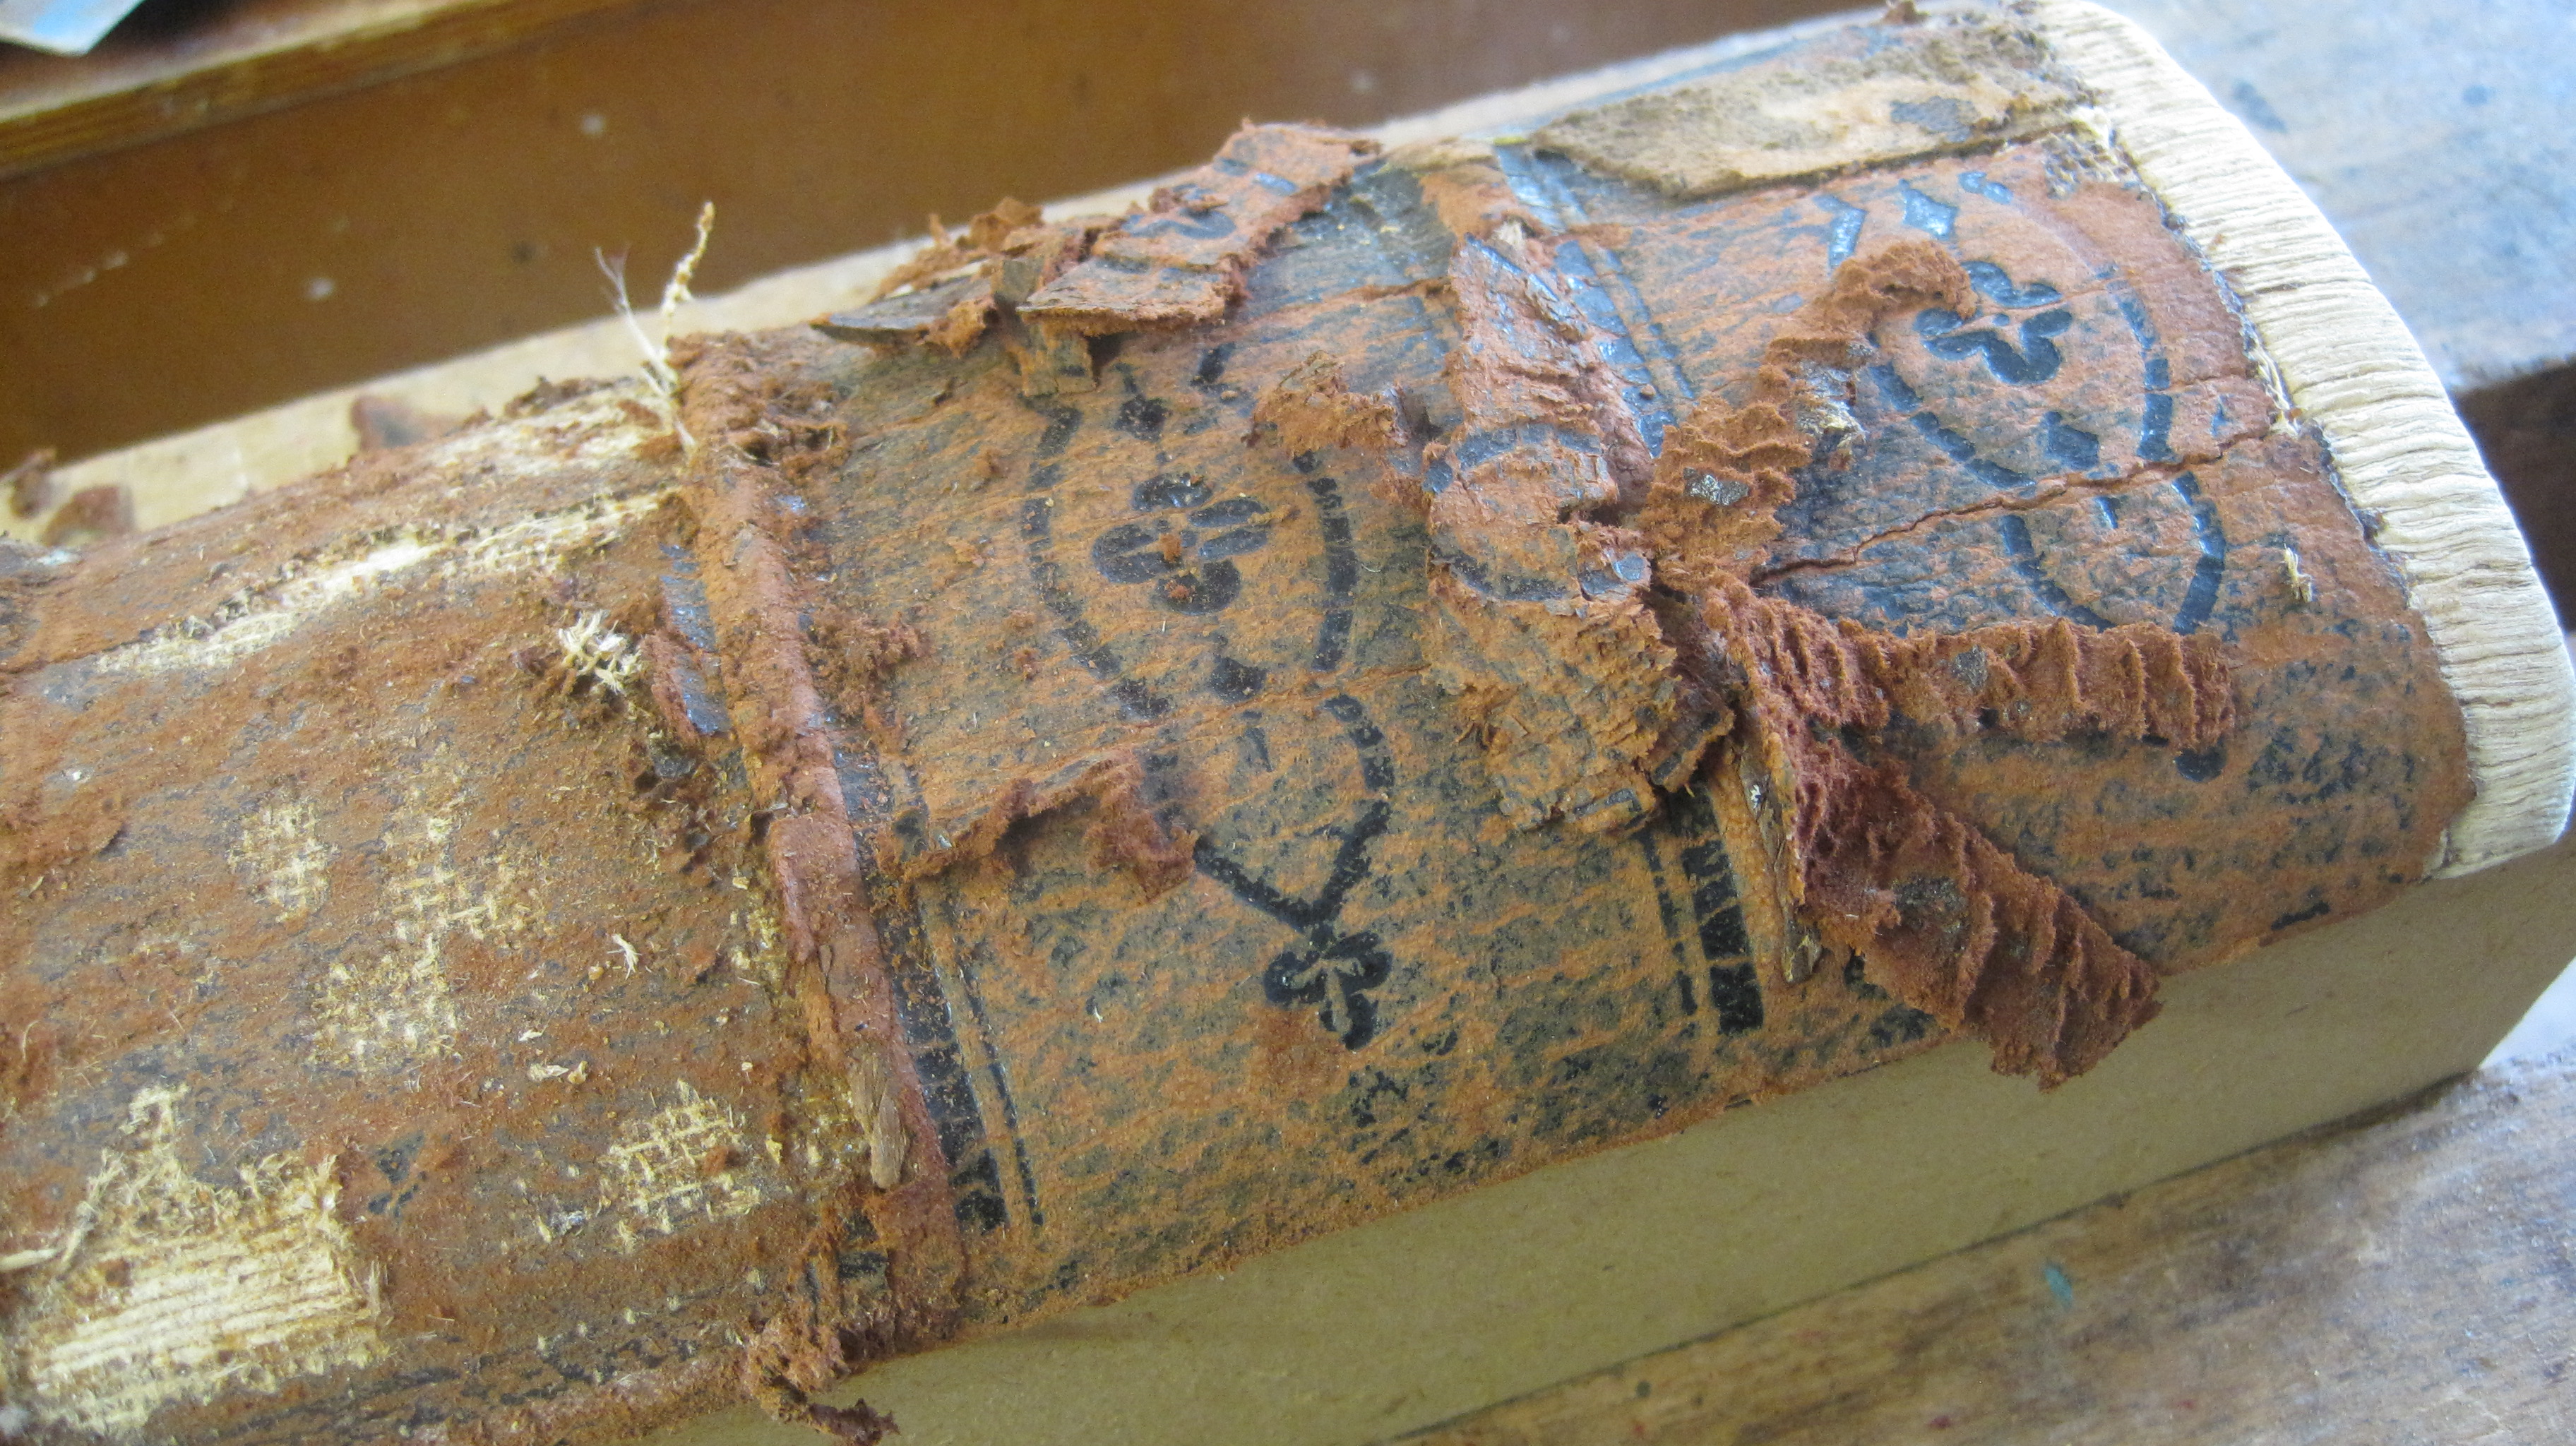
The last Family Bible I repaired, about a year ago, cost the owner £50. A bargain, but I just about covered my costs. A month ago another proud owner brought his Family Bible in to my workshop. It looked much the same as the previous one – boards detached, spine leather perished, old patch repair to one hinge – so I quoted £50, approximately.
How wrong I was! When I started work on it a fortnight ago two big differences emerged: first, the front board was badly warped and would have to be flattened, and, second, the spine was very heavily glued and lined with the hardest animal glue I have ever come across.
Flattening the front board is simple but takes time and ties up a nipping press for several days. You have to support the perimeter of the board with something solid (I use pieces of aluminium furniture from my blocking press) and then depress the outward bow in a nipping press with other solid pieces in the middle. Wet the surface of the outward bow first, screw the press down so as to reverse the distortion and leave it for a couple of days at least to dry completely in its new shape. It will recover a bit of its previous shape when released from the press so should end up quite flat. This time it came out right first time, but on other occasions a second or even third treatment has been required.
While the board was setting I could begin on the spine.


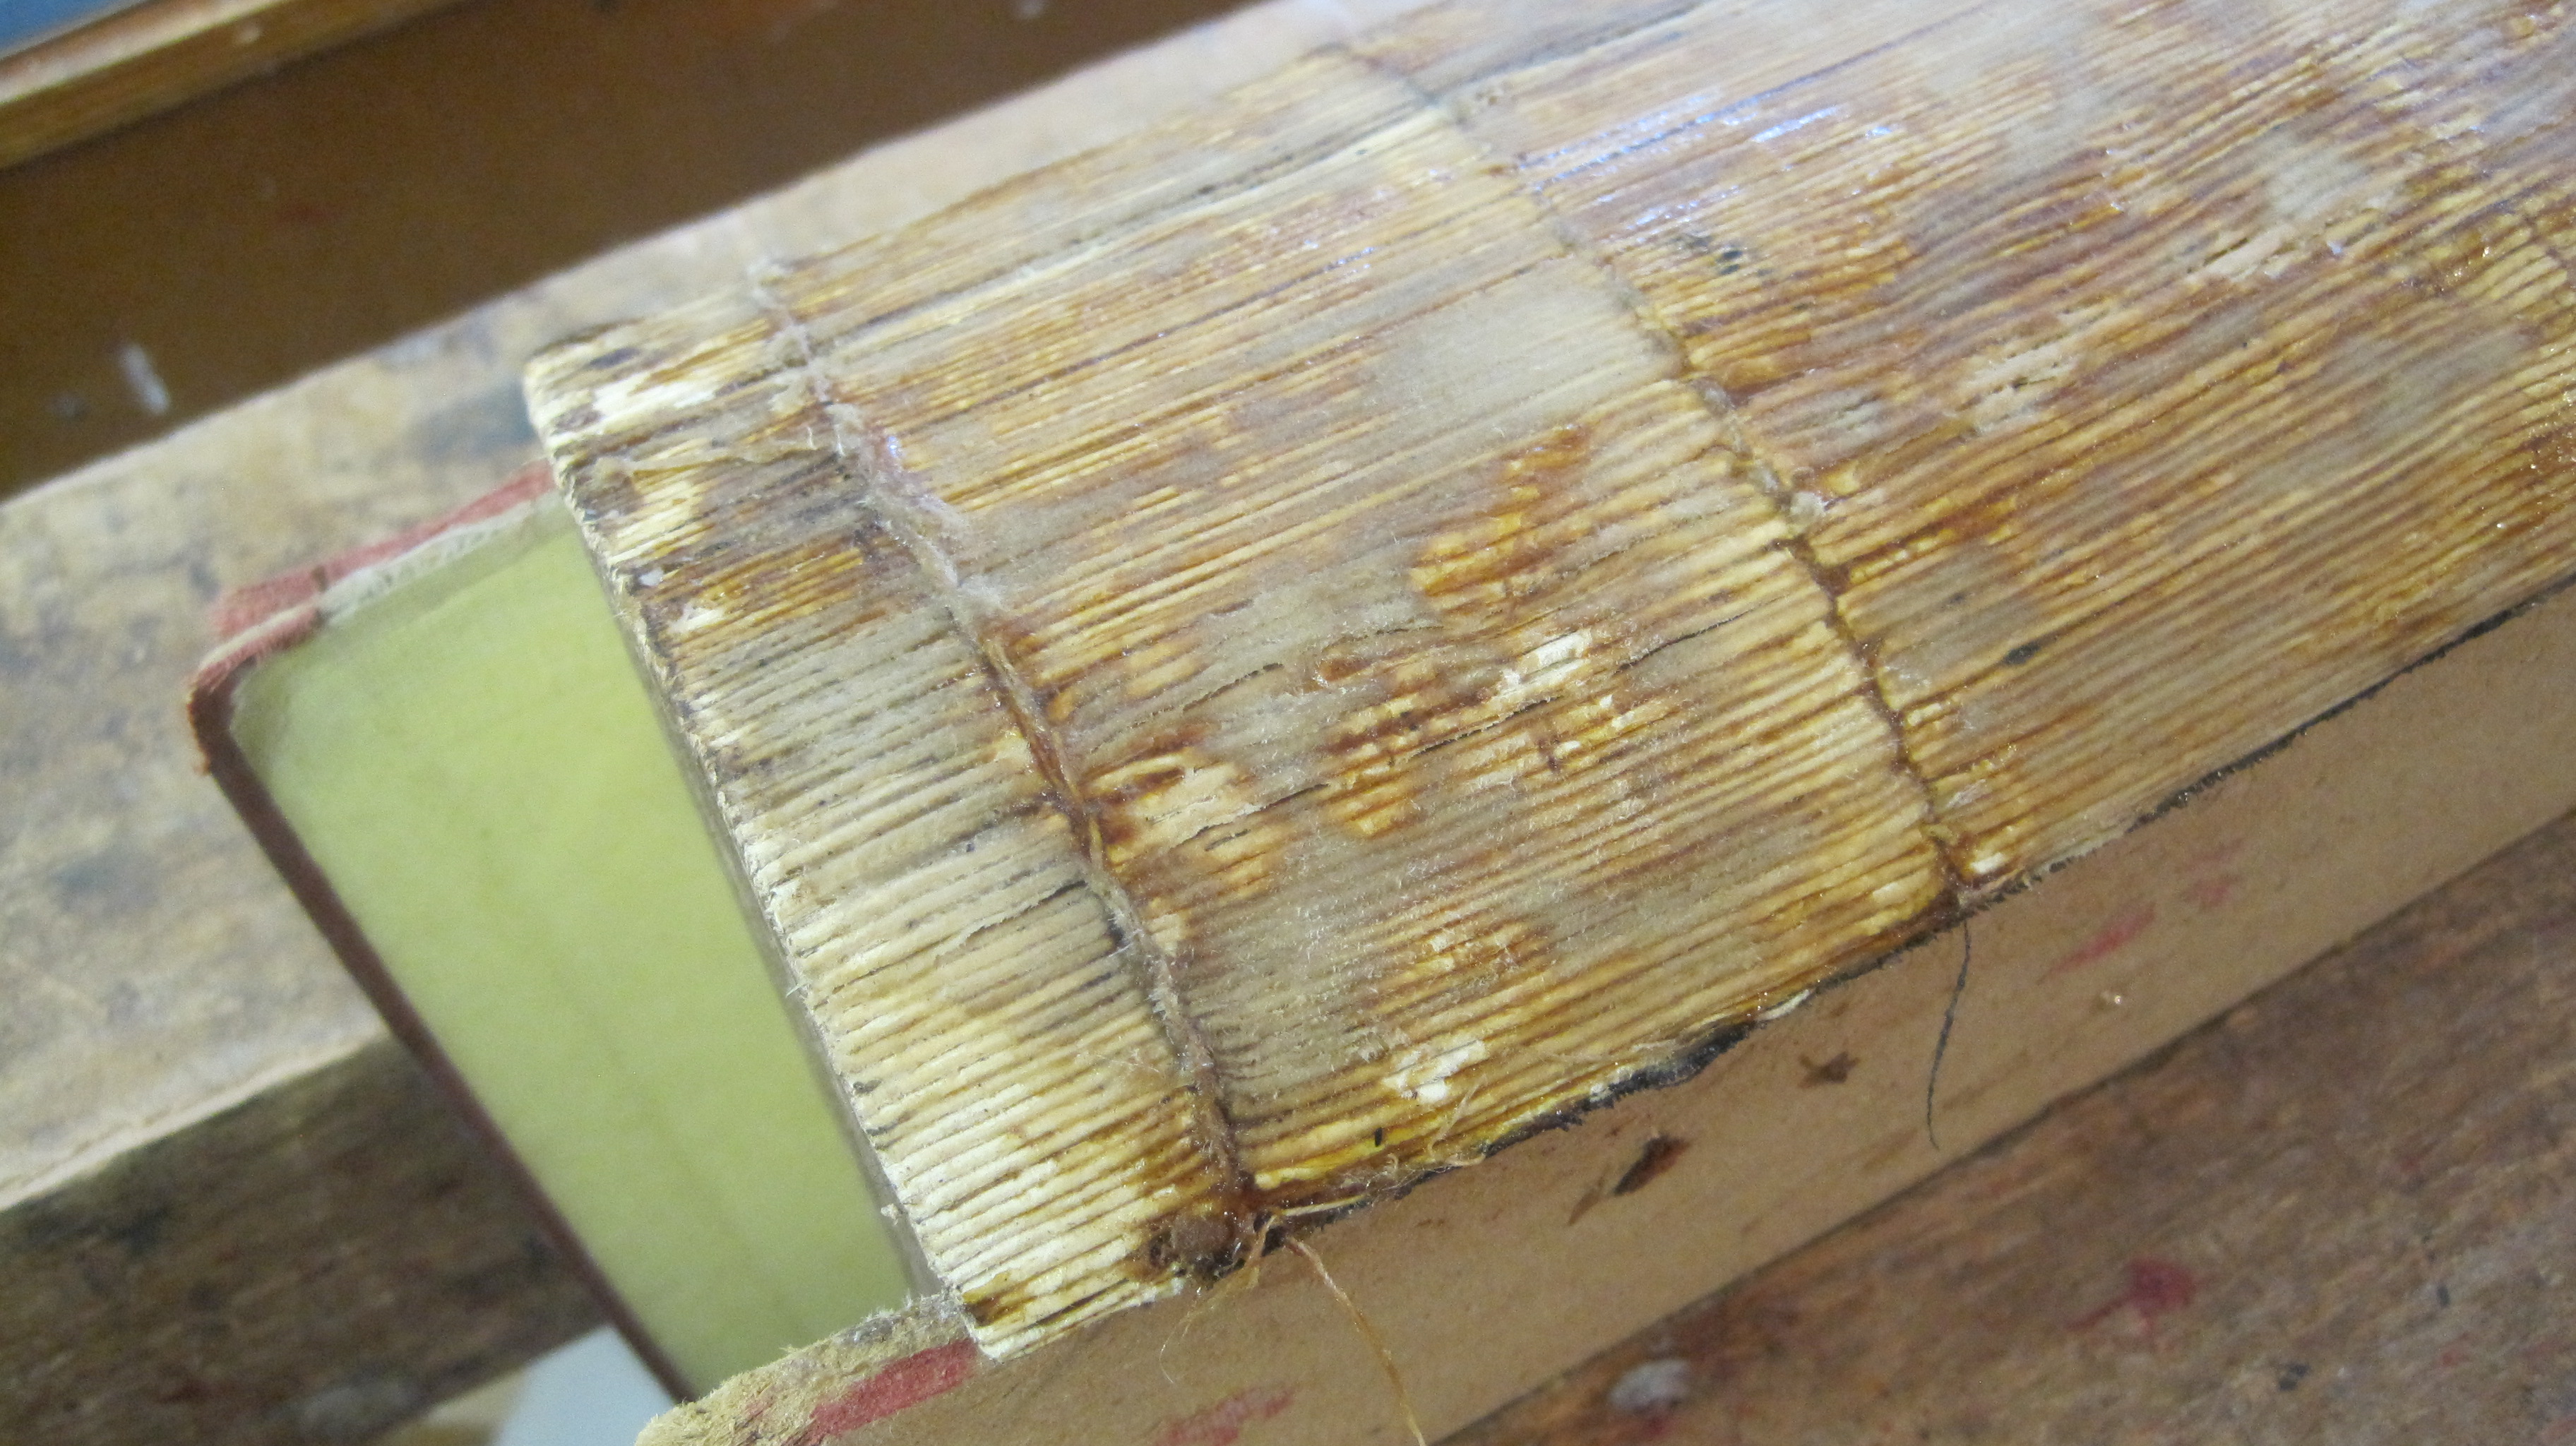
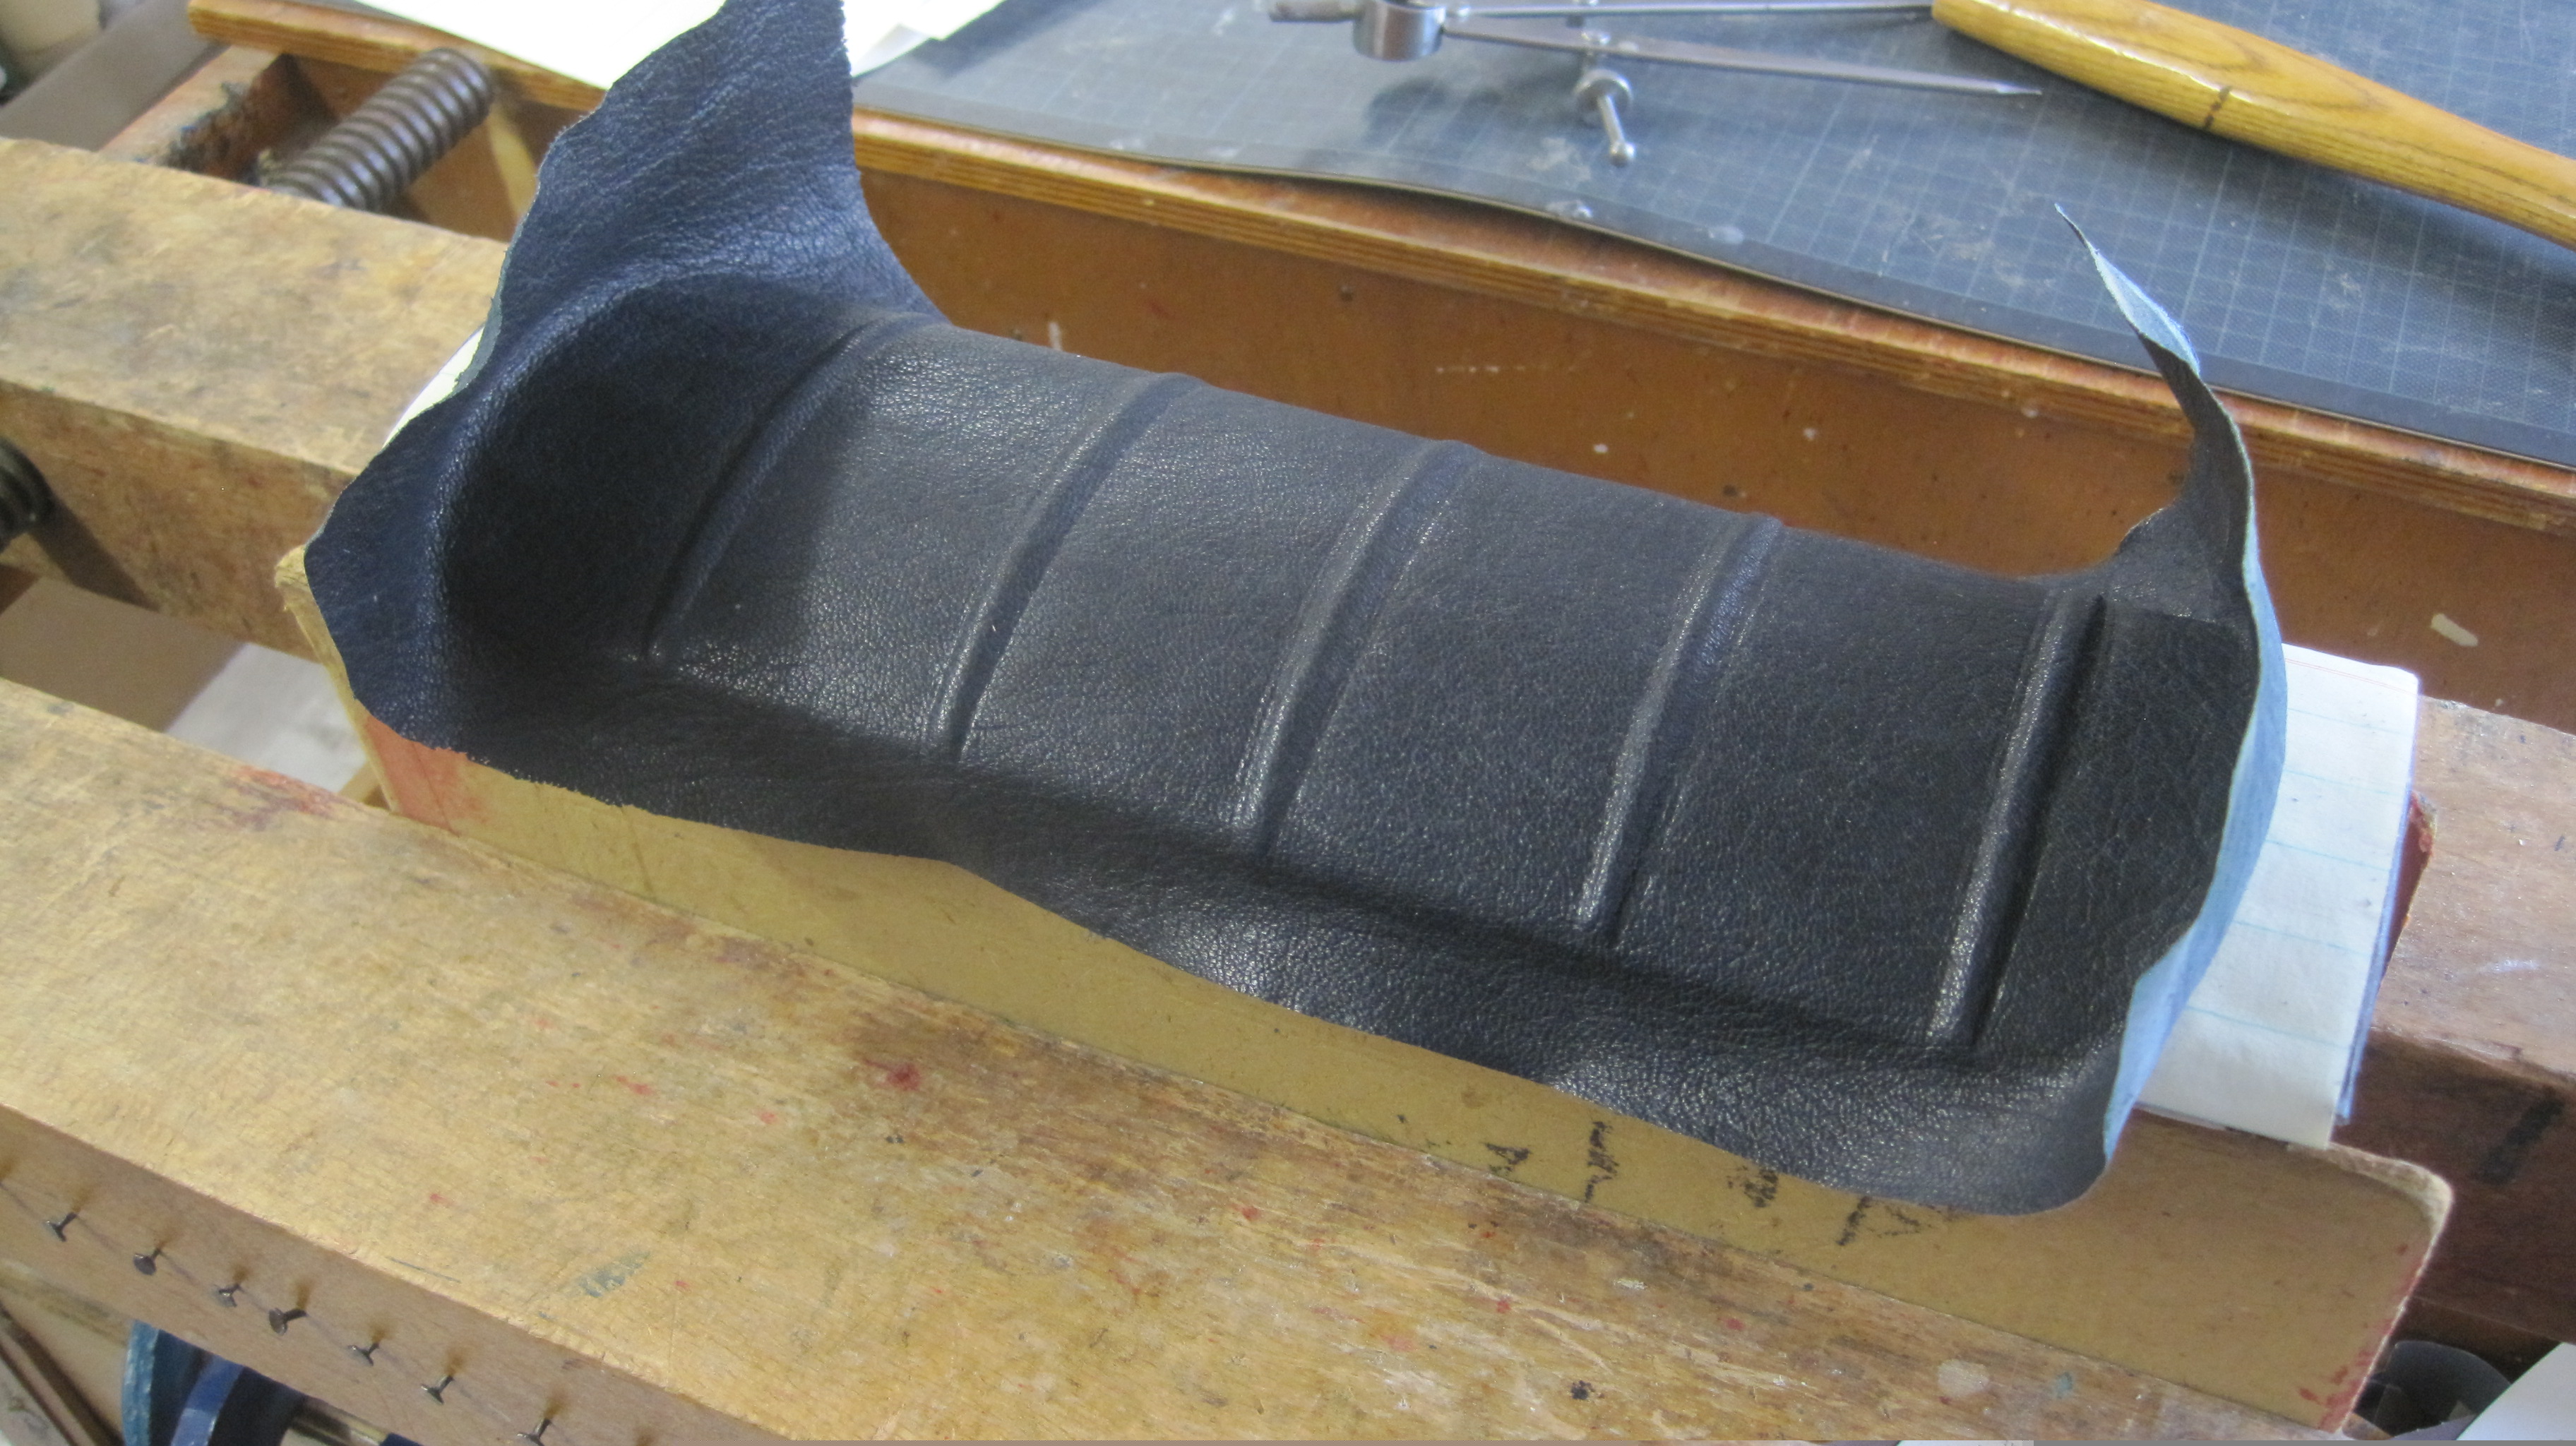
After gluing the made endbands at top and tail the back is lined with three layers of strong cartridge paper (120gsm). The original binding had a tight back with four false cords across it. I prefer five cords myself, so these were glued on and then a piece of black goatskin with a fairly heavy grain so as to match the original binding was pared down and partly glued over the back.
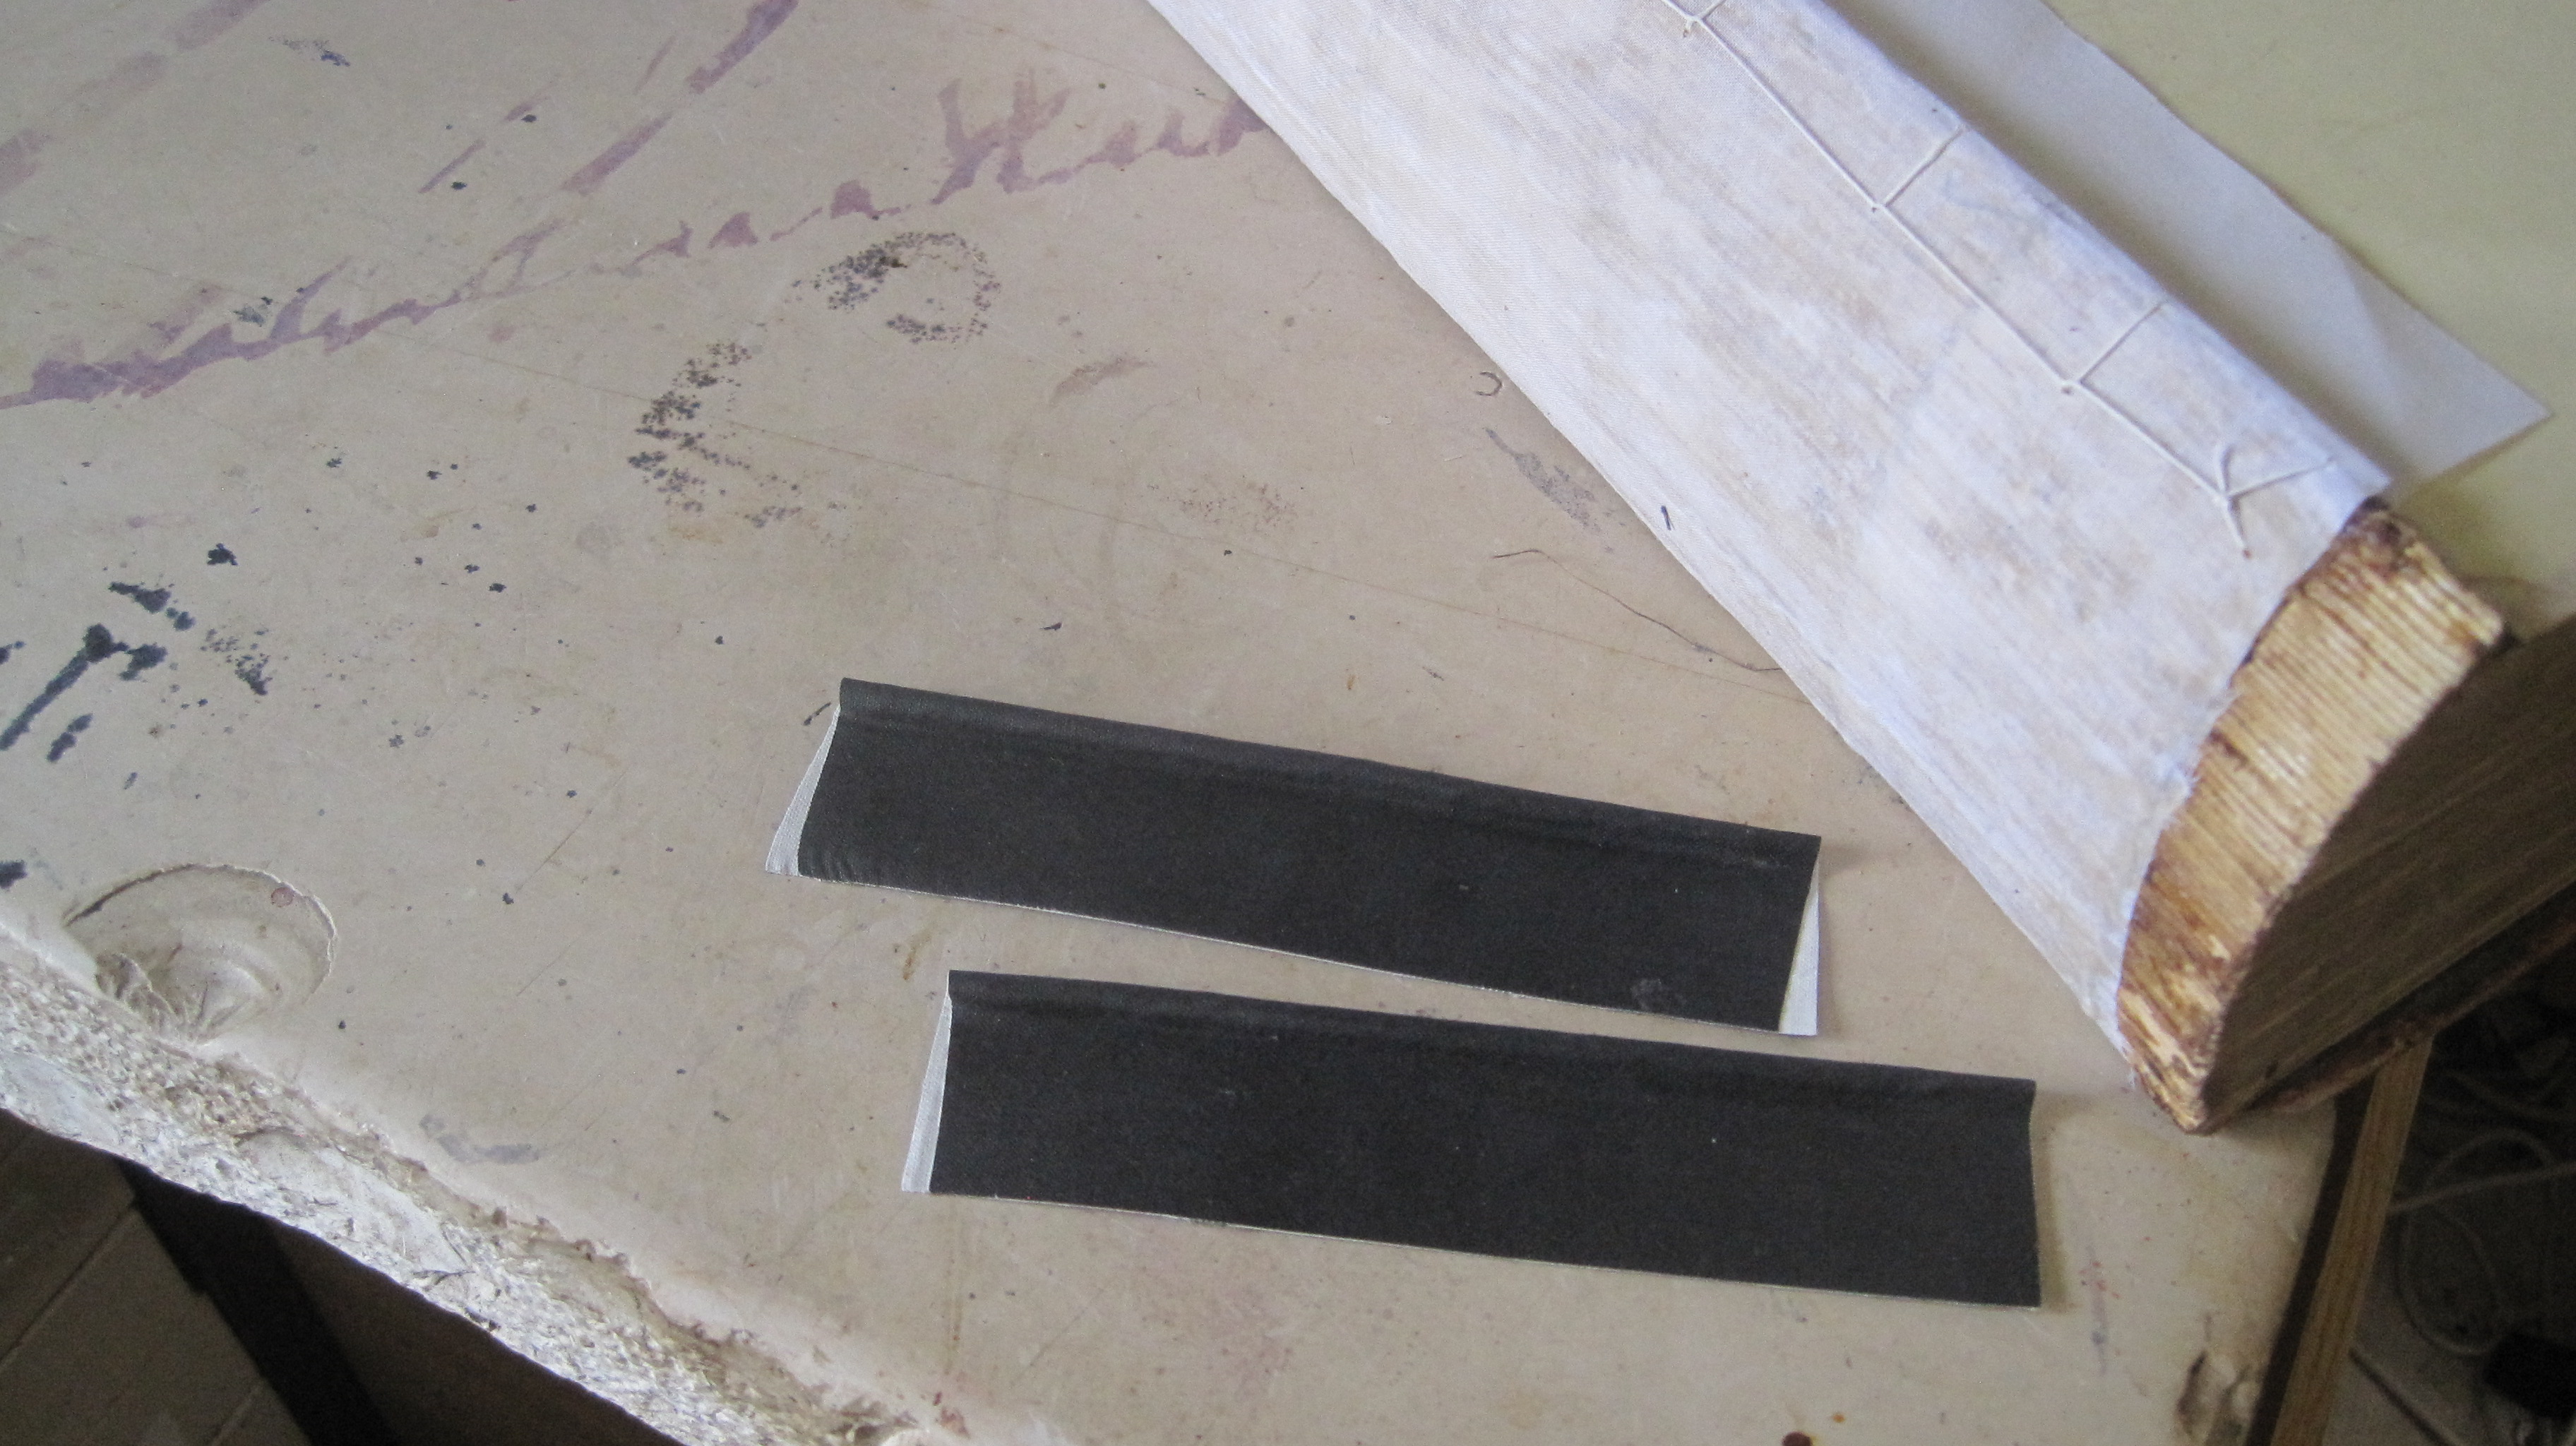
But first the old boards must be attached. The first 10 mm of the old leather along the hinge will certainly be decayed so should be trimmed off.

after a ‘Bernie strip’ is glued on .
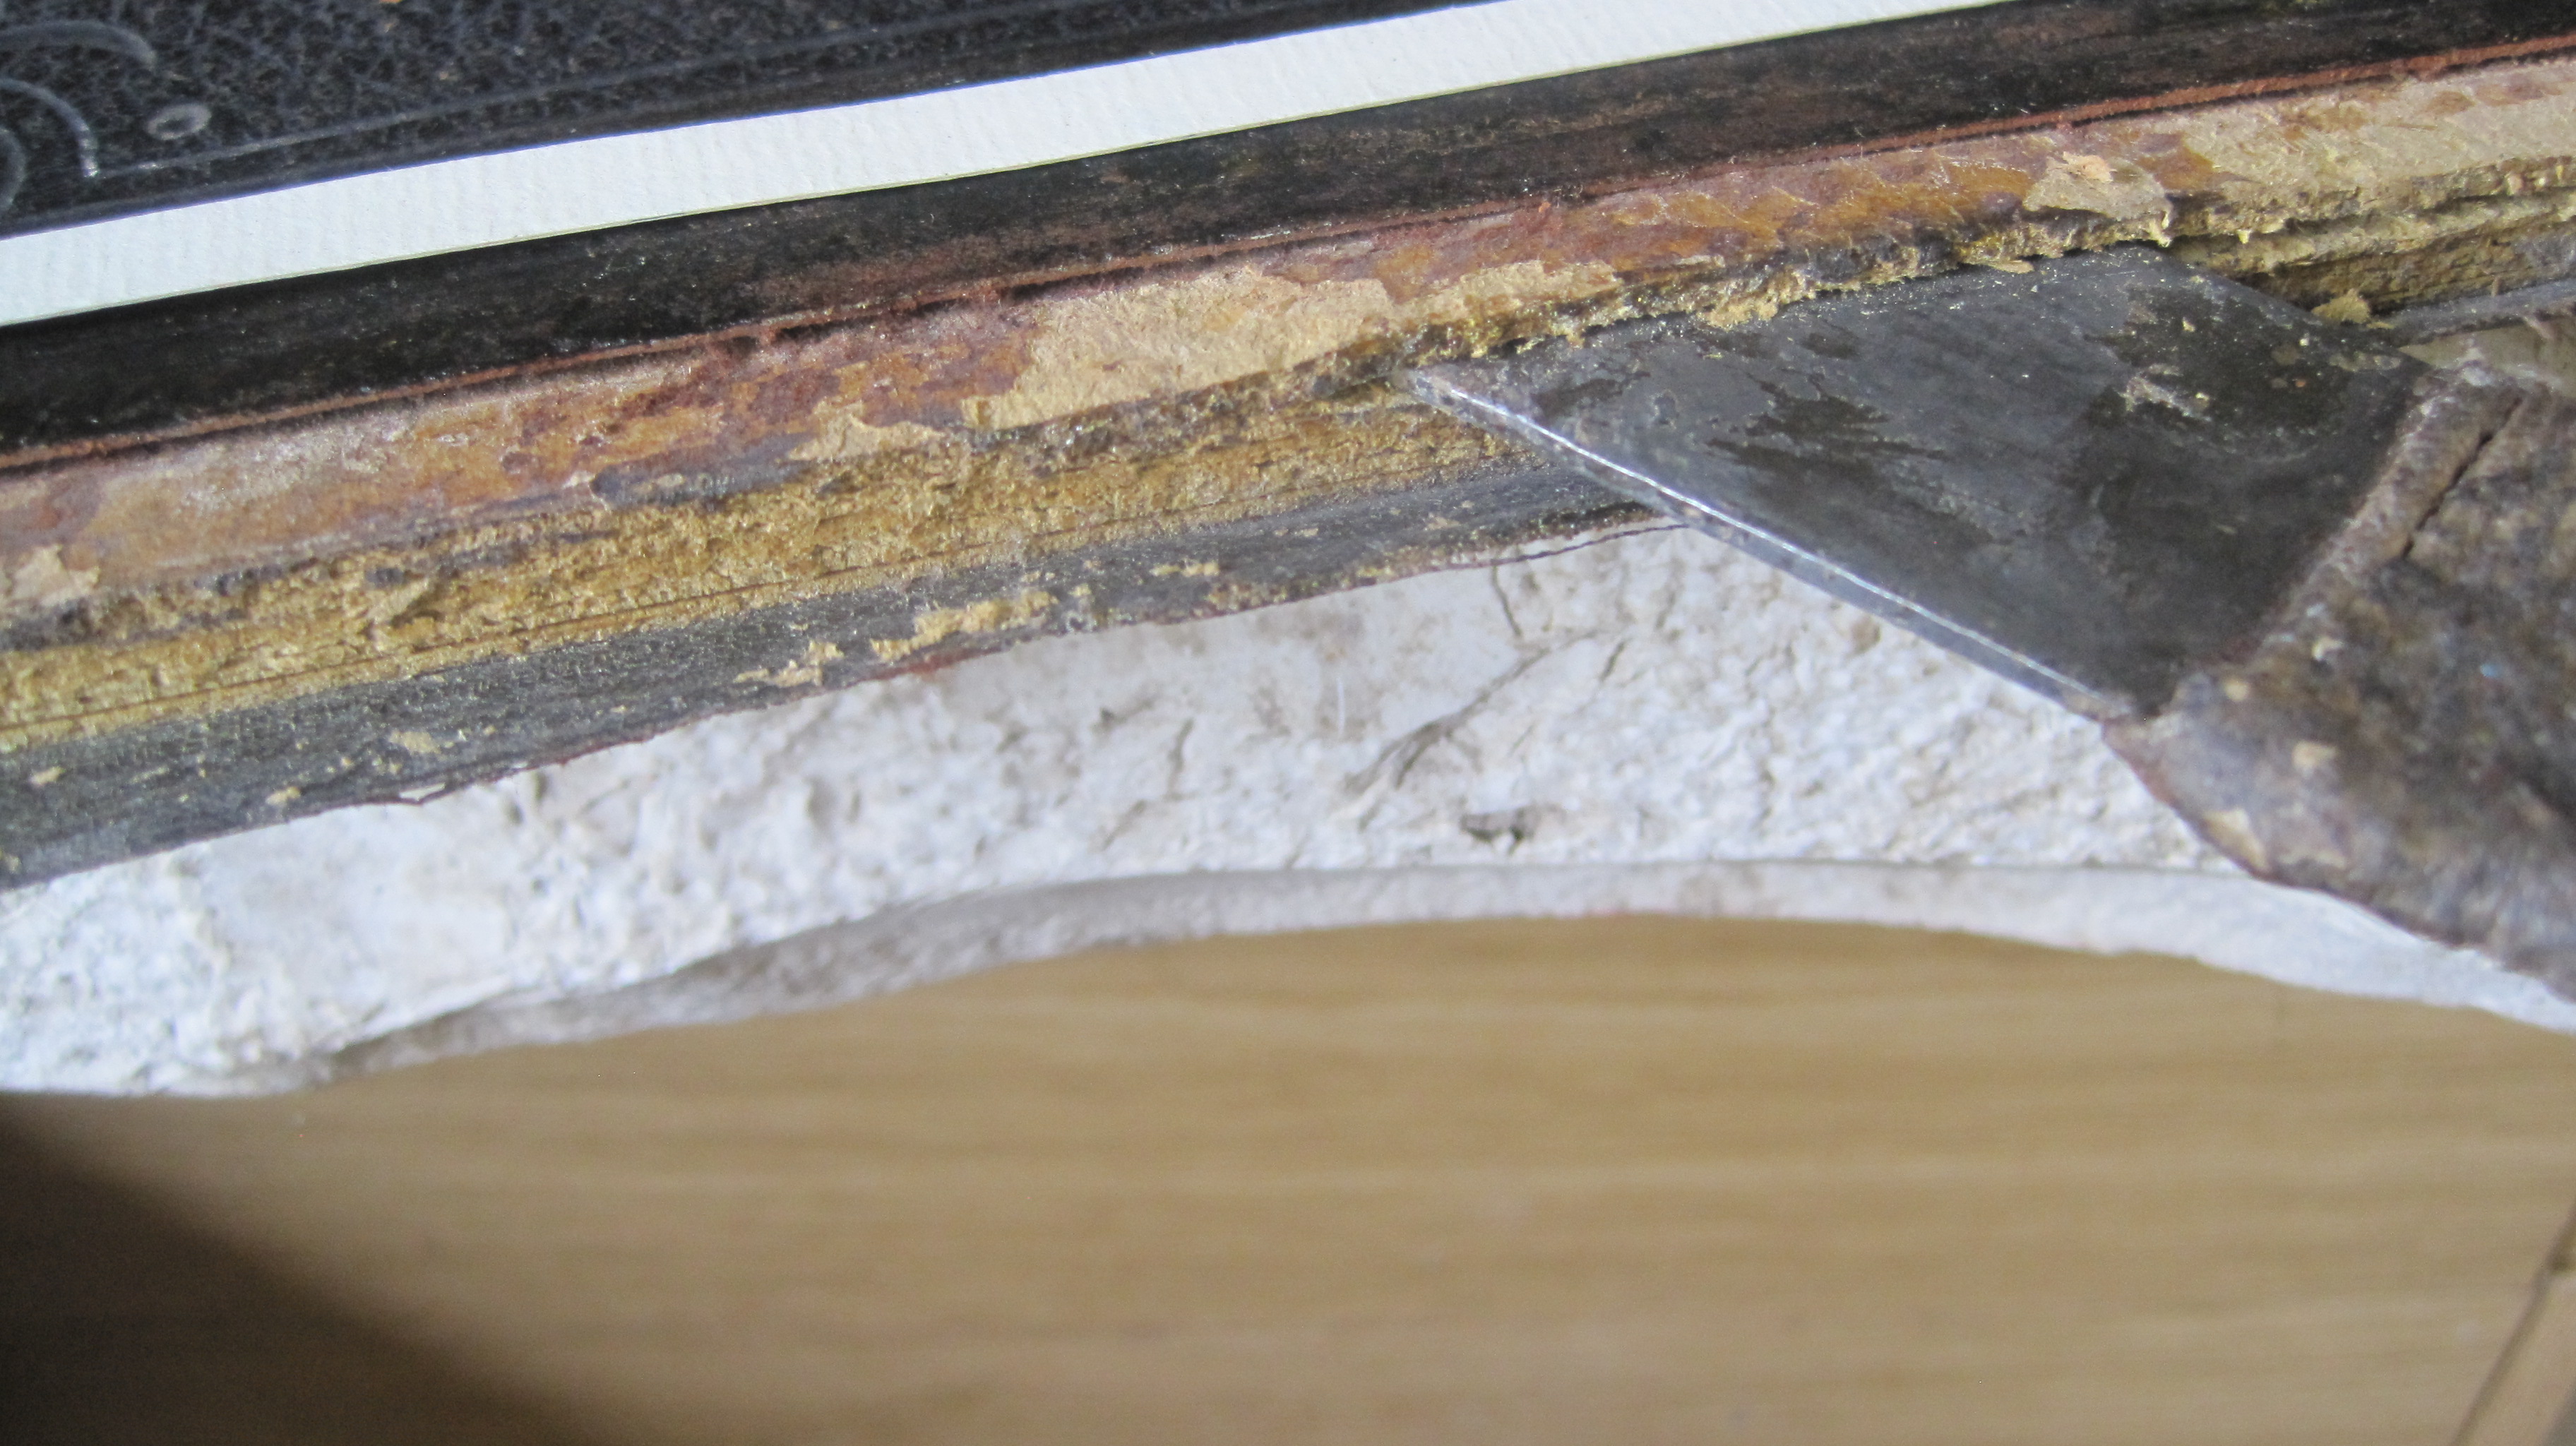
It is better to cut the hinge cloth into tabs and glue each one at a time and work it into the split – don’t try to put the glue into the split.
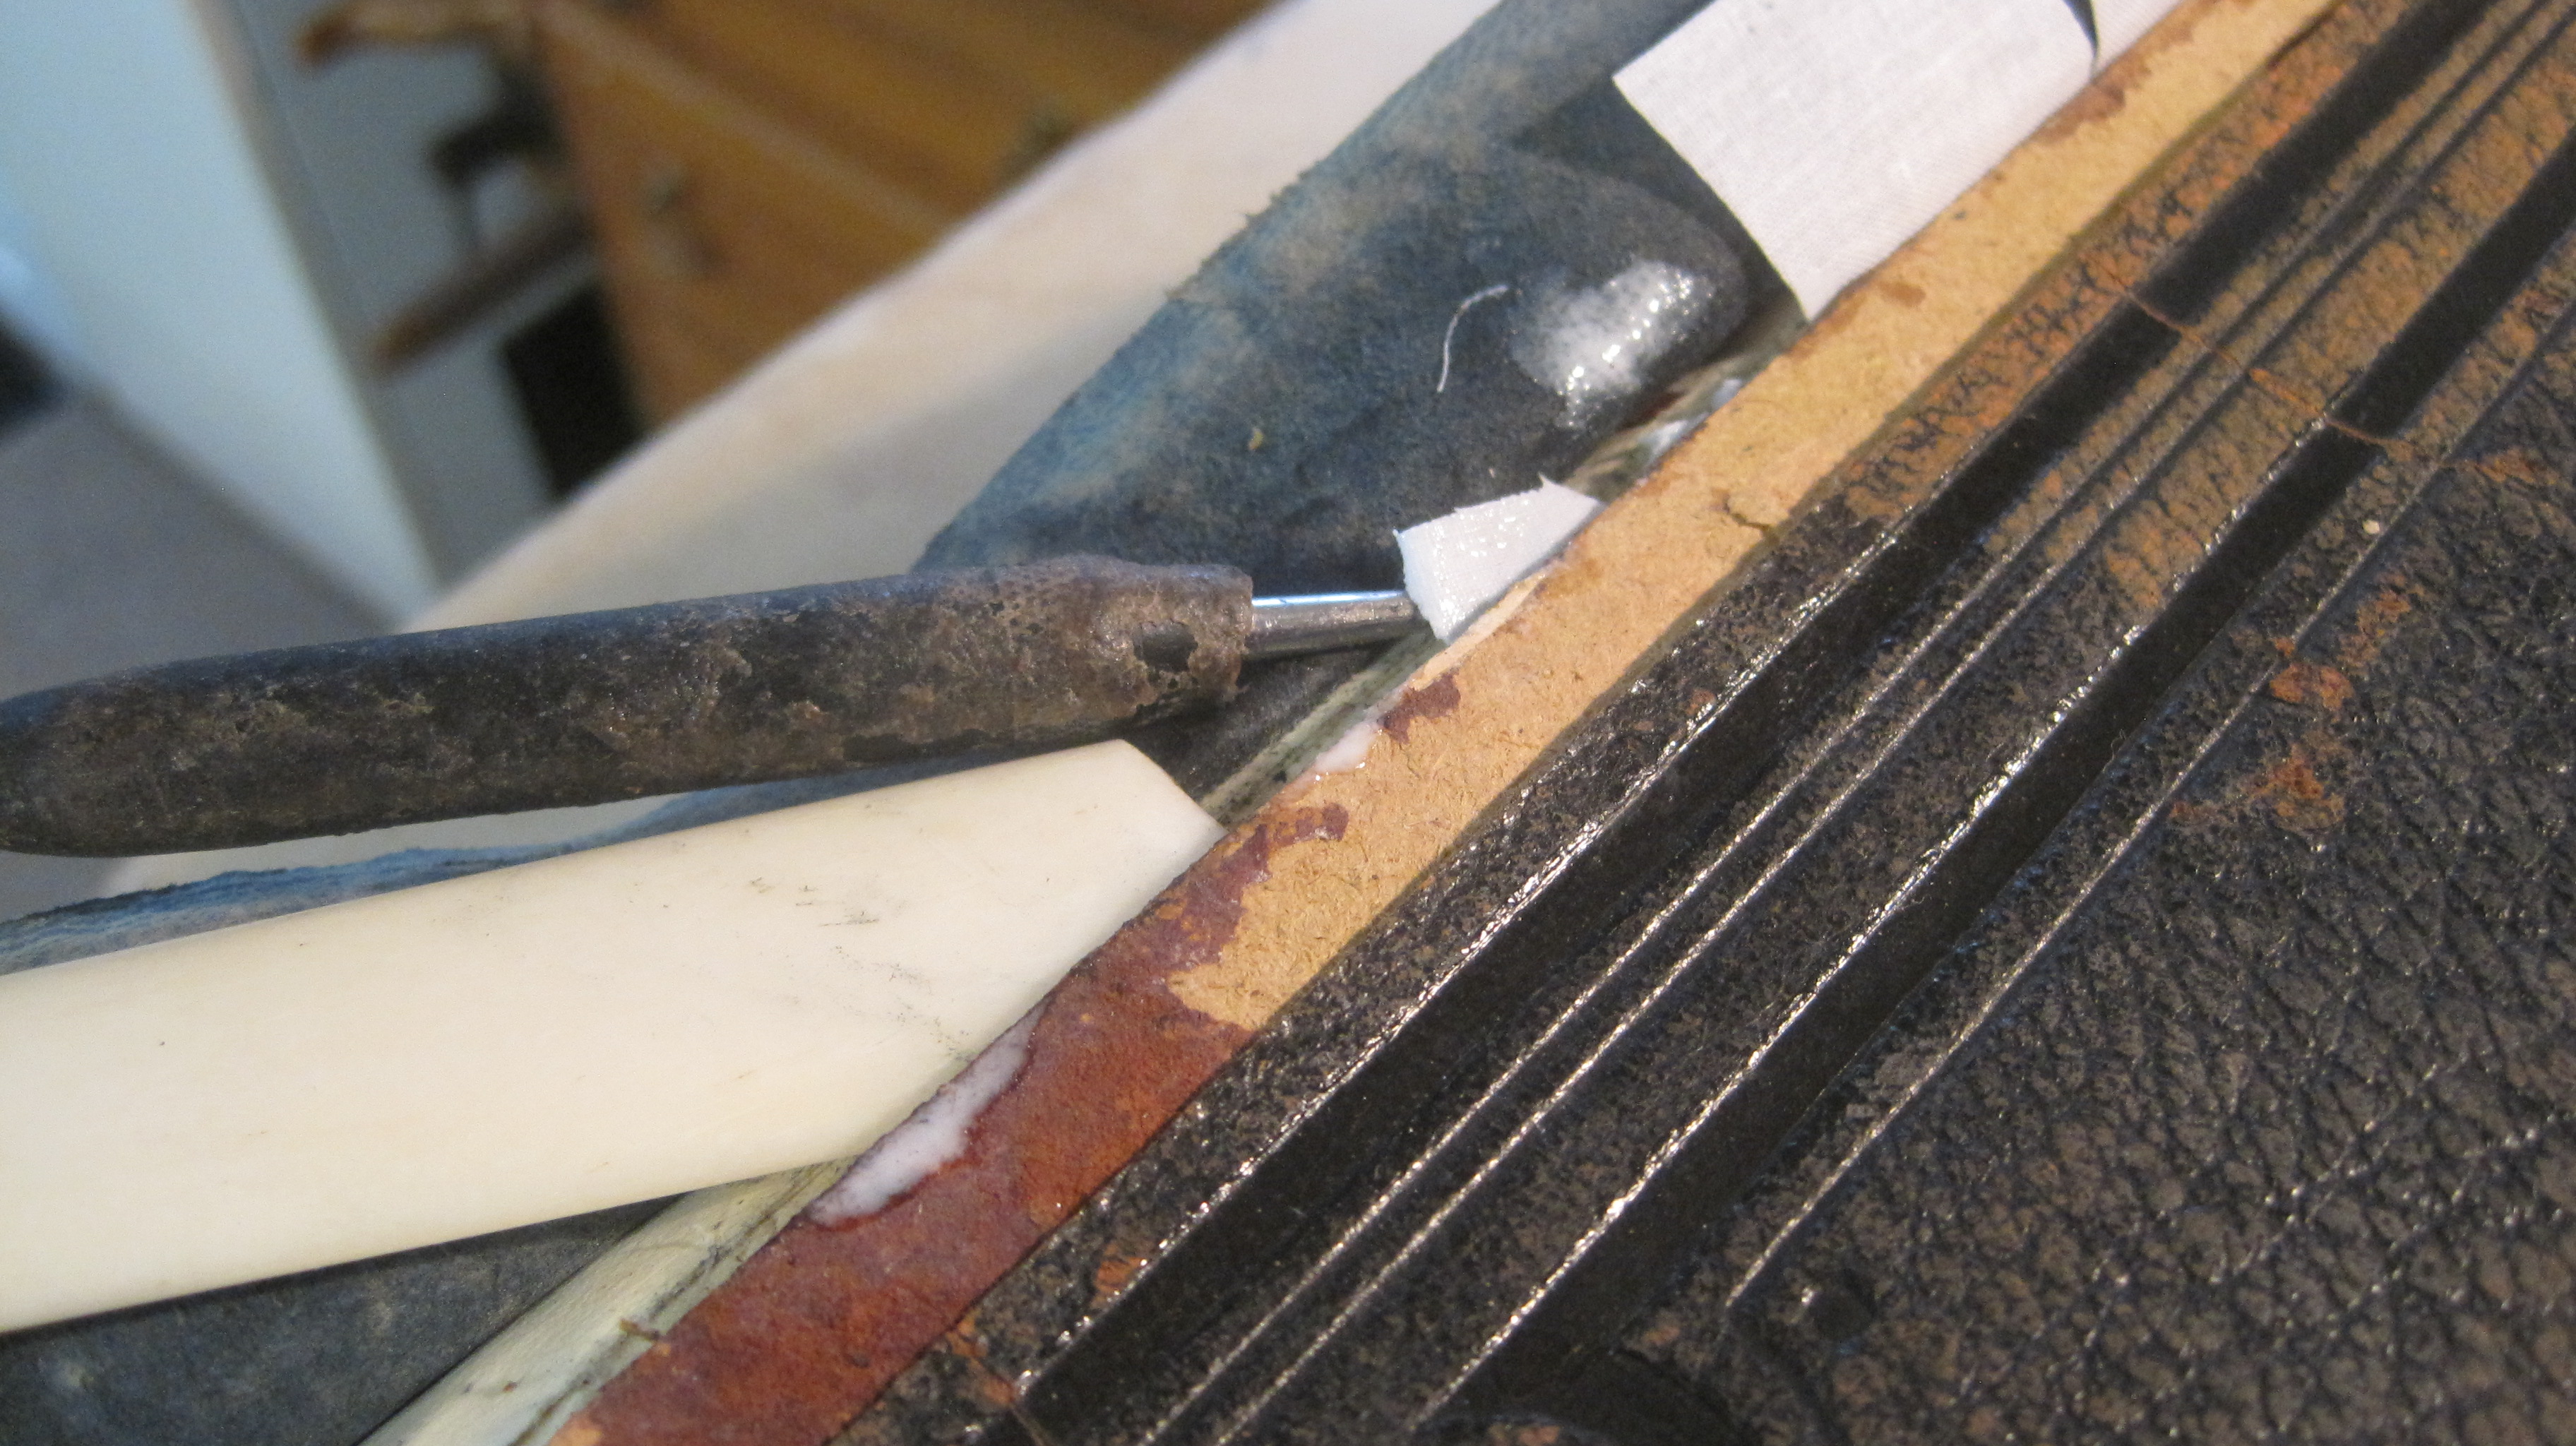
Then the ‘Bernie strip is glued in place.
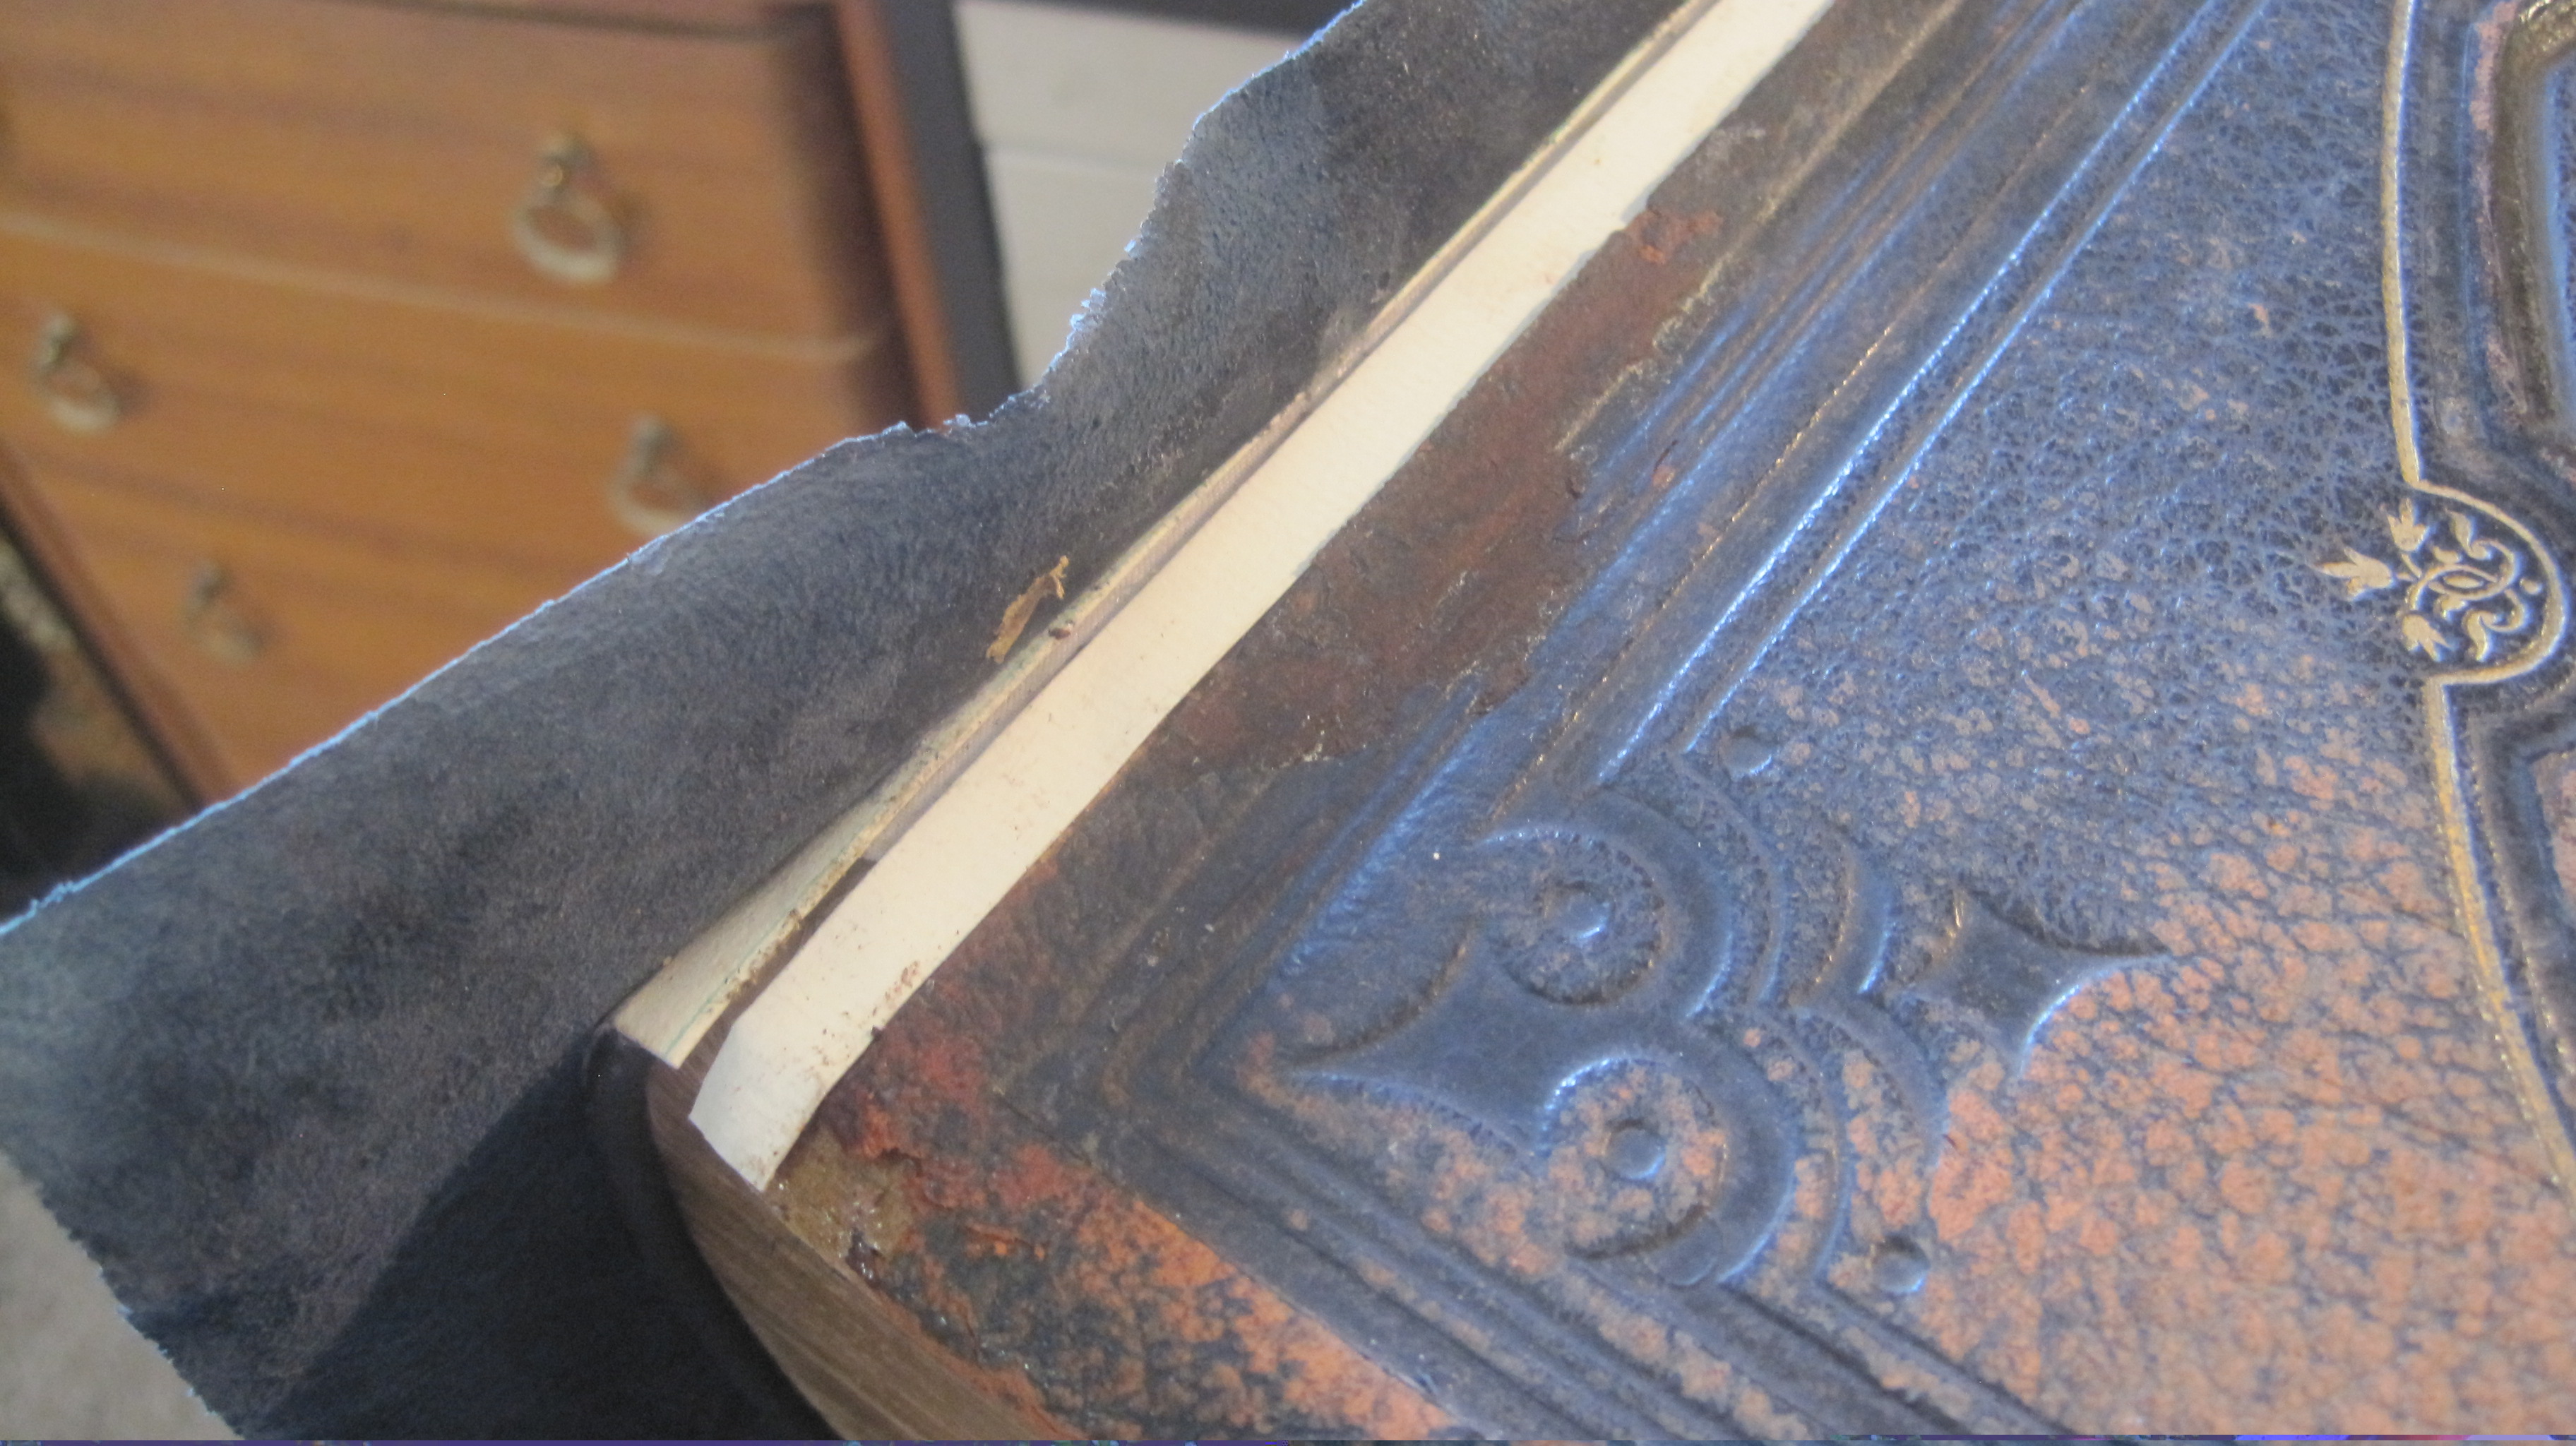

Now the head and tail can be turned in and the headcaps formed.

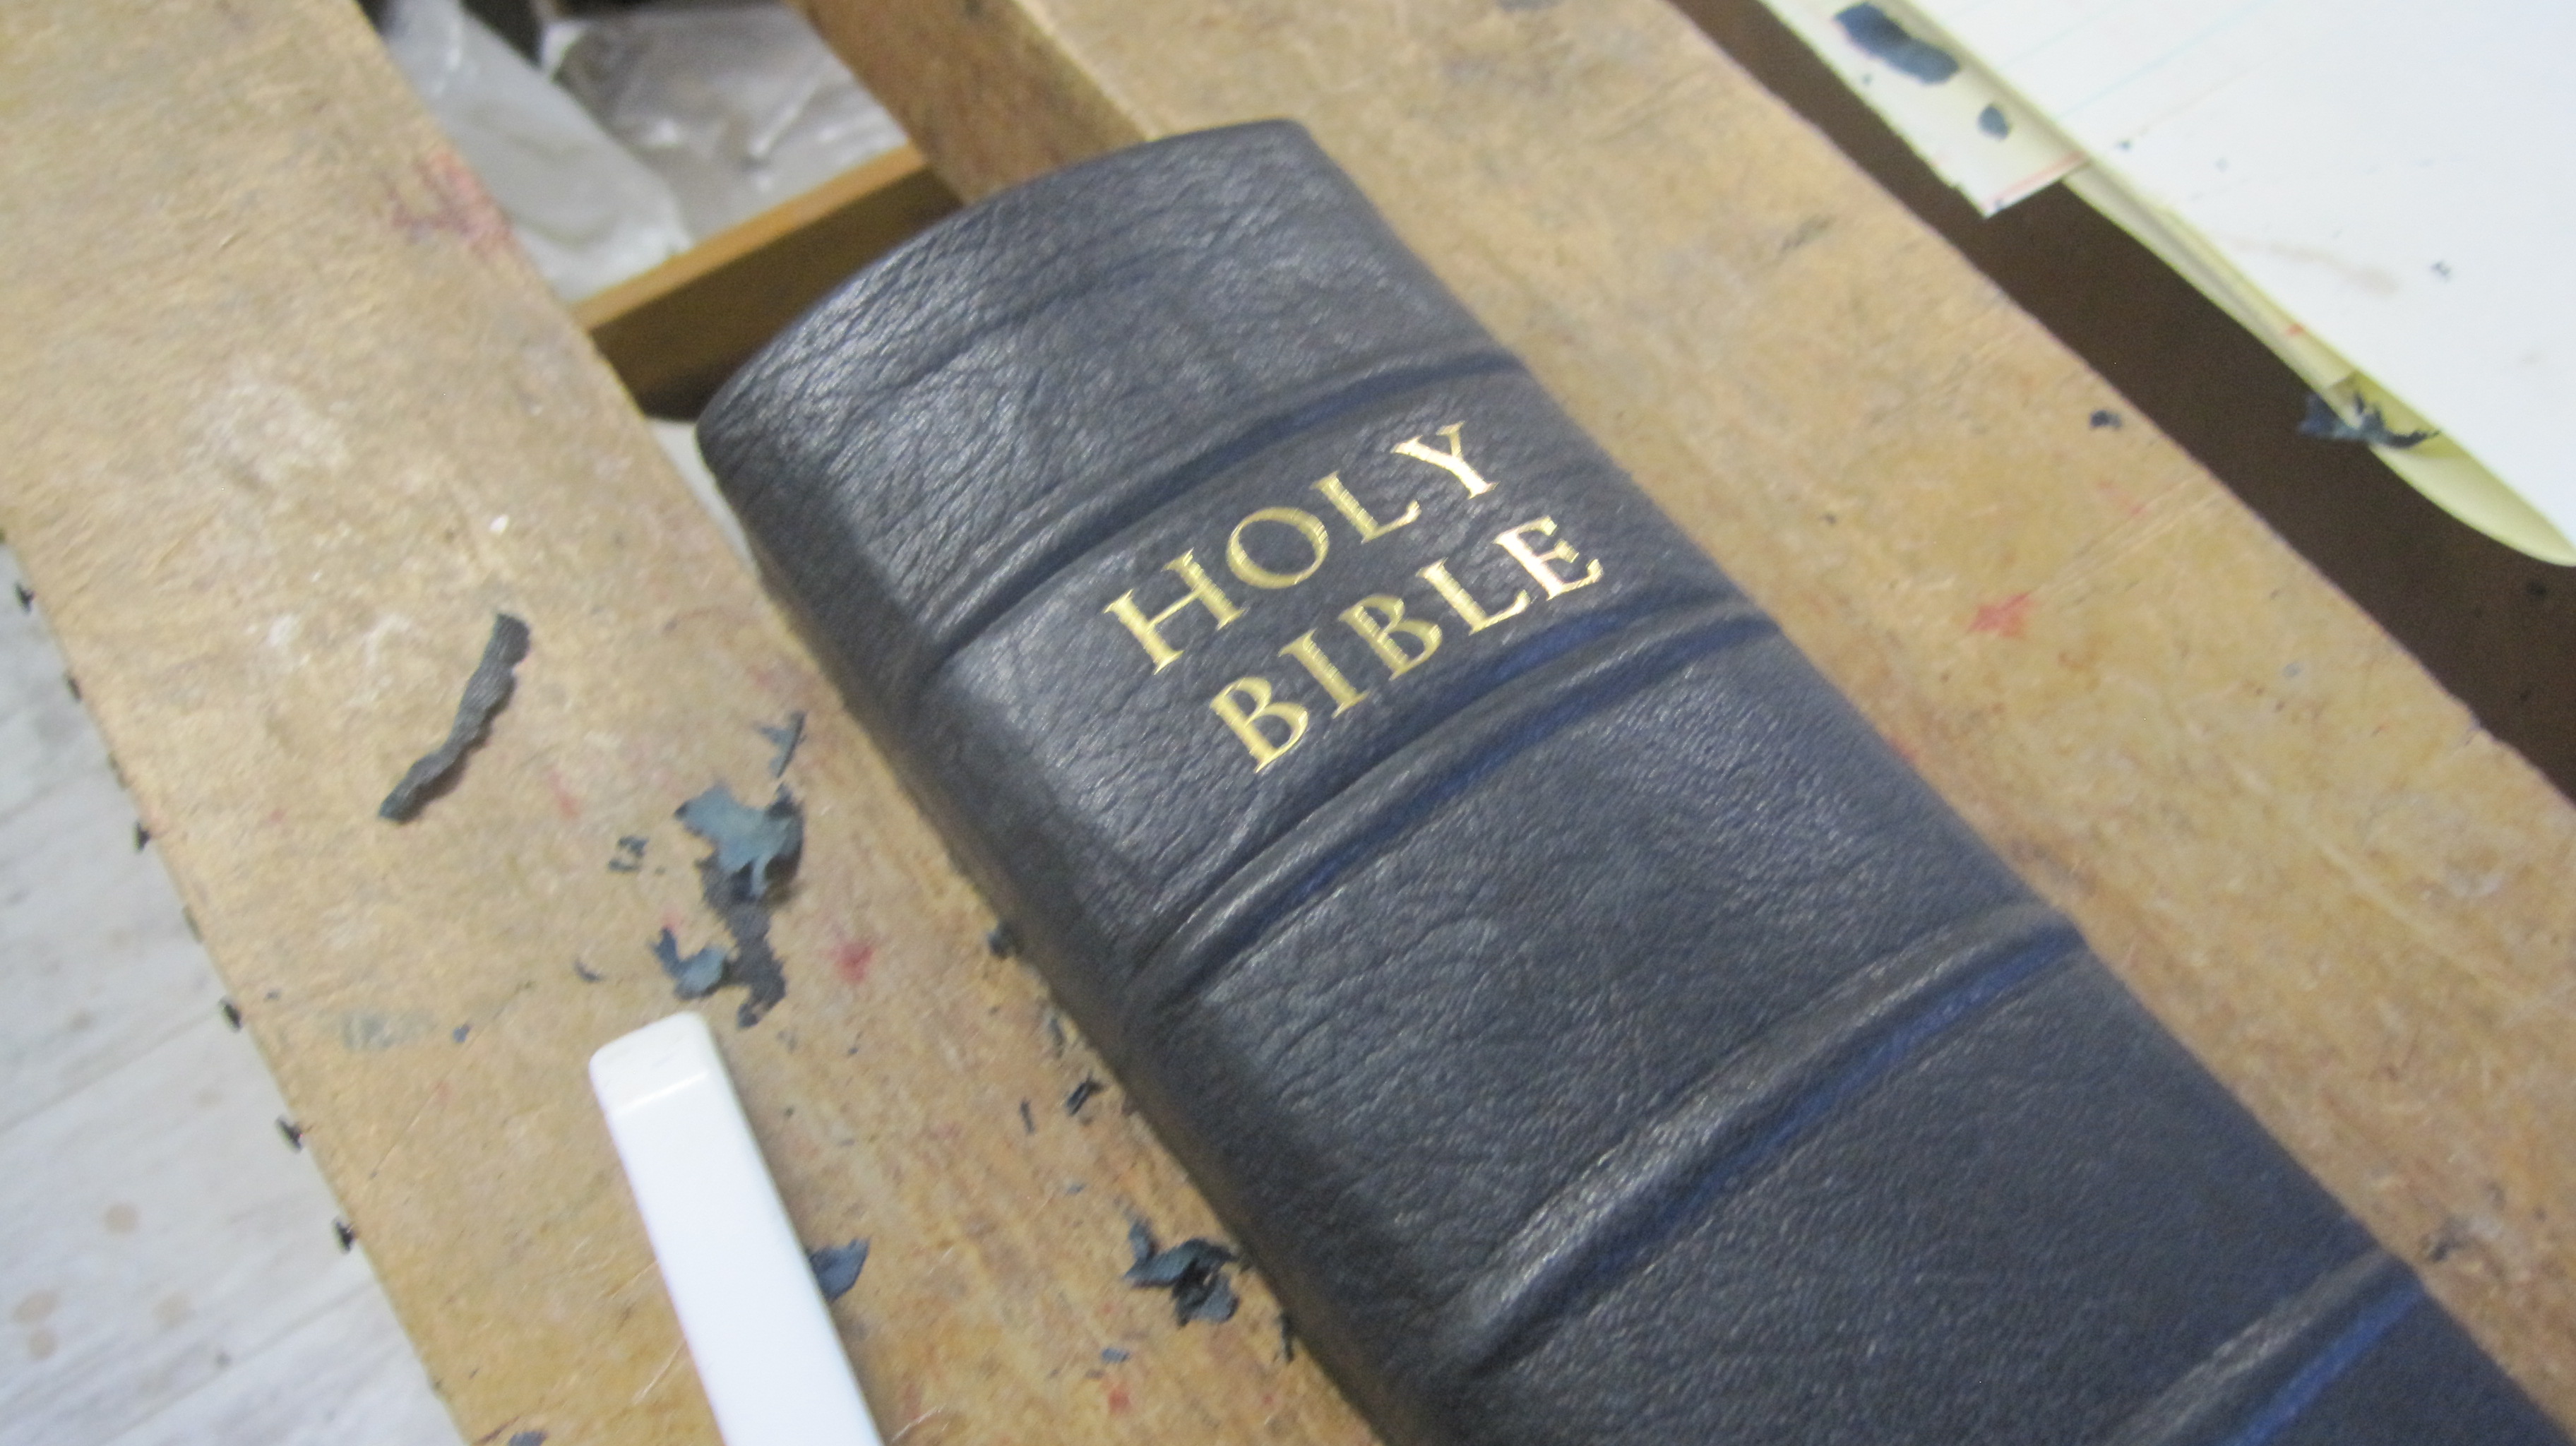
Now for the title on the spine. I do not have handle letters large enough to look right on a book this size but I do have 48 point type – only the nine letters needed for ‘HOLY BIBLE’ which I acquired tied together with string in a mixed lot at an auction a dozen years ago. So the title is blocked on a piece of the same leather from which the spine was cut pared down and backed with tissue paper. The panel on the book is also pared down so the label does not sit too proud.
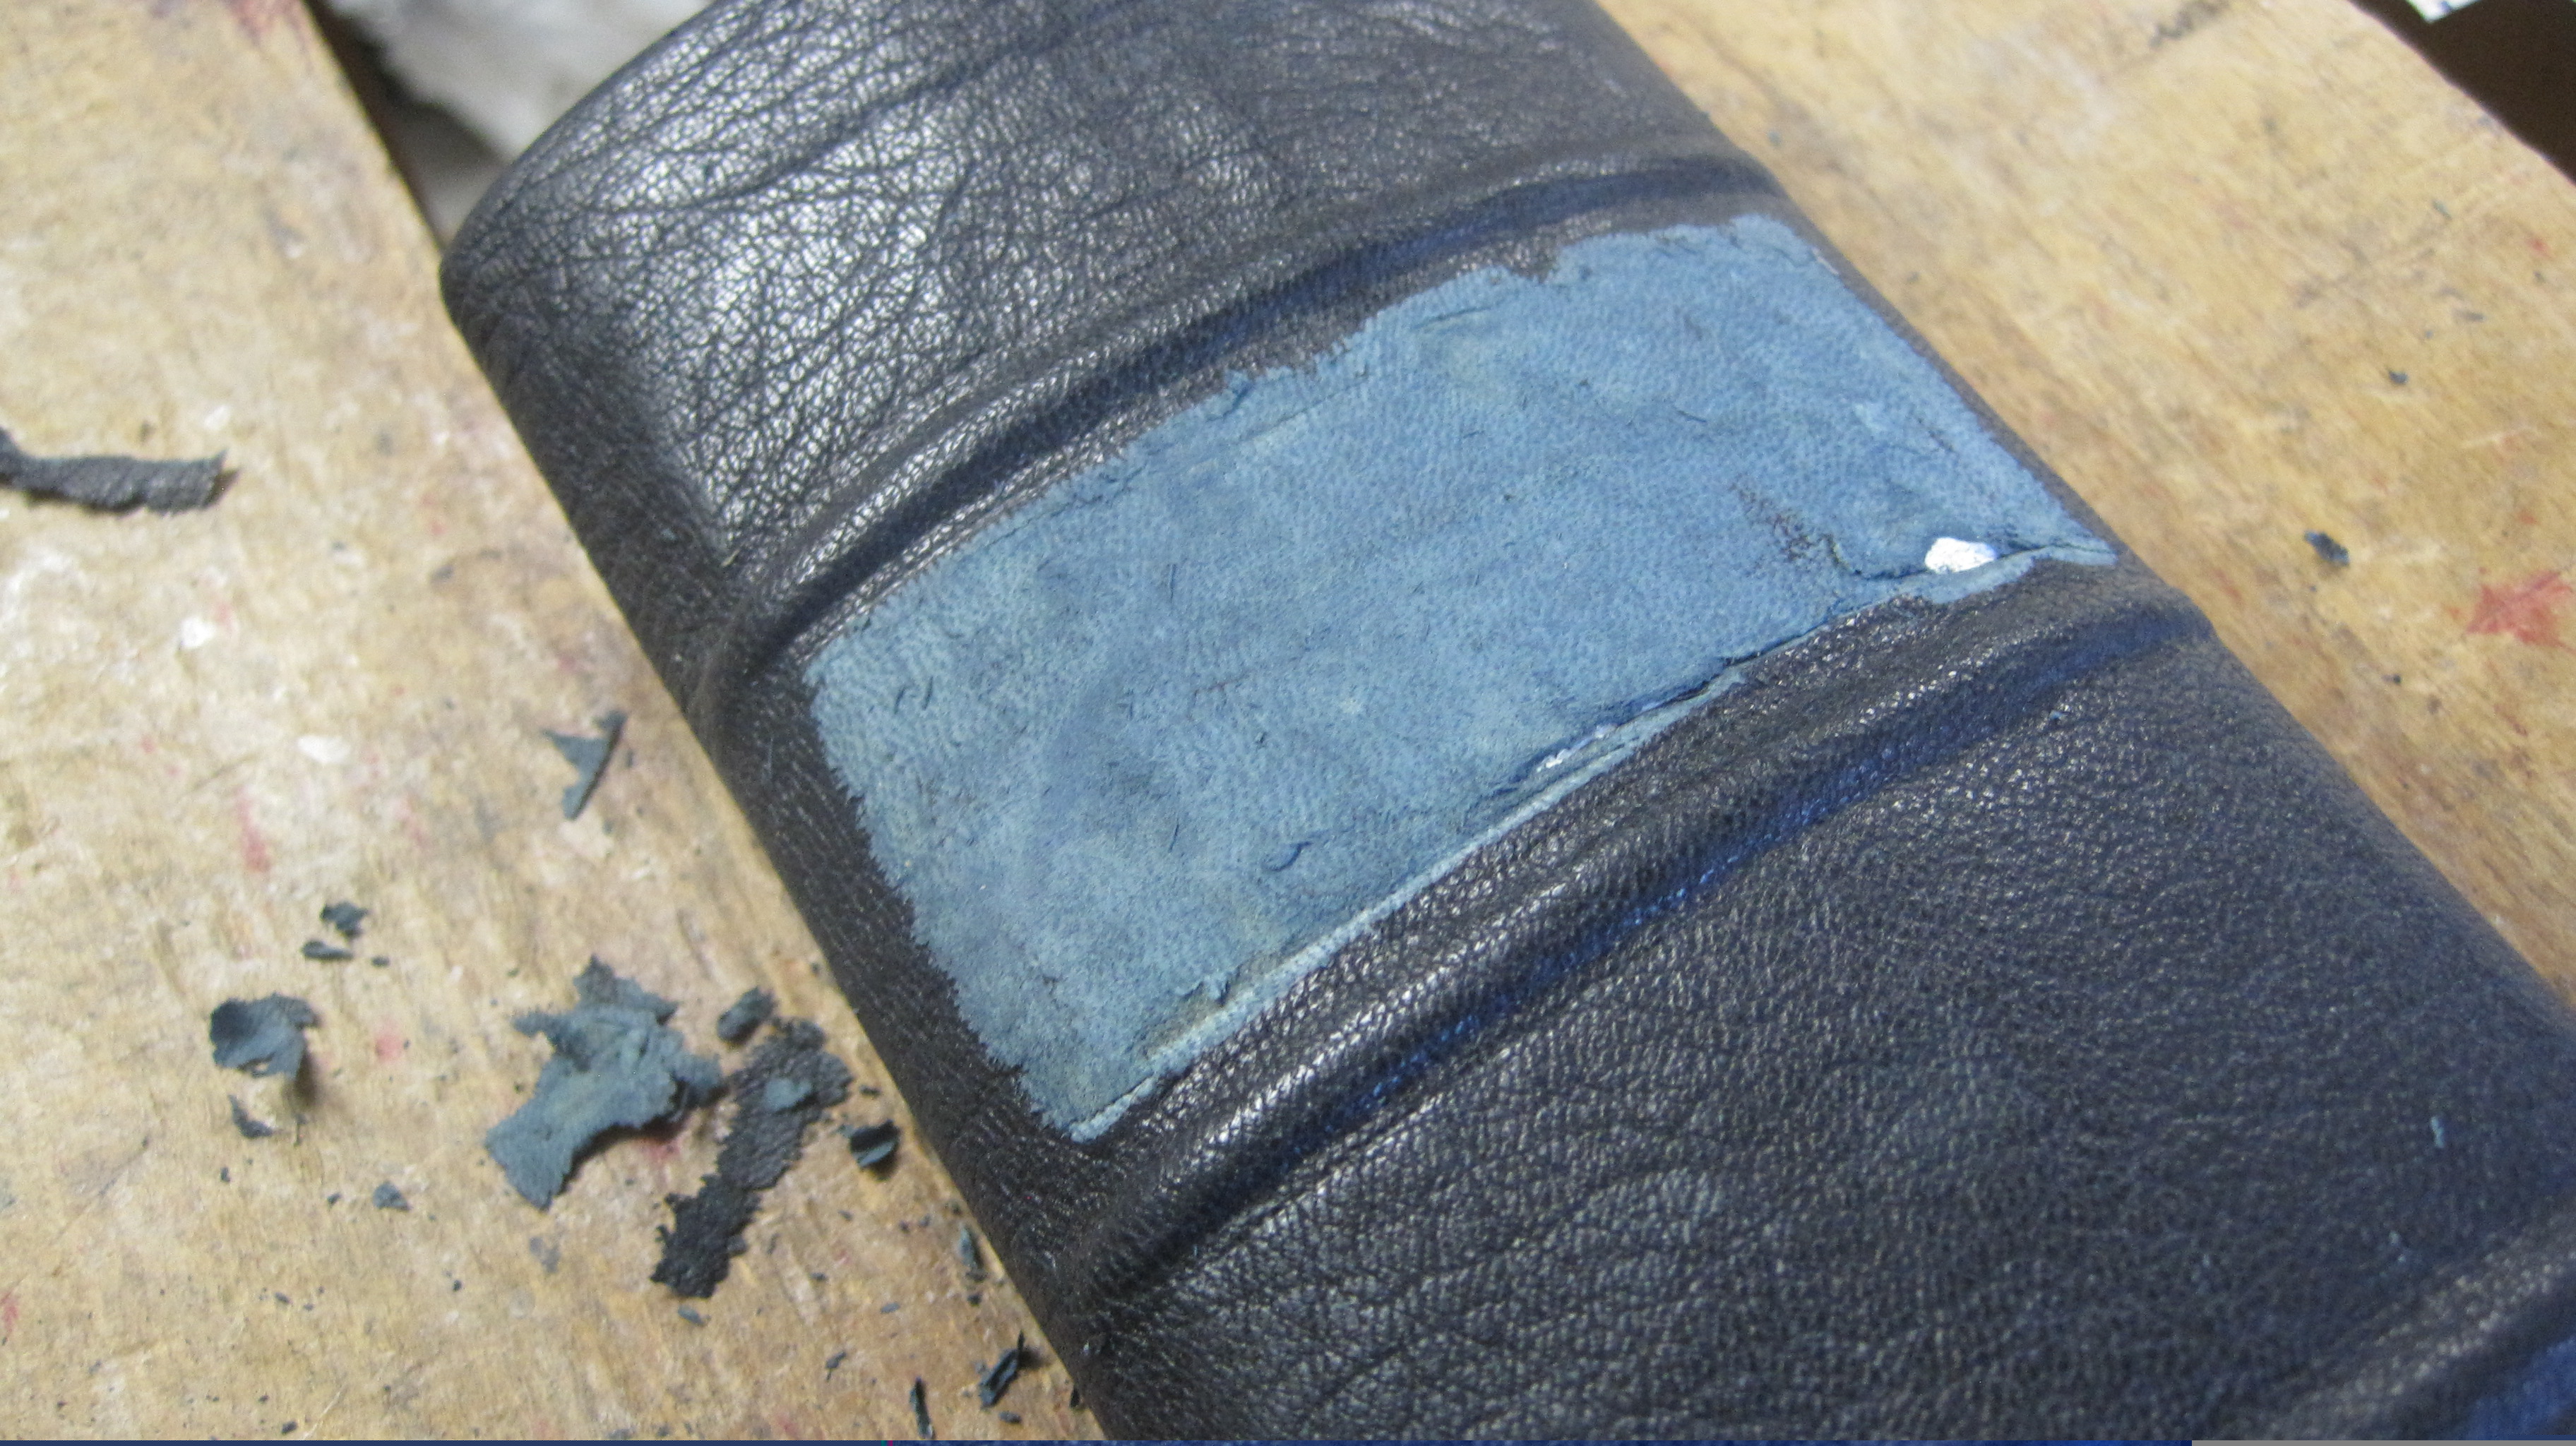
The label glued in place:
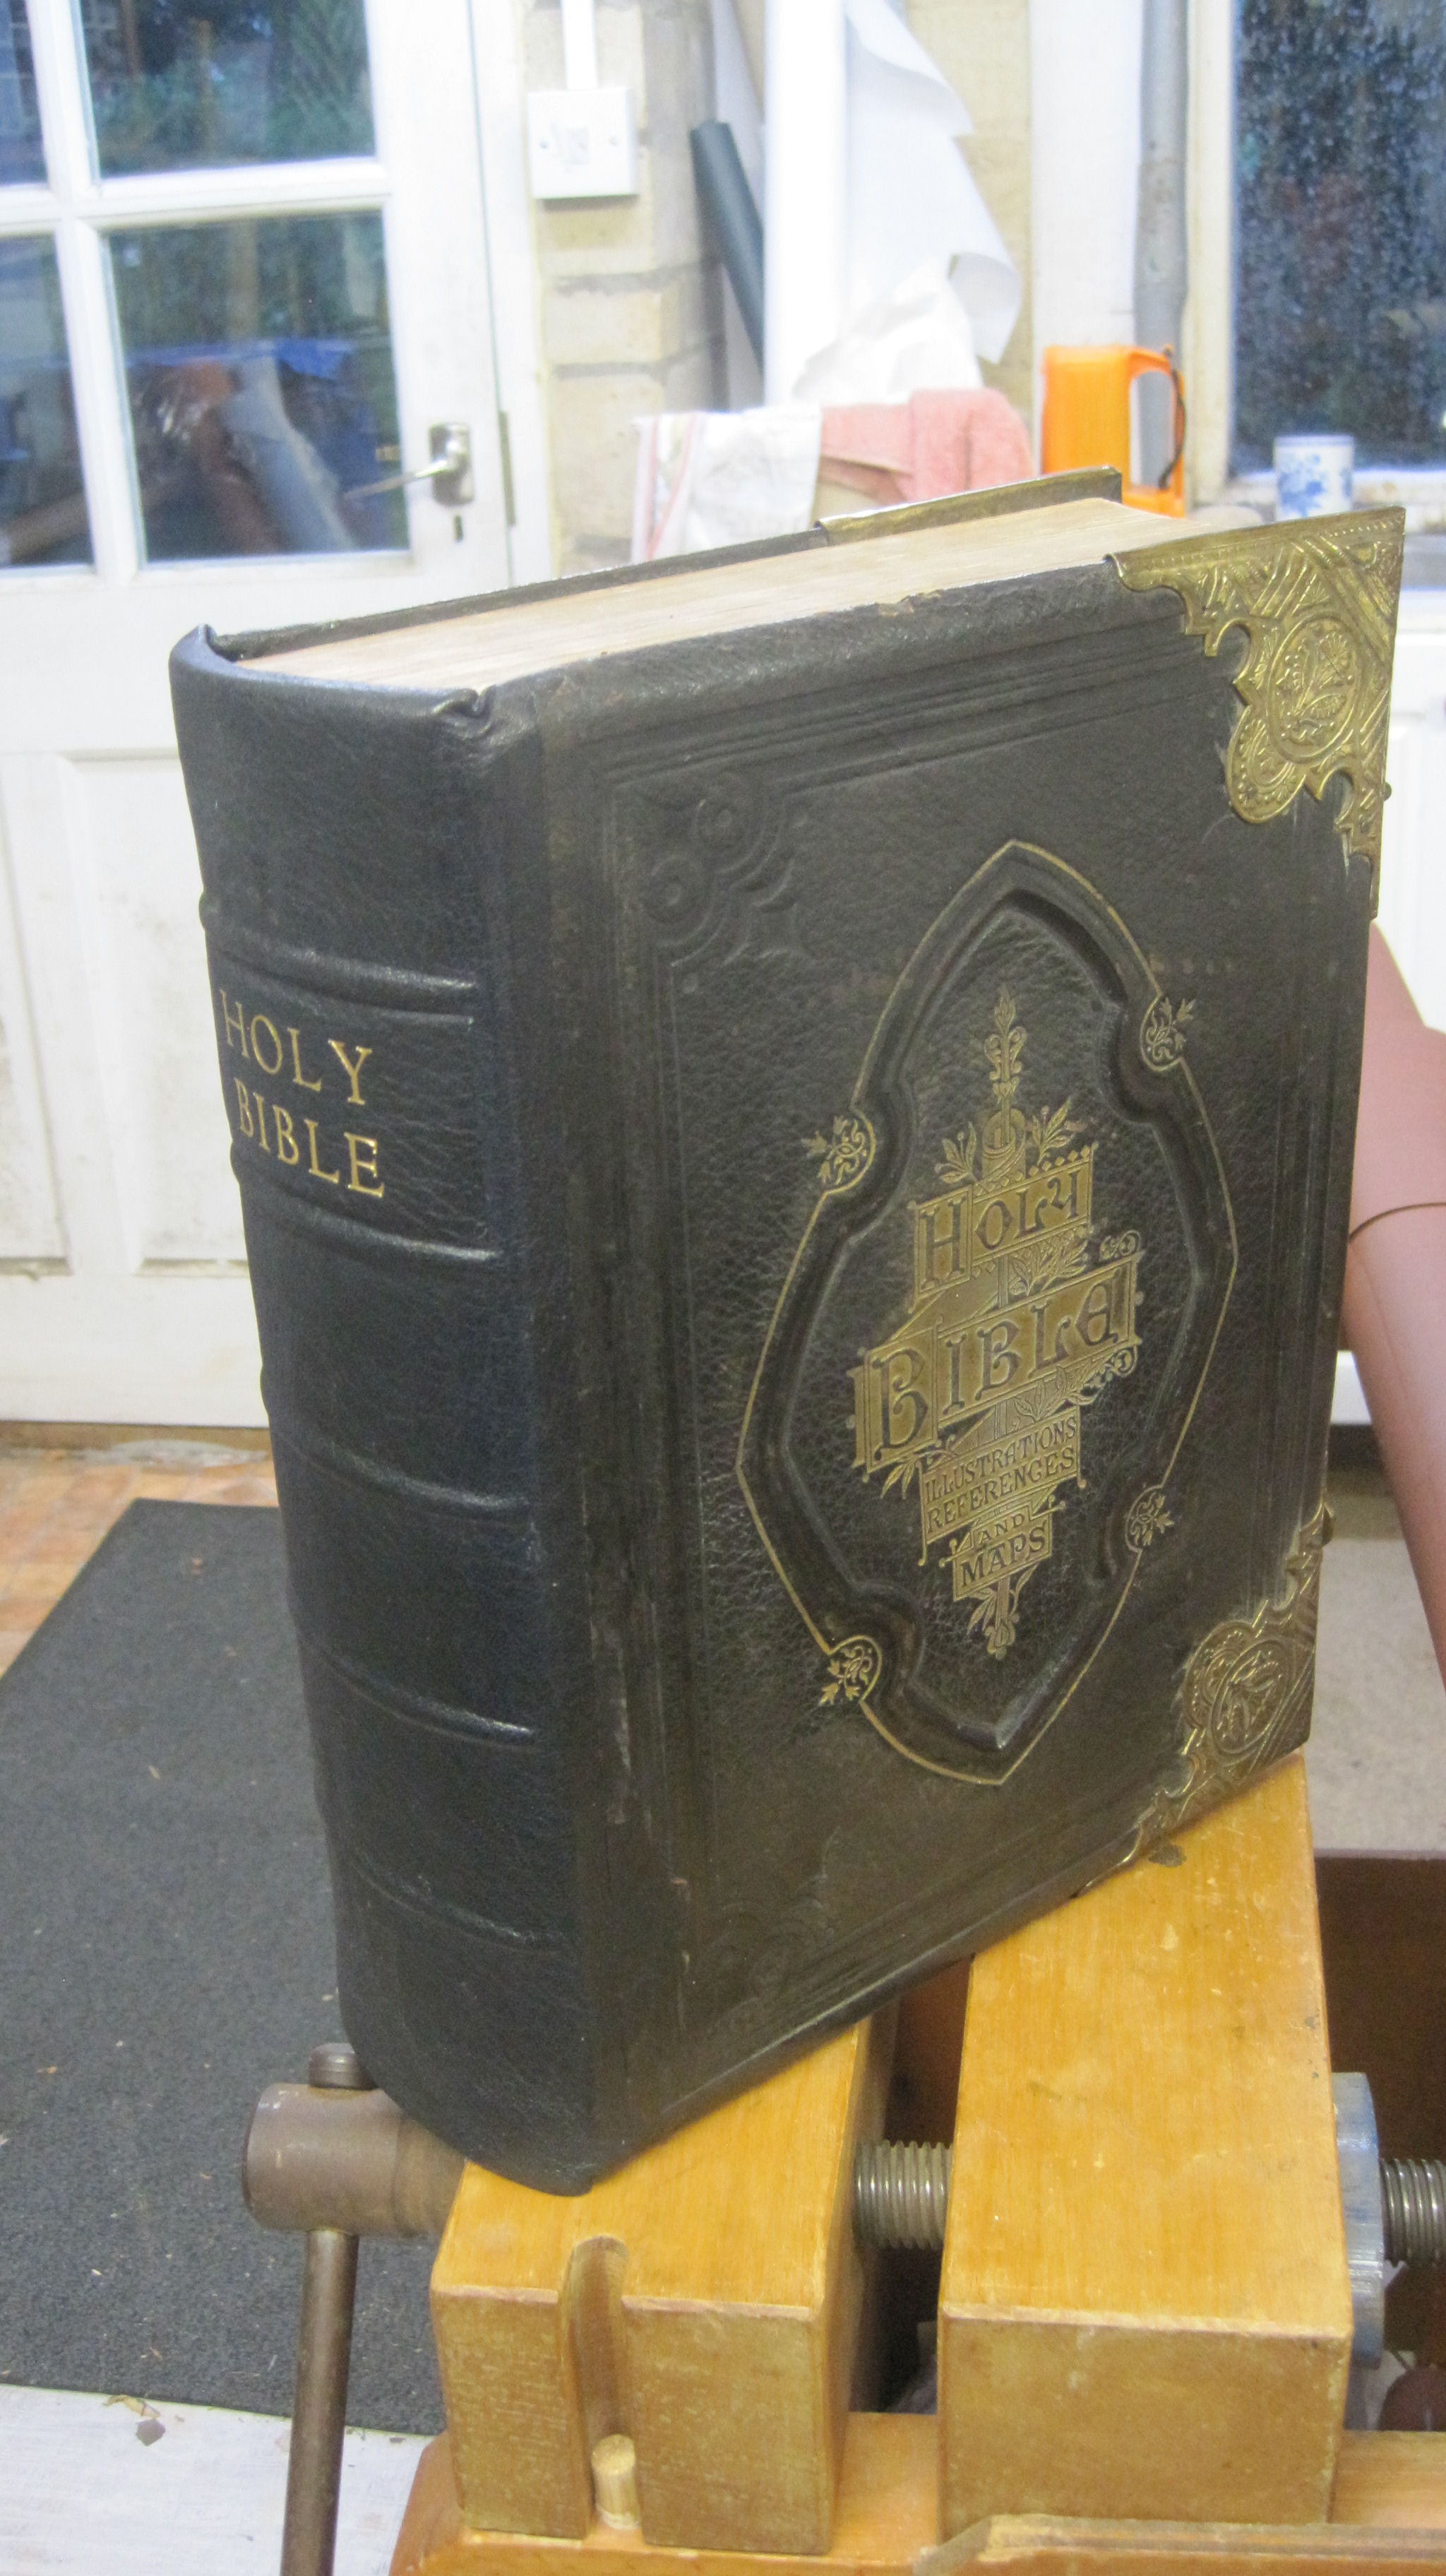
And the finished product:
Total working time was four hours, spread over several days, and requiring the use of nipping press, lay press, blocking press, paring equipment etc. etc. Next time my quote will be about £150.
We live and learn!

A nice piece of work Chris, but a “Bernie” strip is a new one to me. Pray tell. Yours aye Barry McKay
LikeLike
Dear Barry: if you refer to my earlier post ‘Another echo of Bernard Middleton’ all will be revealed. Keep well.
LikeLike
One will track back and read the earlier posts properly then.
B
LikeLike