Many ‘paperbacks’ are not only cherished but heavily used. And so they begin to fall apart. A recent client is a professional botanist who uses a specialist work on mosses and lichens virtually every day. It was published 20 years ago by a university and issued in ‘soft bound’ form – i.e. as a single sheet binding with the spine held together with some form of heat-set adhesive. It was literally falling apart, so I did a thesis binding job on it – pages sewn together by means of holes drilled along the spine including a strip of jaconette as a hinge for the covers. He happily paid my standard £25 thesis binding bill and said “Perhaps I should have had this done years ago”.
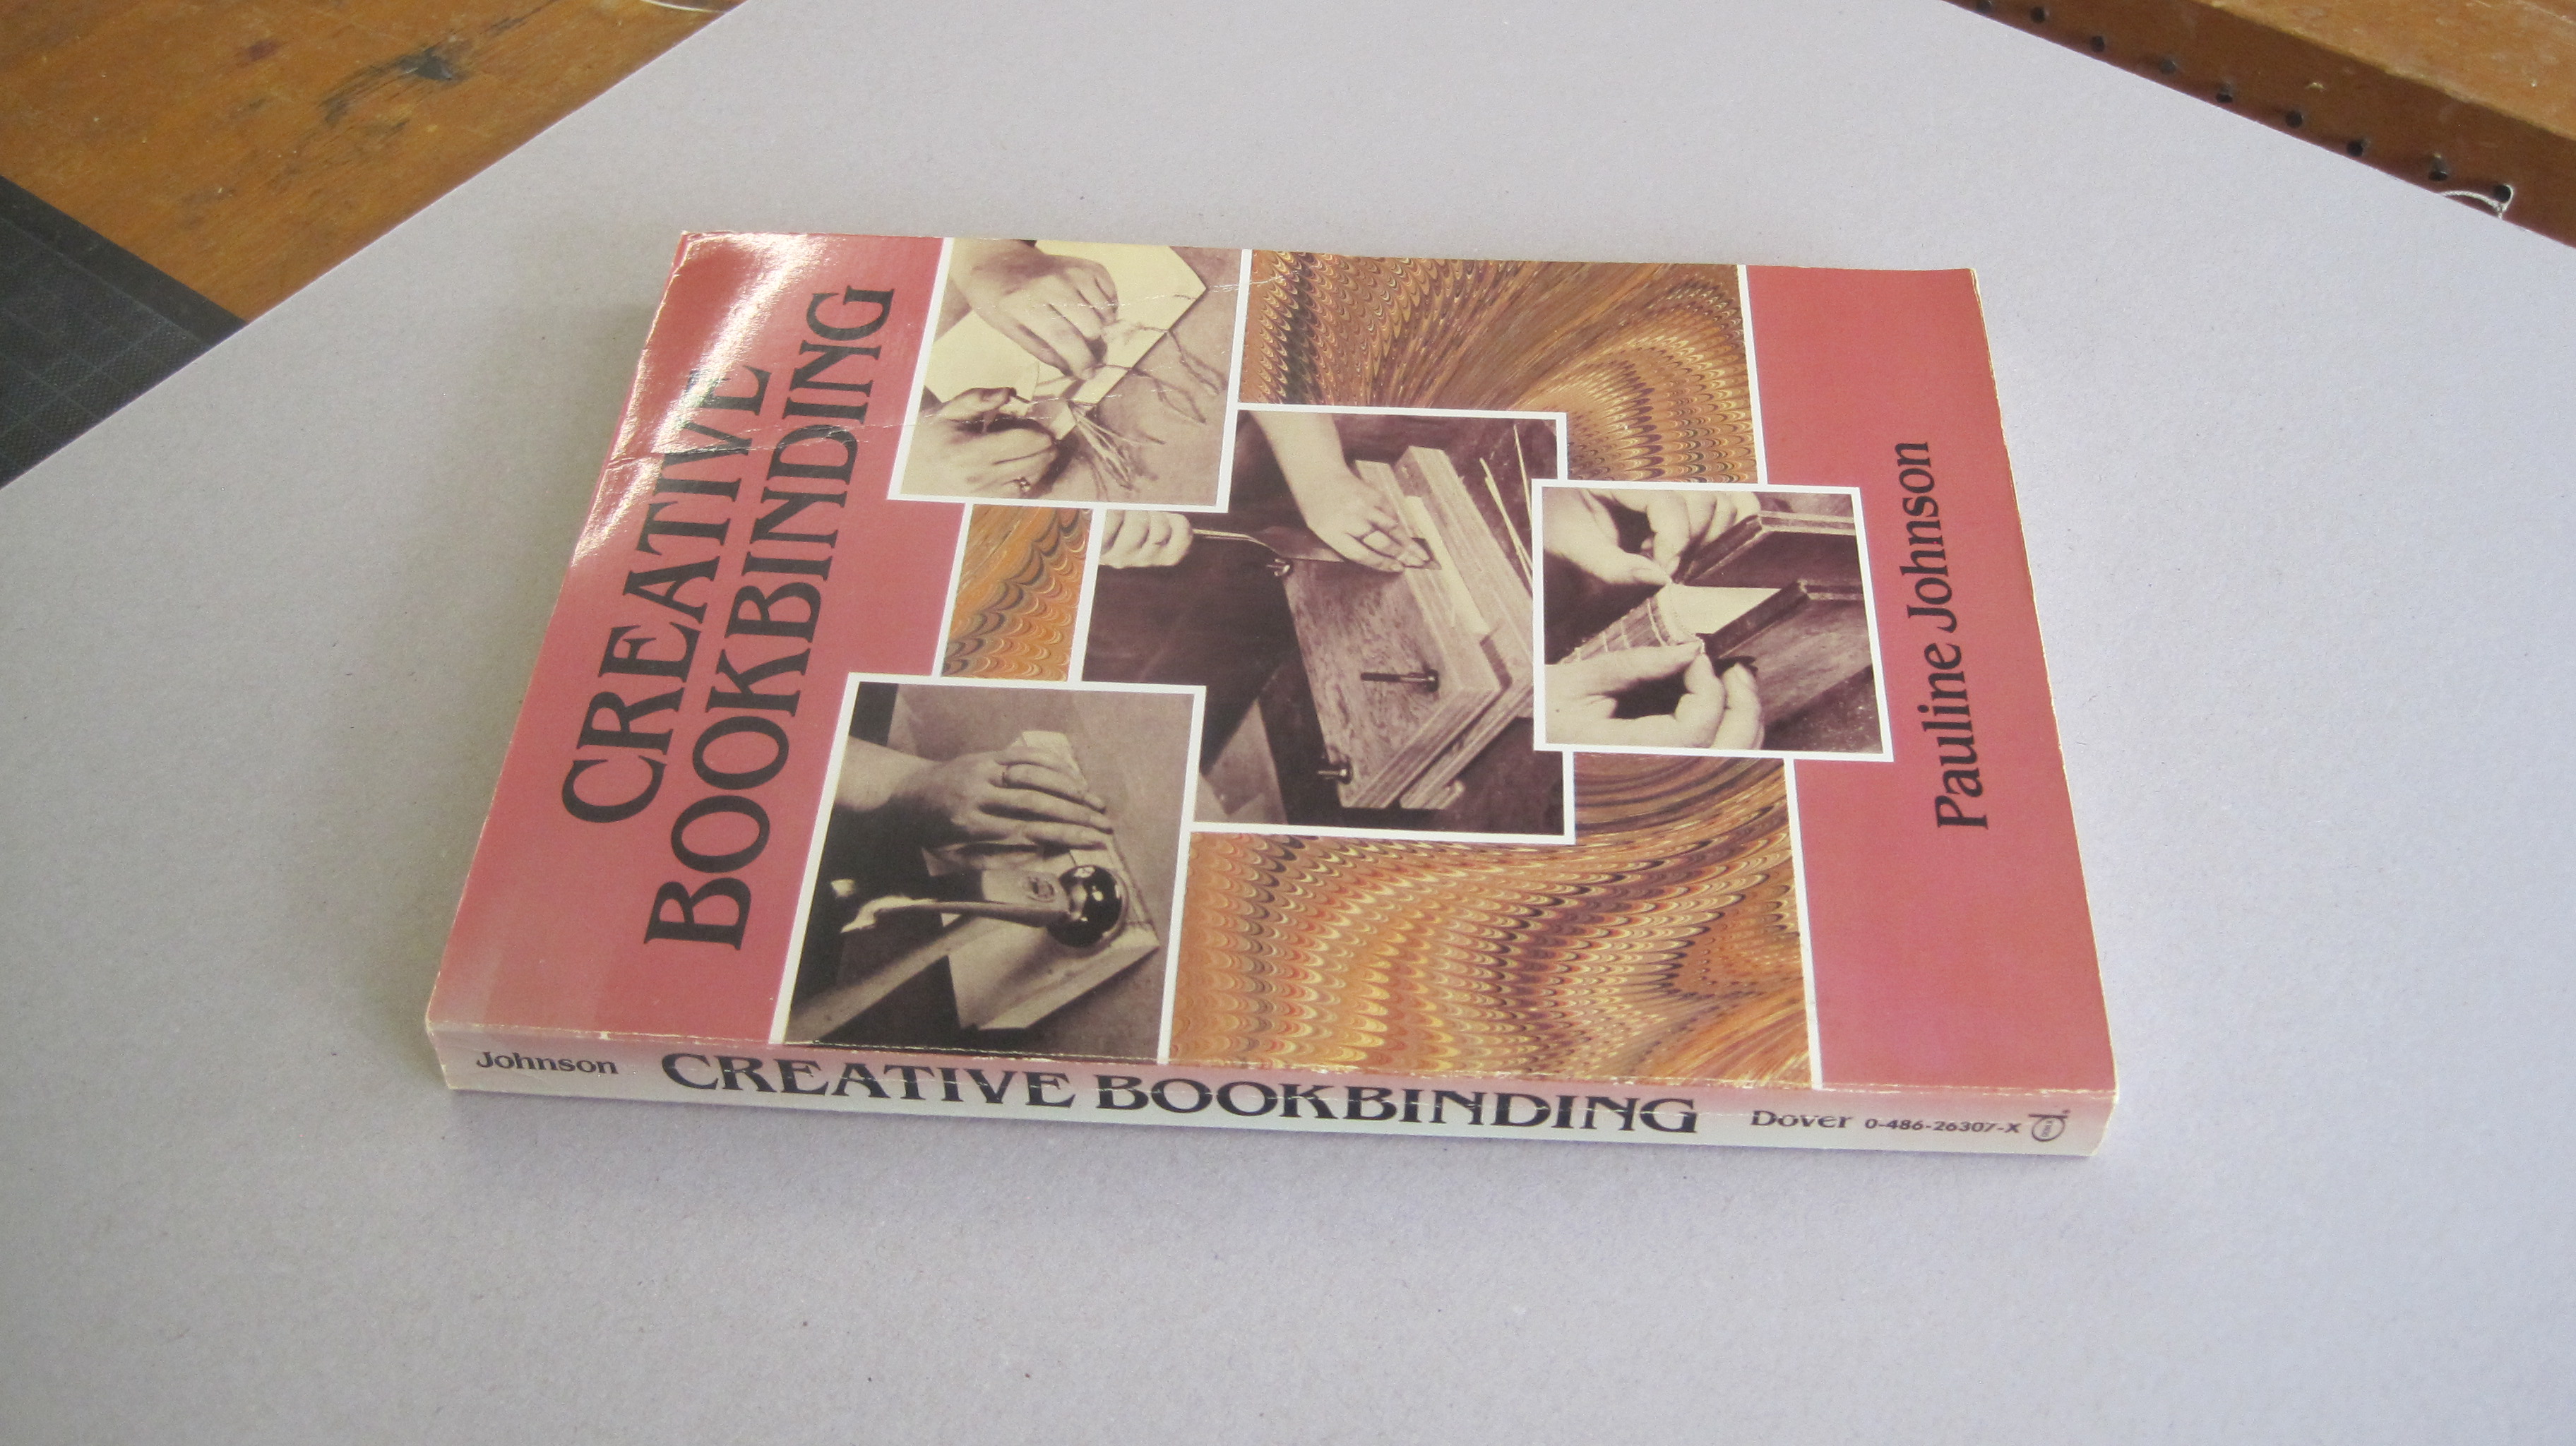
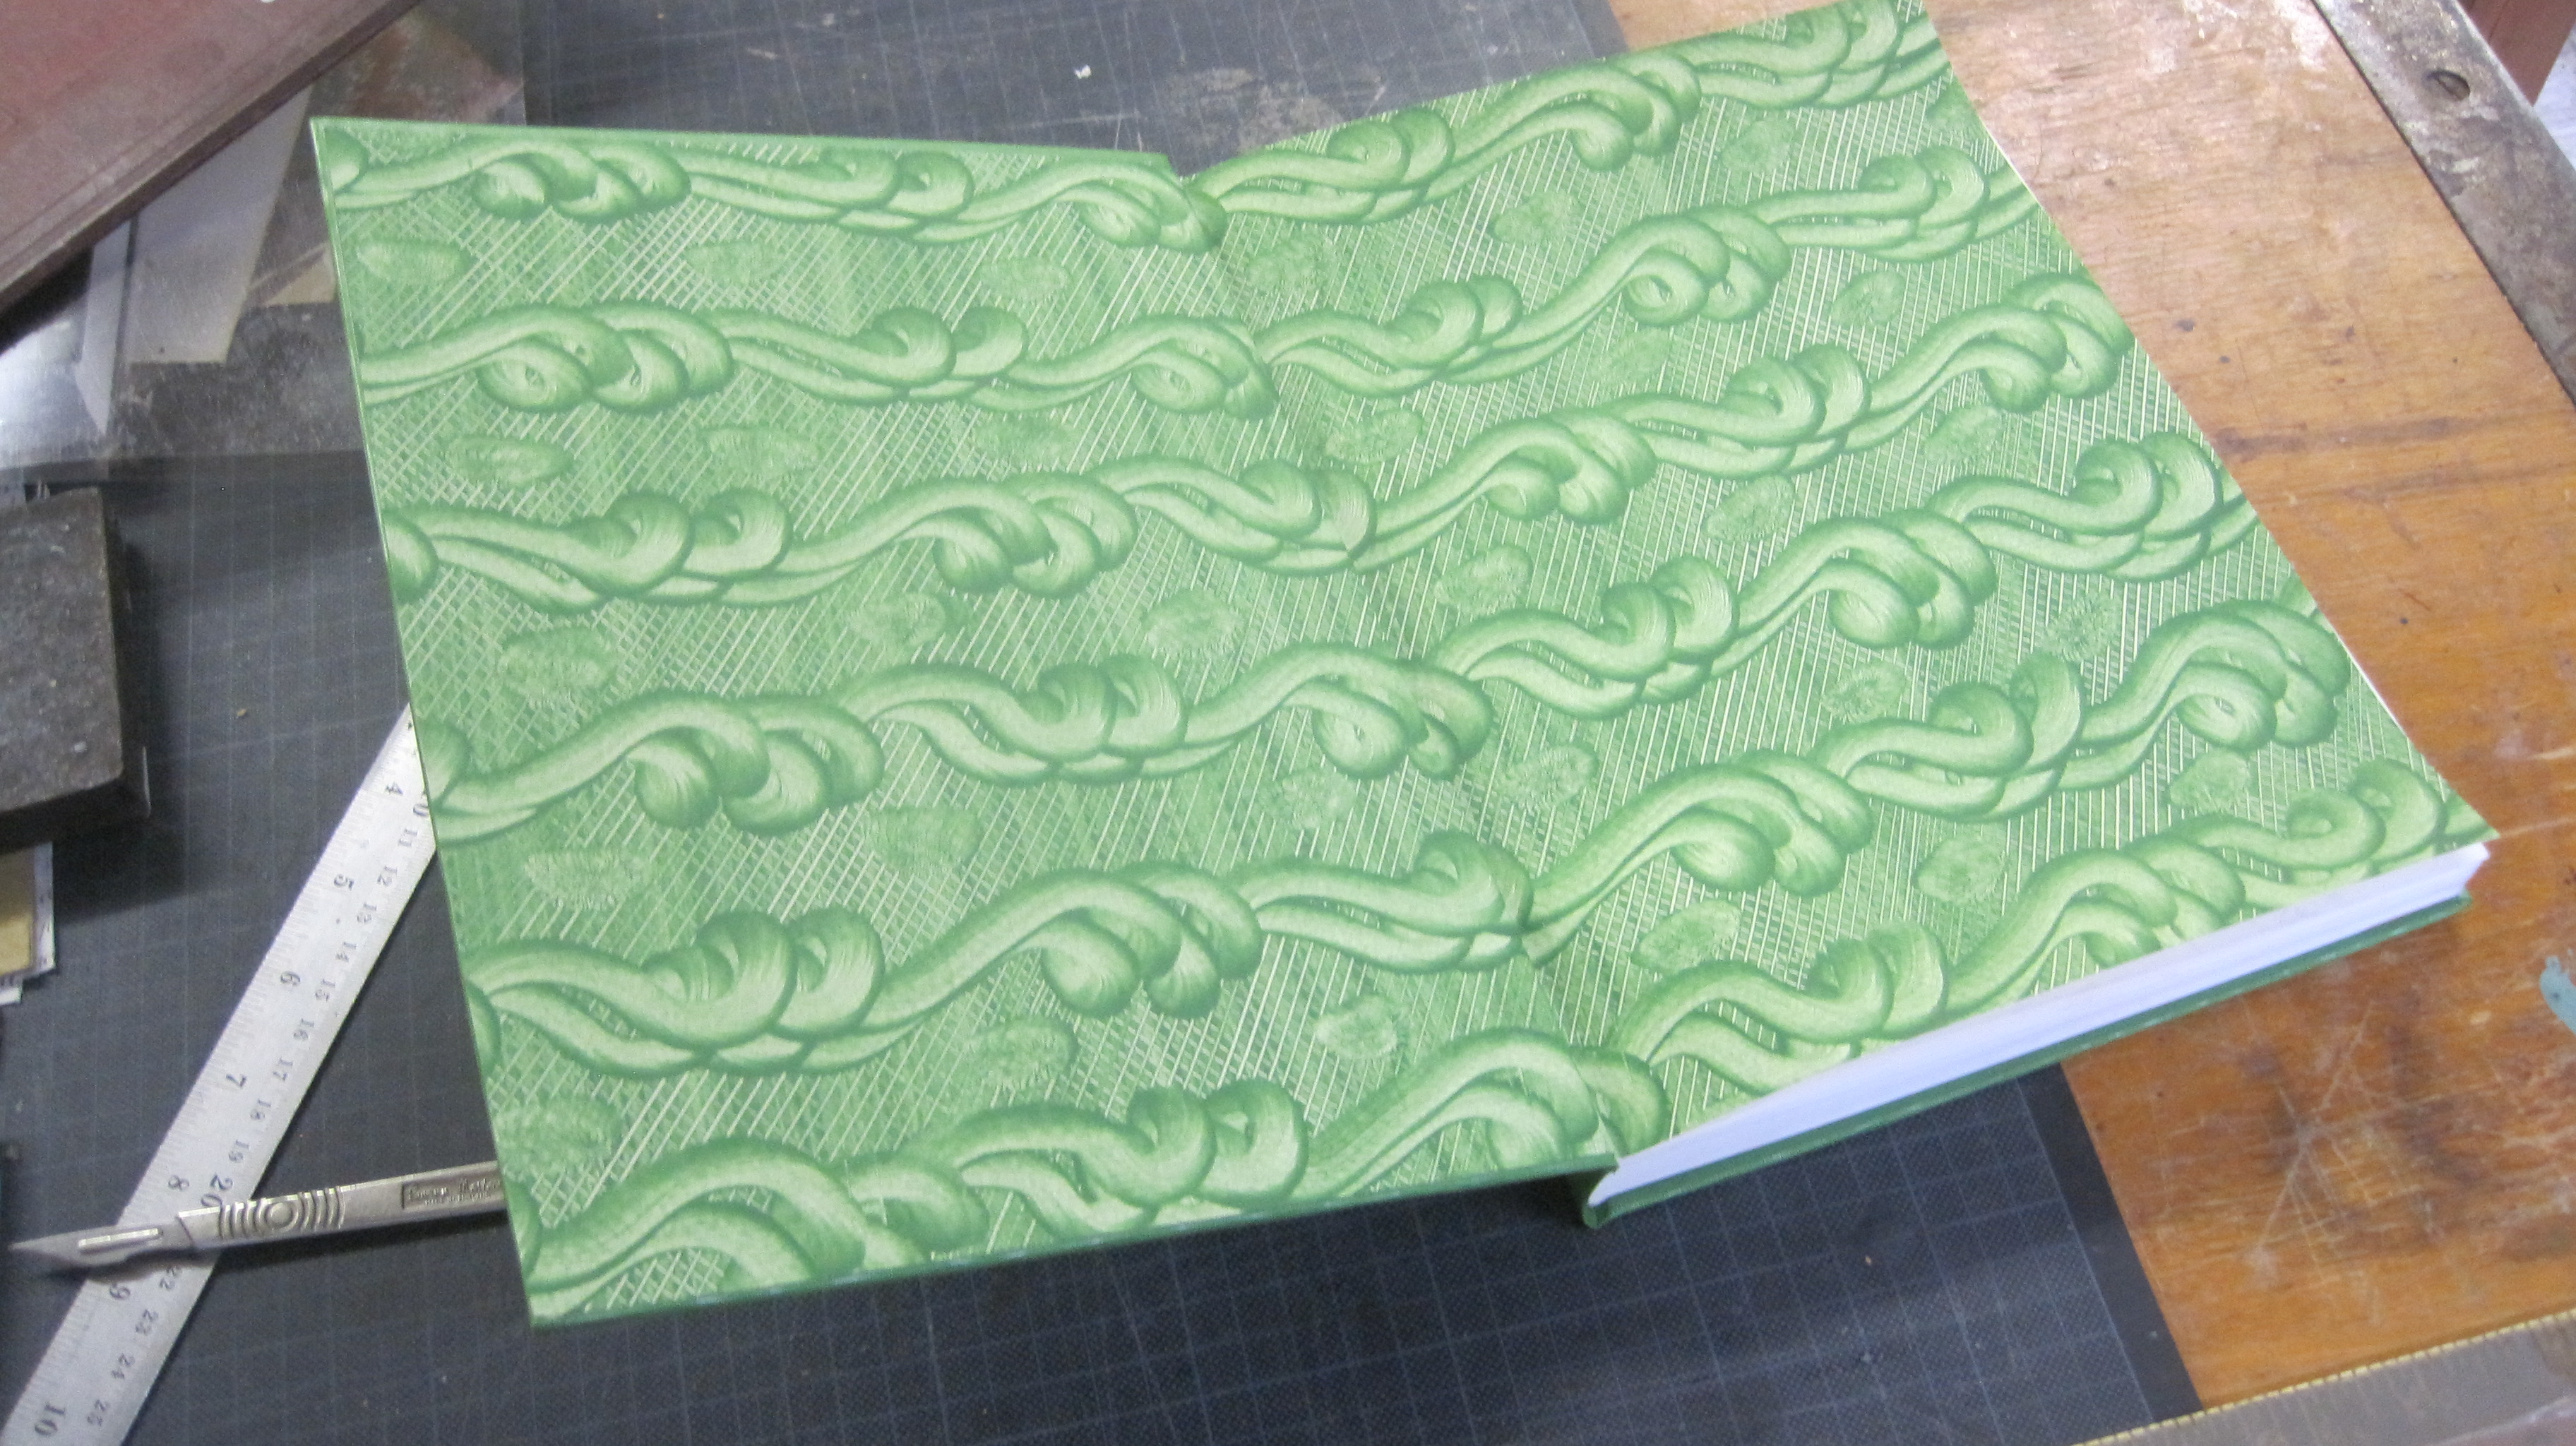
That set me thinking about my own books – I have a Dover Publications edition (1990) of Pauline Johnson’s ‘Creative Bookbinding’ which is well printed on good paper but in ‘softback’ form, unsewn.
Still intact, but covers beginning to curl and spine just going concave. So let’s prevent its inevitable deterioration and re-bind it now.
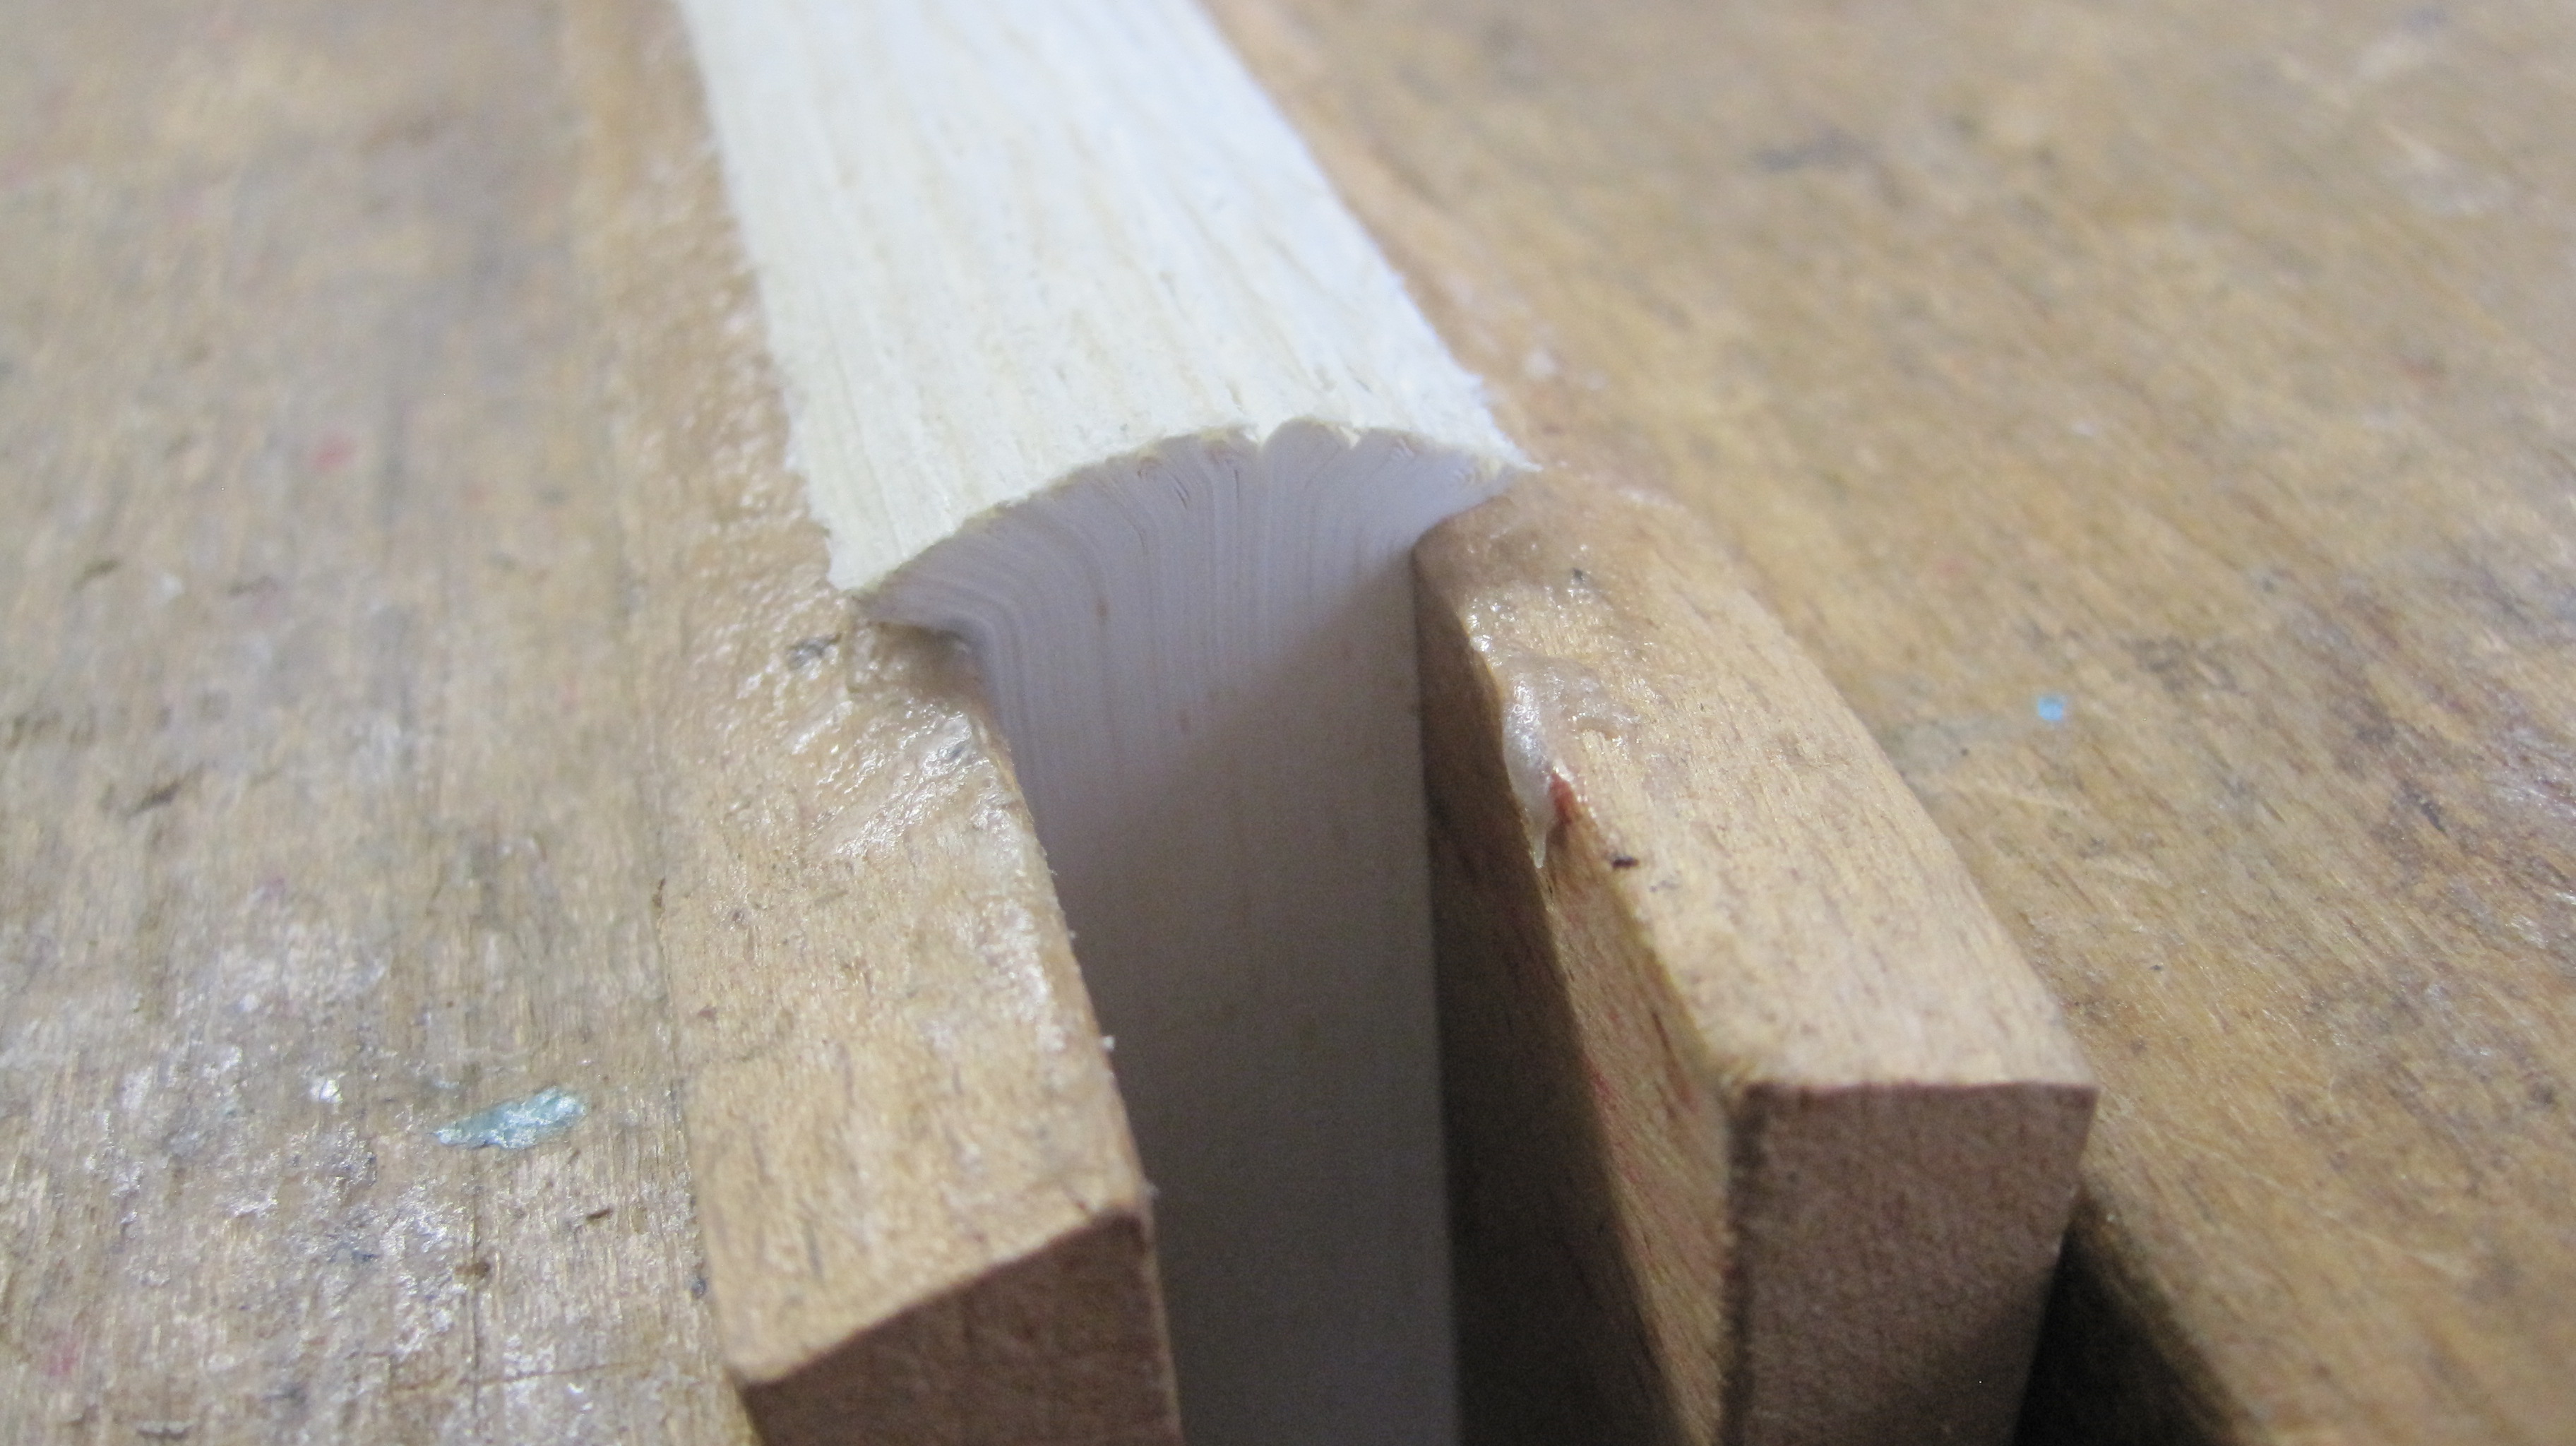
First, drill 2mm holes along the spine, 3mm (one eighth of an inch) in.


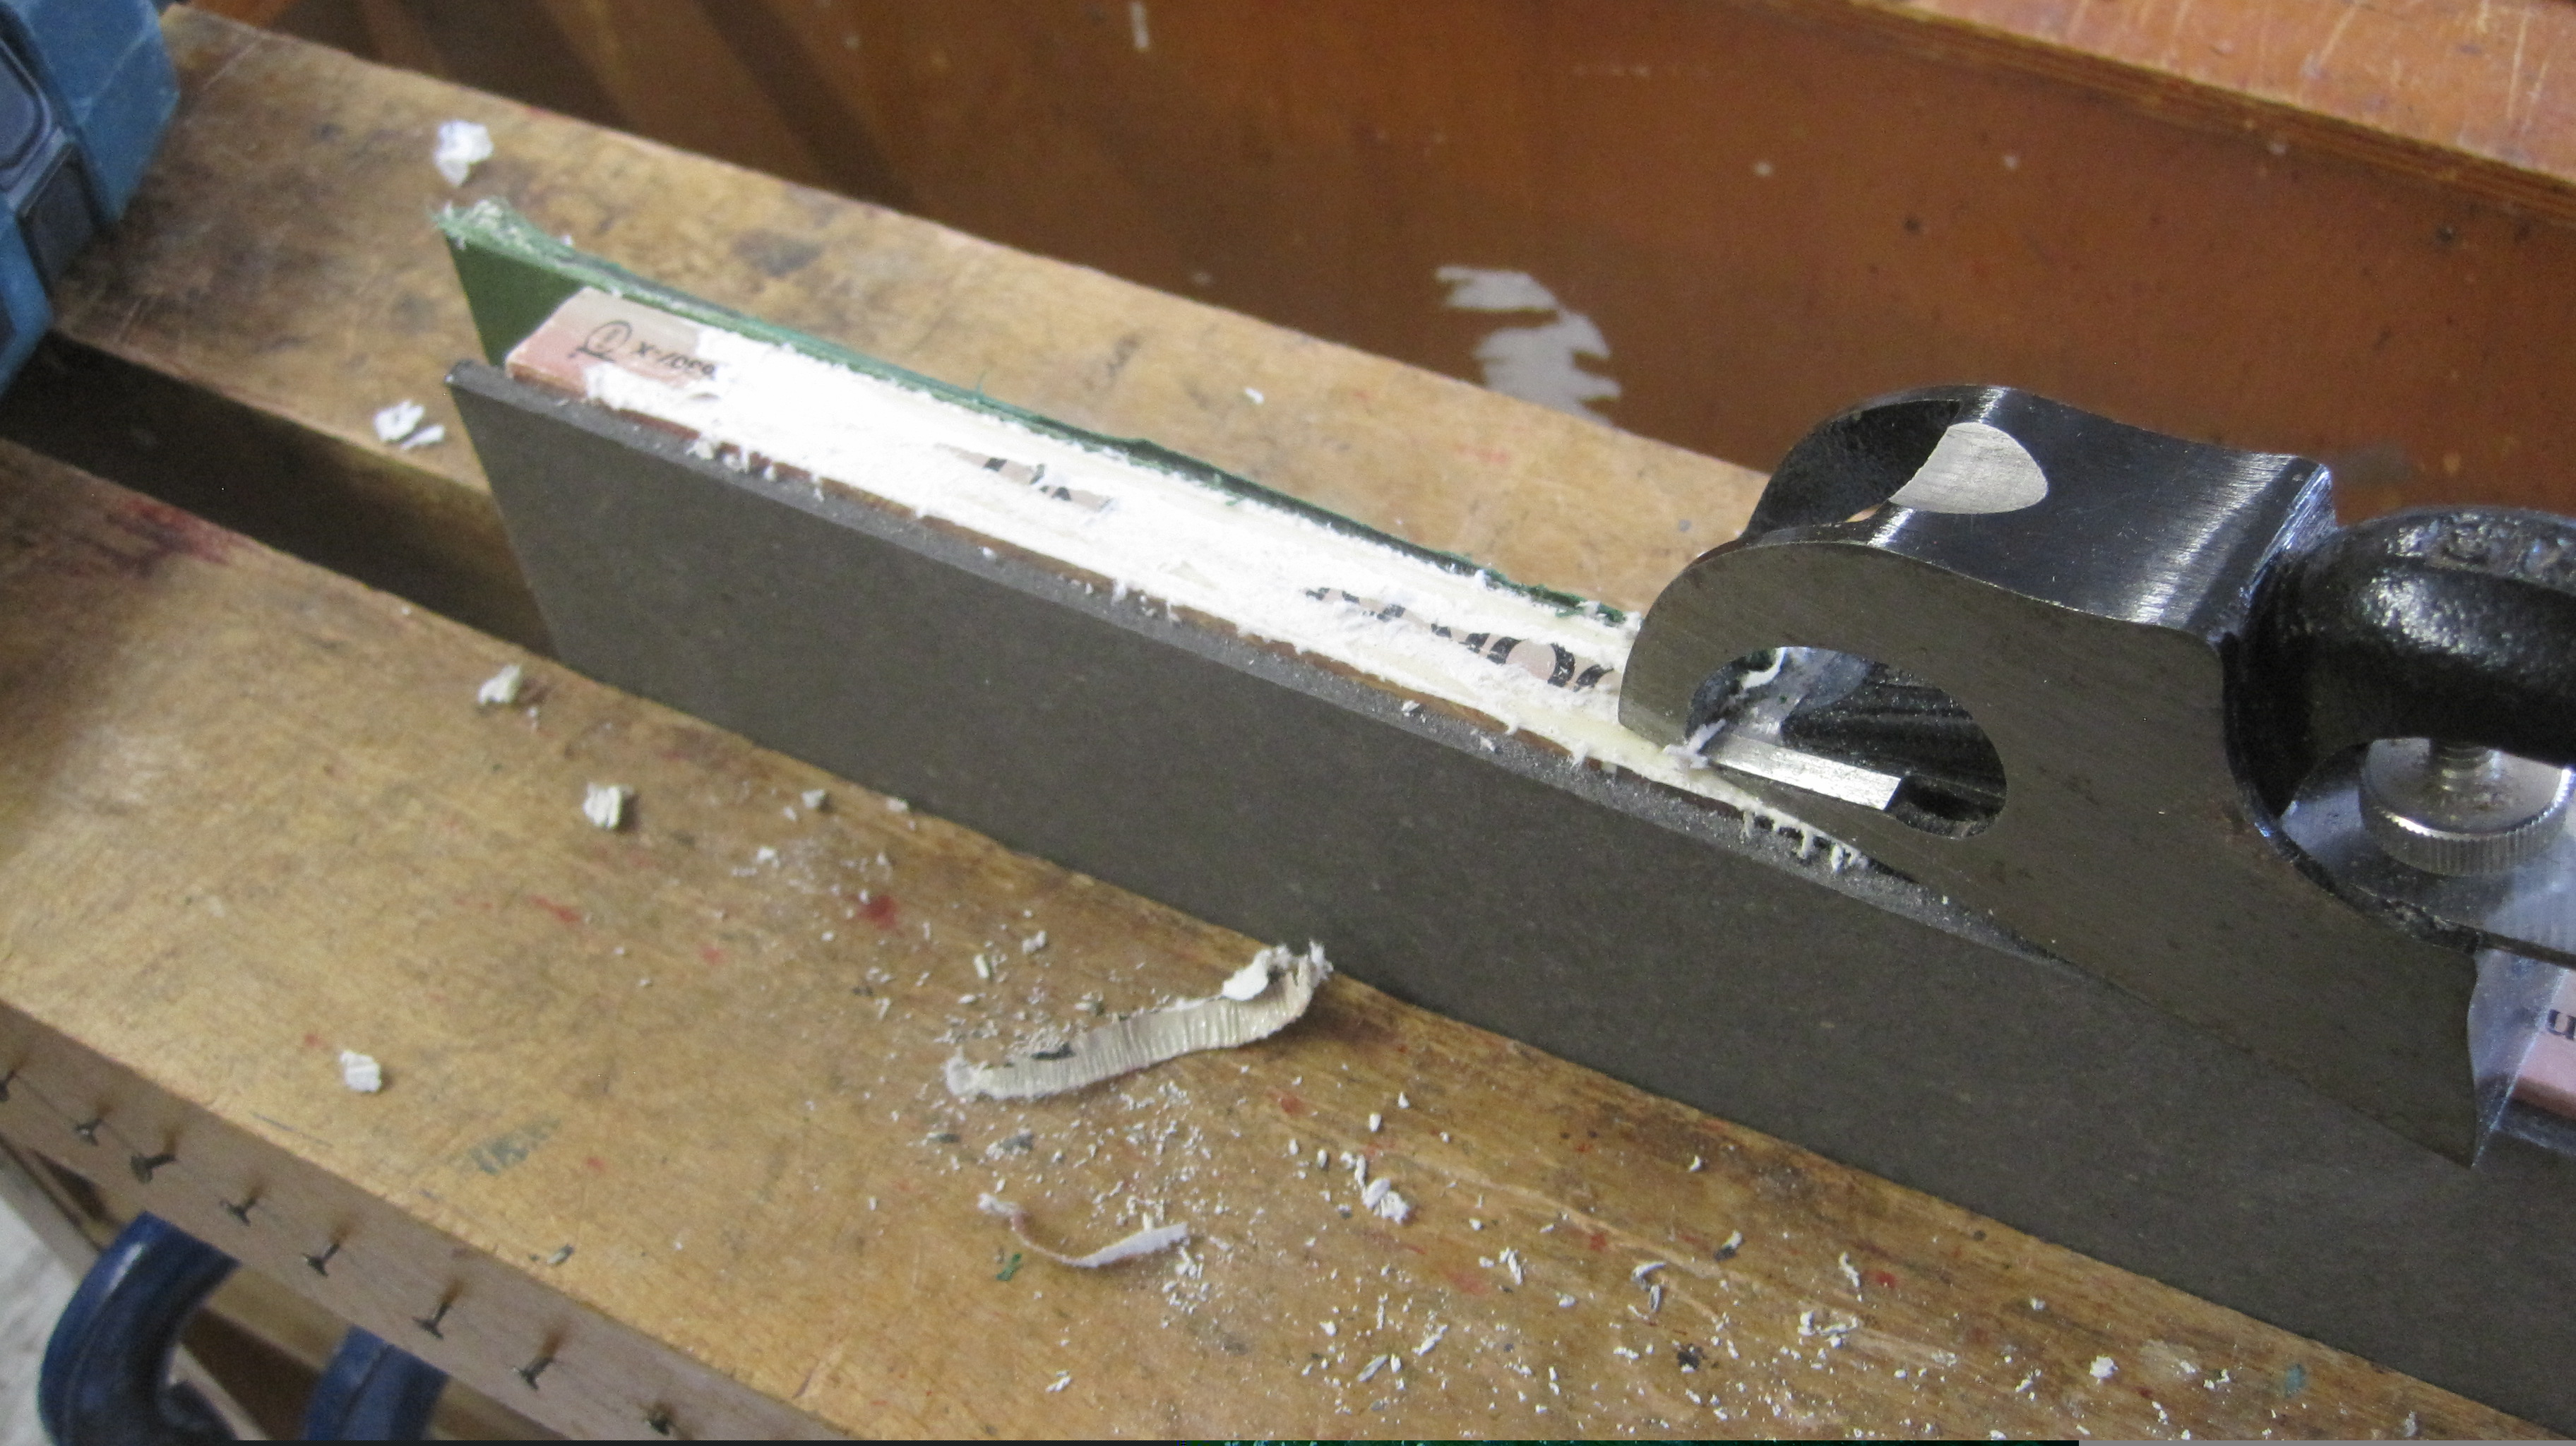
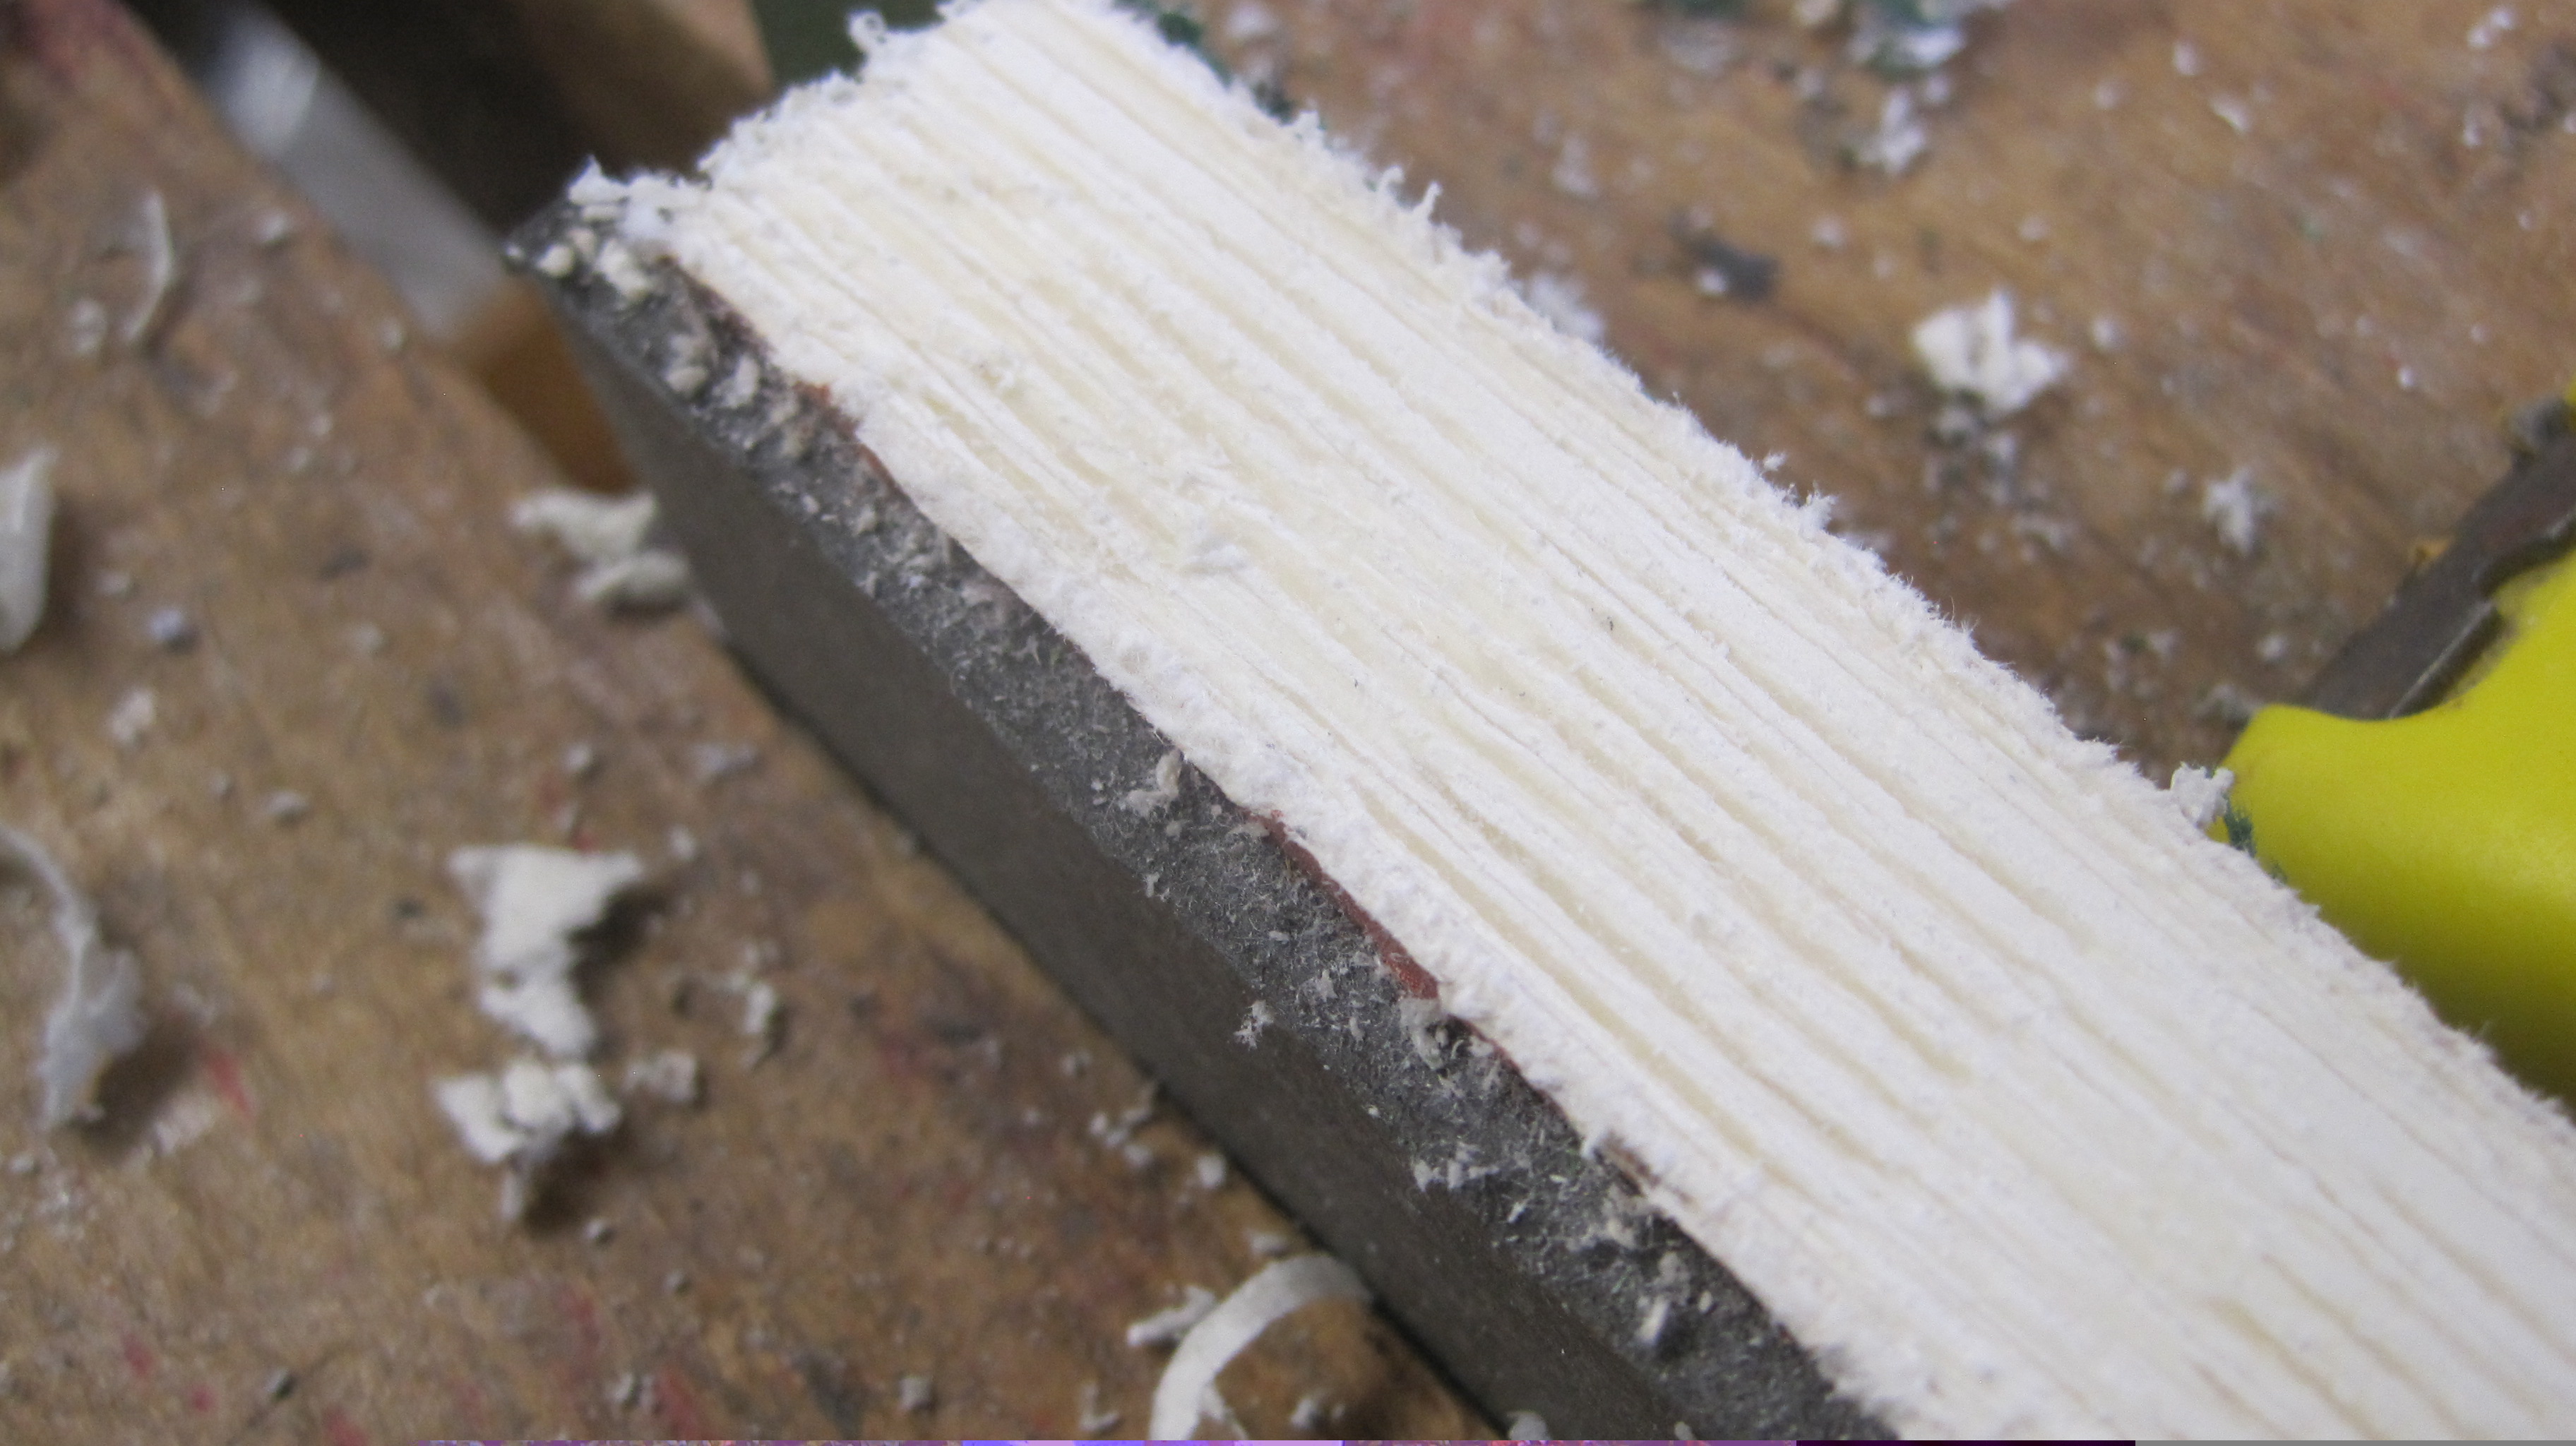
Now remove the flat spine and adhesive, right back to the page edges. I use a small plane and a ‘Surform’ rasp..
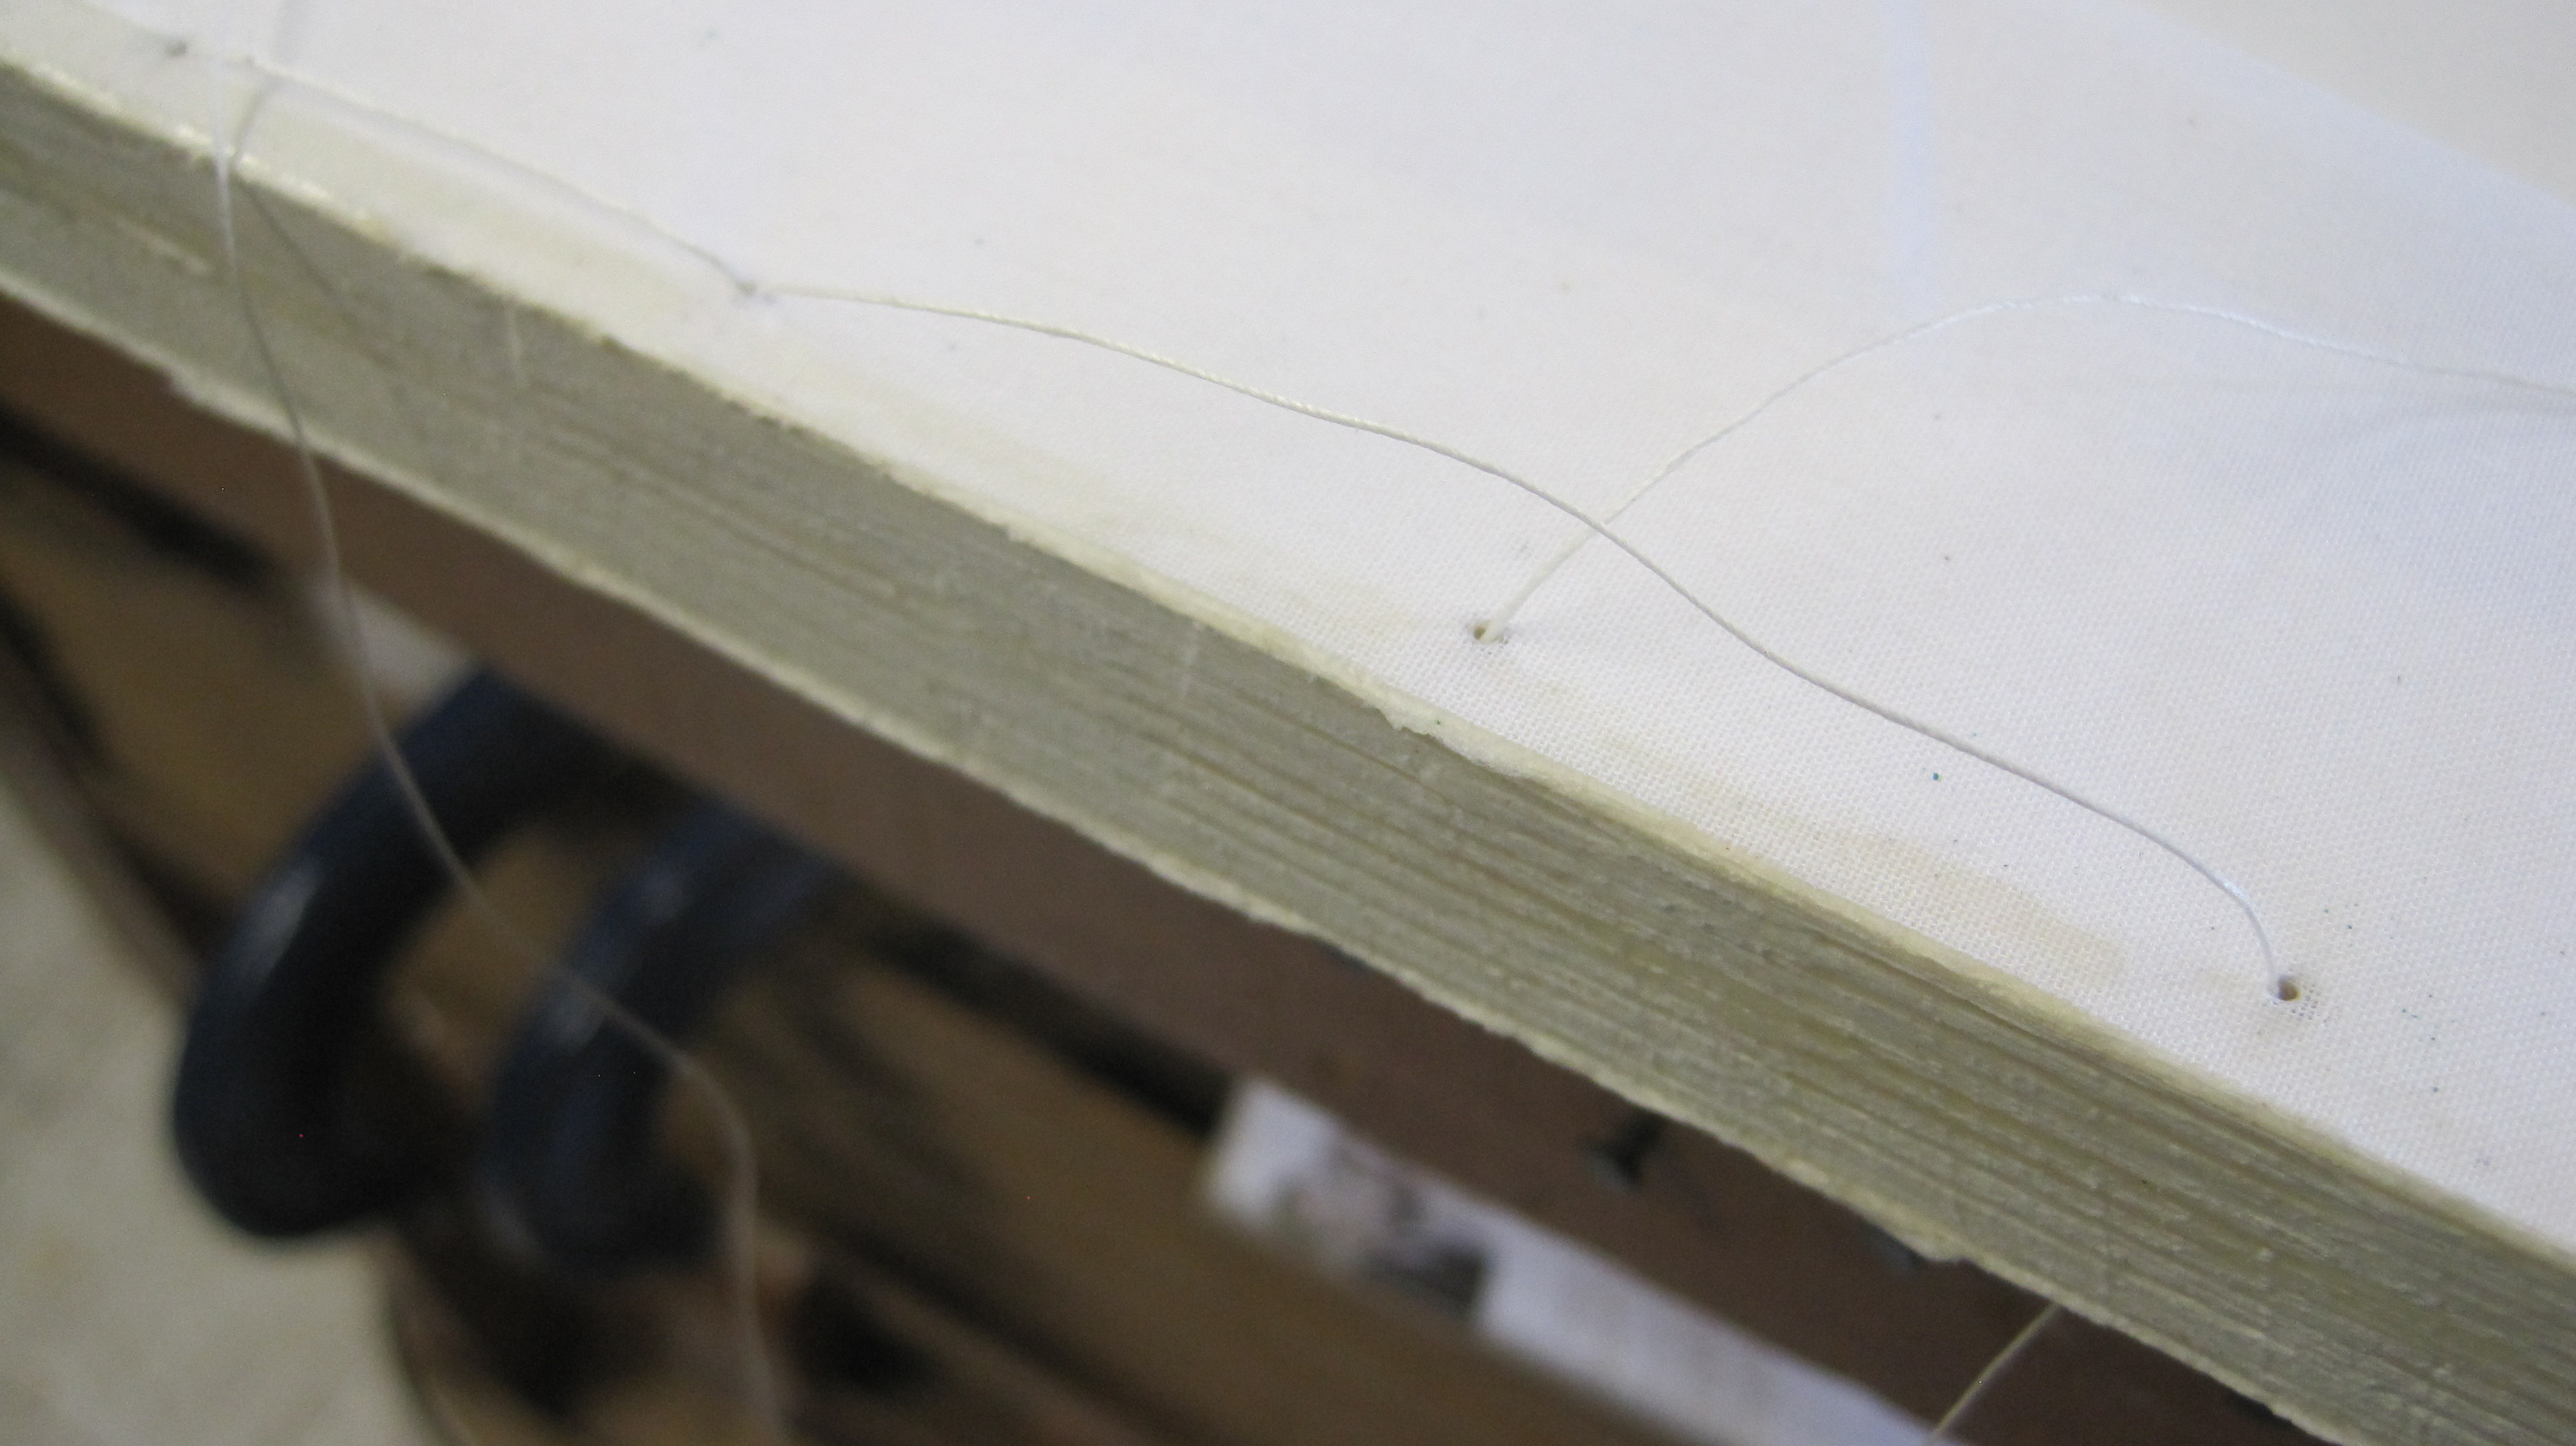
Now sew through the holes with a strip of jaconette or ‘fraynot’ cotton fabric on each side.
When sewing complete, gently hammer the back into a round and then place between backing boards, screwed down tight. The backing begins with sharp strokes with the claw of the backing hammer about one third into the spine, and again on the other side, one third in.

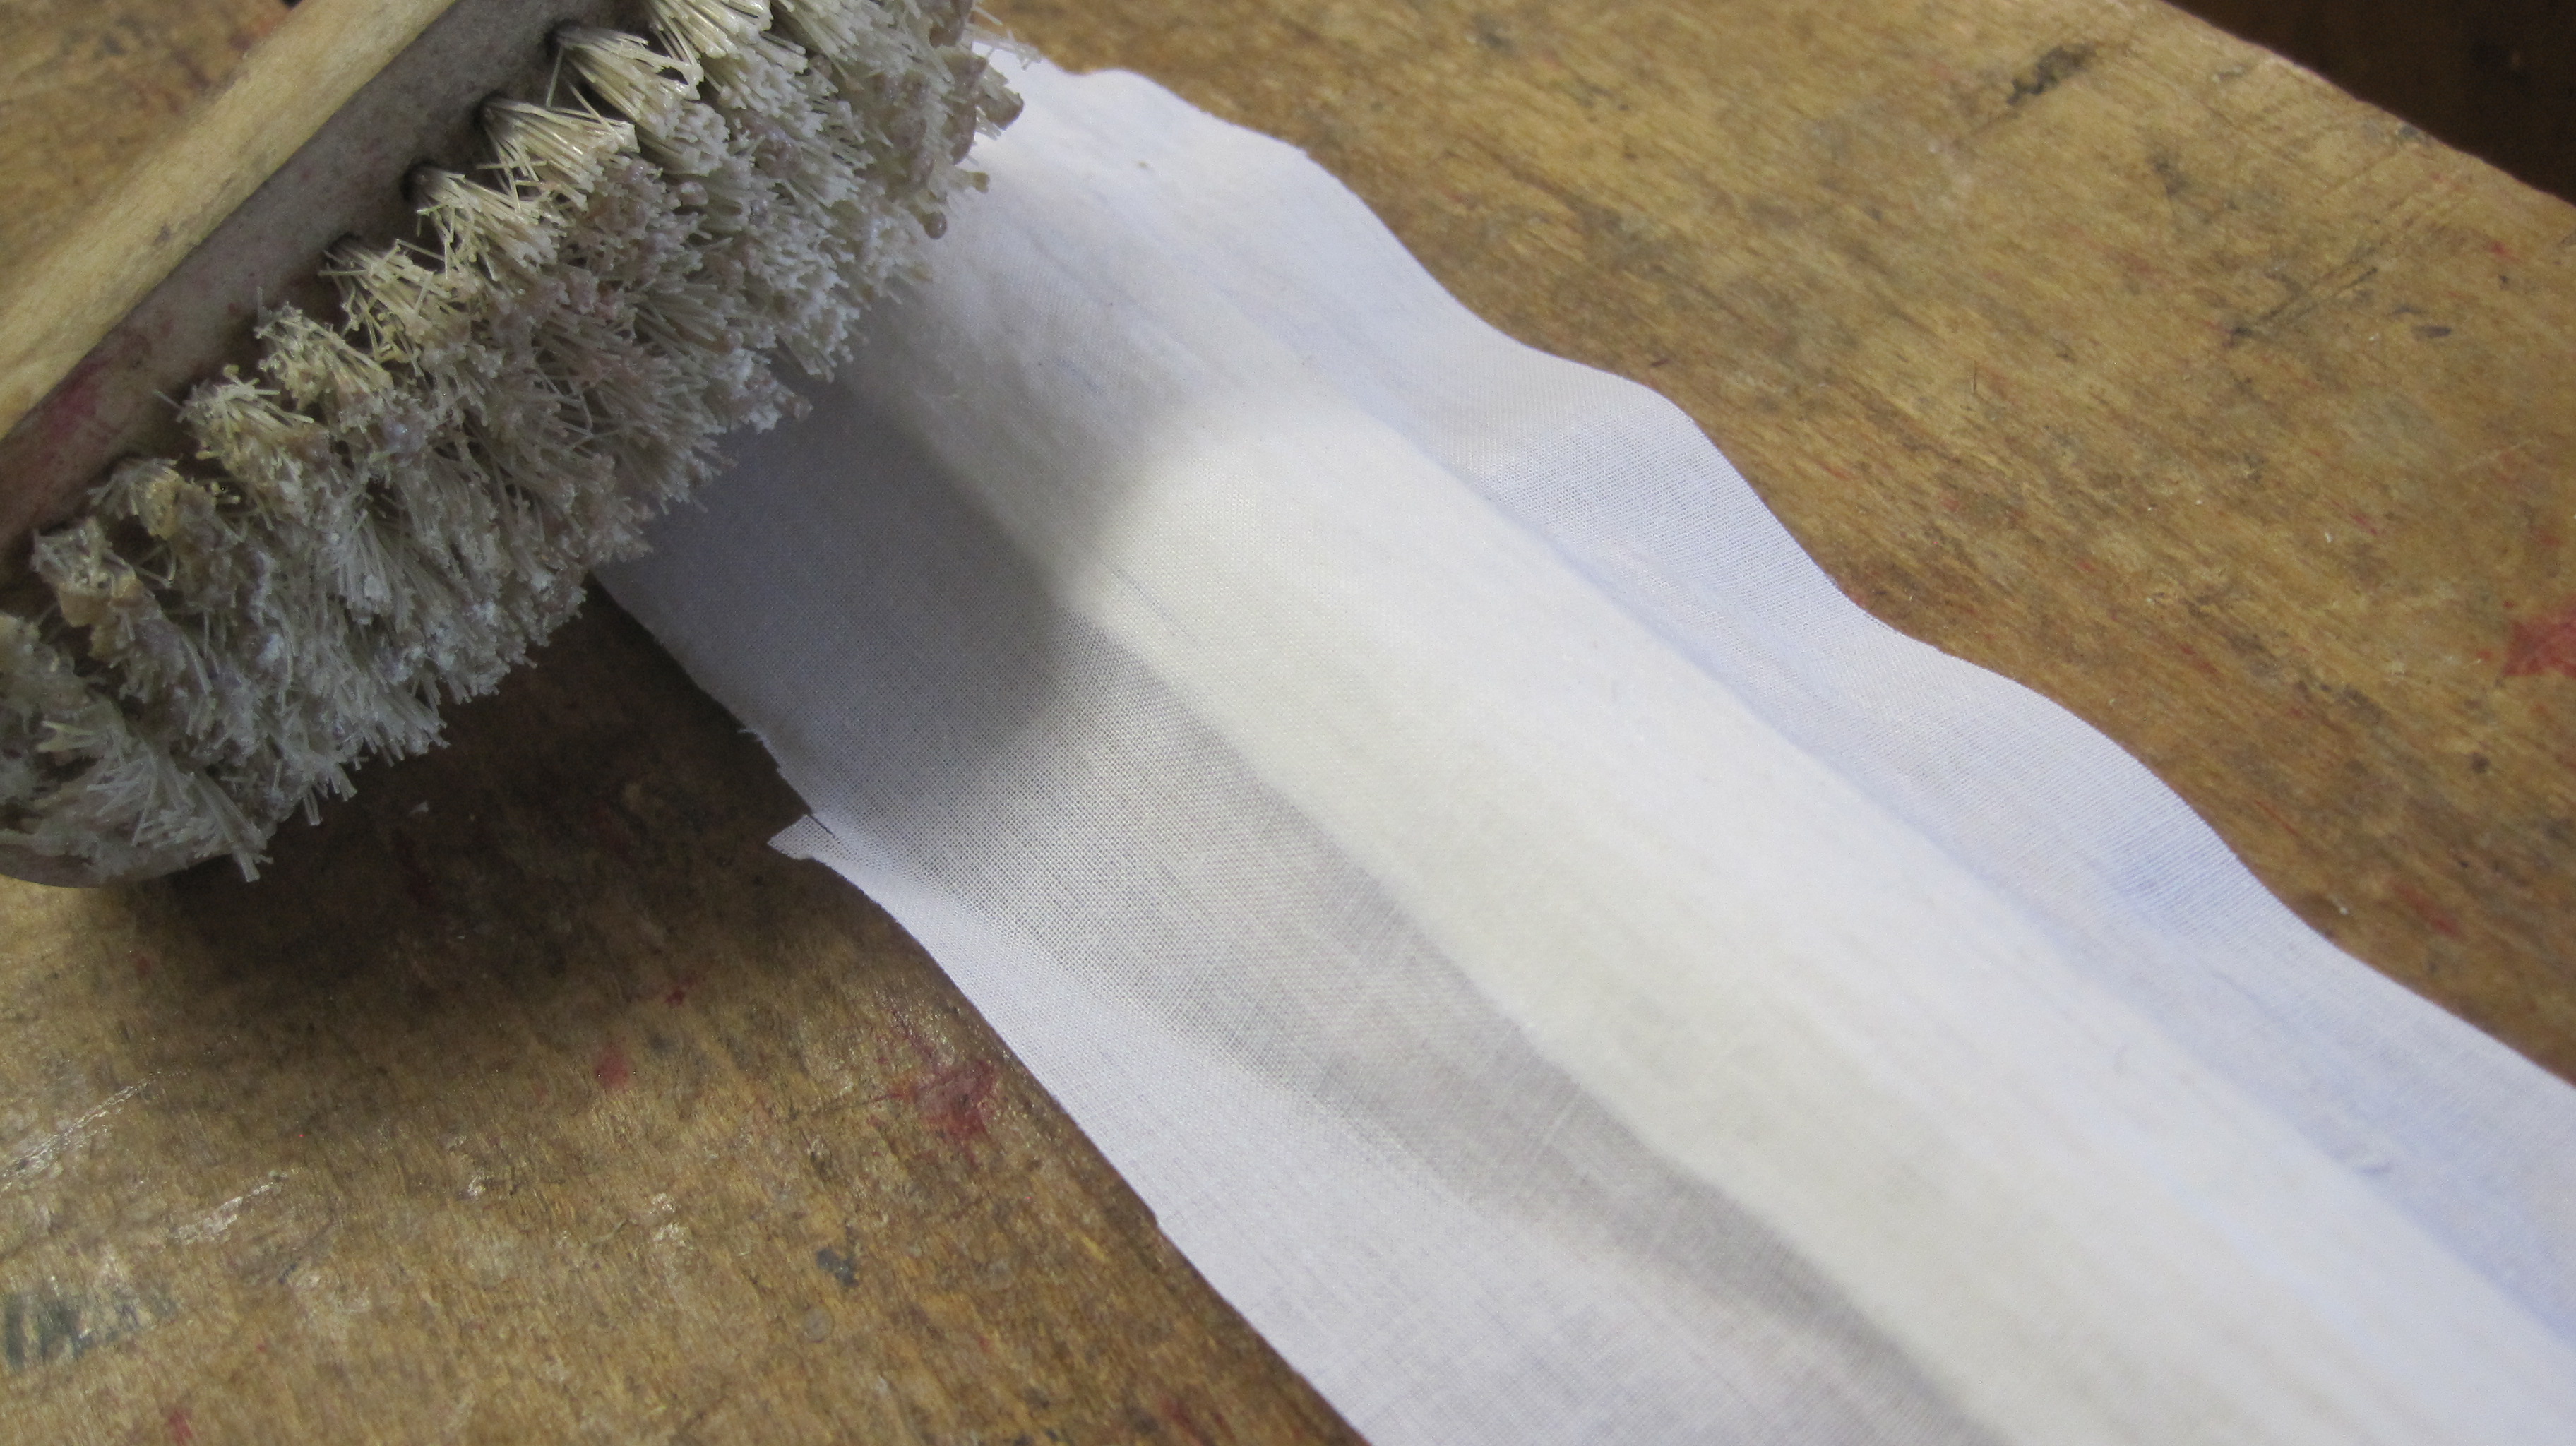
Now glue two separate strips of strong cartridge paper (at least 120gsm) along the spine, letting the first dry thoroughly. Again, tap down with a bristle brush. Now you can release the book from the backing boards as the spine is now set in the curve achieved by backing.
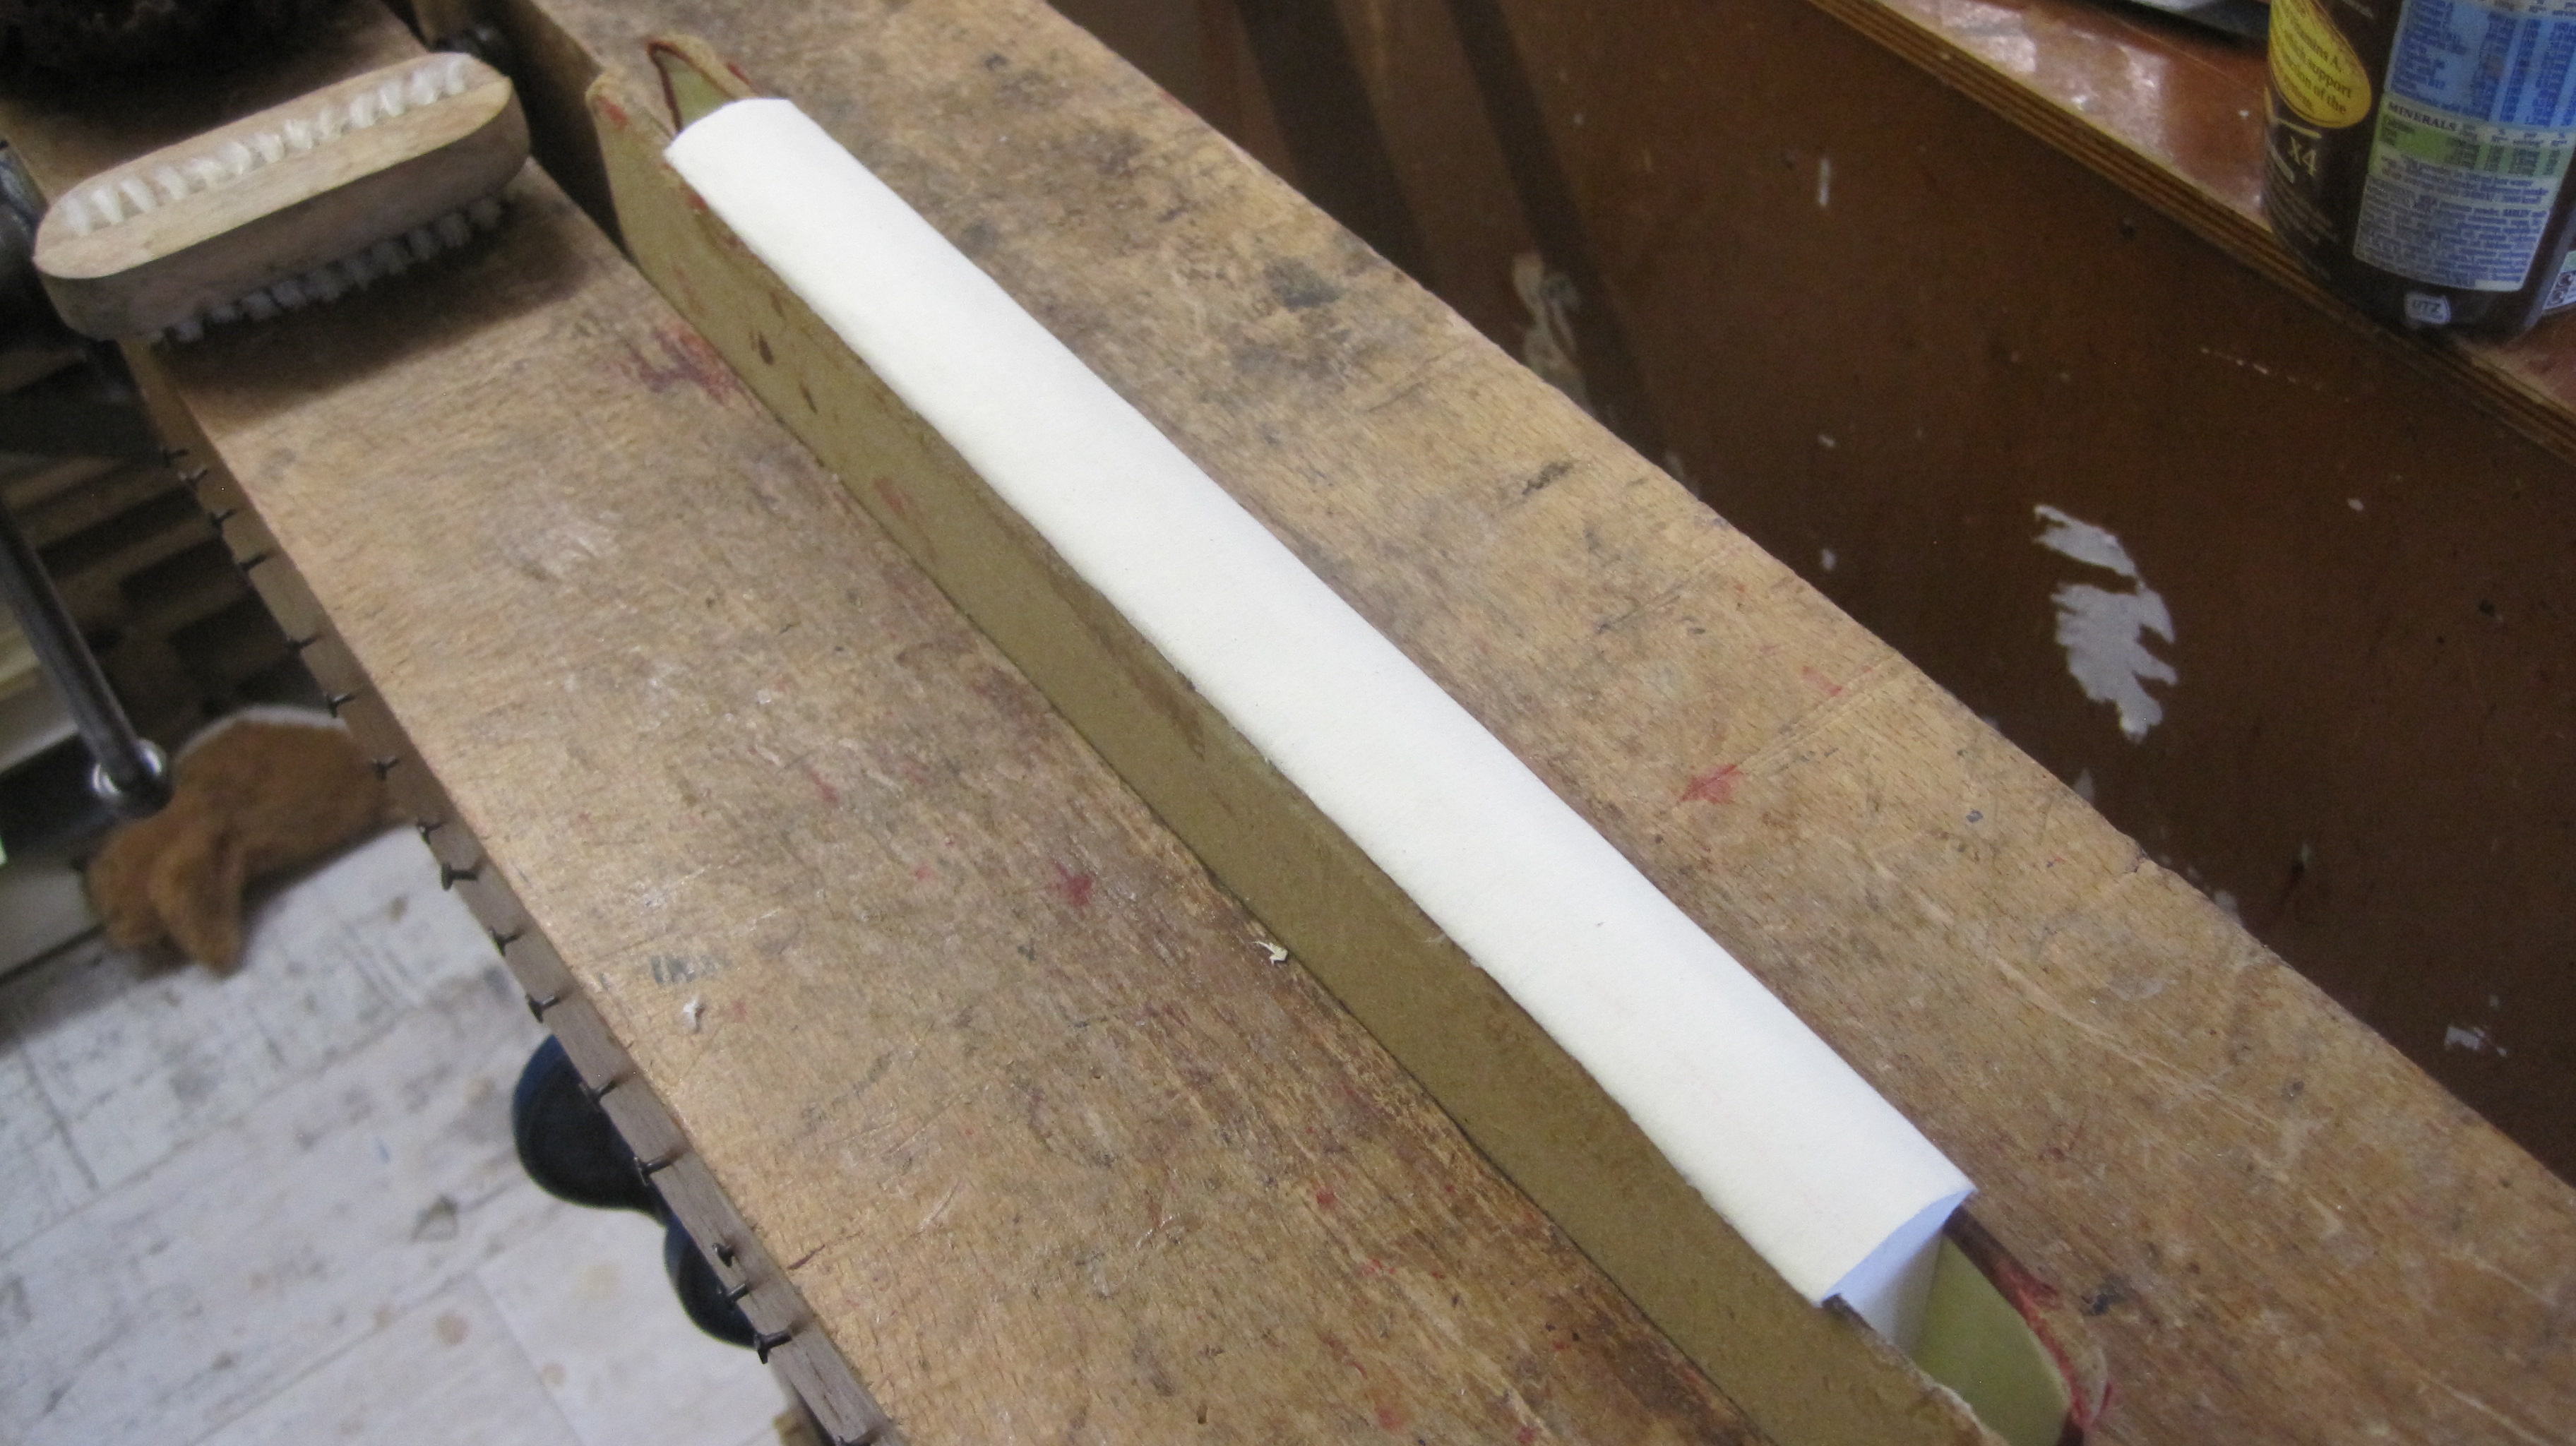
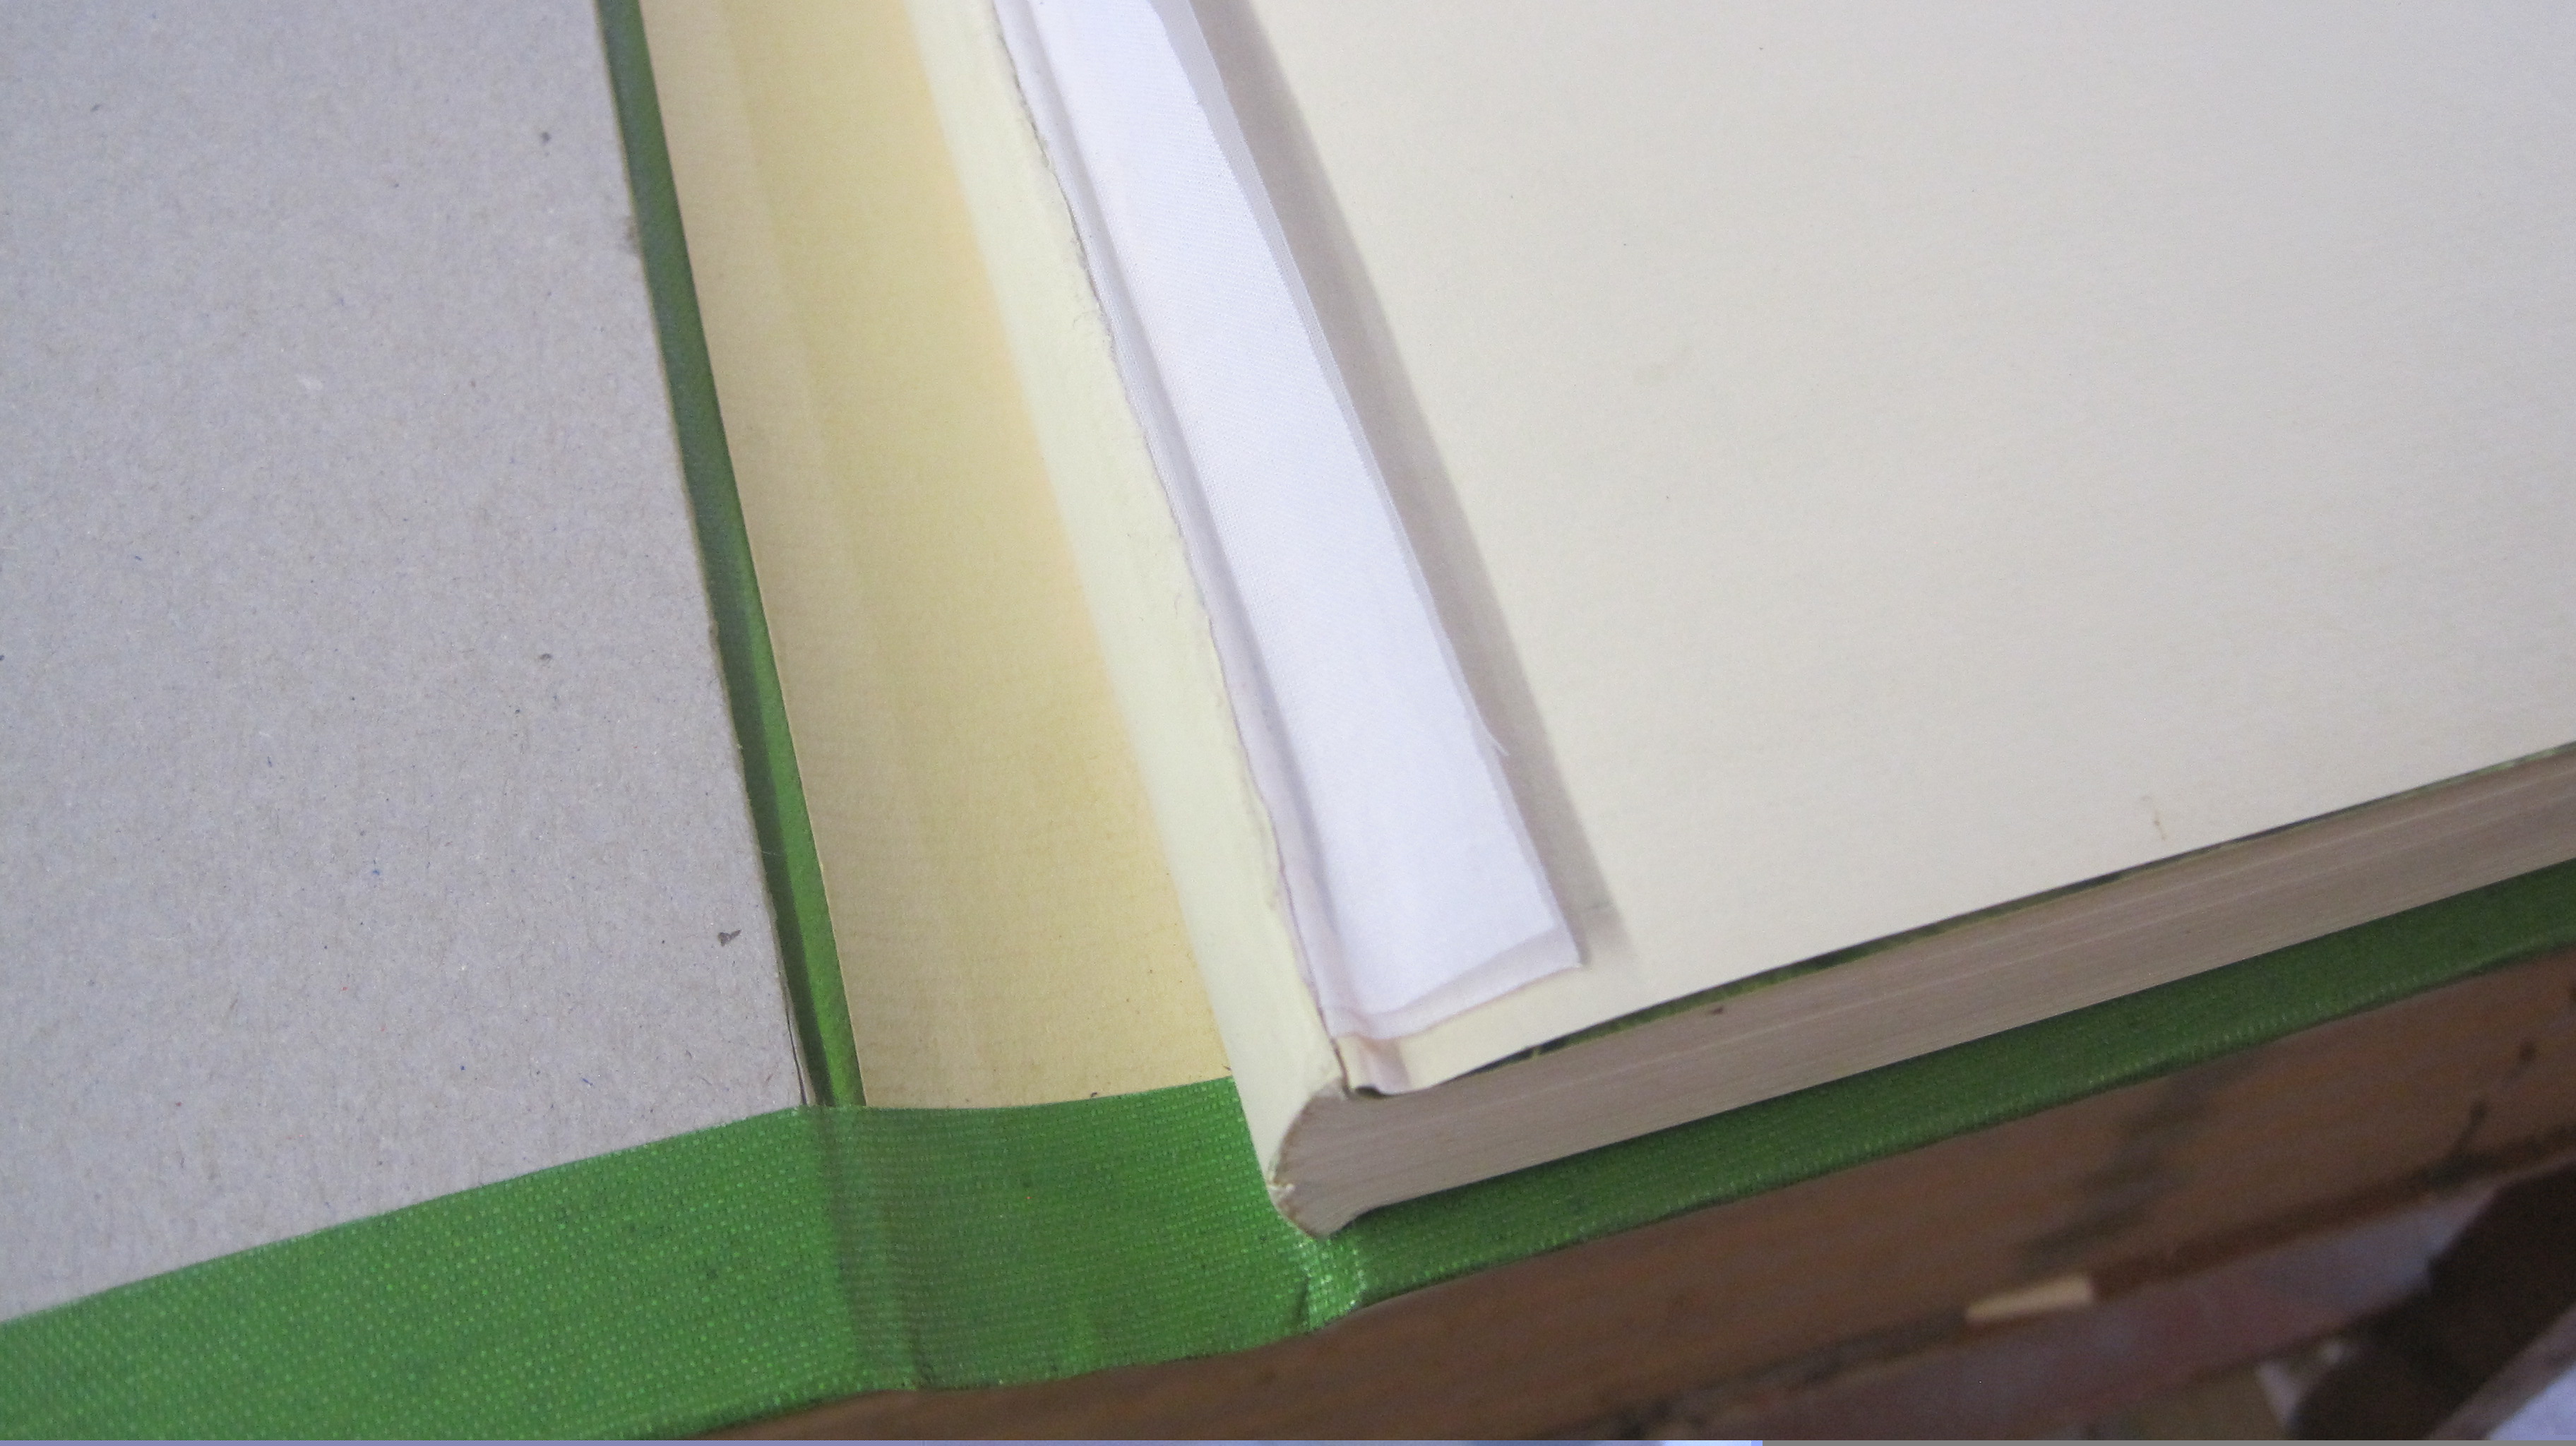
Now make a case. Buckram is an appropriate cloth in view of the long anticipated life of the finished book. Also, tip endpapers on to the shoulder each side. In this case I used a sheet of paste-paper that I have had for some years – it seemed appropriate to the ‘Creative’ title of the book.
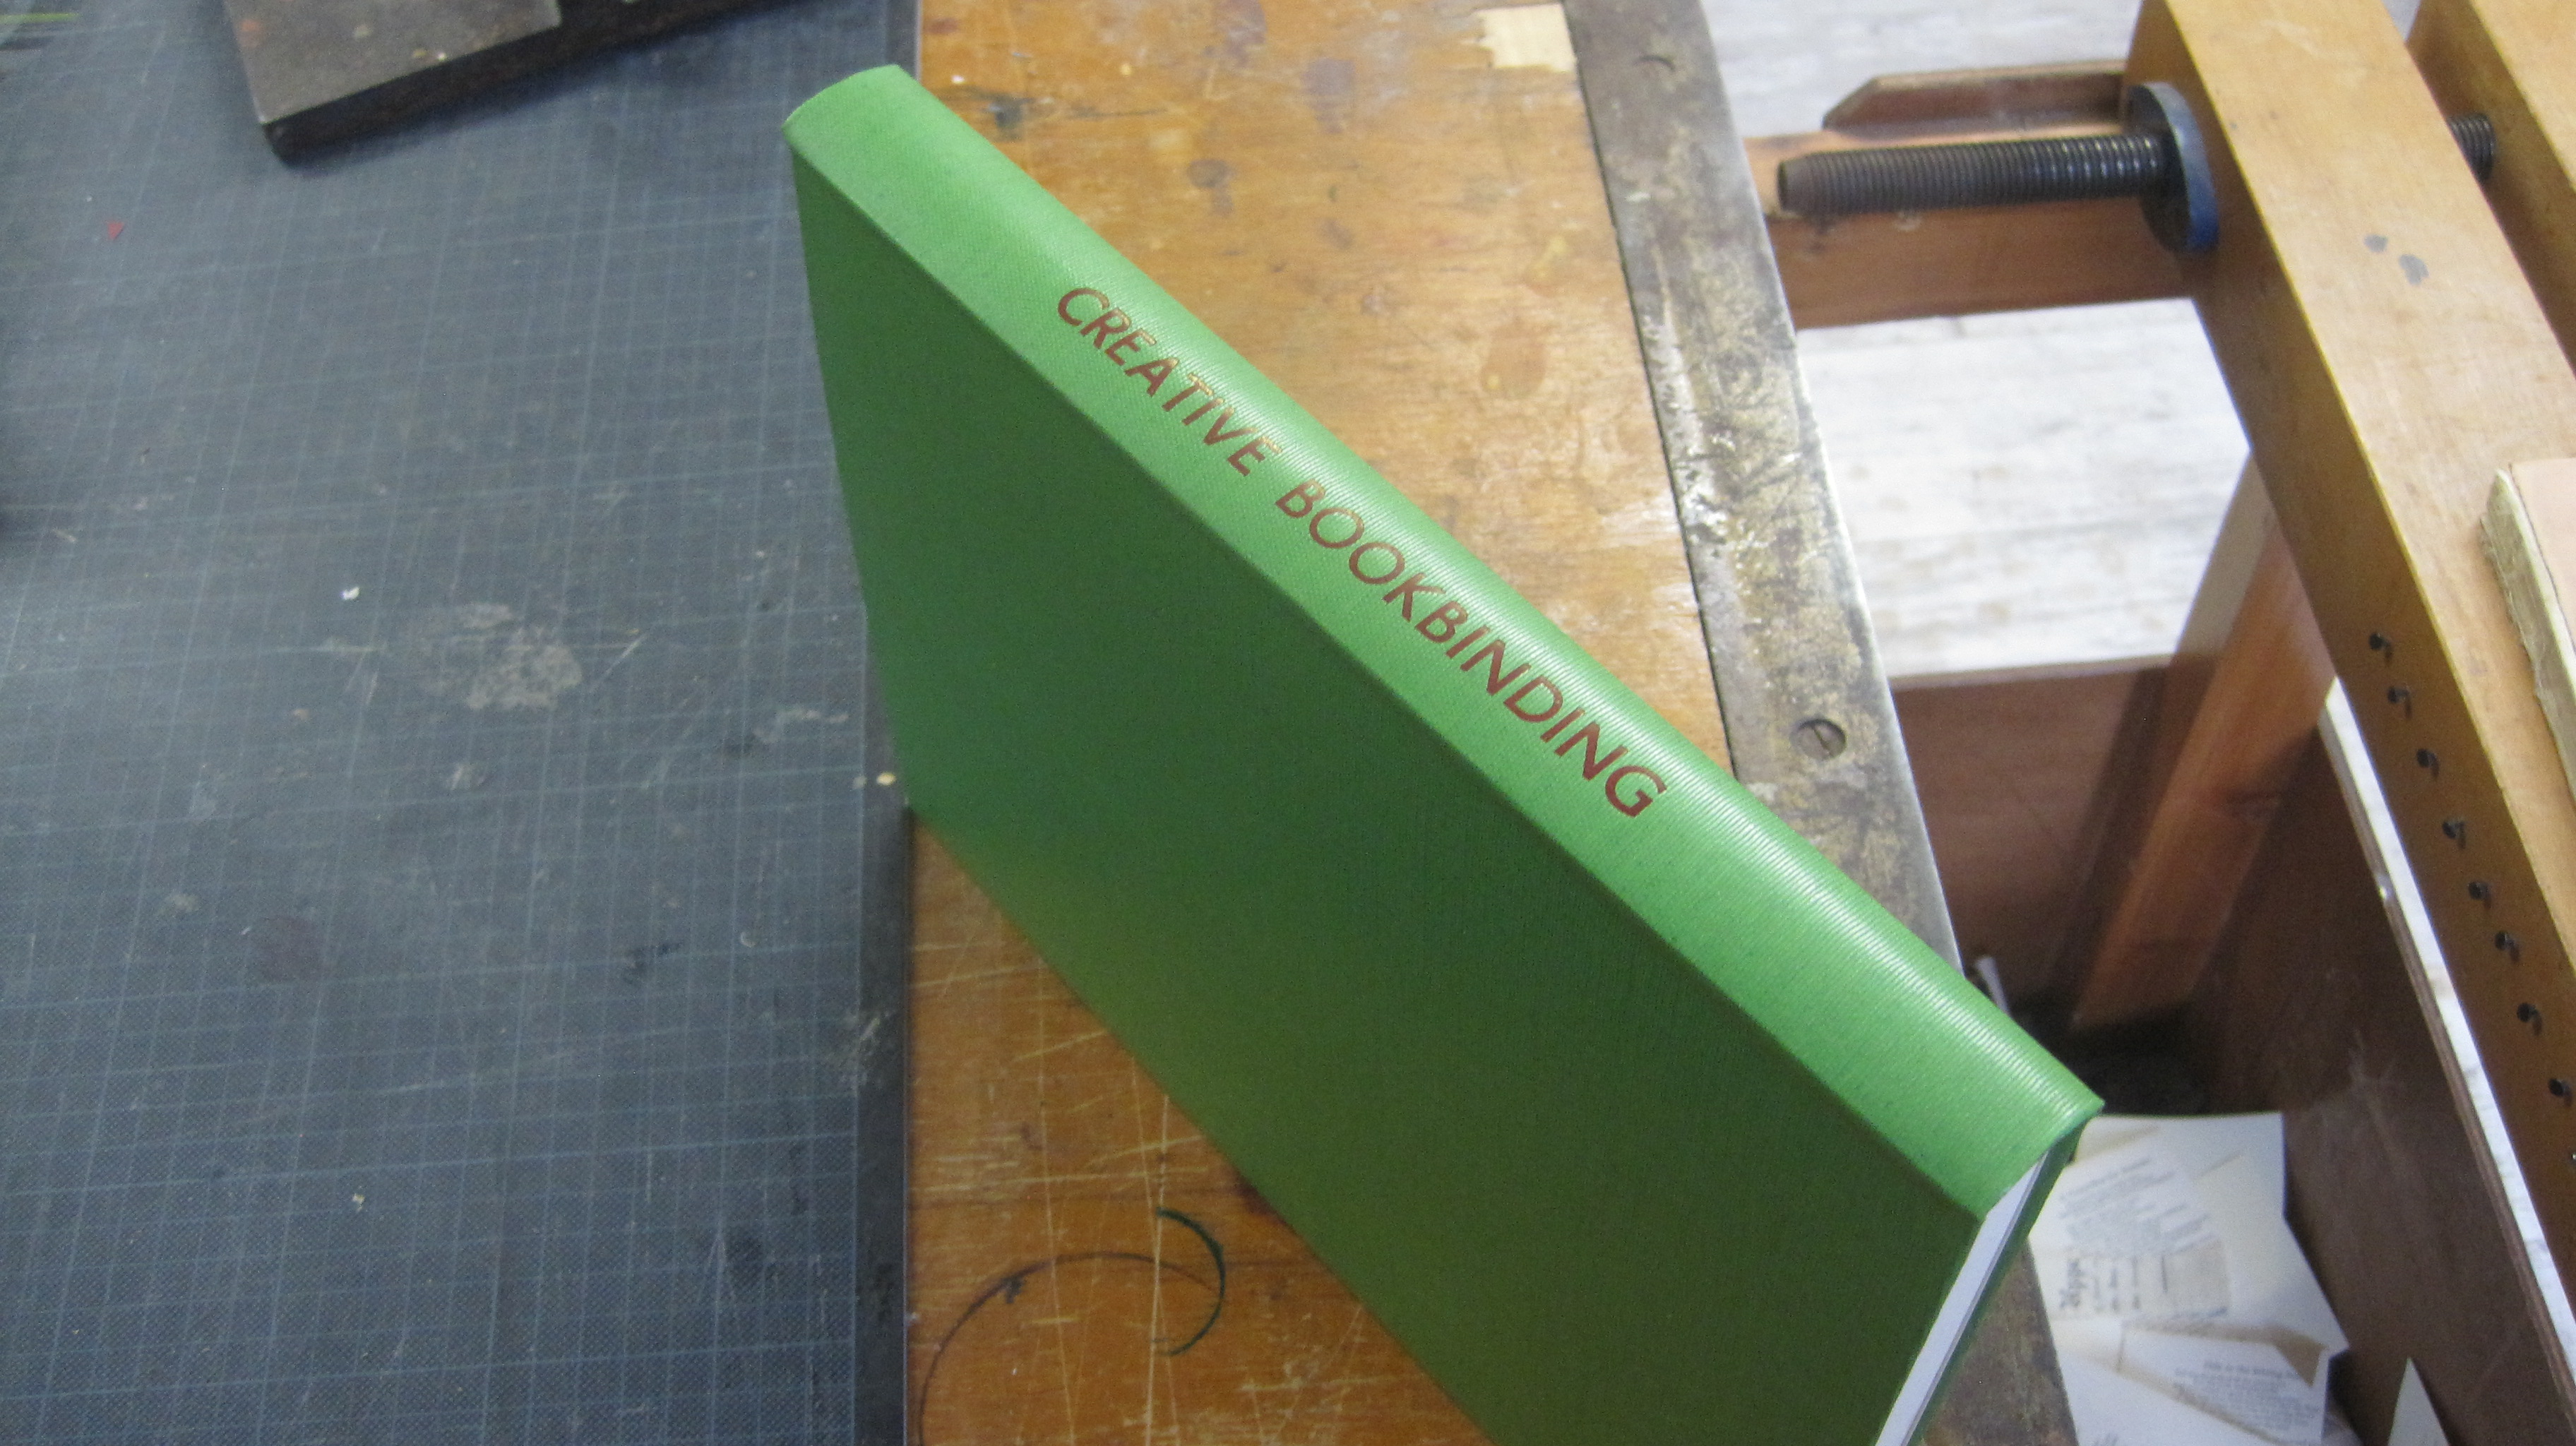
Title blocked with red foil using a 30-point sans serif font that I have hardly ever used in 20 years. It seemed right to give it an airing.
Job done. Will stand up to whatever use it is put to for many years.

Hi Chris, thanks for this post. Two questions come to mind. Firstly if you shave off all the heat set glue down to the raw page edges how can you then back it without some form of glue to hold the loose sheet edges together. I tried this on loose sheets of paper trying to back them and they went all over the place. So I think there must be an extra glue step before the rounding and backing takes place?? Secondly the “folded back” calico cloth seems to add extra thickness into the joint. Instead of glueing it on then folding it back up the shoulder and then folding it down onto the book again, why not just place the edge of the calico down in the bottom of the joint and glue it back up to the top of the joint in one movement. It Just seems unnecessary to be glueing it on to the page then folding it back on itself up the shoulder again as you said. Grateful for any clarification and thanks again for your efforts.
LikeLike
Thanks for your questions, Paul. The correct sequence of steps deals with both: first, drill the holes, then shaving-off to the point where the page edges are just visible still leaves enough ‘stick’ at the edges of the leaves so they don’t fall apart when you take the card covers off. The calico strips are then sewn on to each side, through the drilled holes so that the block of pages is literally bound together – essential for long-term durability. You can then tap the back into a gentle round and complete the backing with a hammer as shown in the post. The task of the calico is to provide a secure hinge for the boards. If you were to position the calico as you suggest, the lower edge is not sewn through, so is structurally useless, and if you add few millimetres the that edge so the thread does go through it you end up with a visible cloth edge between the free endleaf and the first page of text. Folding the calico back on itself, up the shoulder, gives a neat finish between the free endleaf and the first text page. The two thicknesses of calico is not a problem if, when making the case, you allow, say, 3 mm gap between the spine liner strip and each board.
It’s good questions like yours that will help me to be more thorough and methodical in my explanations in future posts, so thanks again.
LikeLike