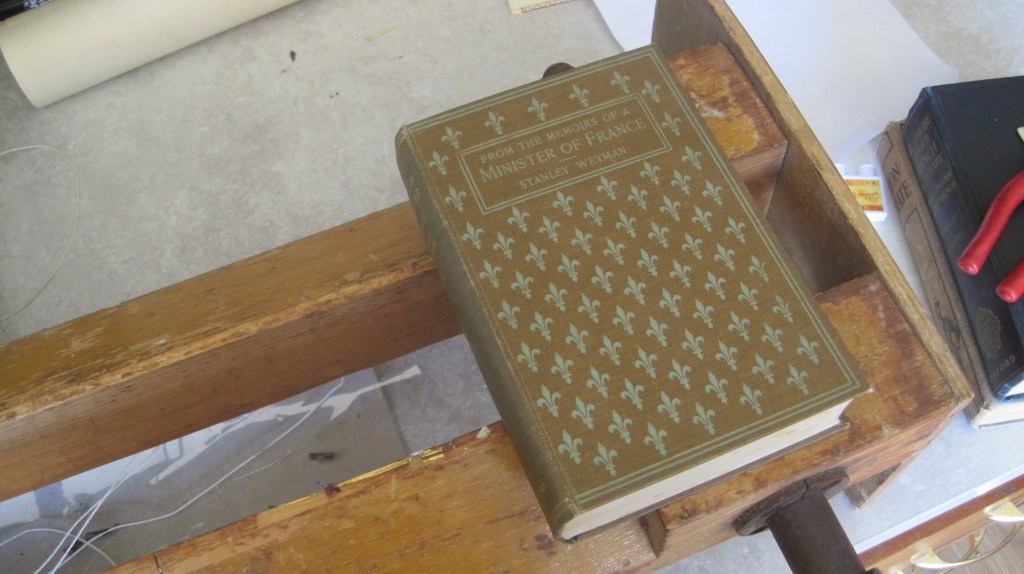
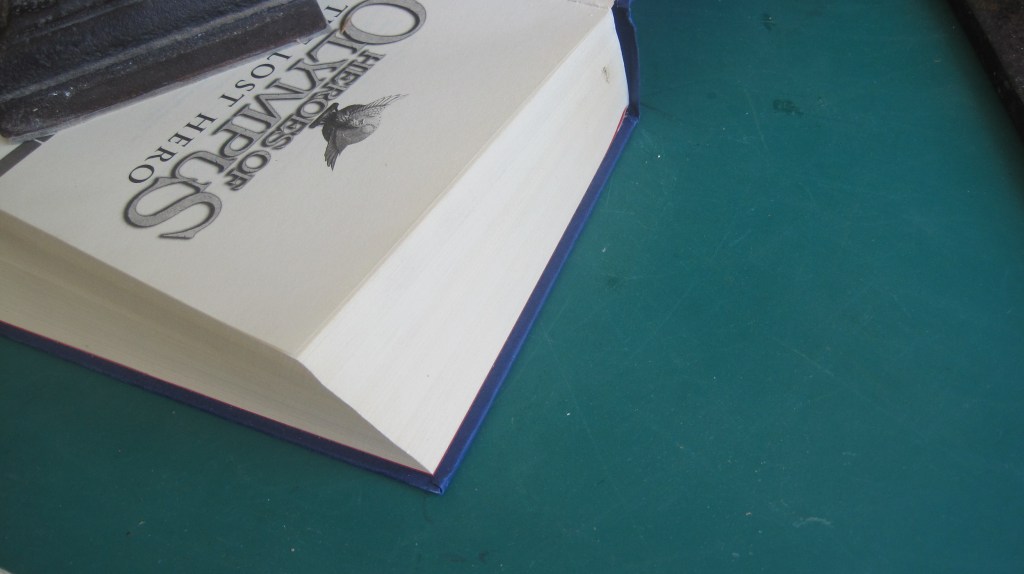
A new client wants me to convert a cheap and innocuous novel into a booksafe – a book with a hollow inside. Basically, it’s pretty easy:
That’s pretty rough and ready, but it serves the purpose.
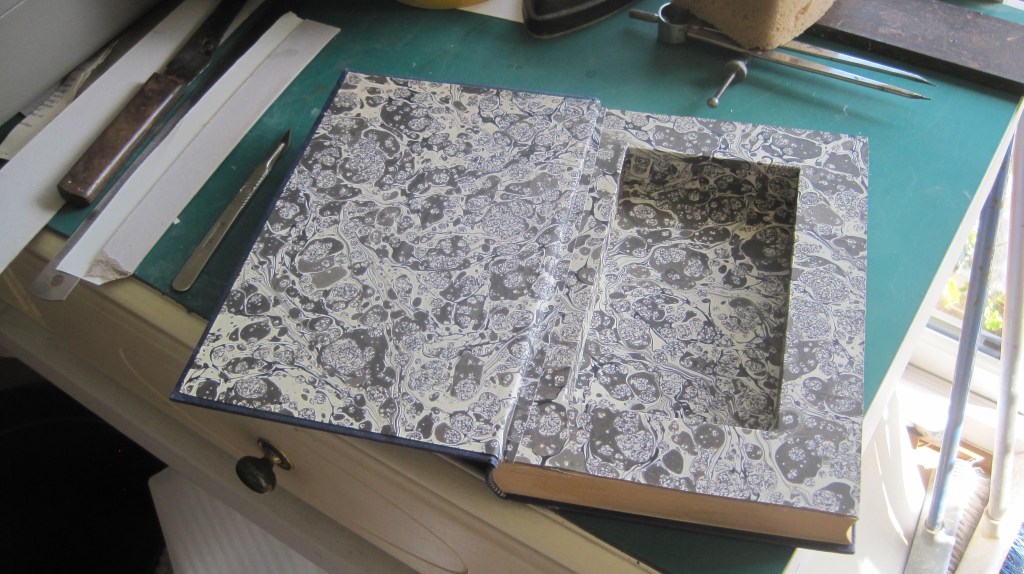
However, a more ‘presentable’ version might look like this:
And the process is easy if you follow the following procedure.
First, fan out the foredge and glue it (both ways) so as to give you a firm block of text to work on.
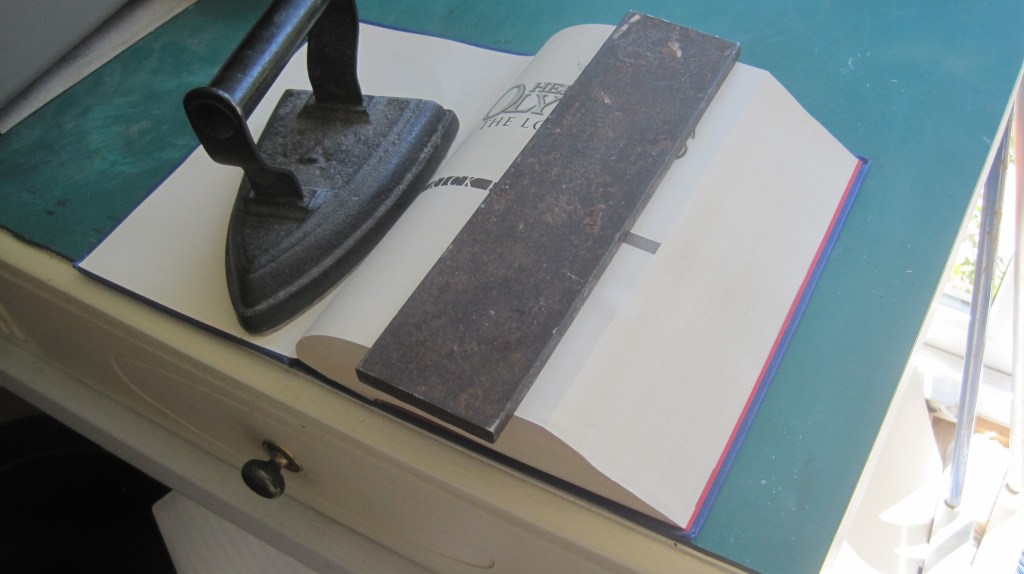
It’s good to fan and glue the top and bottom as well.
Square up the text block and let the glue set.
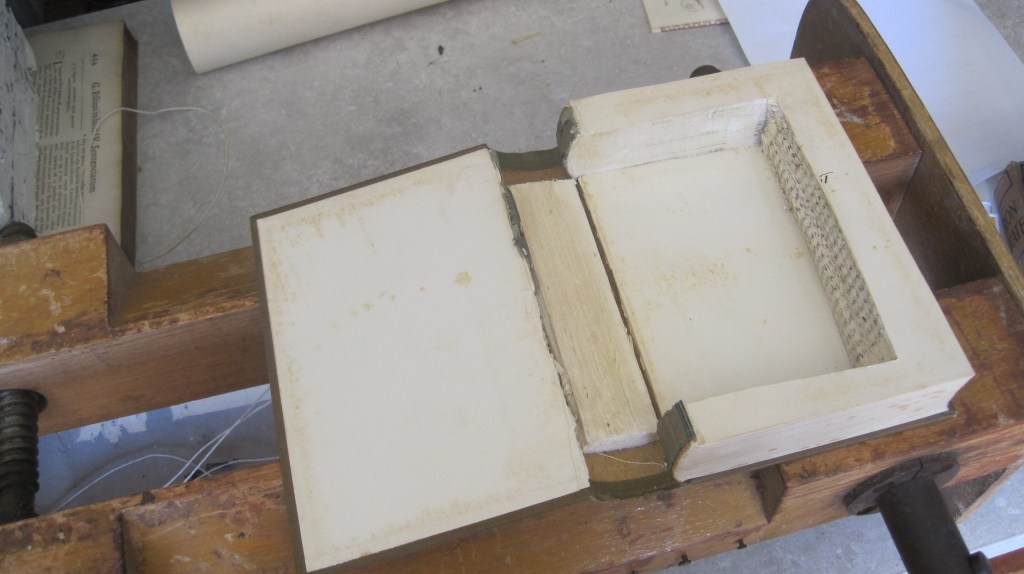
Now carefully cut off the complete covers, including the spine, all in one piece. Now clamp the text block between expendable boards.
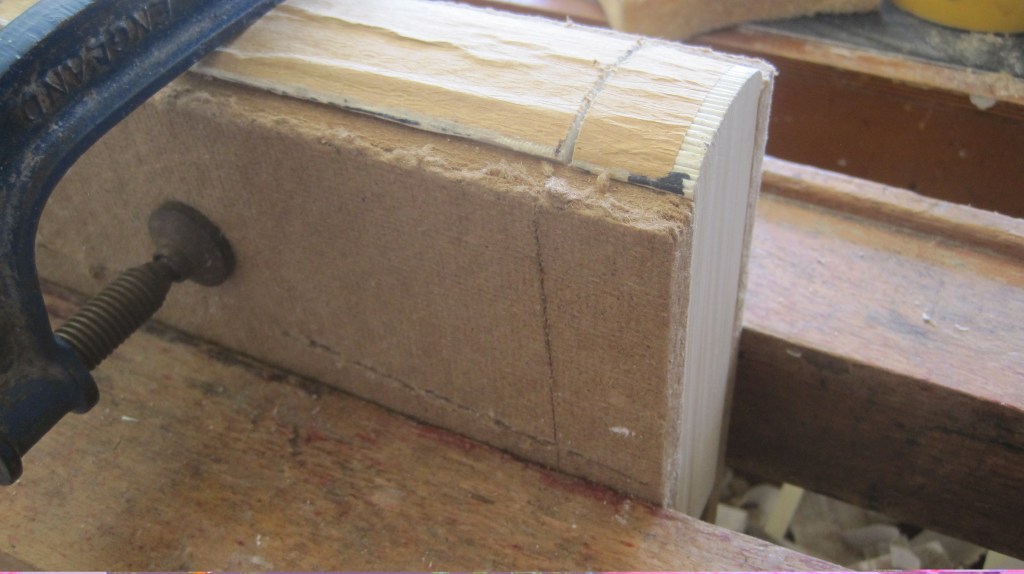
Saw vertically about an inch in from the top and bottom edges, down to an inch from the foredge.
Now cut through the middle part, again vertically, with a sharp knife or scalpel.
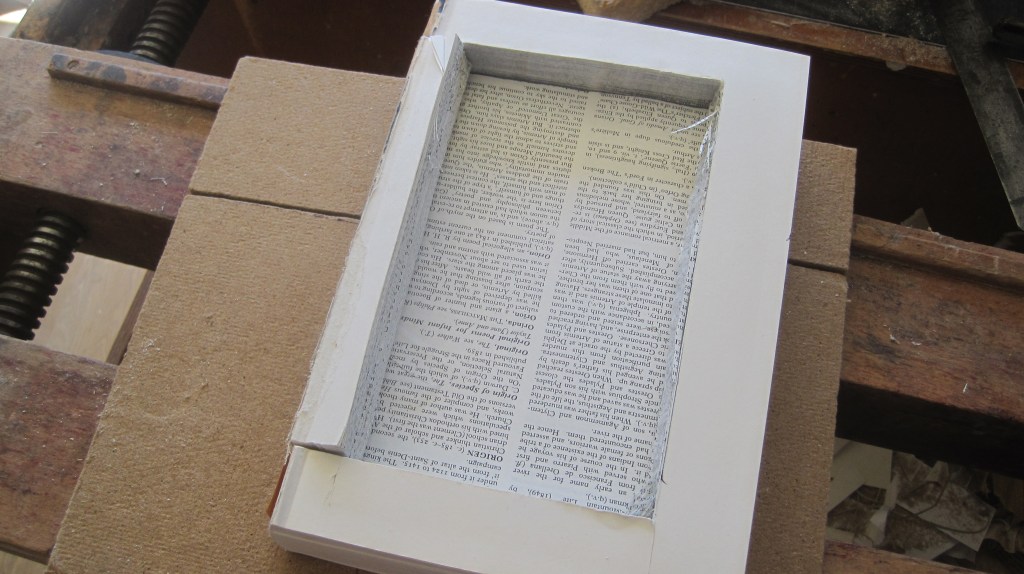
This becomes much more difficult if the book is much more than an inch thick. You will have to turn the book over and work from the back anyway. You will then have a loose piece from the middle of the spine. Glue the cut edge of that to make it firm and glue the covers back on directly to the top and bottom of the back of the text block, gluing the middle part in place as well.
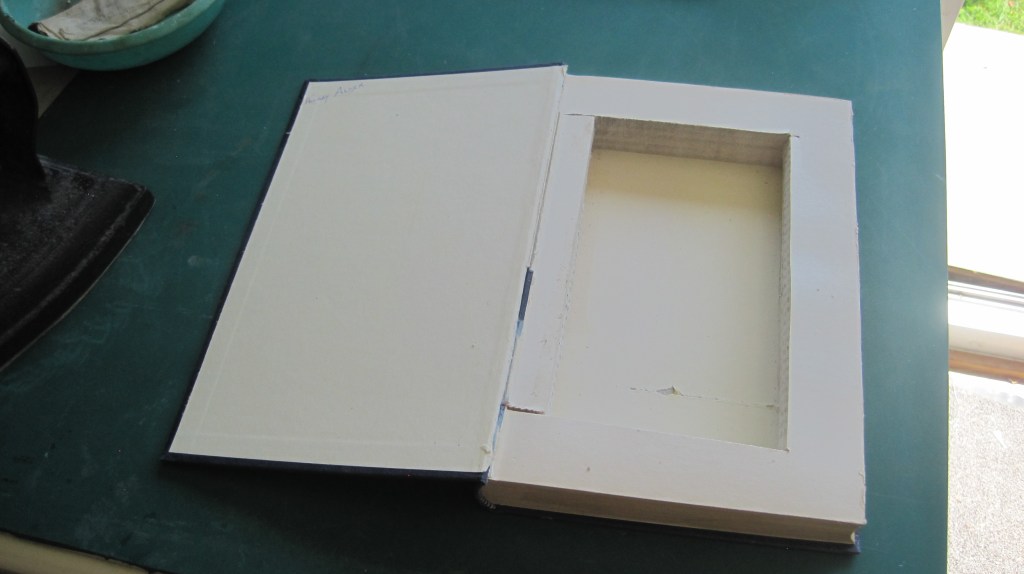
Now to make the liner. It is simply a four-sided tray with a frame set on top. To accommodate the thickness of the frame tear off half a dozen pages to give about a millimetre of space for it to sit on. Measure the depth of the cavity and the width and height and make a tray to sit in it – an exact fit is not essential. It is best to line the pieces of card for the tray with decorative paper before cutting them to size.
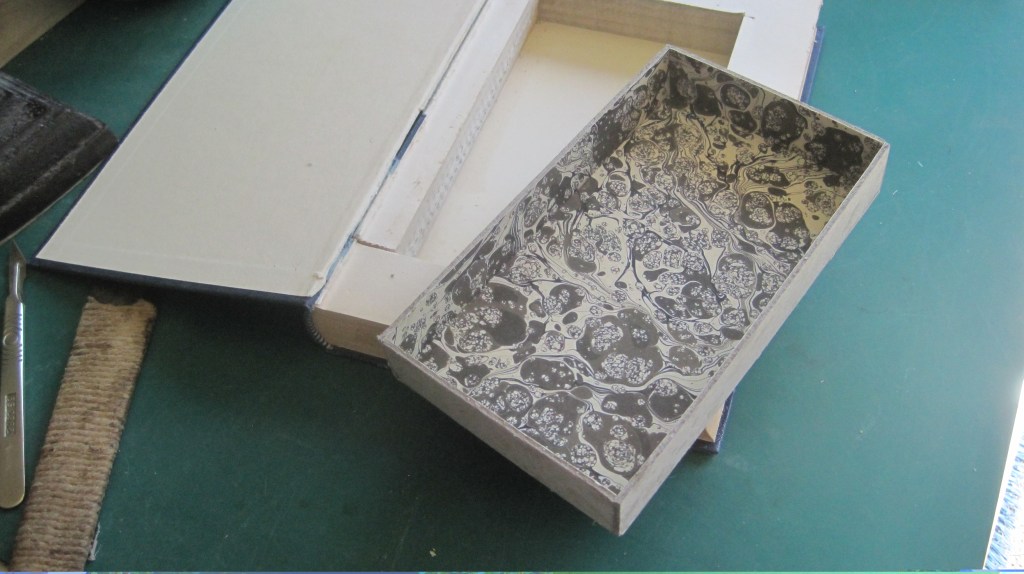
Take a piece of 1mm greyboard, or stiff thin card, larger than the book and mark the size of the tray.
Cut out the window, cutting 2mm inside the tray markings so that the frame will sit on top of the tray sides.
Now glue a piece of the decorative paper over the frame, again larger than the size of the book.


Turn the frame over and cut out the middle piece about 10mm inside the window edges.
Cut each corner of the decorative paper back to the window corners and turn them up.
Then glue the frame on top of the tray.

Glue the flaps and turn them down over the sides of the tray. This will conceal the exposed edges of the window. Now measure the width from the shoulder of the text block to the edge of the cavity and cut the spine edge of the frame to that measurement. The tray will now fit into the cavity with the edge of the frame flush against the shoulder/hinge line. Turn the book over and trim off the excess at top, bottom and foredge.

The paste-down inside the front cover is cut to size and pasted on, with an overlap across the hinge. If you use marbled paper the join hardly shows.

If you want to add a magnetic catch, put one part of the little magnet under the front edge of the frame and the other under the paste-down paper before gluing or pasting them down.
If you have all the tools and materials to hand, the job should take less than two hours – I checked!
