Like most bookbinders, I get asked to repair books that I could never afford to own. But in this case I have been asked to repair a valuable book that I would never wish to own!
In the 1790s two London publishers, John and Josiah Boydell and George and W Nicol planned to produce a ‘magnificent national edition’ of Shakespeare’s plays in which ‘splendour of production was to go hand in hand with correctness of text’. The result was the nine large folio volumes known as the Boydell Shakespeare, issued in 1802. A full set is currently listed on a bookseller’s website at $19,000.
My customer owns a set but volume nine was damaged: the front board had come off and the back board was weak: can I repair it, please? Well, yes, of course – but it presented quite a challenge because the volume weighs 7.6 kg (nearly 17 lb.) and is 17 inches tall, 13 inches wide and nearly 3 inches thick. It had probably been dropped and that is why the cover had broken off.
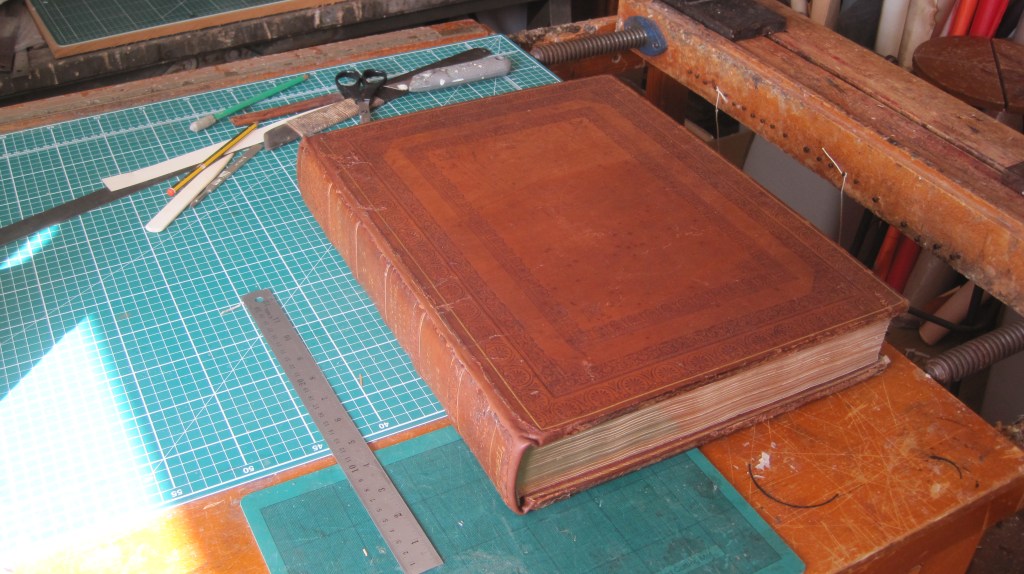

The challenge was to devise a method of attaching the loose front board which would give at least as much (preferably more) strength to the hinged joint as it had to begin with. Otherwise the board would come off again as soon as it was severely stressed, and such severe stress is always a risk with a book that is so heavy and cumbersome to handle. But first the spine leather has to be removed. I may have said elsewhere in these posts, do not try to lift just the leather – on a large book there will always be paper linings under the surface leather so insert your lifting knife into the linings. The result is an intact spine strip with layers of old paper underneath and these must be carefully removed as far as possible, otherwise you get an ugly step at the edge of the replaced spine when you put it back on to the re-backing leather.
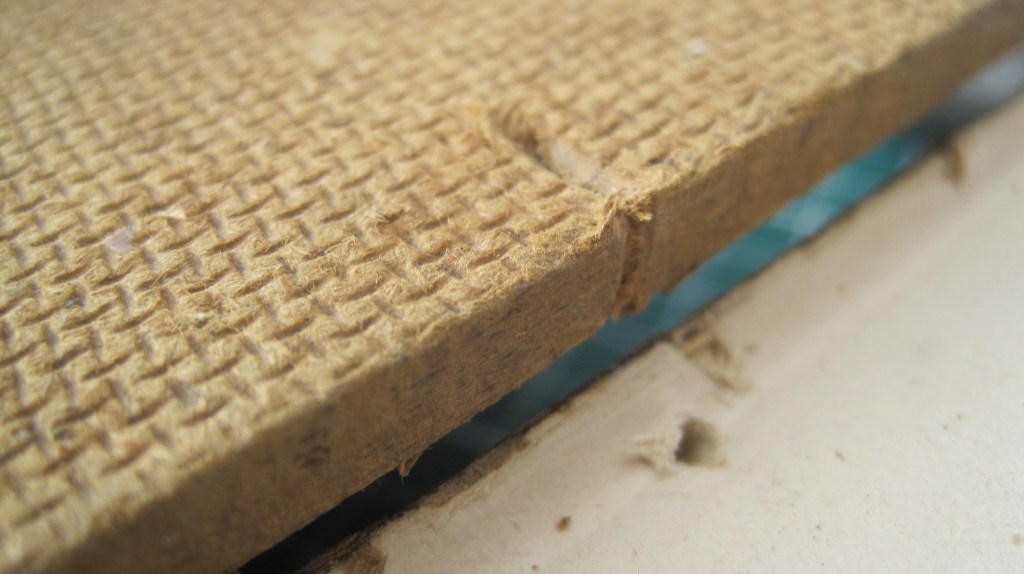
It was clear from the broken joint that the boards were attached, as one would expect, by the hemp cords on which the sections had been sewn – five of them – evidently properly laced through holes in the board and flattened on the inside. But the cords had been sawn in to the text block, so as to give a flat back, in line with the taste of the time. There is no way to attach strong extensions to the broken ends of the cords. I have dealt with this basic issue in a previous post (A Better Treatment for the Unhinged, April 2019), but for a great lump of a book like this one I did not think that attaching the board to the new cloth hinge with glue would be sufficient, however firmly the cloth hinge was attached to the text block.
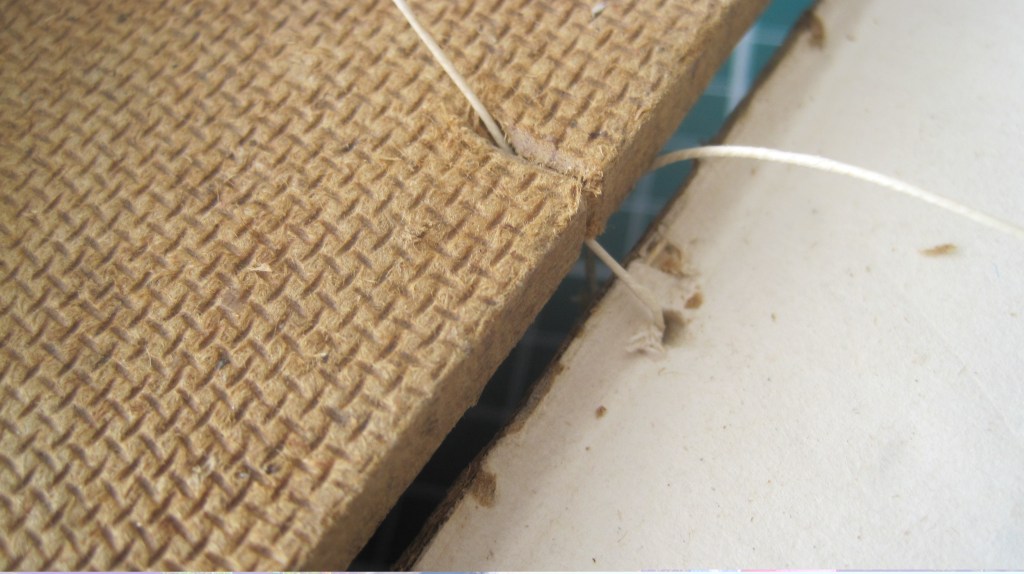
So I worked out a technique for physically attaching strong thread ‘cords’ both to the book block and the cover board. The following pictures show the method using a piece of hardboard to simulate the cover board and an old broken book in place of the actual one.

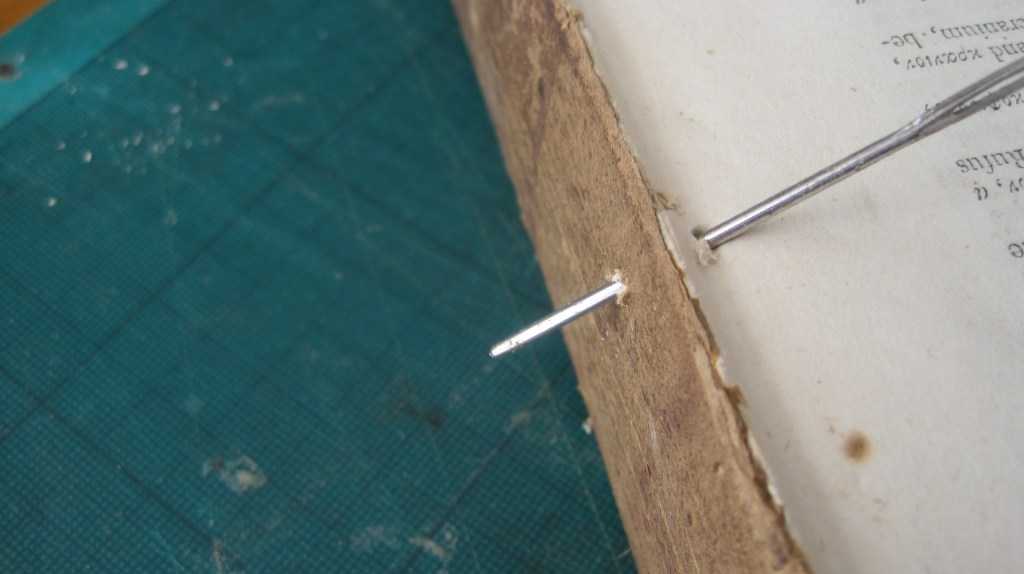
It goes without saying – I hope!- that the holes in the board and the text block line up precisely. Of course, the strength of the attachment depends on the quality of the paper used in the text. In this case where the book was printed on Whatman’s best, and the drill hole passes through at least twenty leaves, I was confident that it would be strong enough. On the Boydell there are eight attachment points.
The attachments are strong sewing thread, passed twice through the drilled holes in a figure-of-eight.
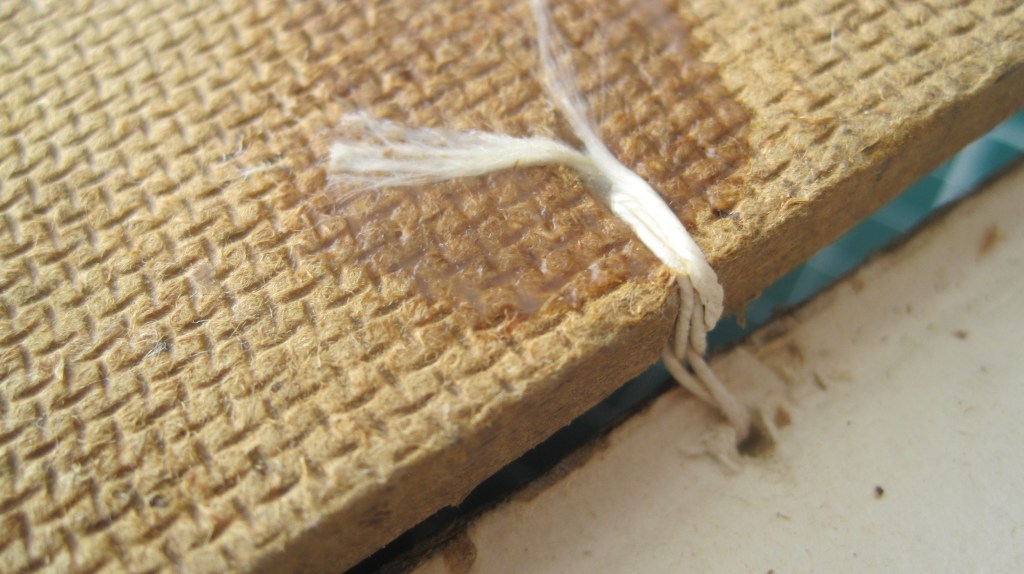
When the cover is closed there is no visible thread on the upper surface of the board as both ‘turns’ entered at the edge, not on the surface. The threads in the tie will be flattened and glued down on the shoulder of the text, the free endpaper (previously removed, of course) replaced and the whole joint covered with a strip of repair tissue, rubbed down and coloured to match the endpapers.

In the course of working on the front board it became clear the the back board hinge, though still attached, was very weak. So the back board was removed and re-attached in exactly the same way.
Then the usual procedure of removing the remaining linings on the text block spine can proceed. In this case the animal glue used originally was very strong and took a lot of soaking with paste to soften it enough to scrape off. It is important in my view to get right down to the back of the sewn sections and then re-line with good quality paper. The old linings will almost certainly be degraded and brittle, even if the original glue is still effective, and there is no point in putting the re-backing leather down on to an unstable surface.
In this case, after cleaning all the linings off the back I used four thicknesses of strong (160gsm) Kraft paper. Then re-backing with calf dyed to match in the usual way.
In the end, I have stronger forearms that before – I must have lifted and turned the 17 lbs lump fifty times during the job.
