I have just completed a repair that is typical of most of my work, and which, I think, is a good example of what earns the daily bread of most hand bookbinders – a worn and damaged cloth binding from the mid-nineteenth century. If its done well and pleases the client the cost charged may put a little butter on that bread as well.
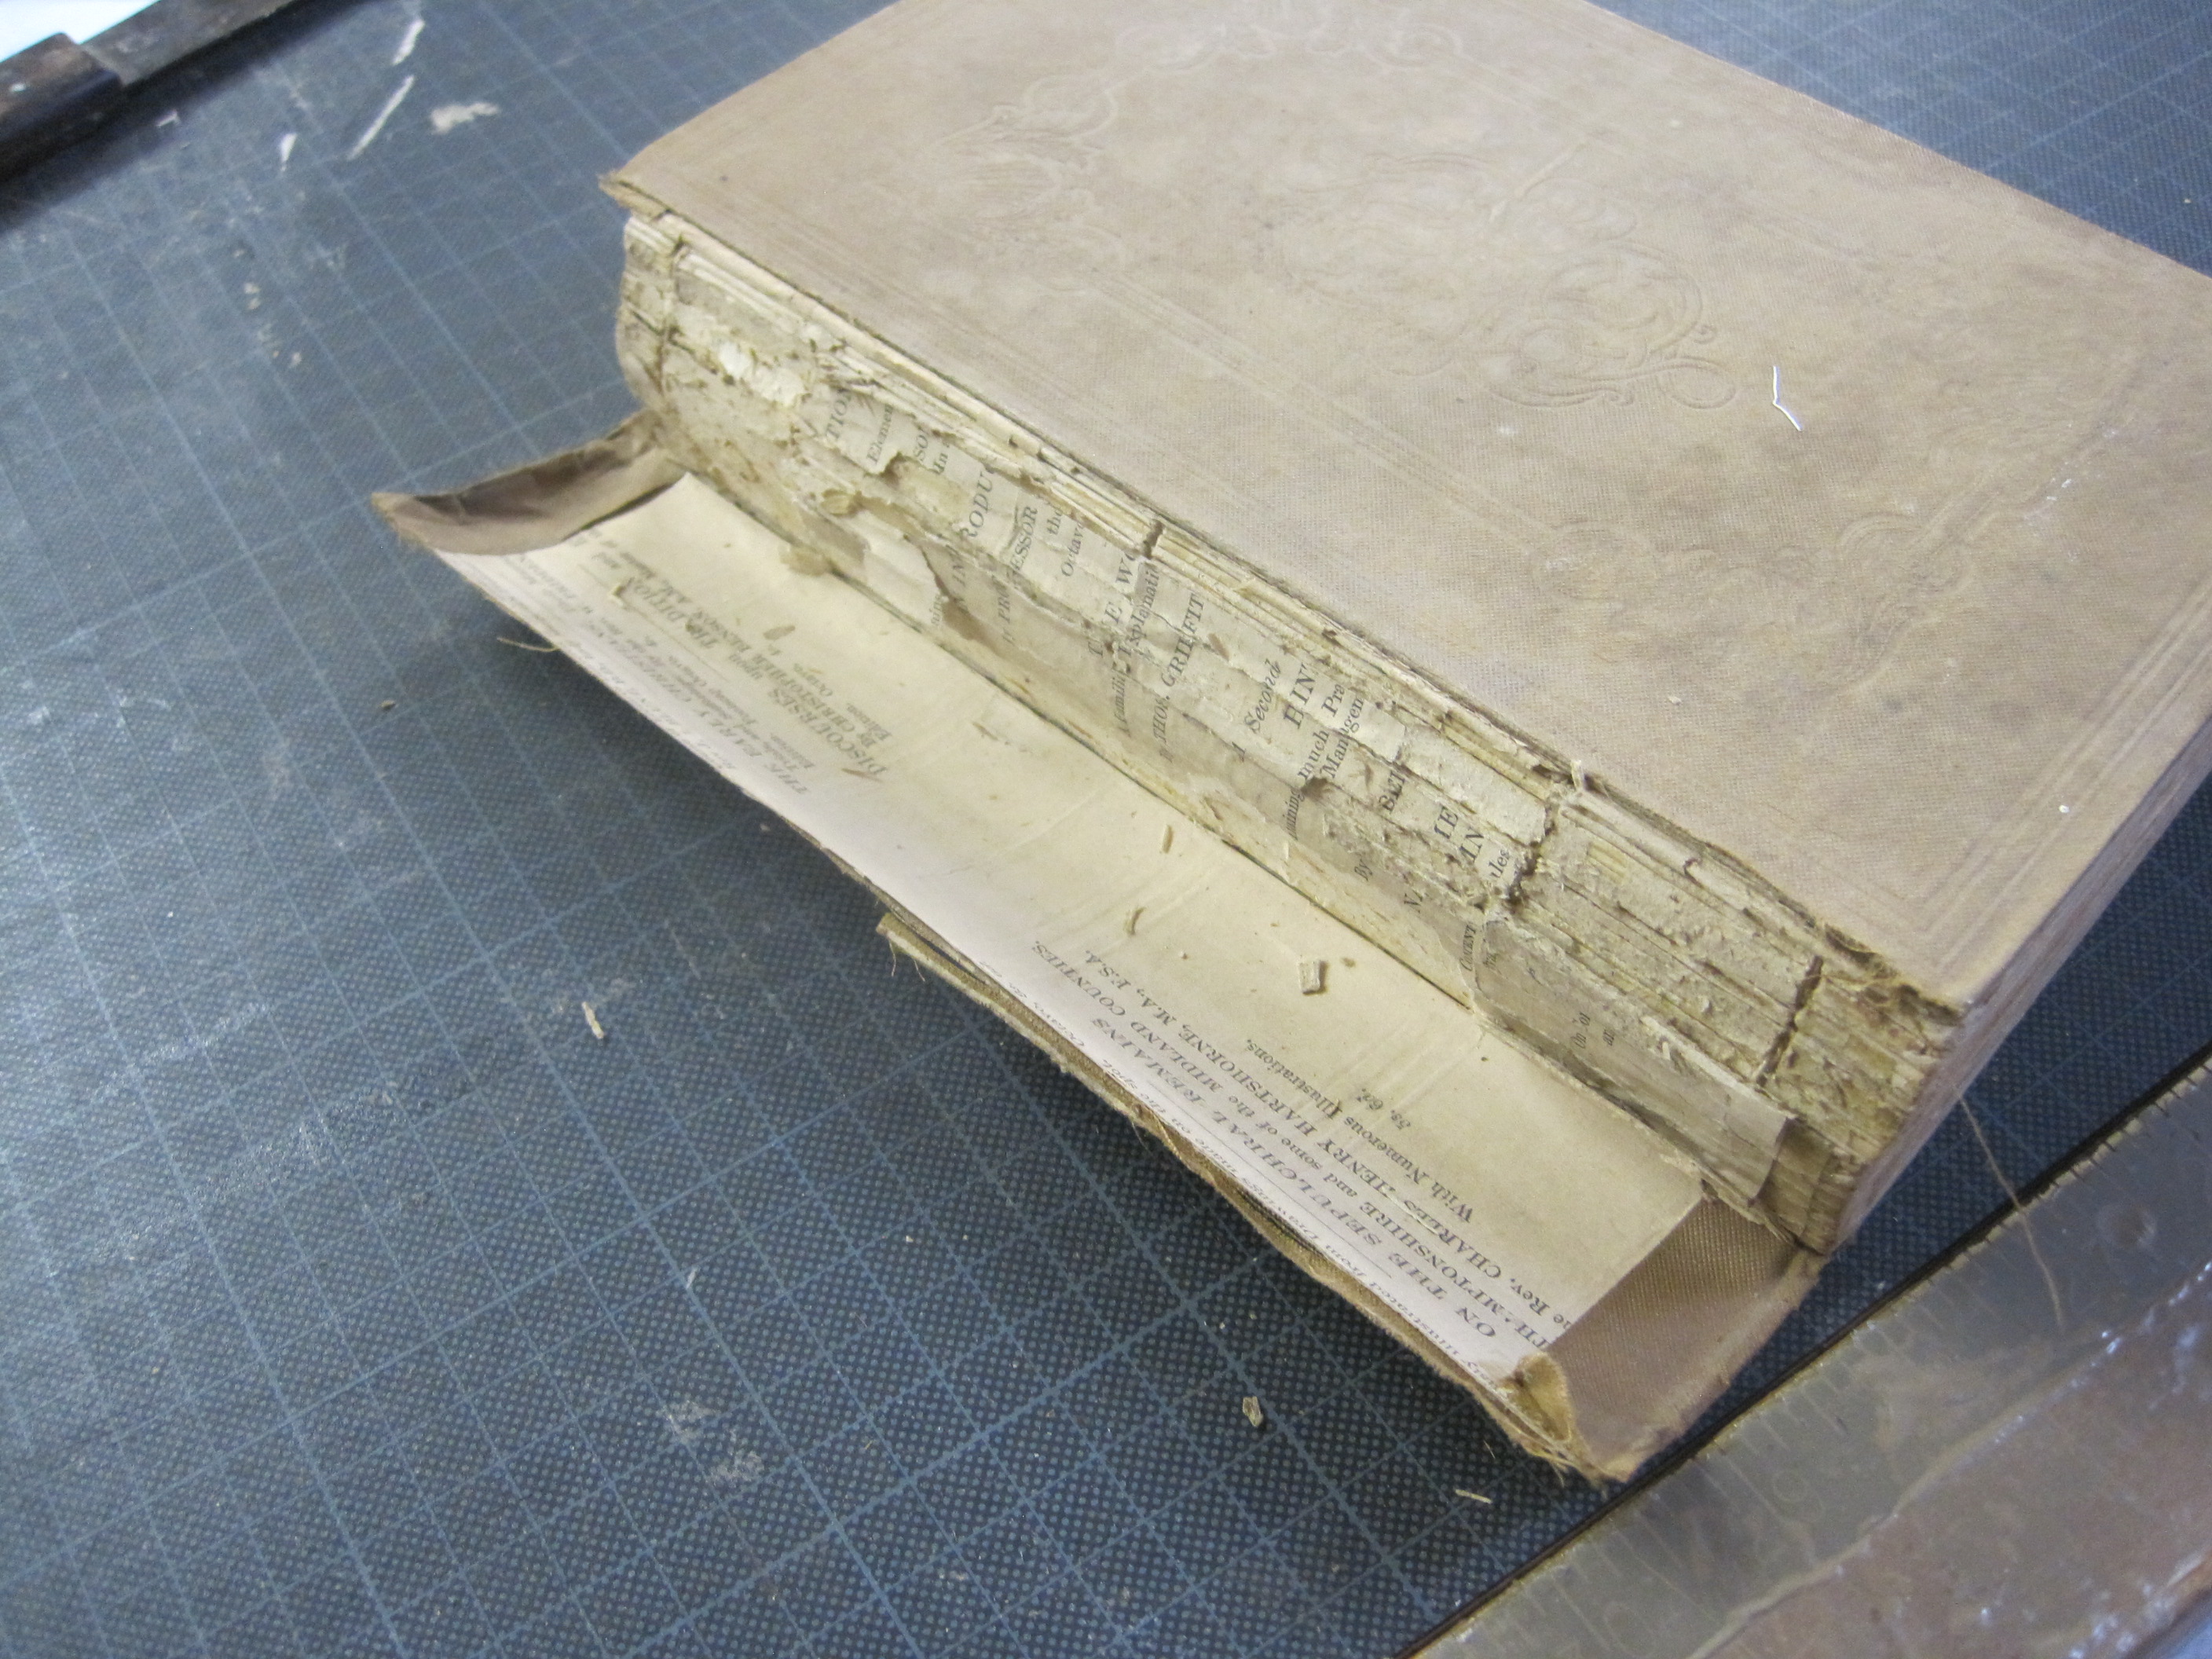
So, plain cloth, spine half detached, sewing shaken and a section loose.
First, agree with the client about the extent of the work – repair or full restoration to original condition? The difference in cost is considerable because the time taken to eliminate all signs of wear, fading and use is much greater – certainly more than twice as long, perhaps five times as long.
In this case the client wanted a straightforward repair: attach loose board, re-position detached section, re-line spine and re-back with suitable bookcloth and then re-attach spine strip. The book will then be firm to handle, open easily, stand straight on the shelf and have no frayed or loose edges.
First, clean off all the material that no longer serves its purpose – the decayed and powdery spine linings and the dry and cracked glue on the back. Plain starch paste does the job on the back, but the lining of the cloth spine should be lifted dry, as paste may stain the cloth.

I use an artist’s palette knife as the blunt edge reduces the risk of cutting through the old cloth. Following the palette knife an emery board (for your nails) will remove any scraps of paper lining remaining.
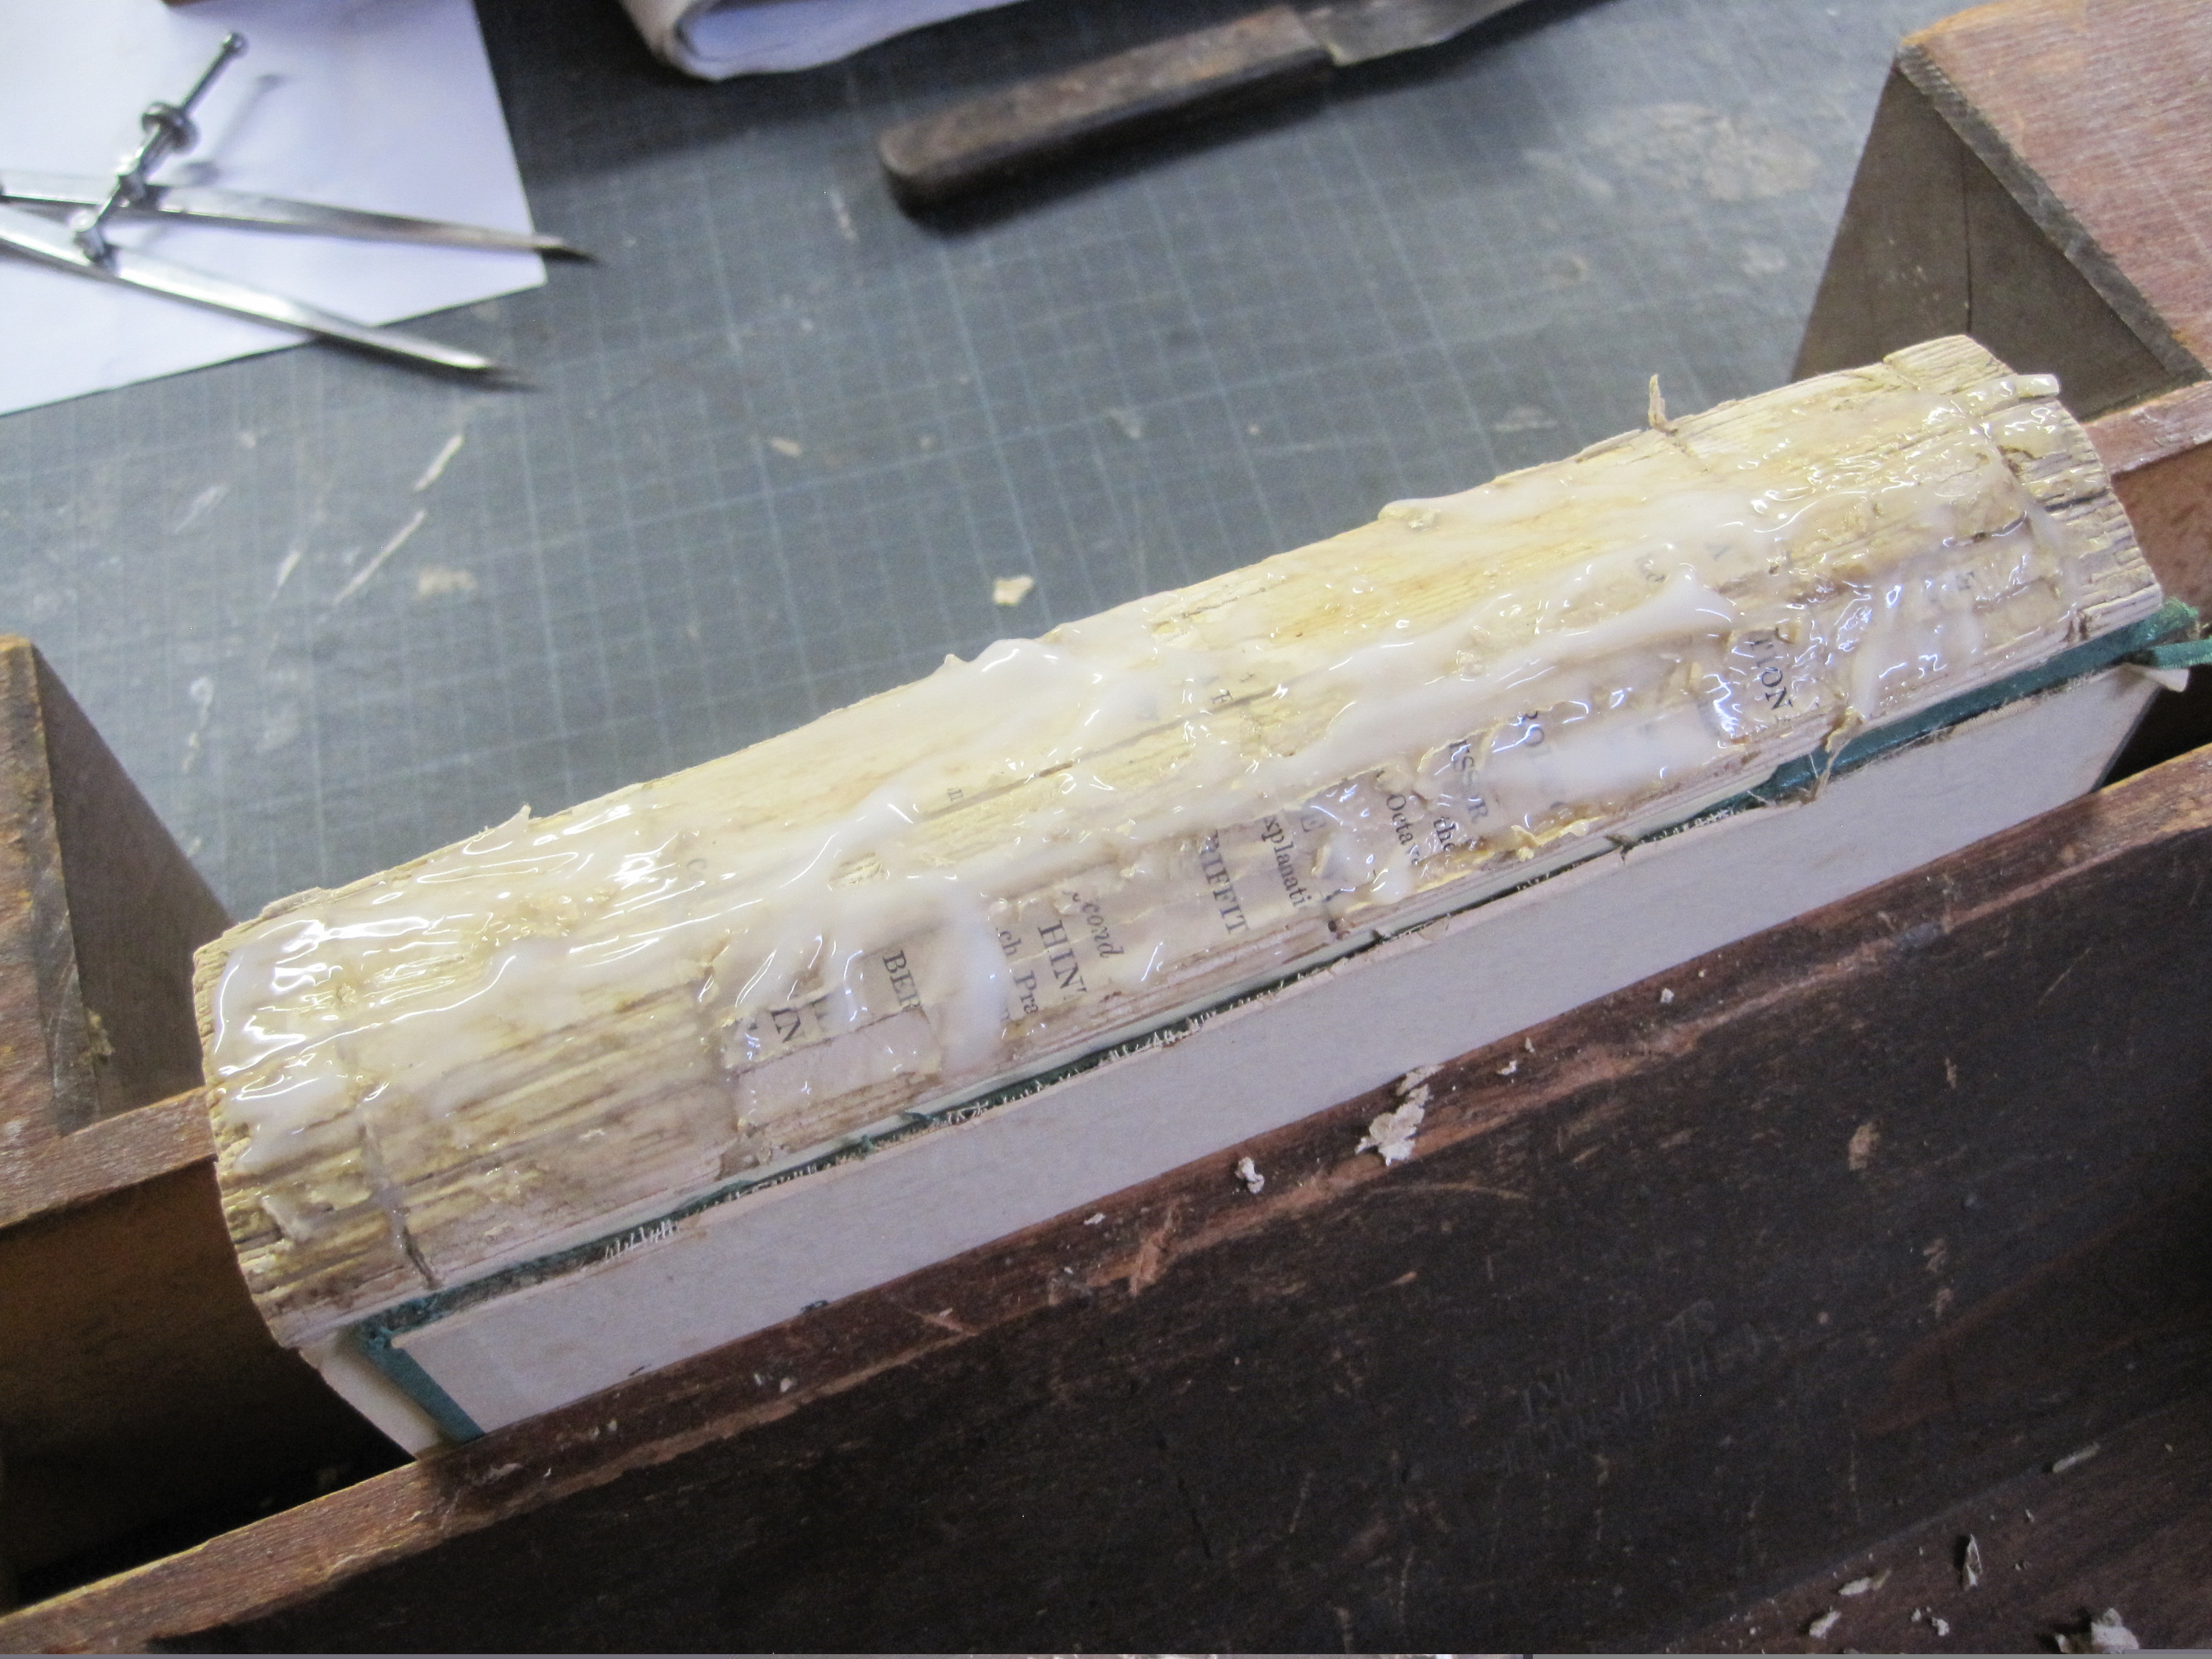
Scrape off all the old glue on the back of the text block and wipe clean.
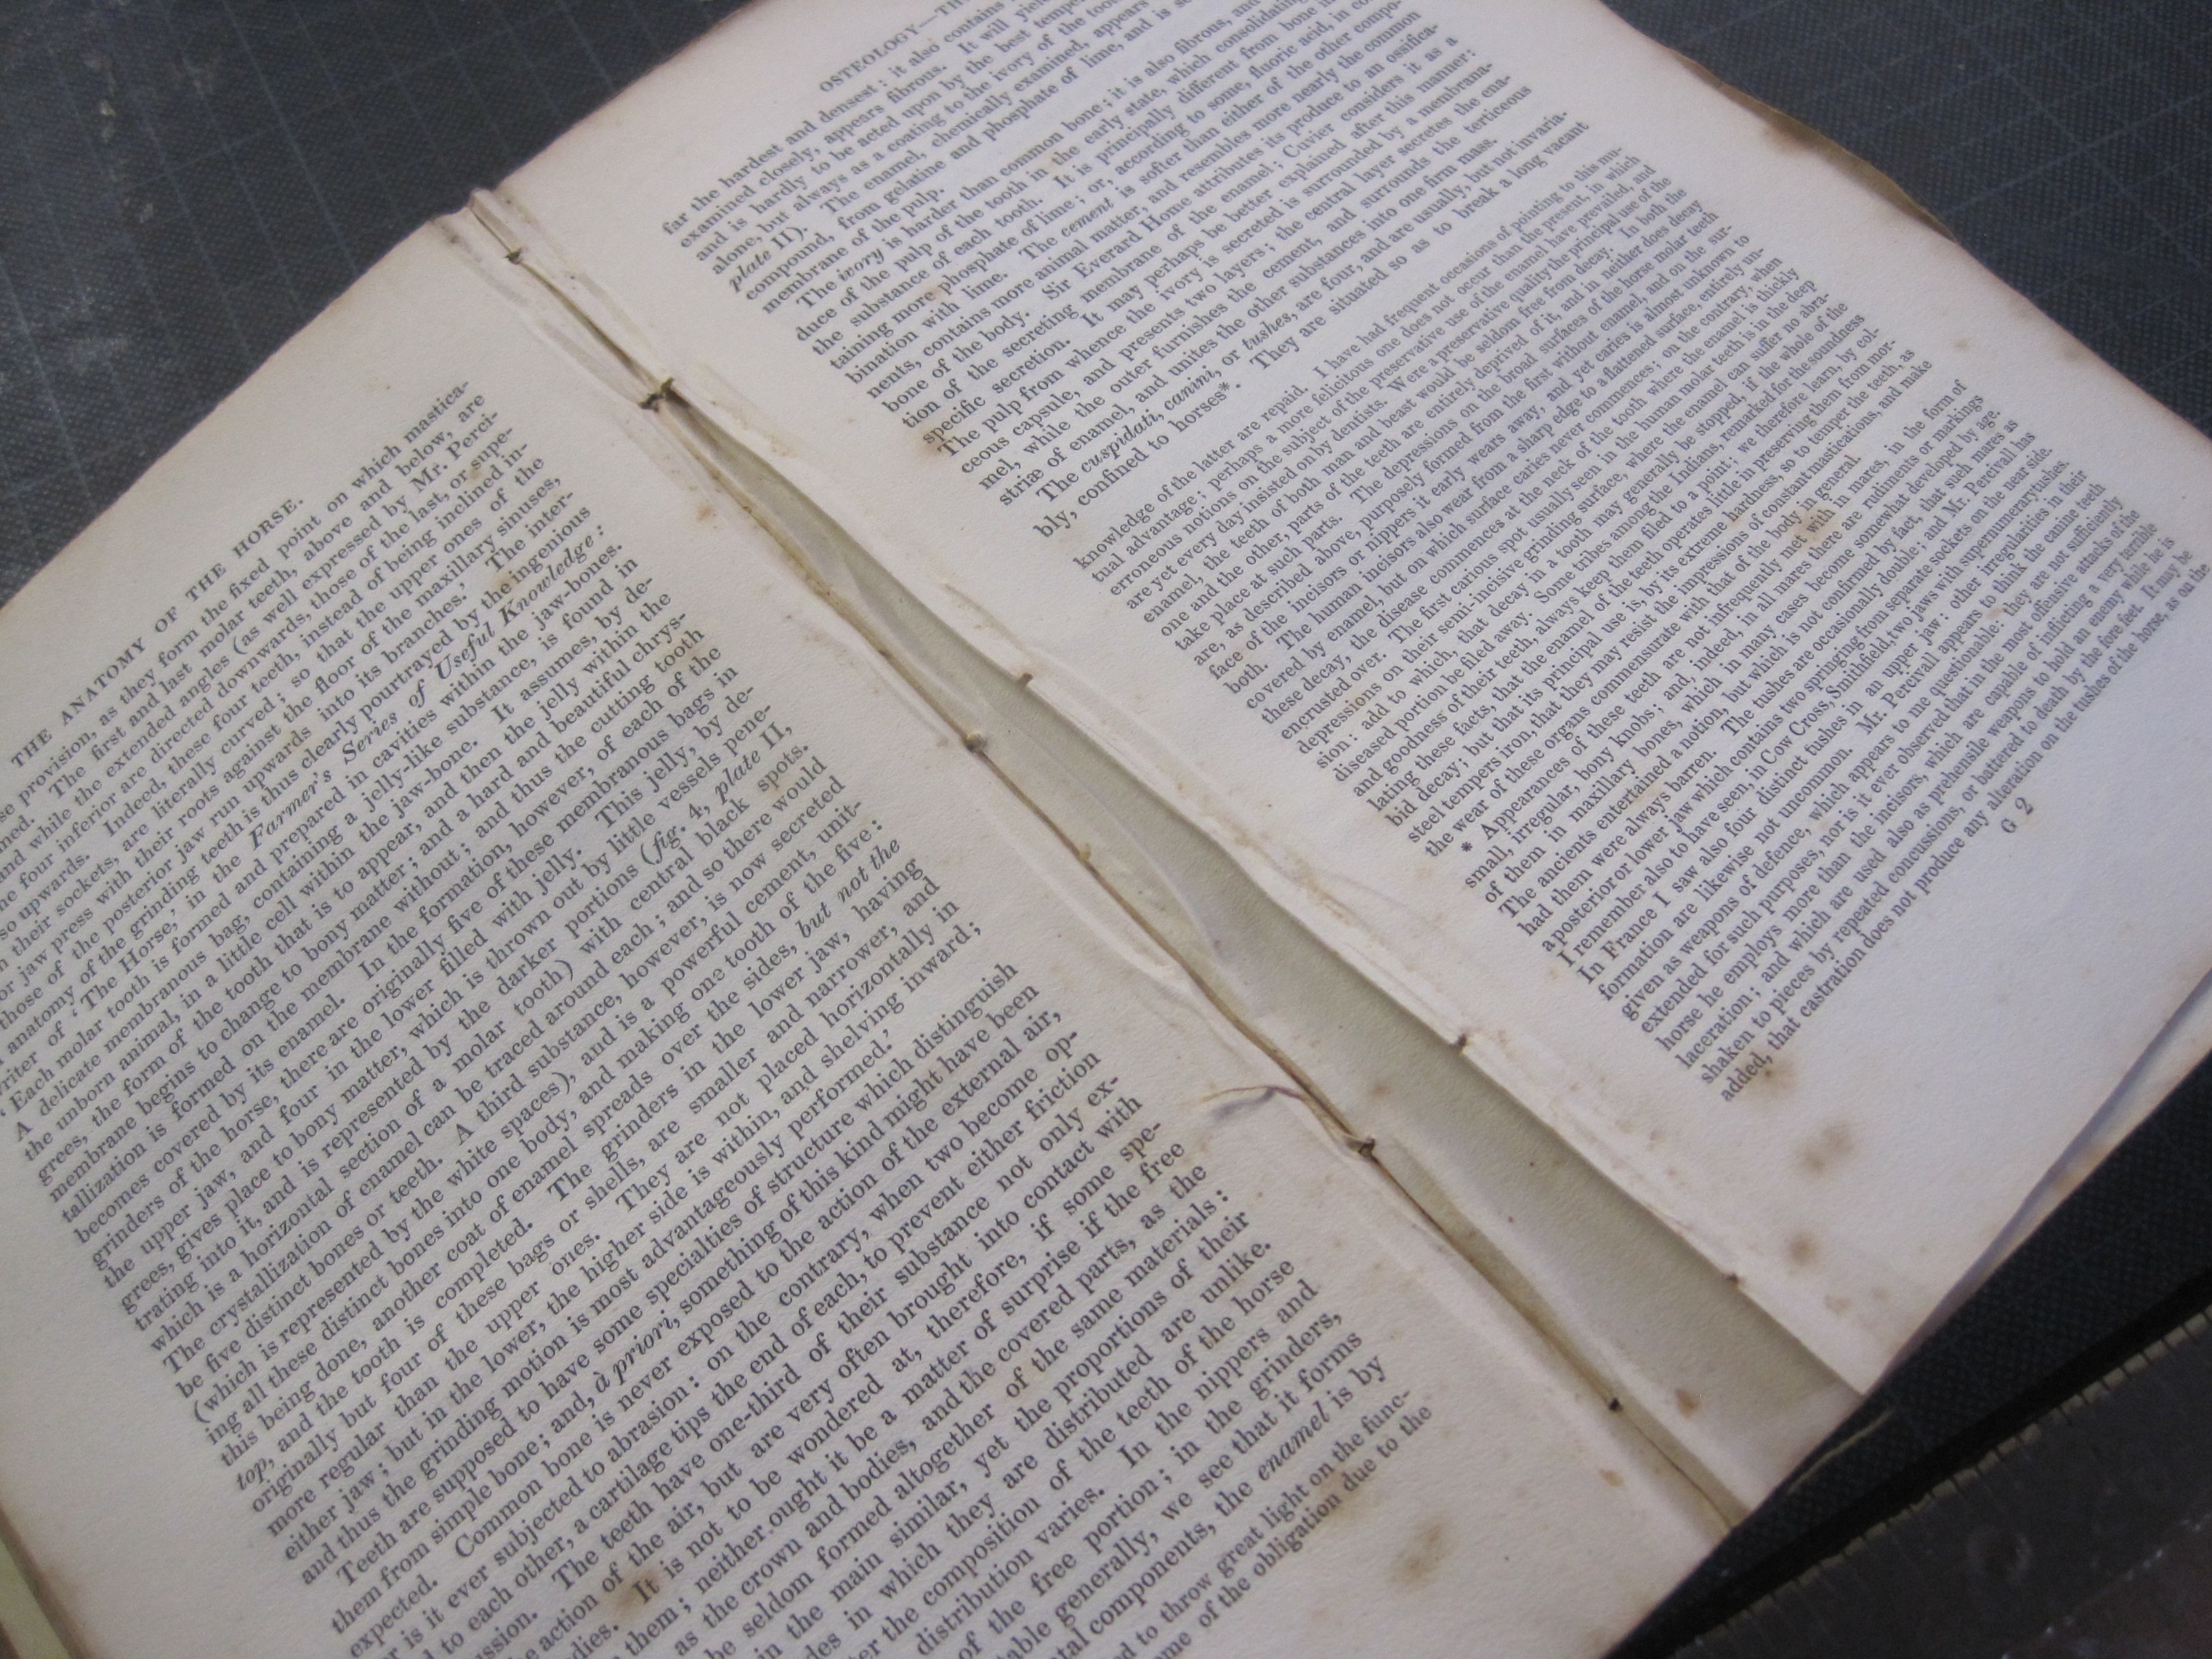
The sewn sections can now be re-shaped into their original even round, and the loose section re-set so its back edge is where it should be – it gets sewn into the new lining later. Then put the book between backing boards and sharpen the backing joints.
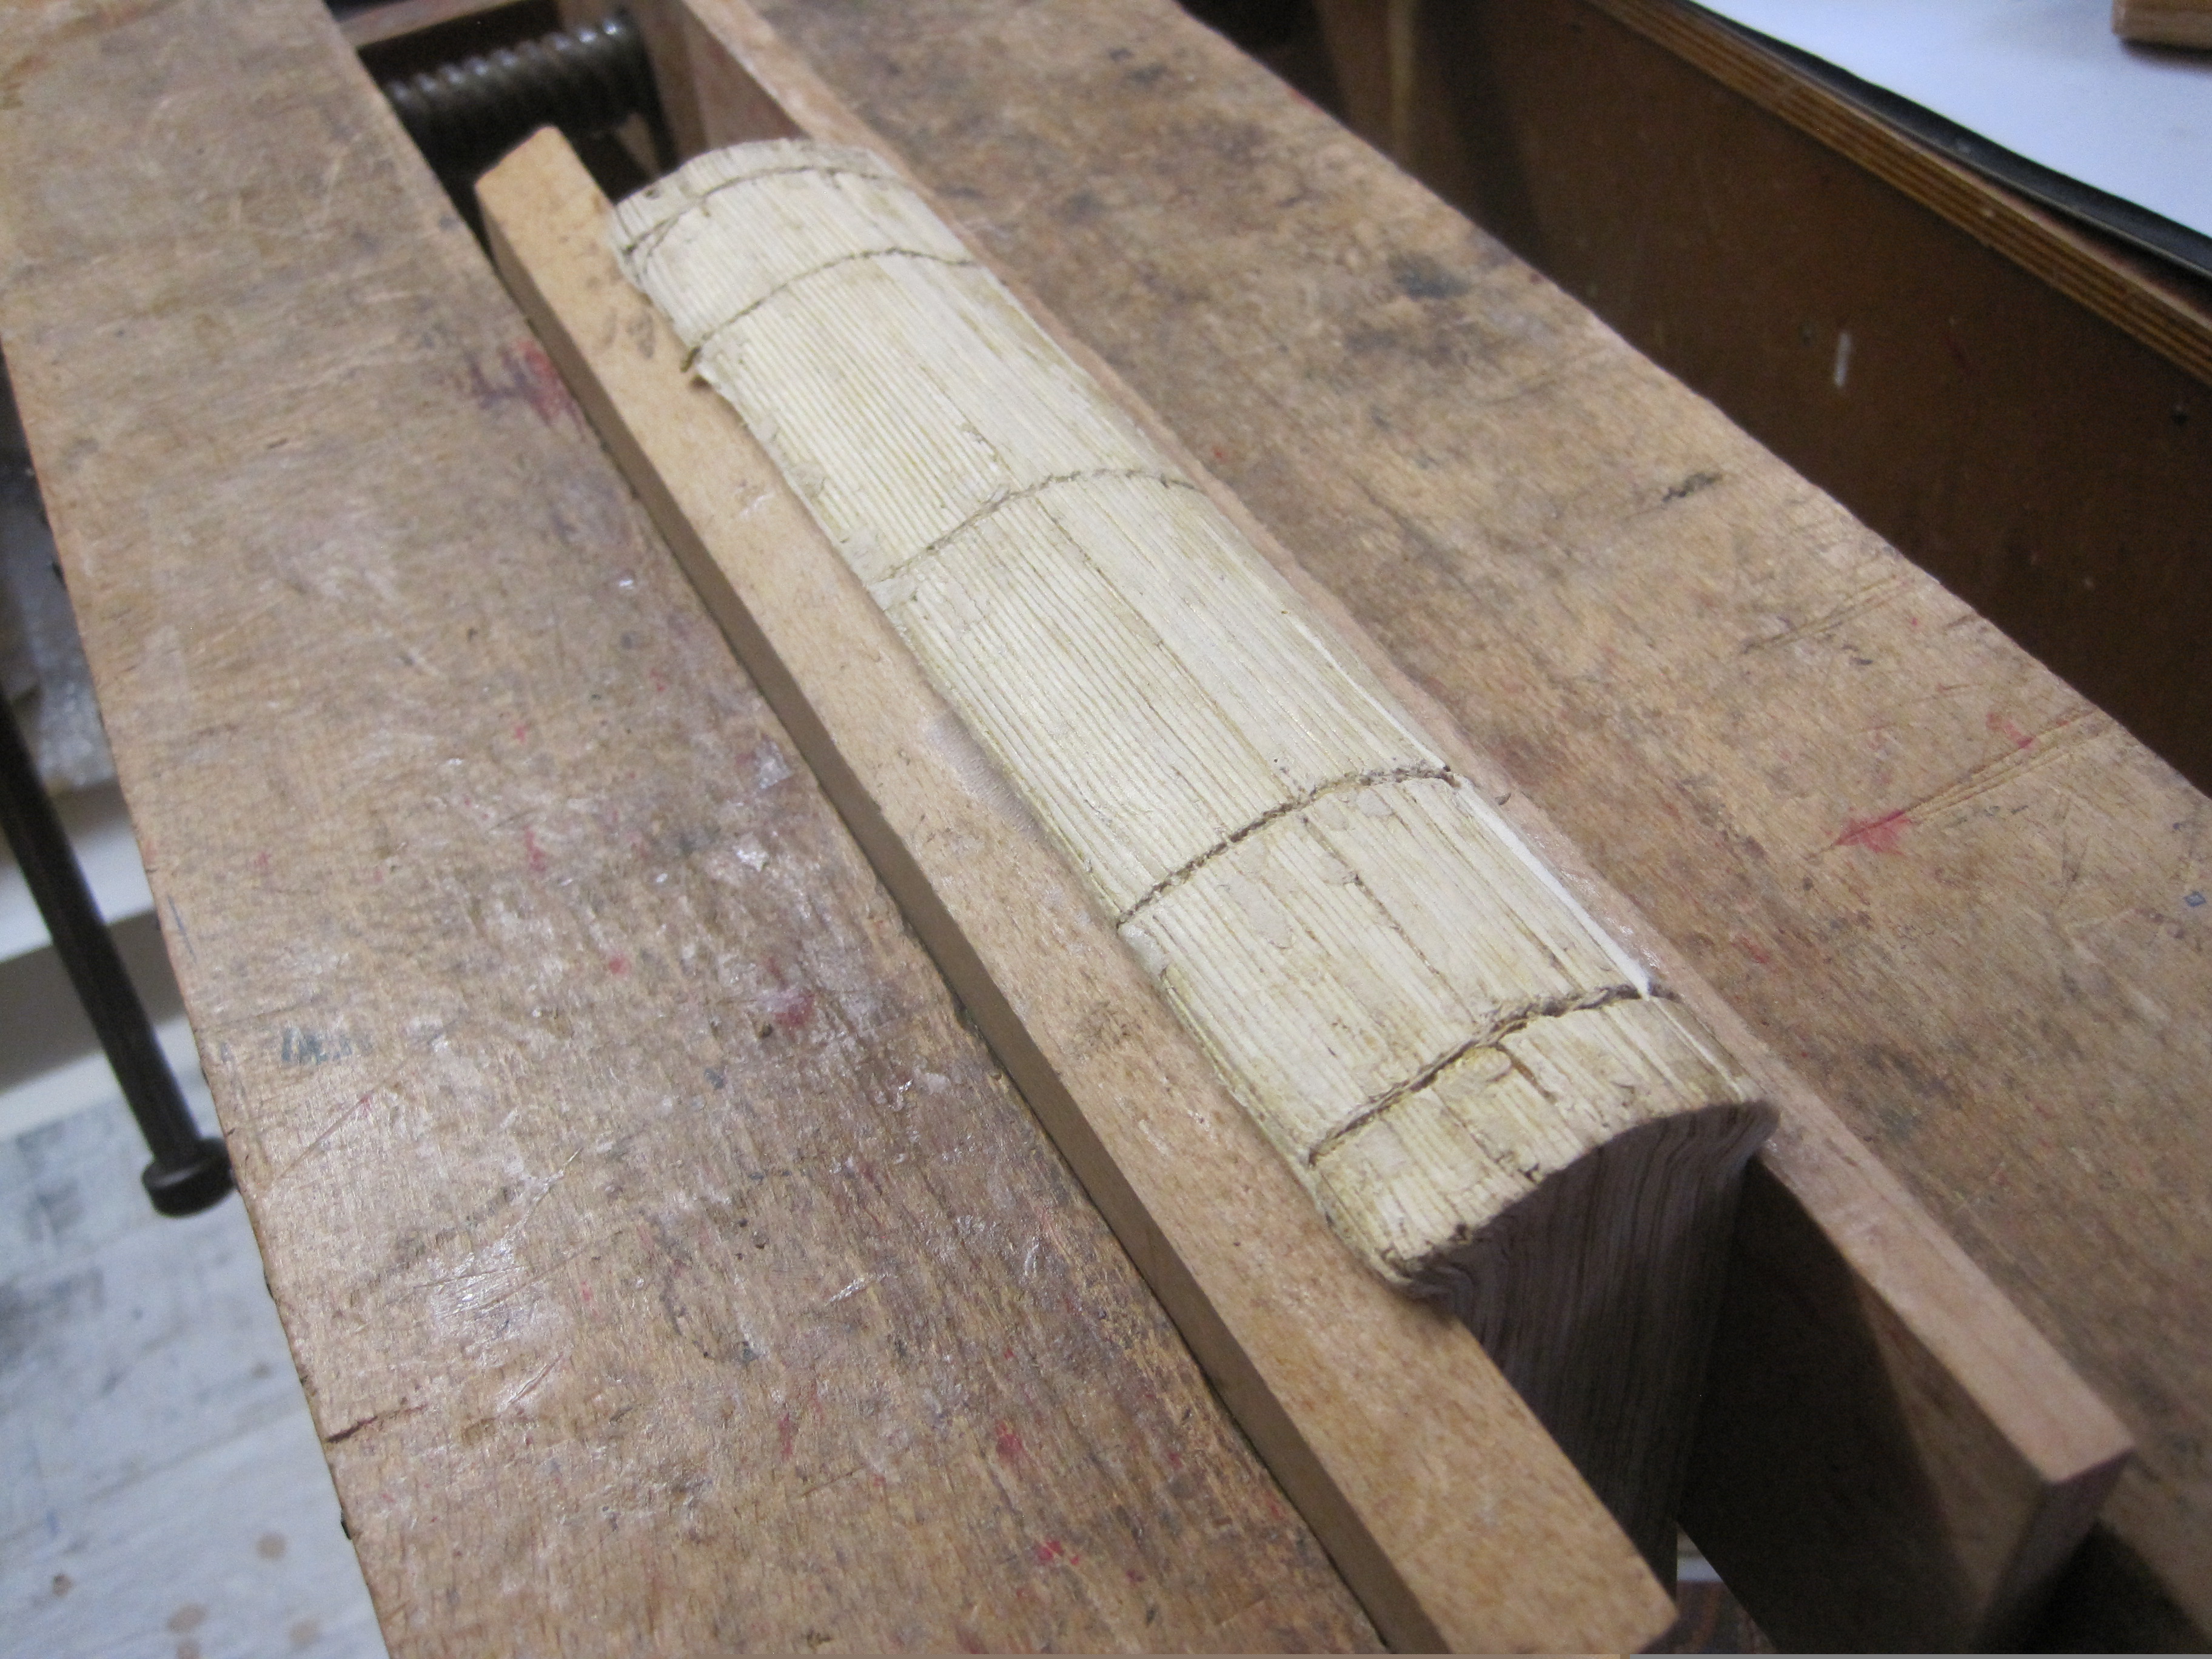
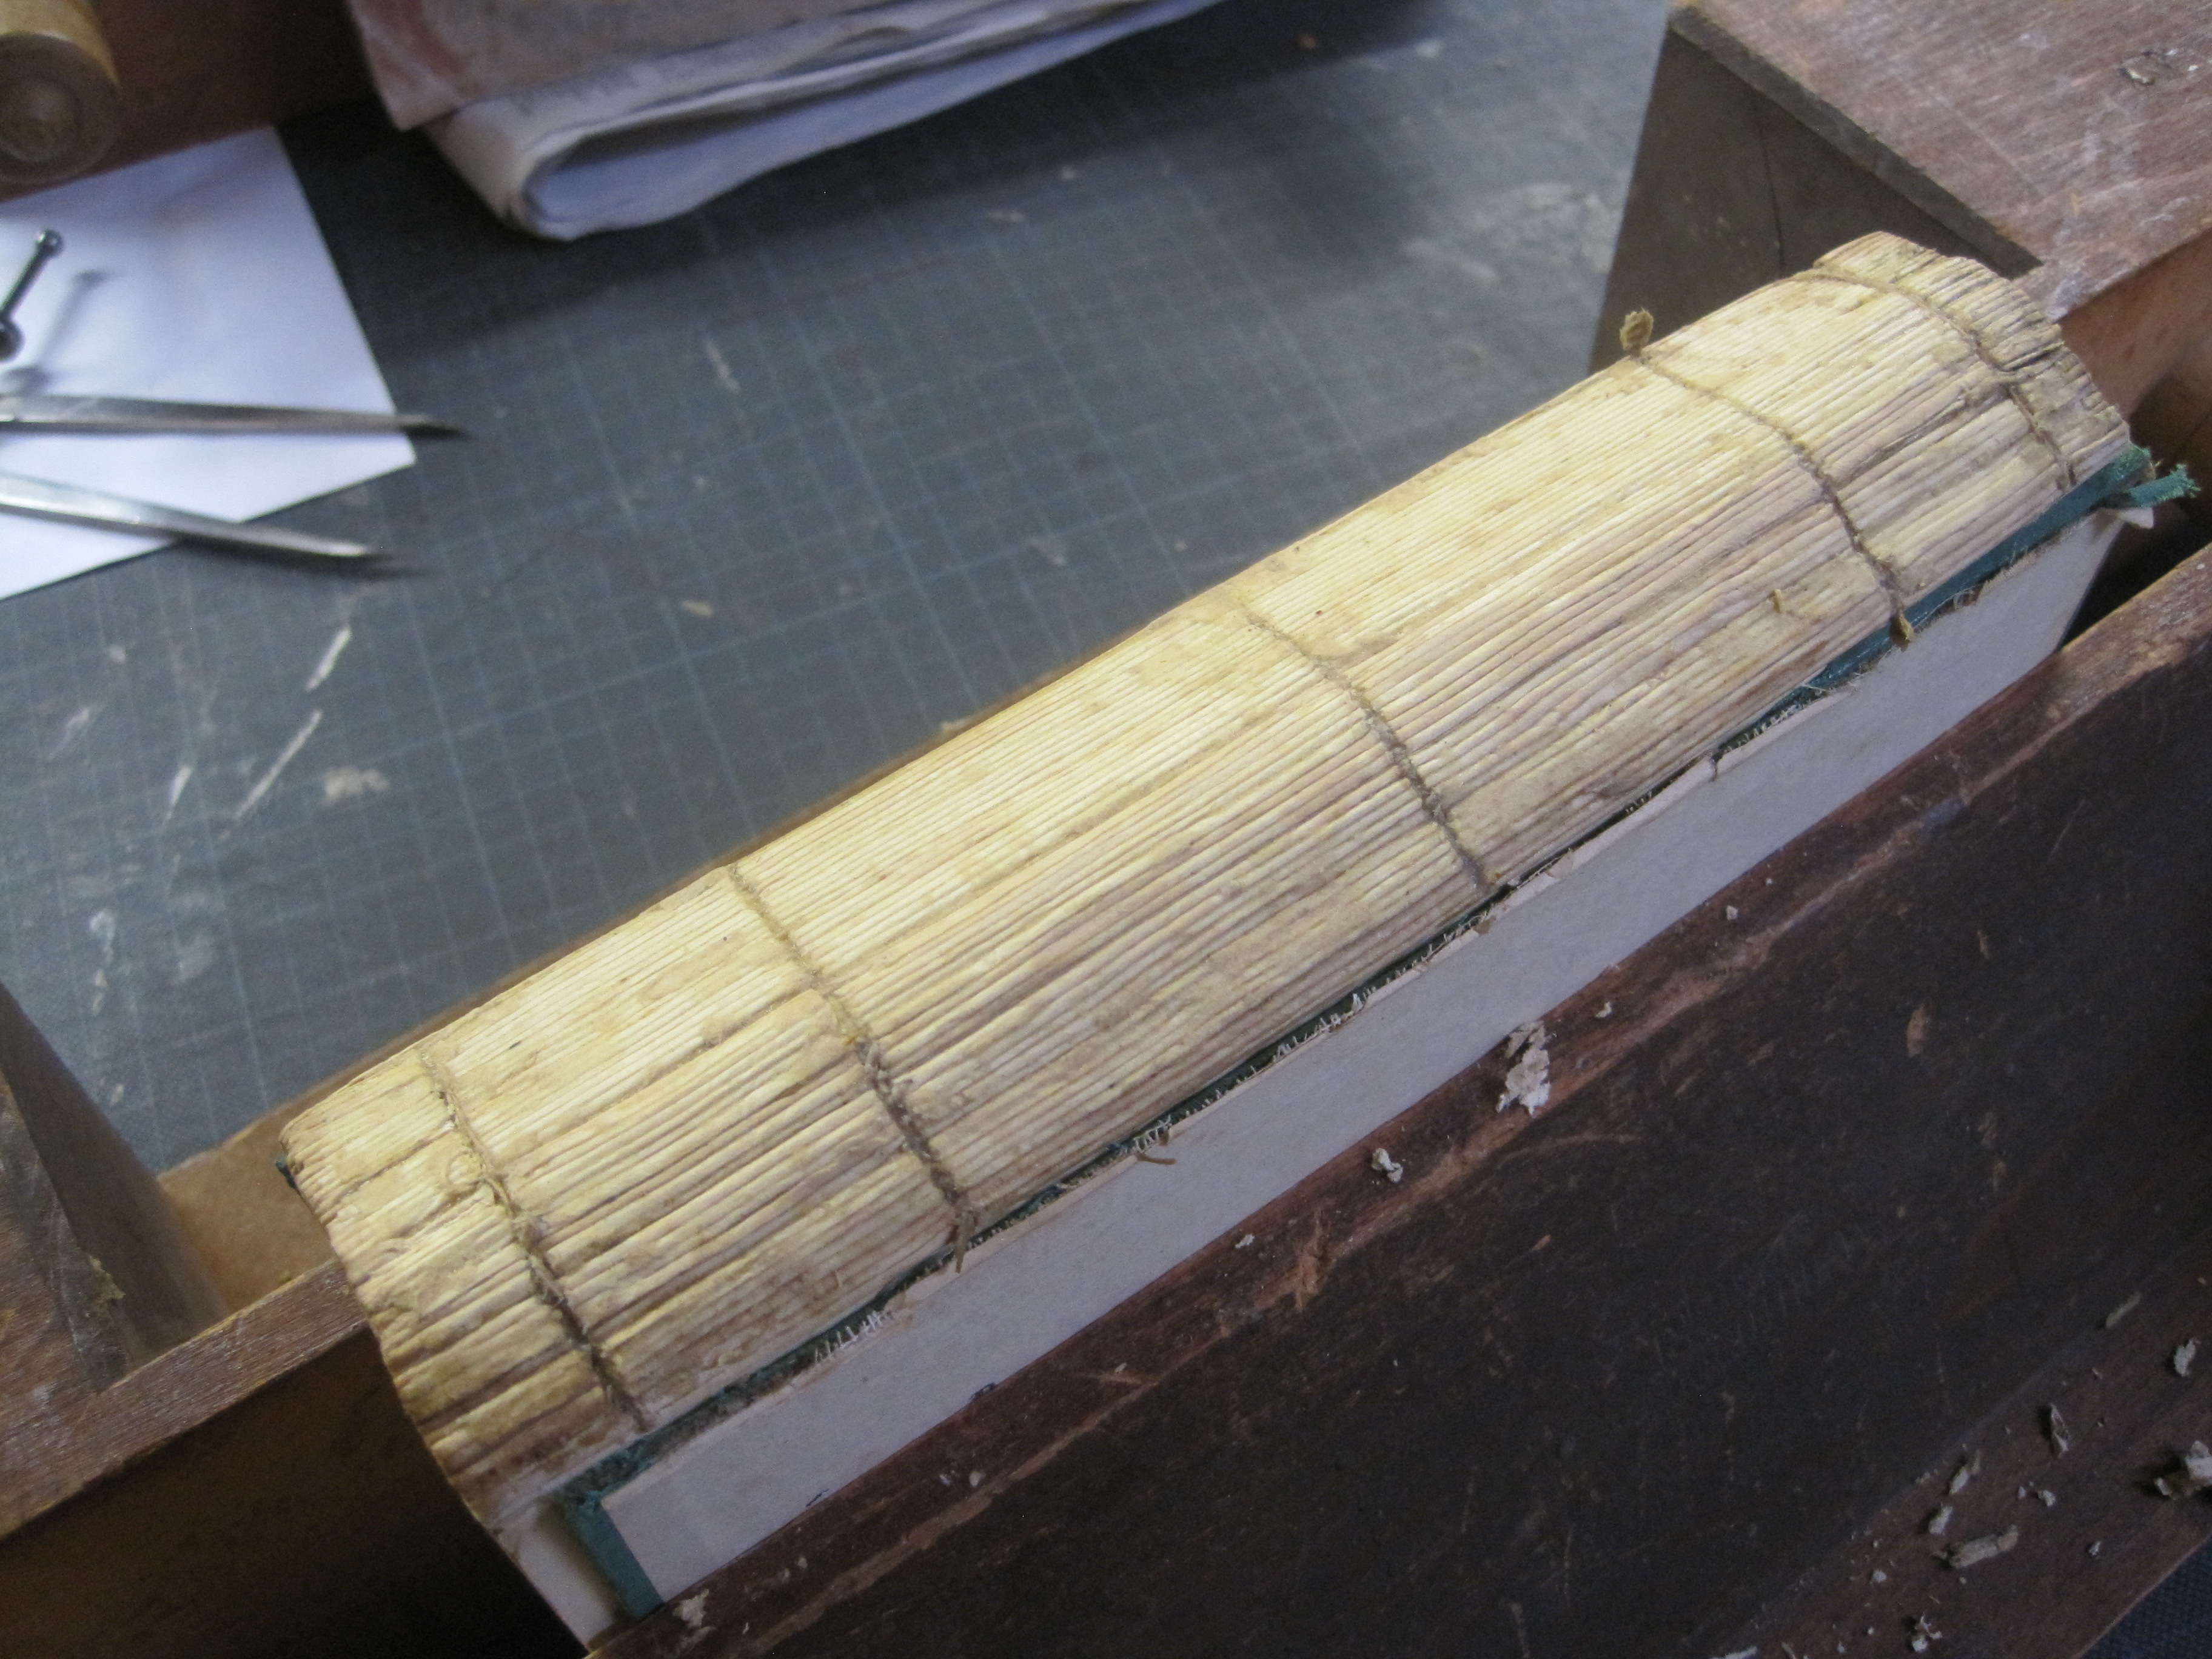
With the book still in the press, line the spine with ‘fraynot’ – a strong but light cotton fabric. Handkerchief fabric will do just as well. Then sew the first and last sections through the fraynot and also the loose inner section.

Now glue on a new lining strip. I make sure both the fraynot and the lining are well working on to the text block by tamping down with a stiff bristle brush. It works better than just rubbing with a bone folder.
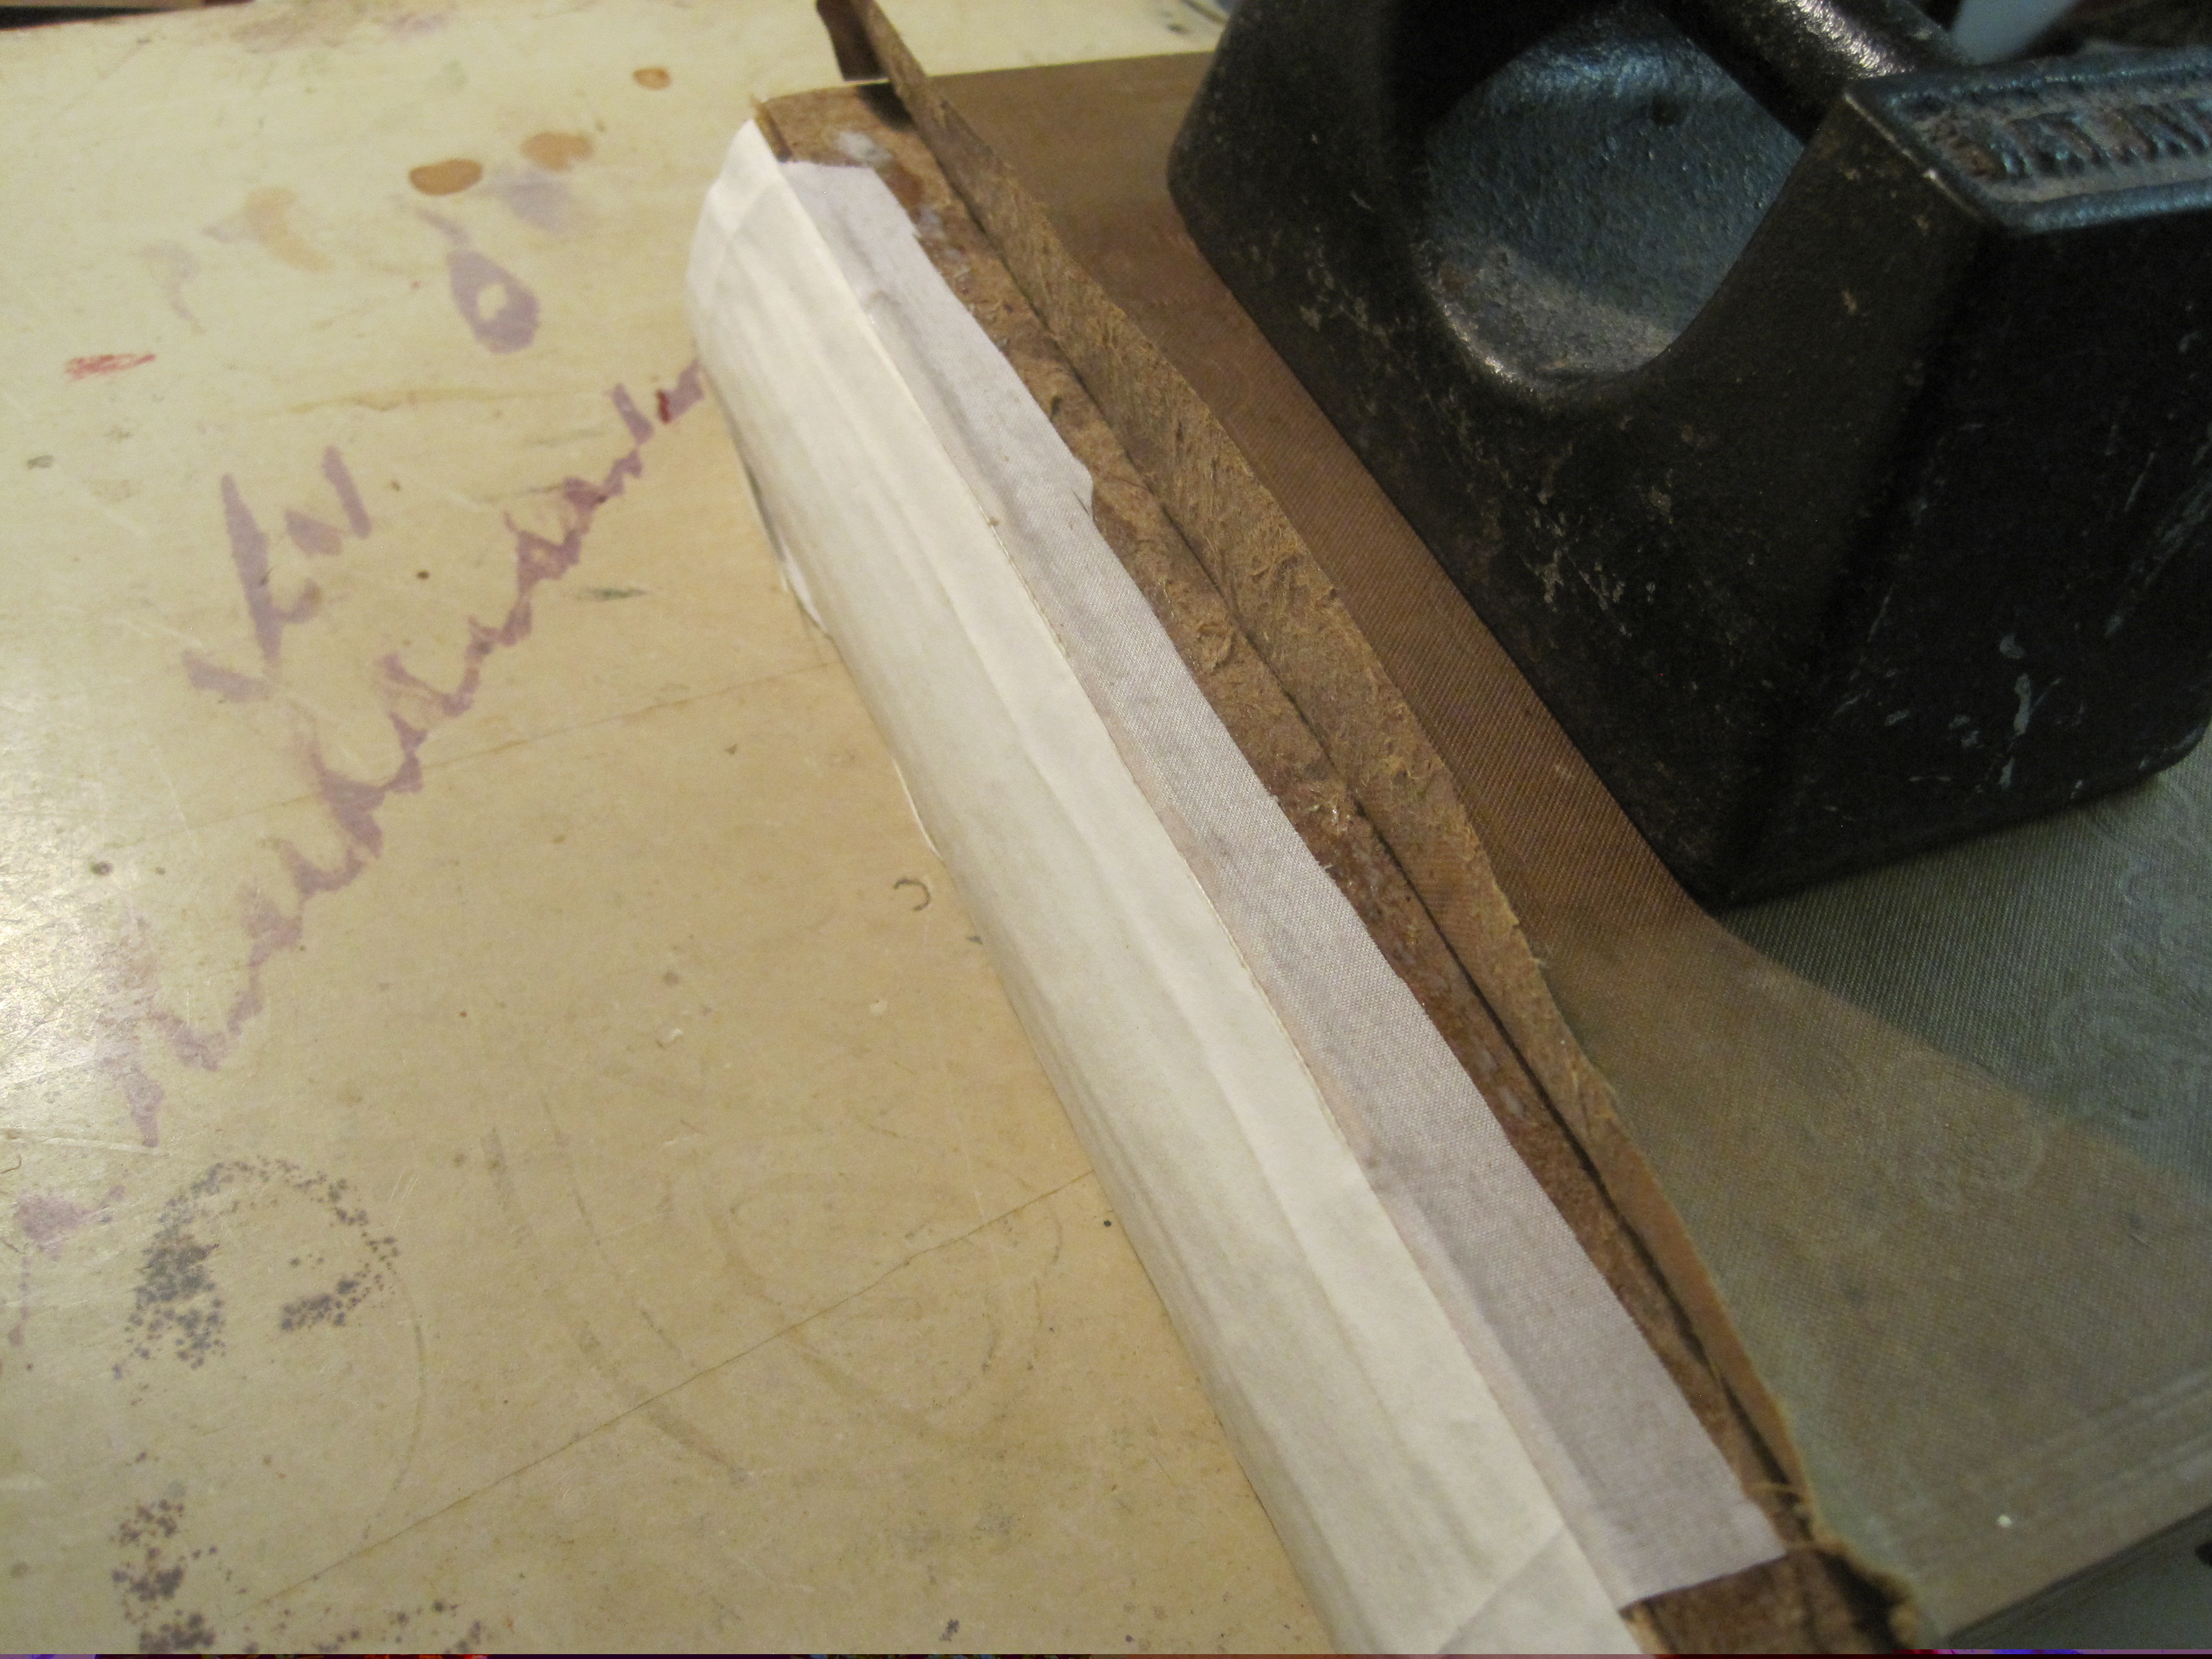
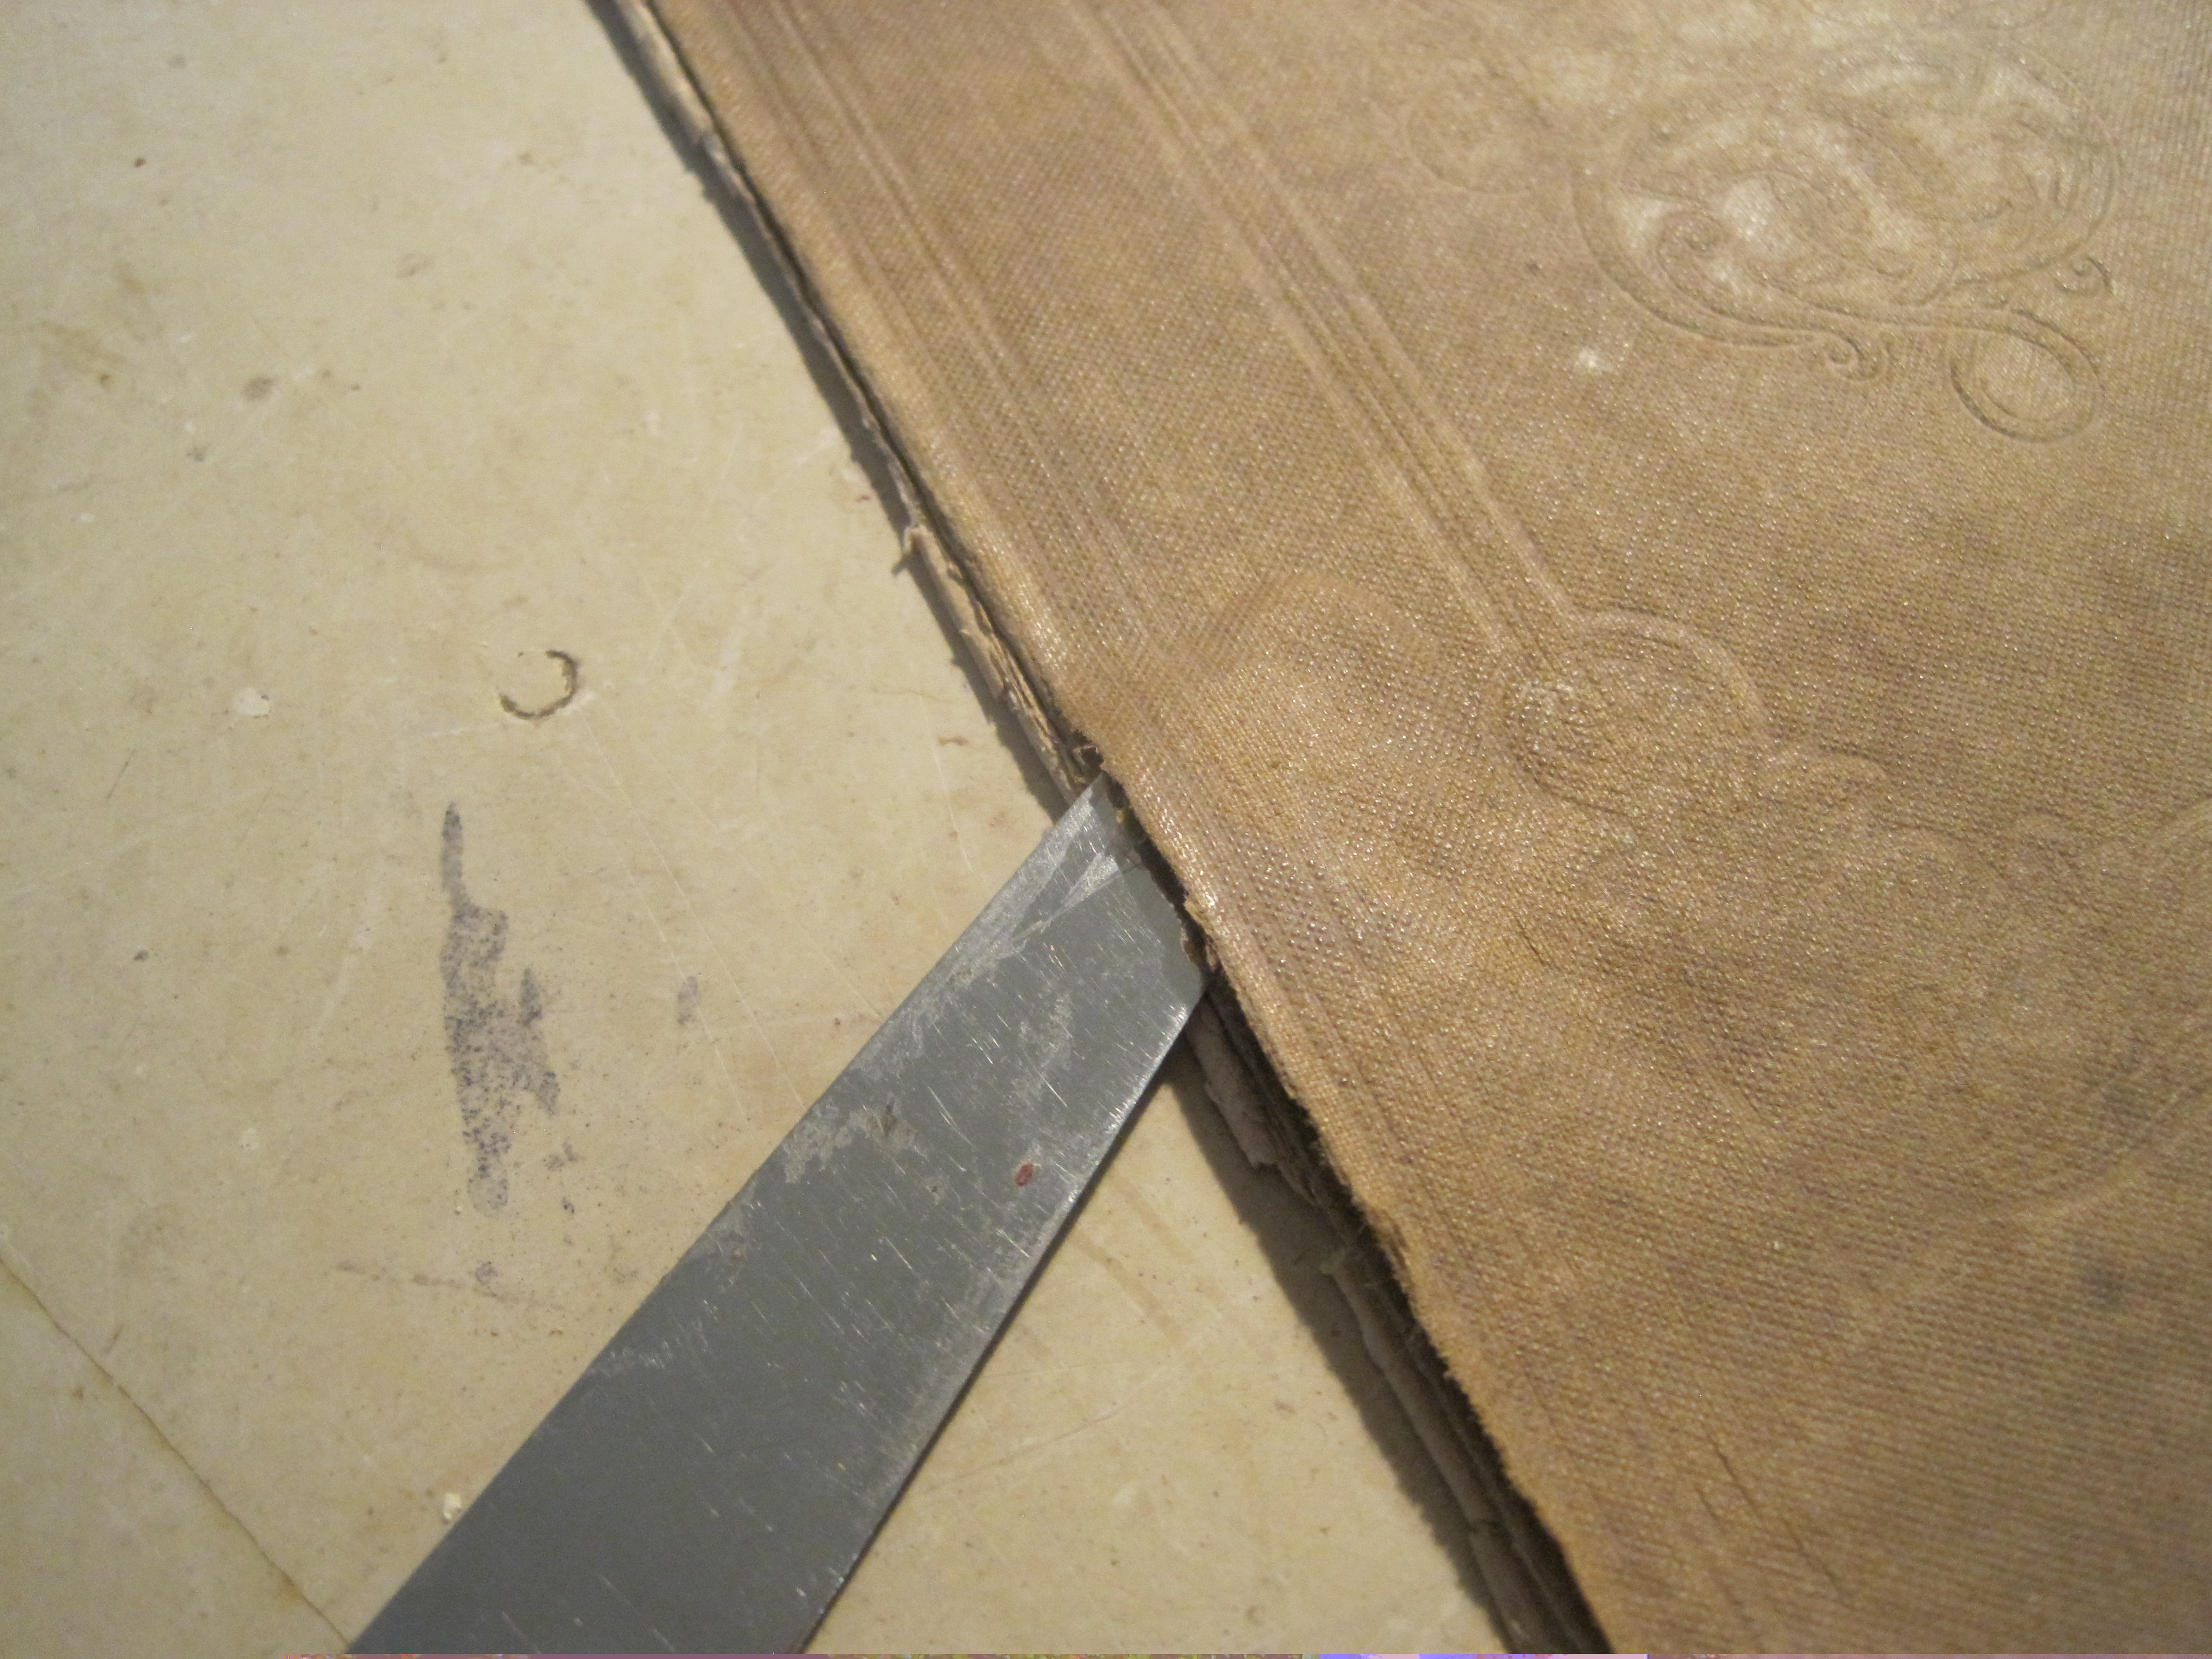
Now the cloth on the covers must be lifted up so the the new lining cloth as well as the new spine bookcloth can be glued down. I do this on the outside of the cover board, not the inside. You get a neater inner joint that way.
That’s about halfway through the process: each step only takes a few minutes so the aggregate bench time so far is perhaps half an hour. While paste is softening old glue, or new glue is drying, the next book is got underway.
To be continued…..
