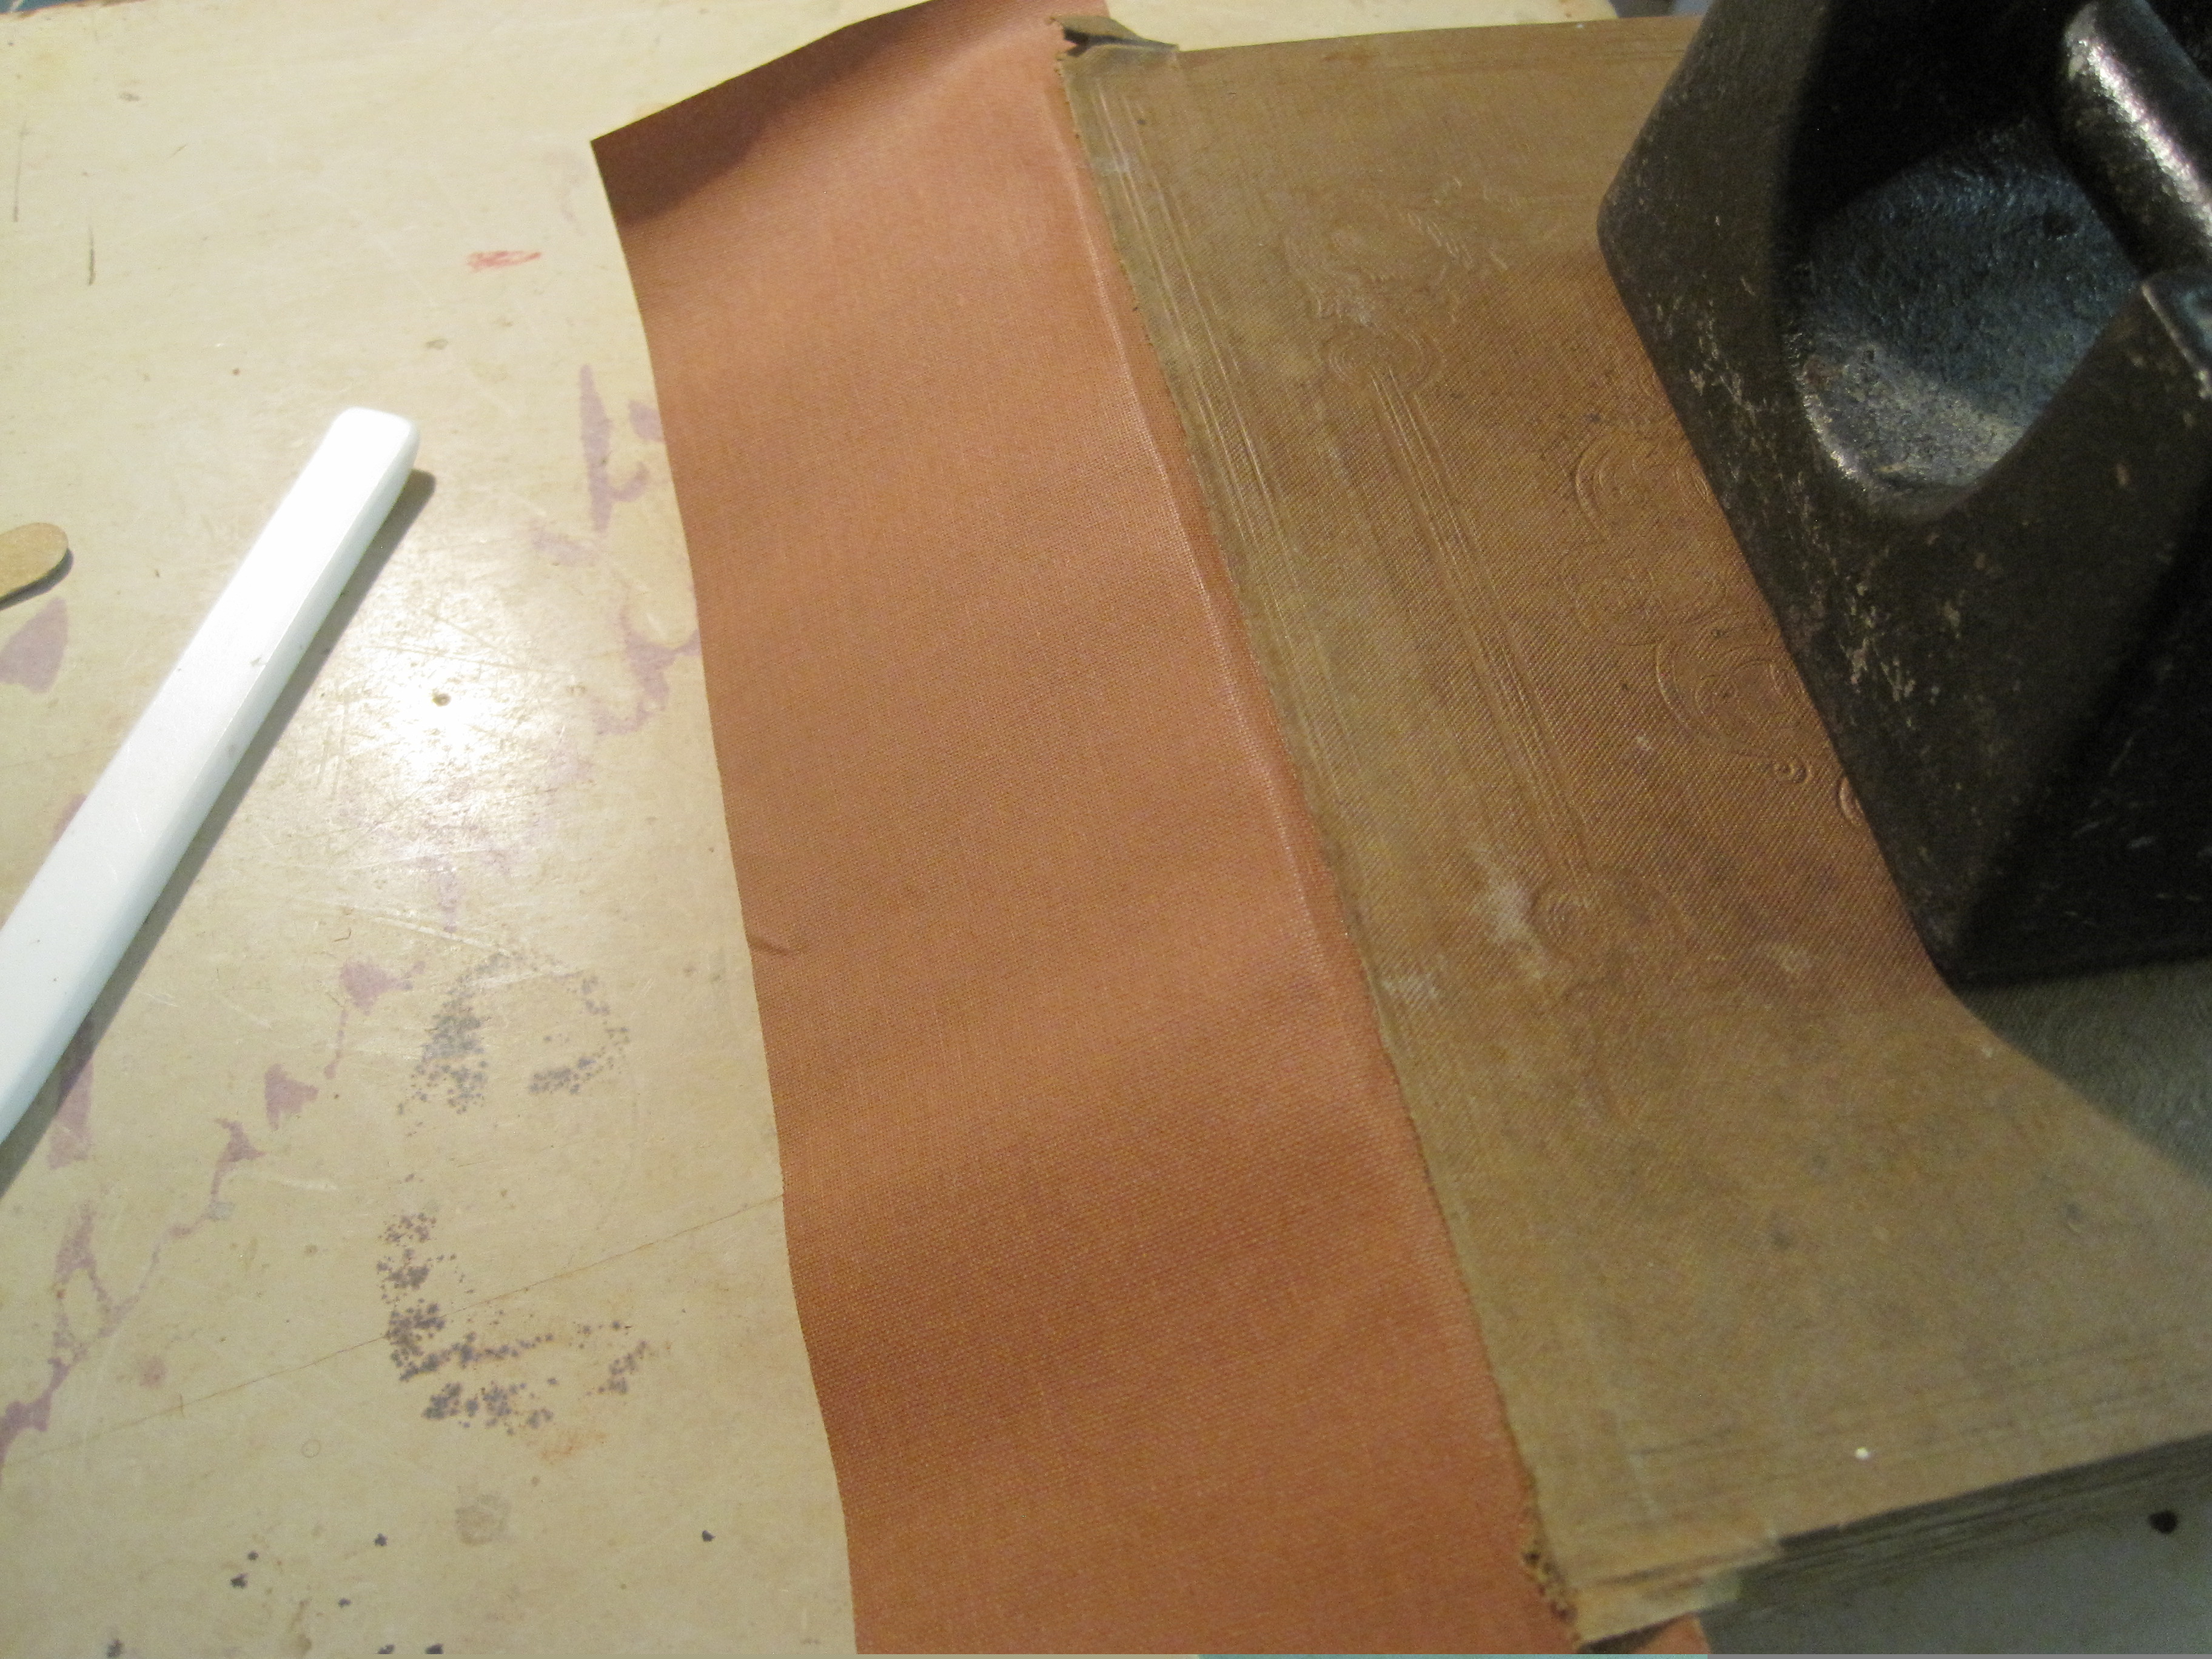
So the fraynot fabric is glued on to the cover board; now the new bookcloth strip is glued straight on to it. The width of the glued down strip is important – it has to be enough to create a sufficient turn-in at the head and tail and also the edge should coincide with an impressed line on the cover cloth where there is one (and there very often is).
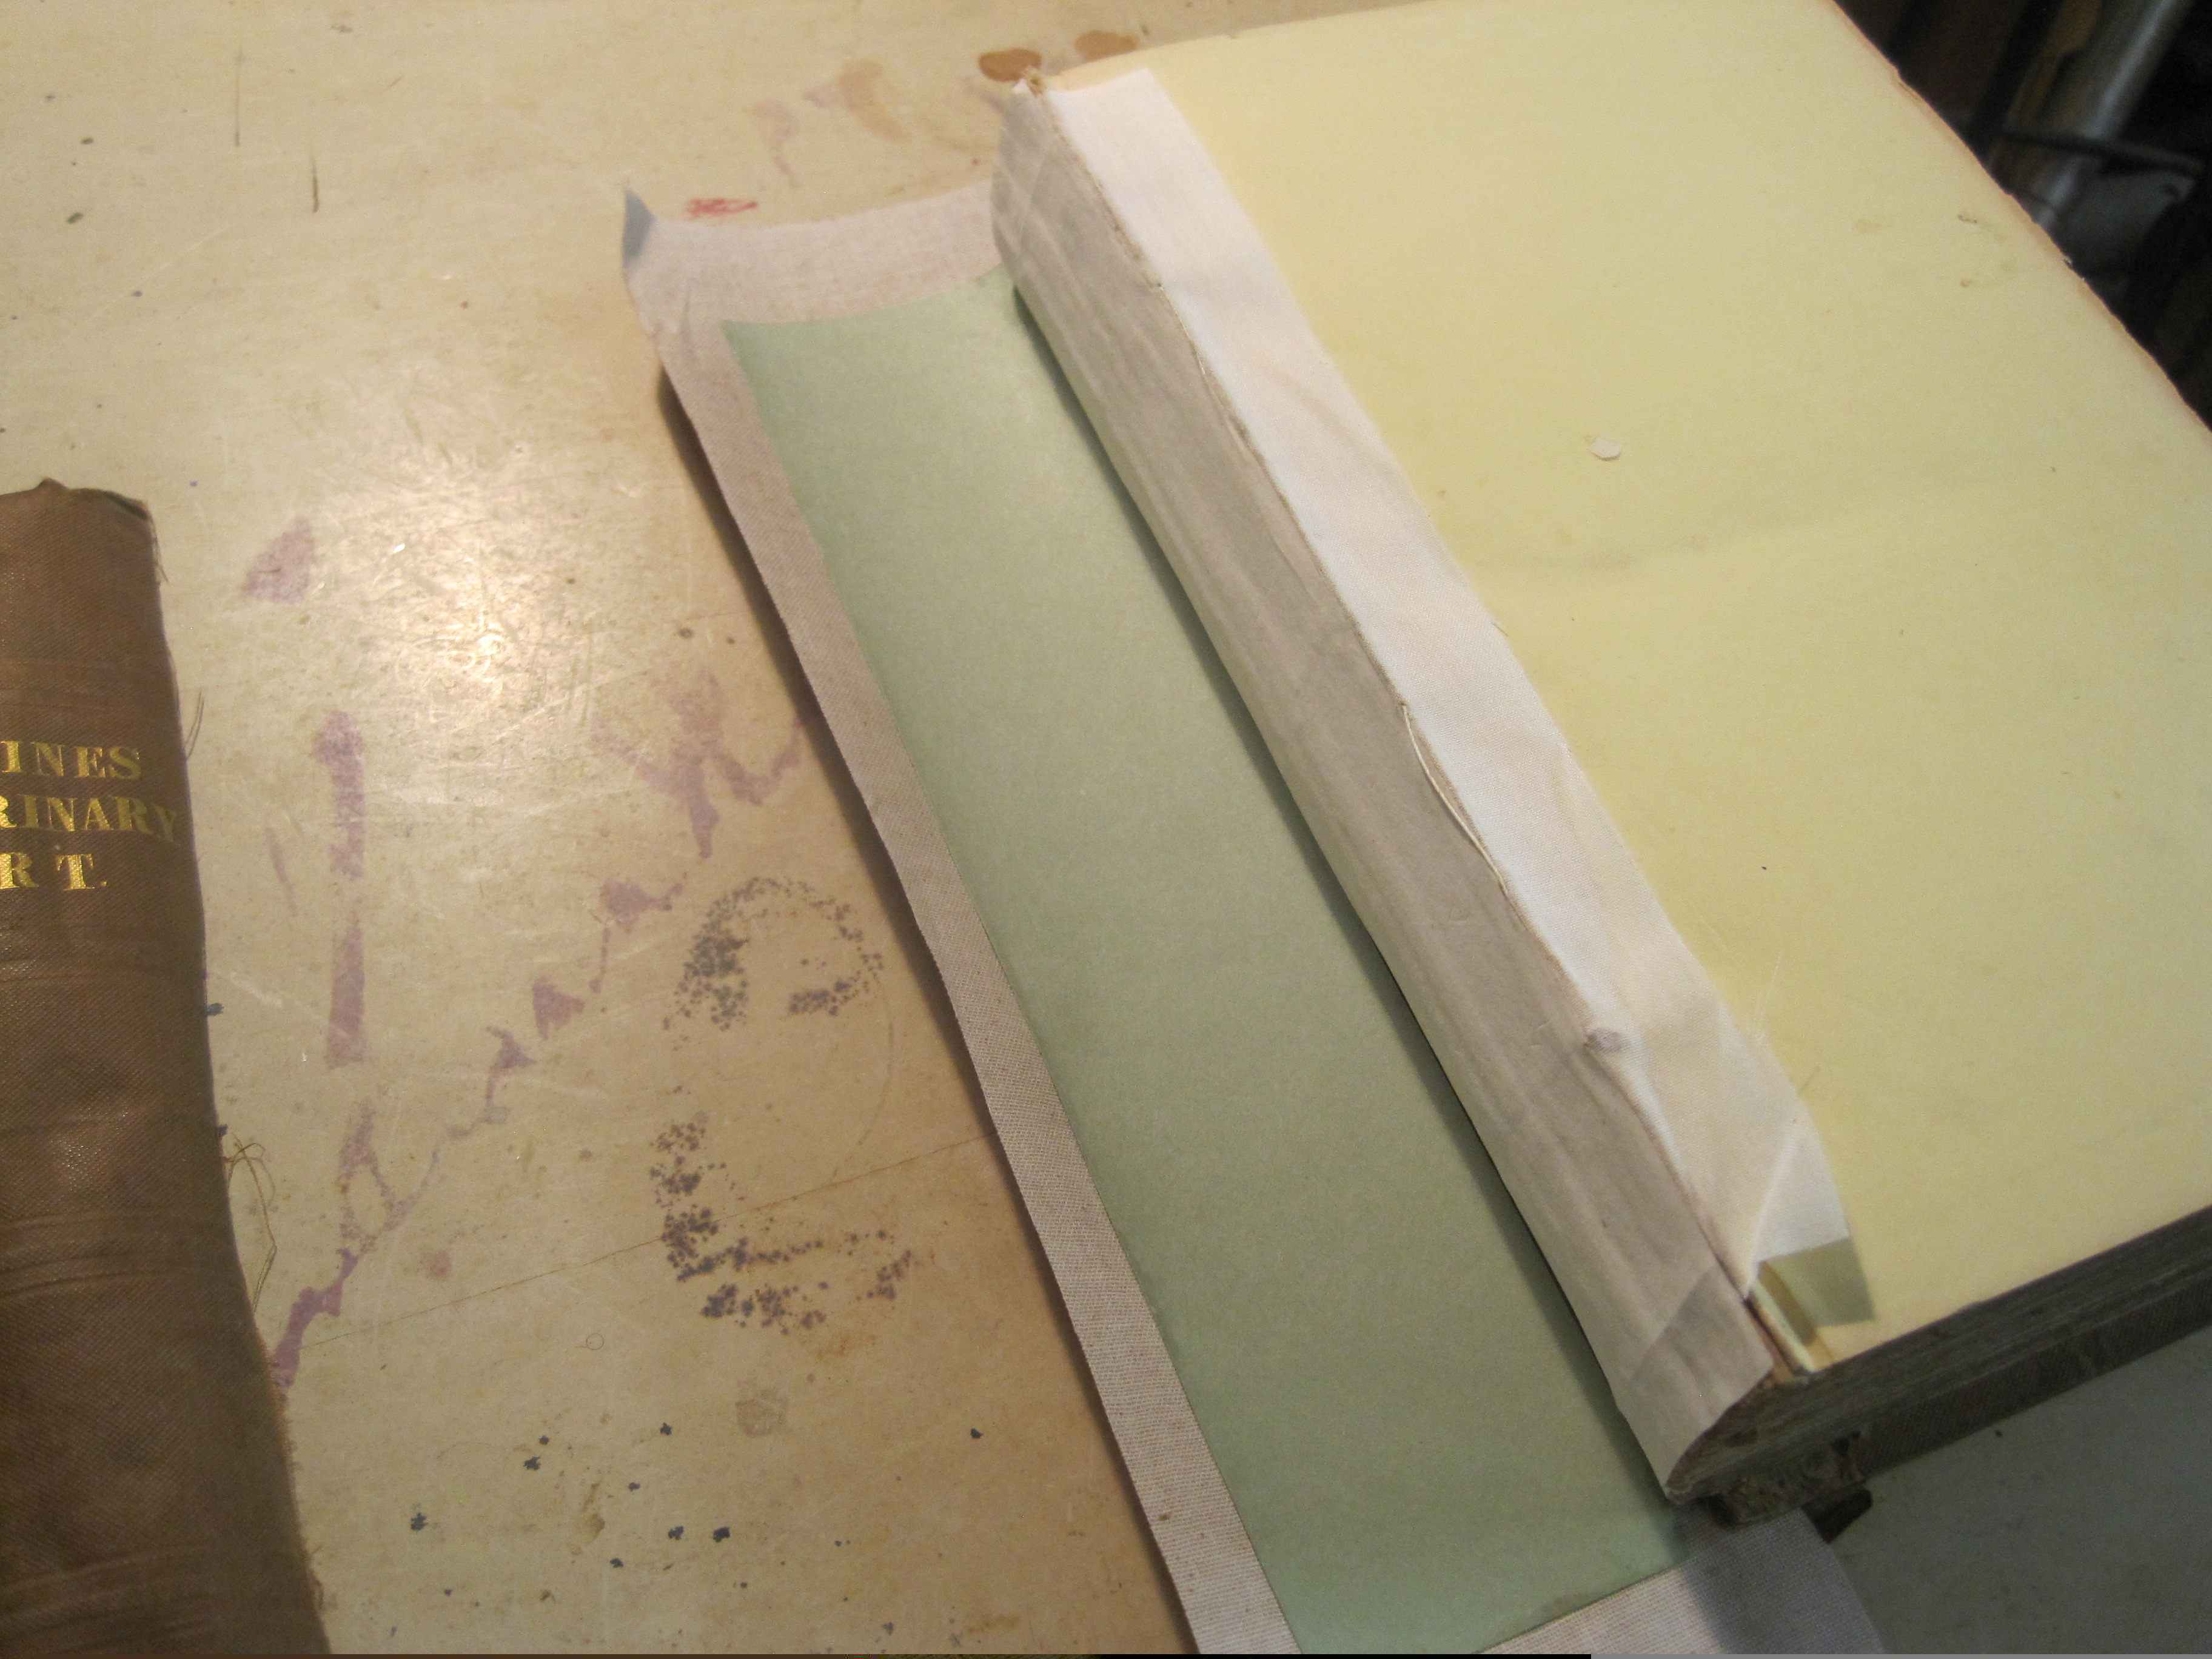
Now the new cloth has to be lined, as normal for a cloth spine. Use stiff paper or thin card but thinner that the old liner you took off at the beginning. You want to replicate the stiffness of the original, but after the repair there will be two layers of cloth on the spine, not one, so make the liner a bit thinner to compensate. Make sure the grain of the liner is up the spine.
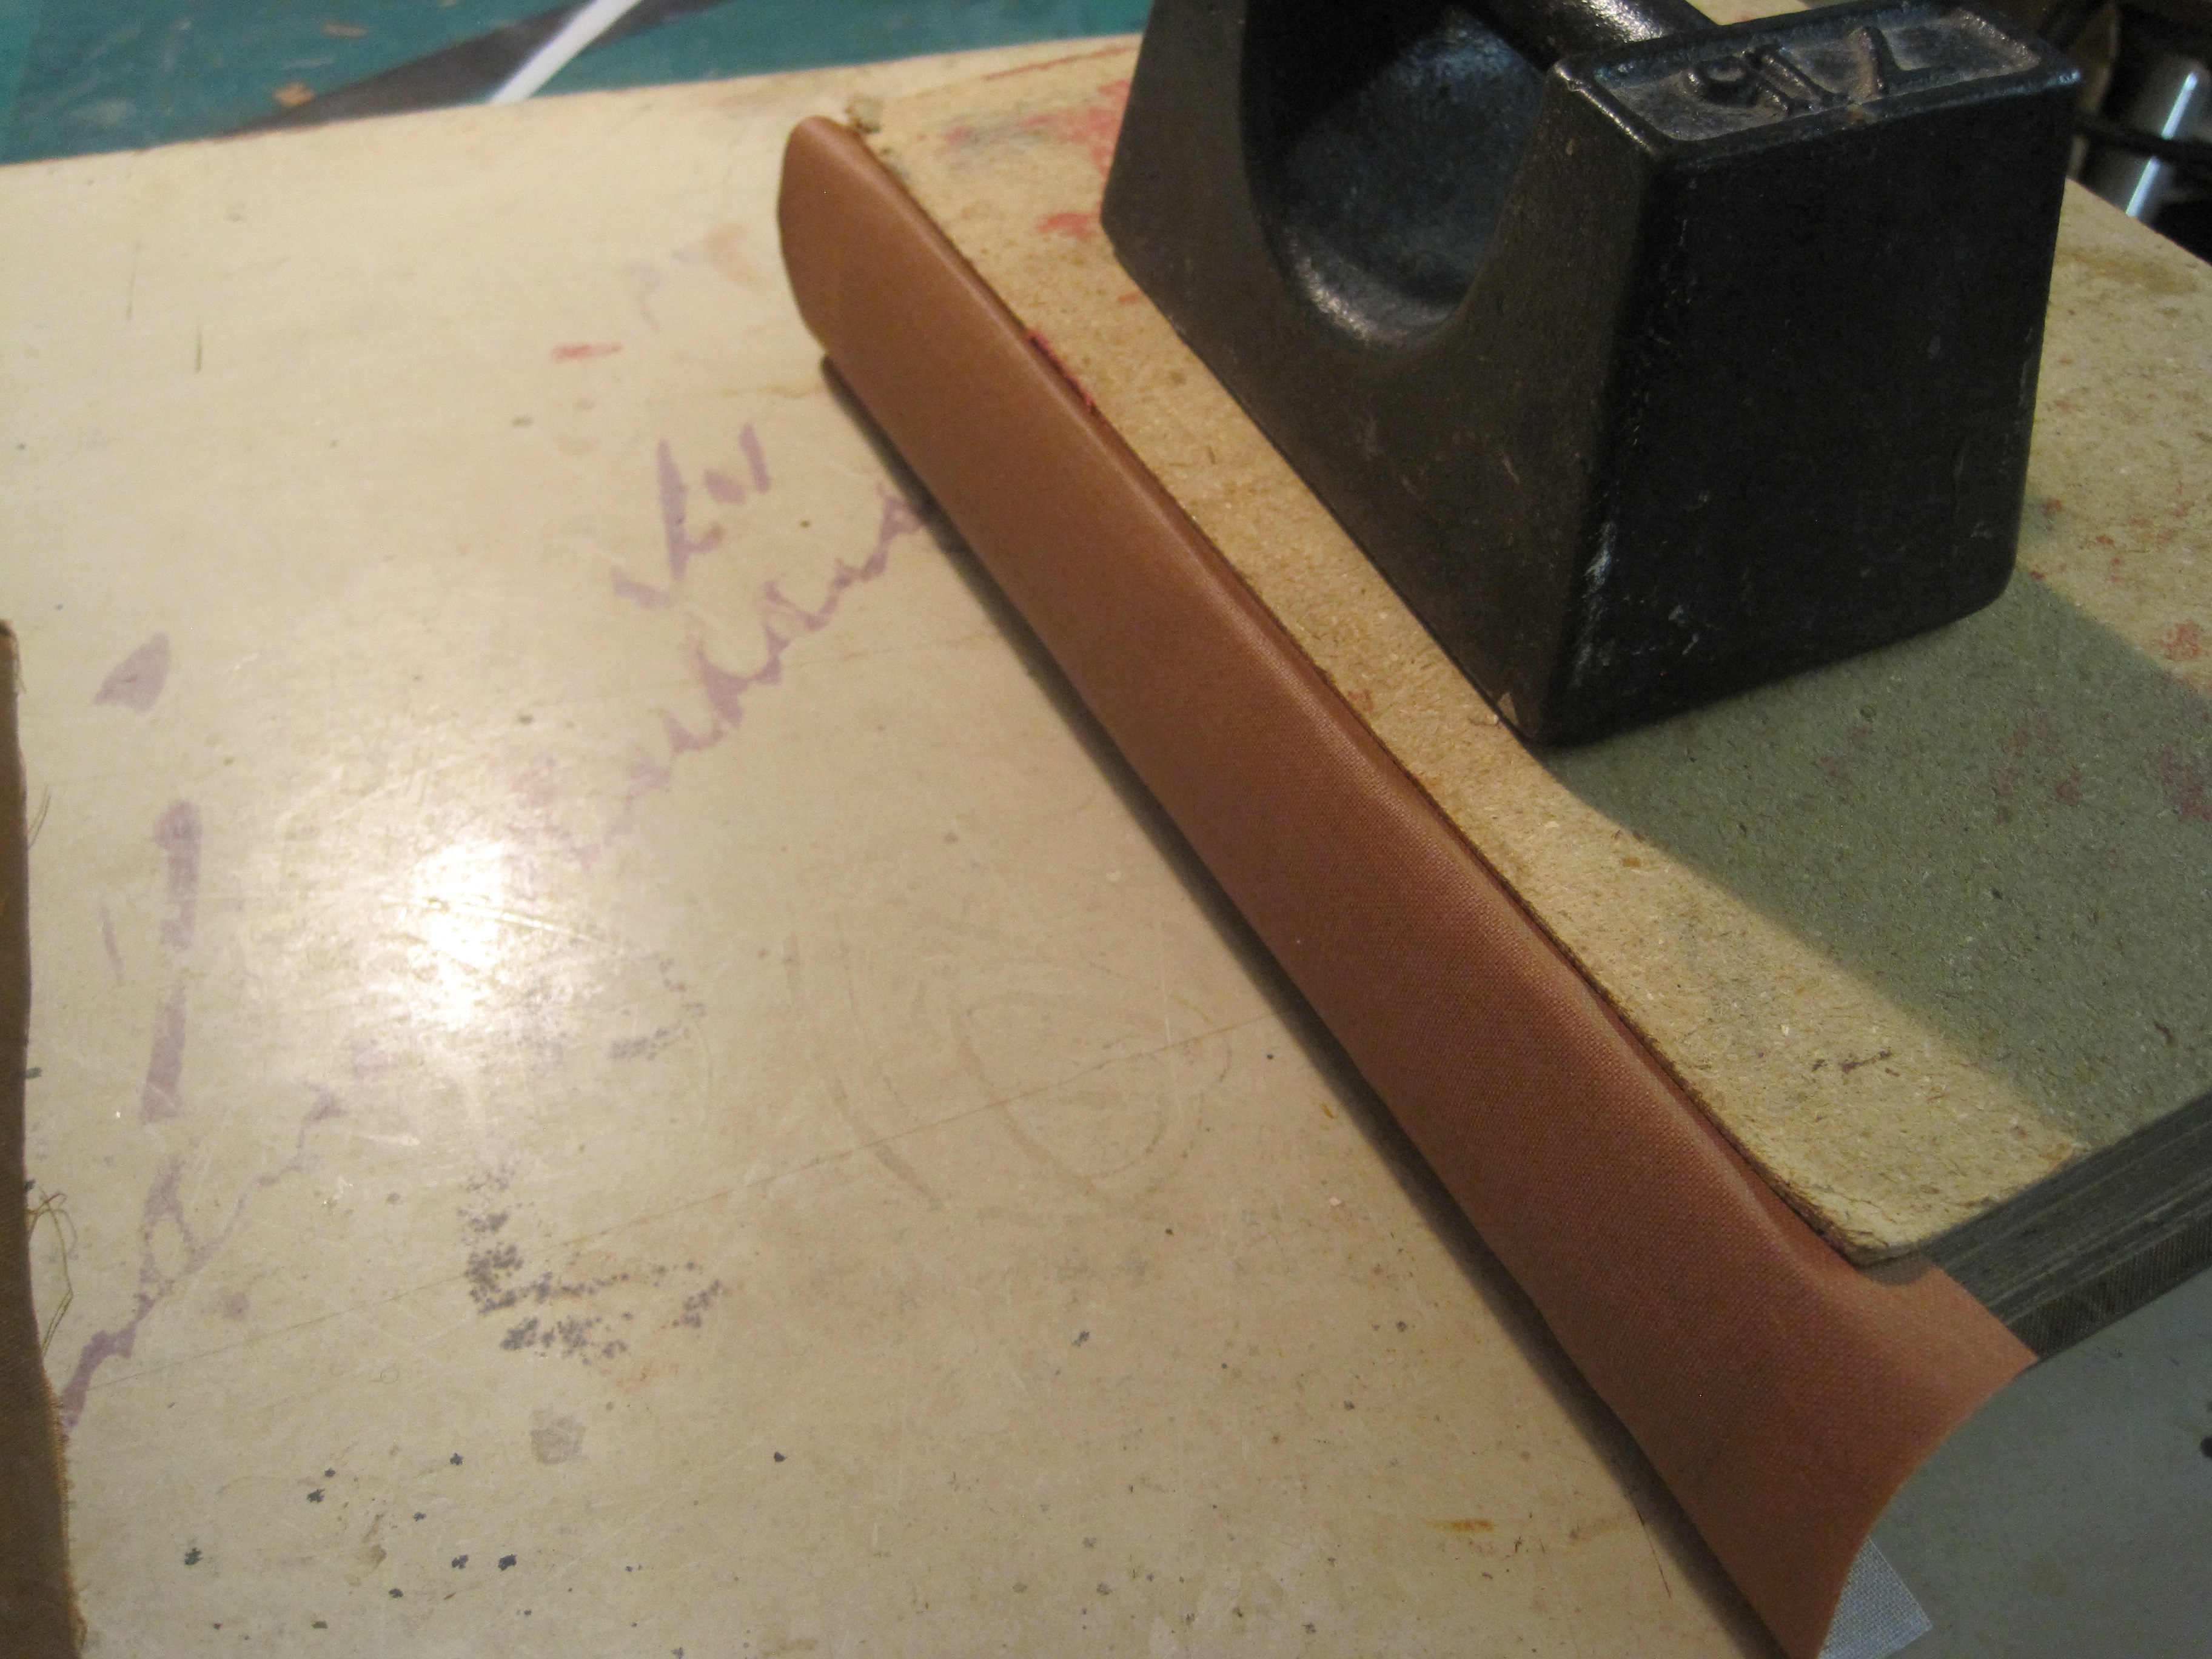
As soon as you have glued the liner in place fold it round the back and hold it in place for a few minutes – this will set it in the shape you want.
Attach the other board as before – fraynot fabric and new cloth on top, under the lifted edge of the old cloth.
Now glue down the lifted edges or the original cloth on to the new cloth – use glue (sparingly) not paste as paste will penetrate the cloth and may stain. Then do the same with the flap of the old spine strip.

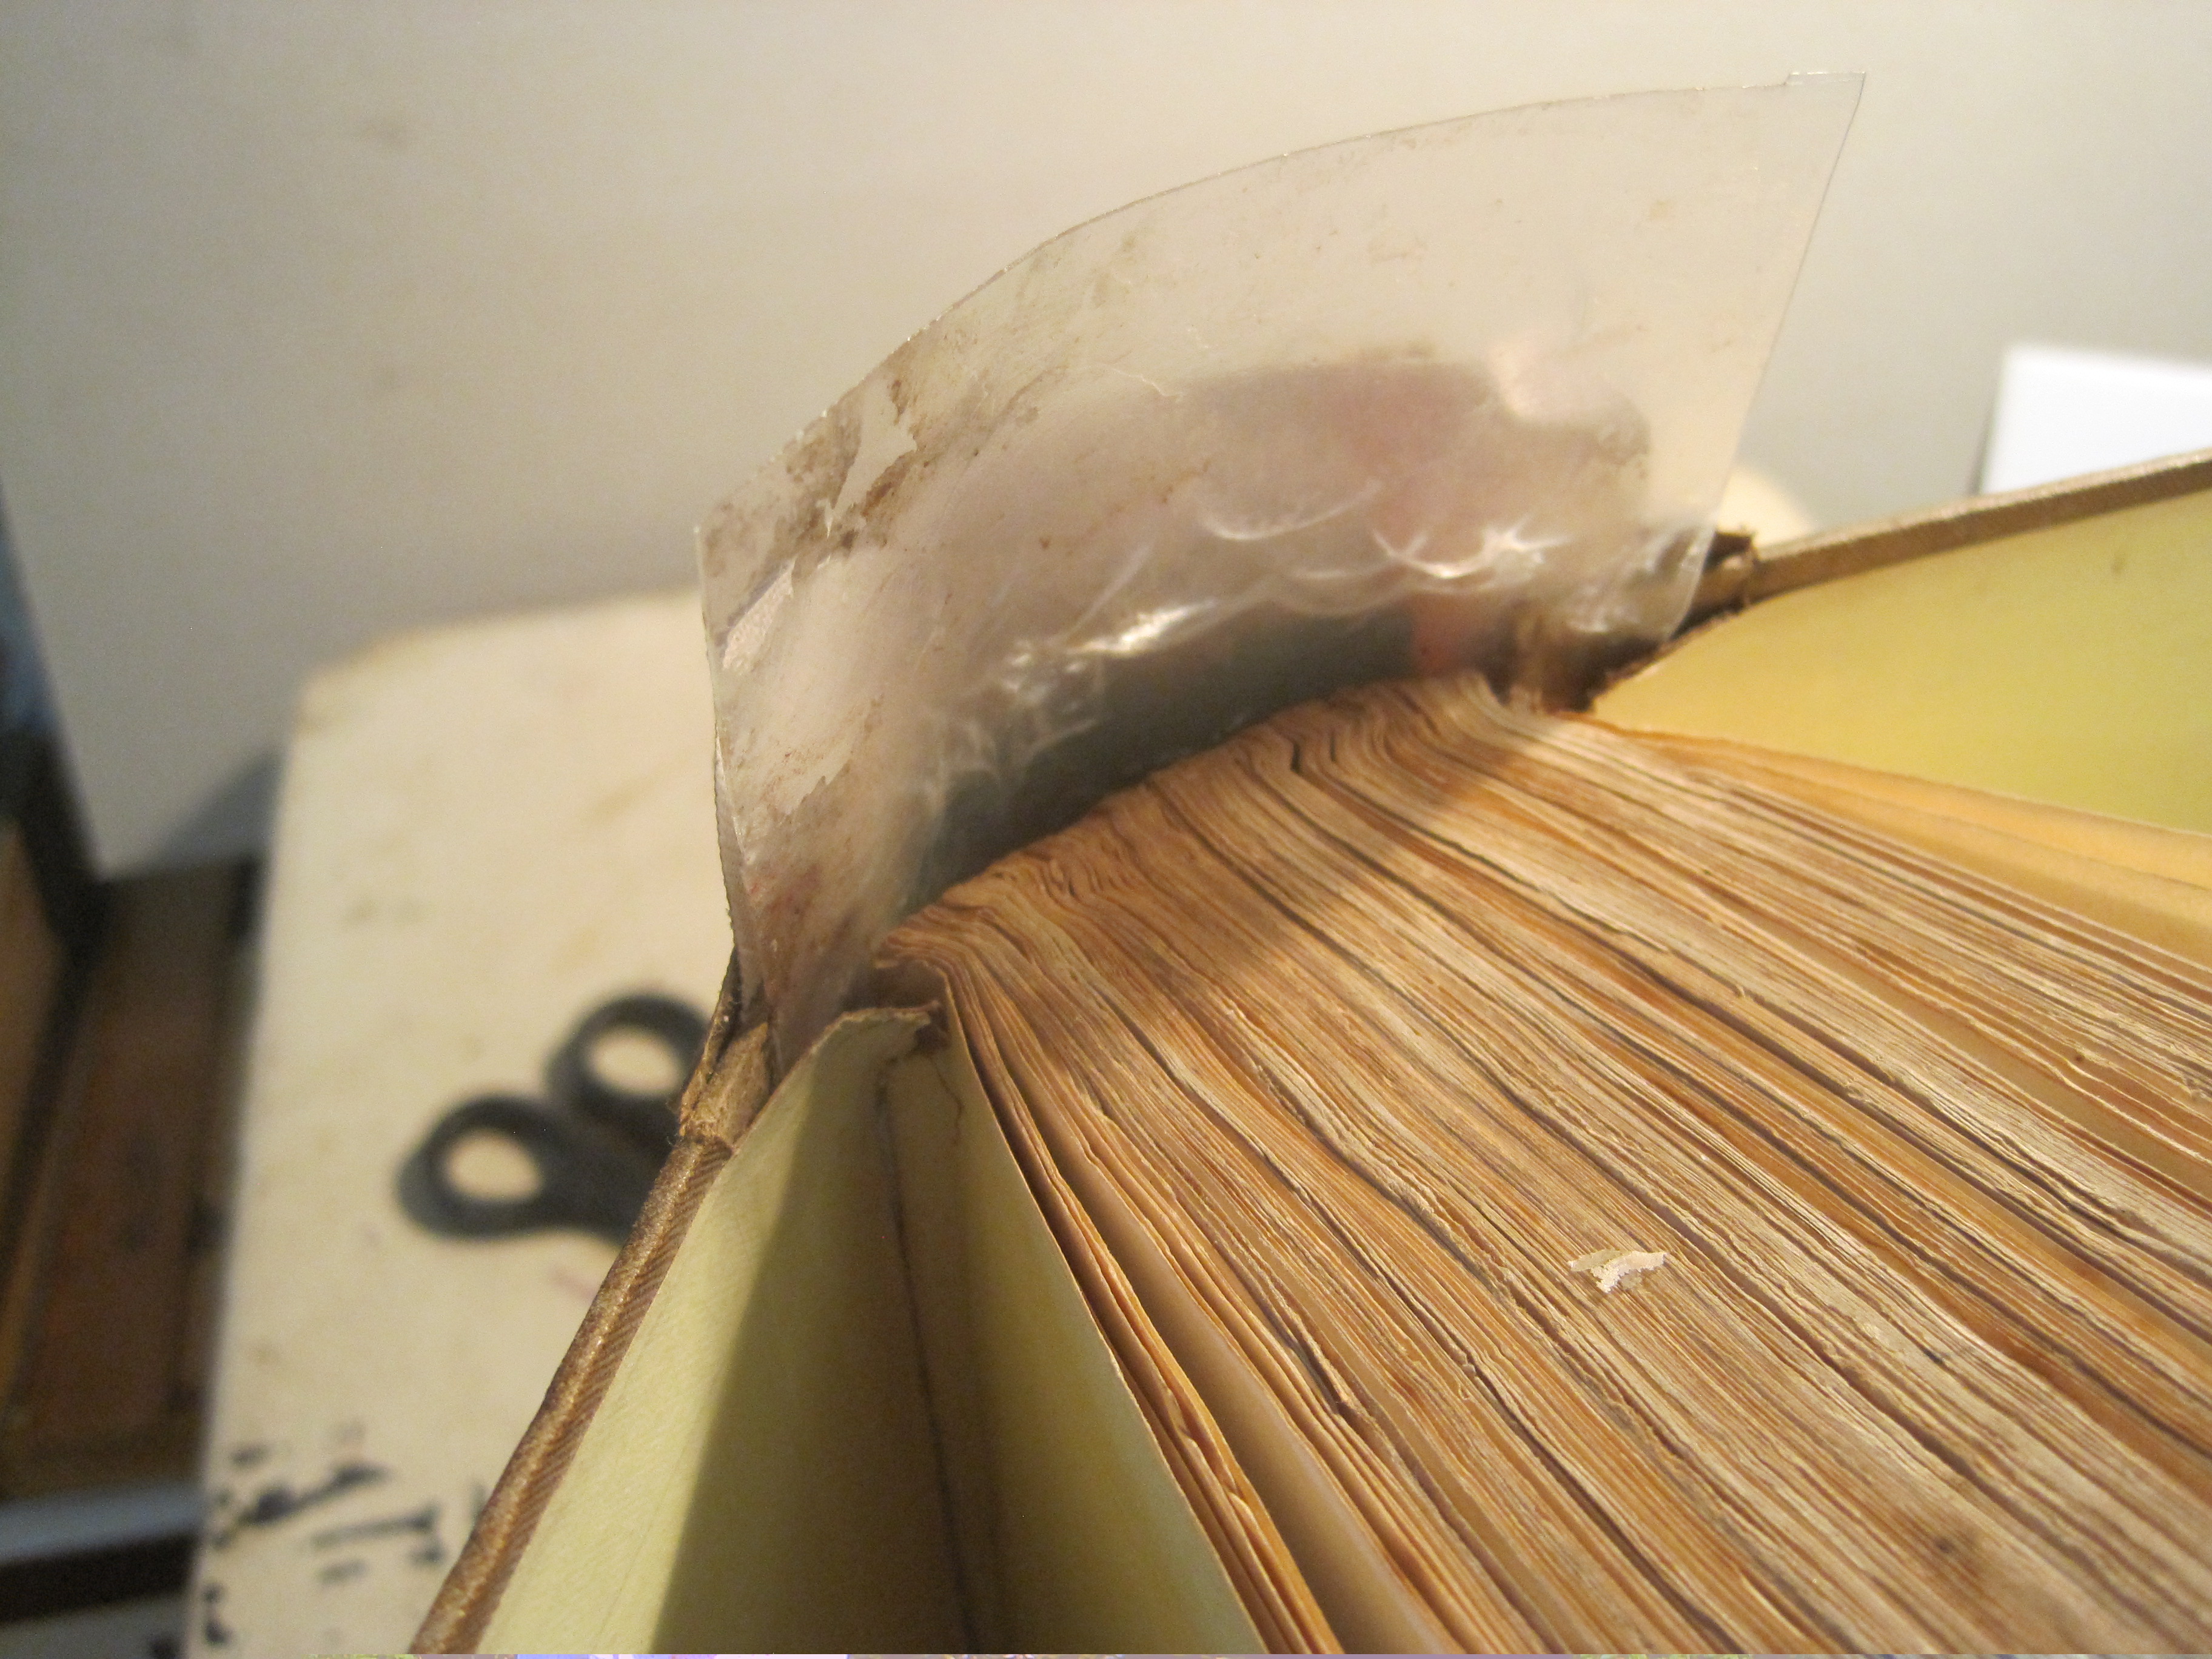
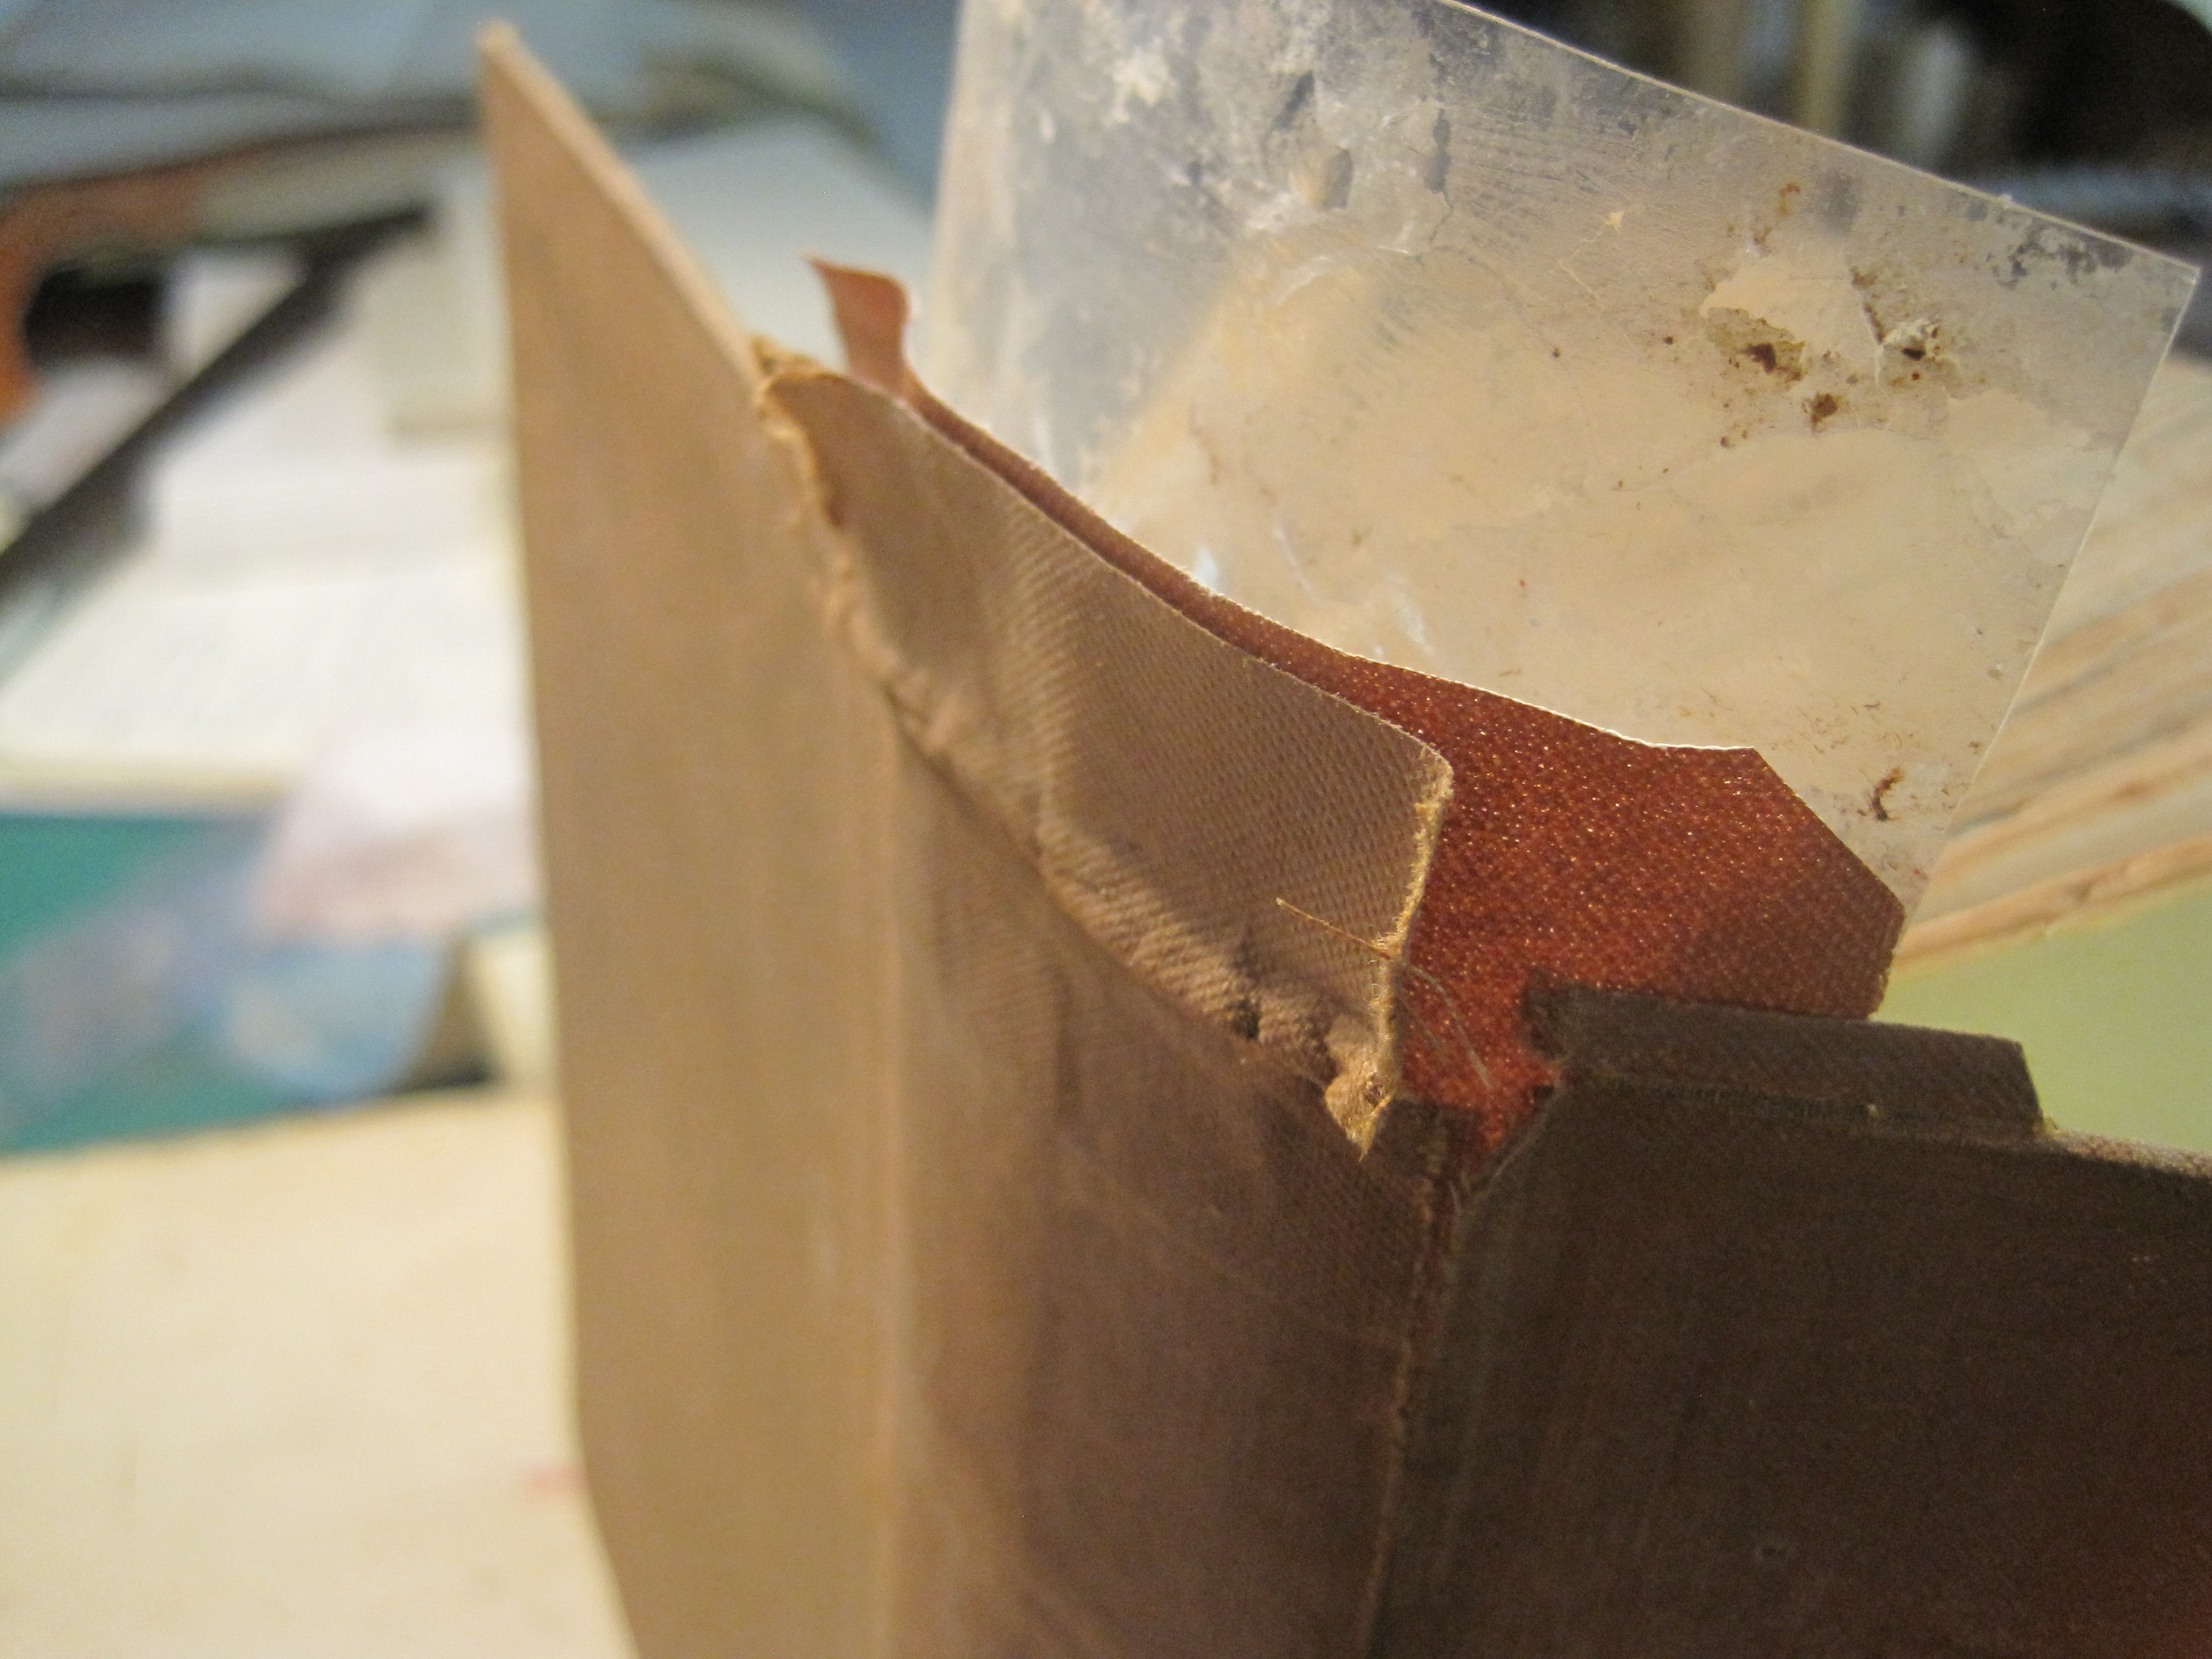
Next, the head and tail of the spine need to be turned in. There is a risk of getting glue on to the surface of the pages at top and bottom as you try to fold glued flaps into the hollow and to avoid this I use a piece of flexible acetate (a piece of thin card will do just as well but the acetate is better as it can be wiped clean each time and re-used indefinitely).
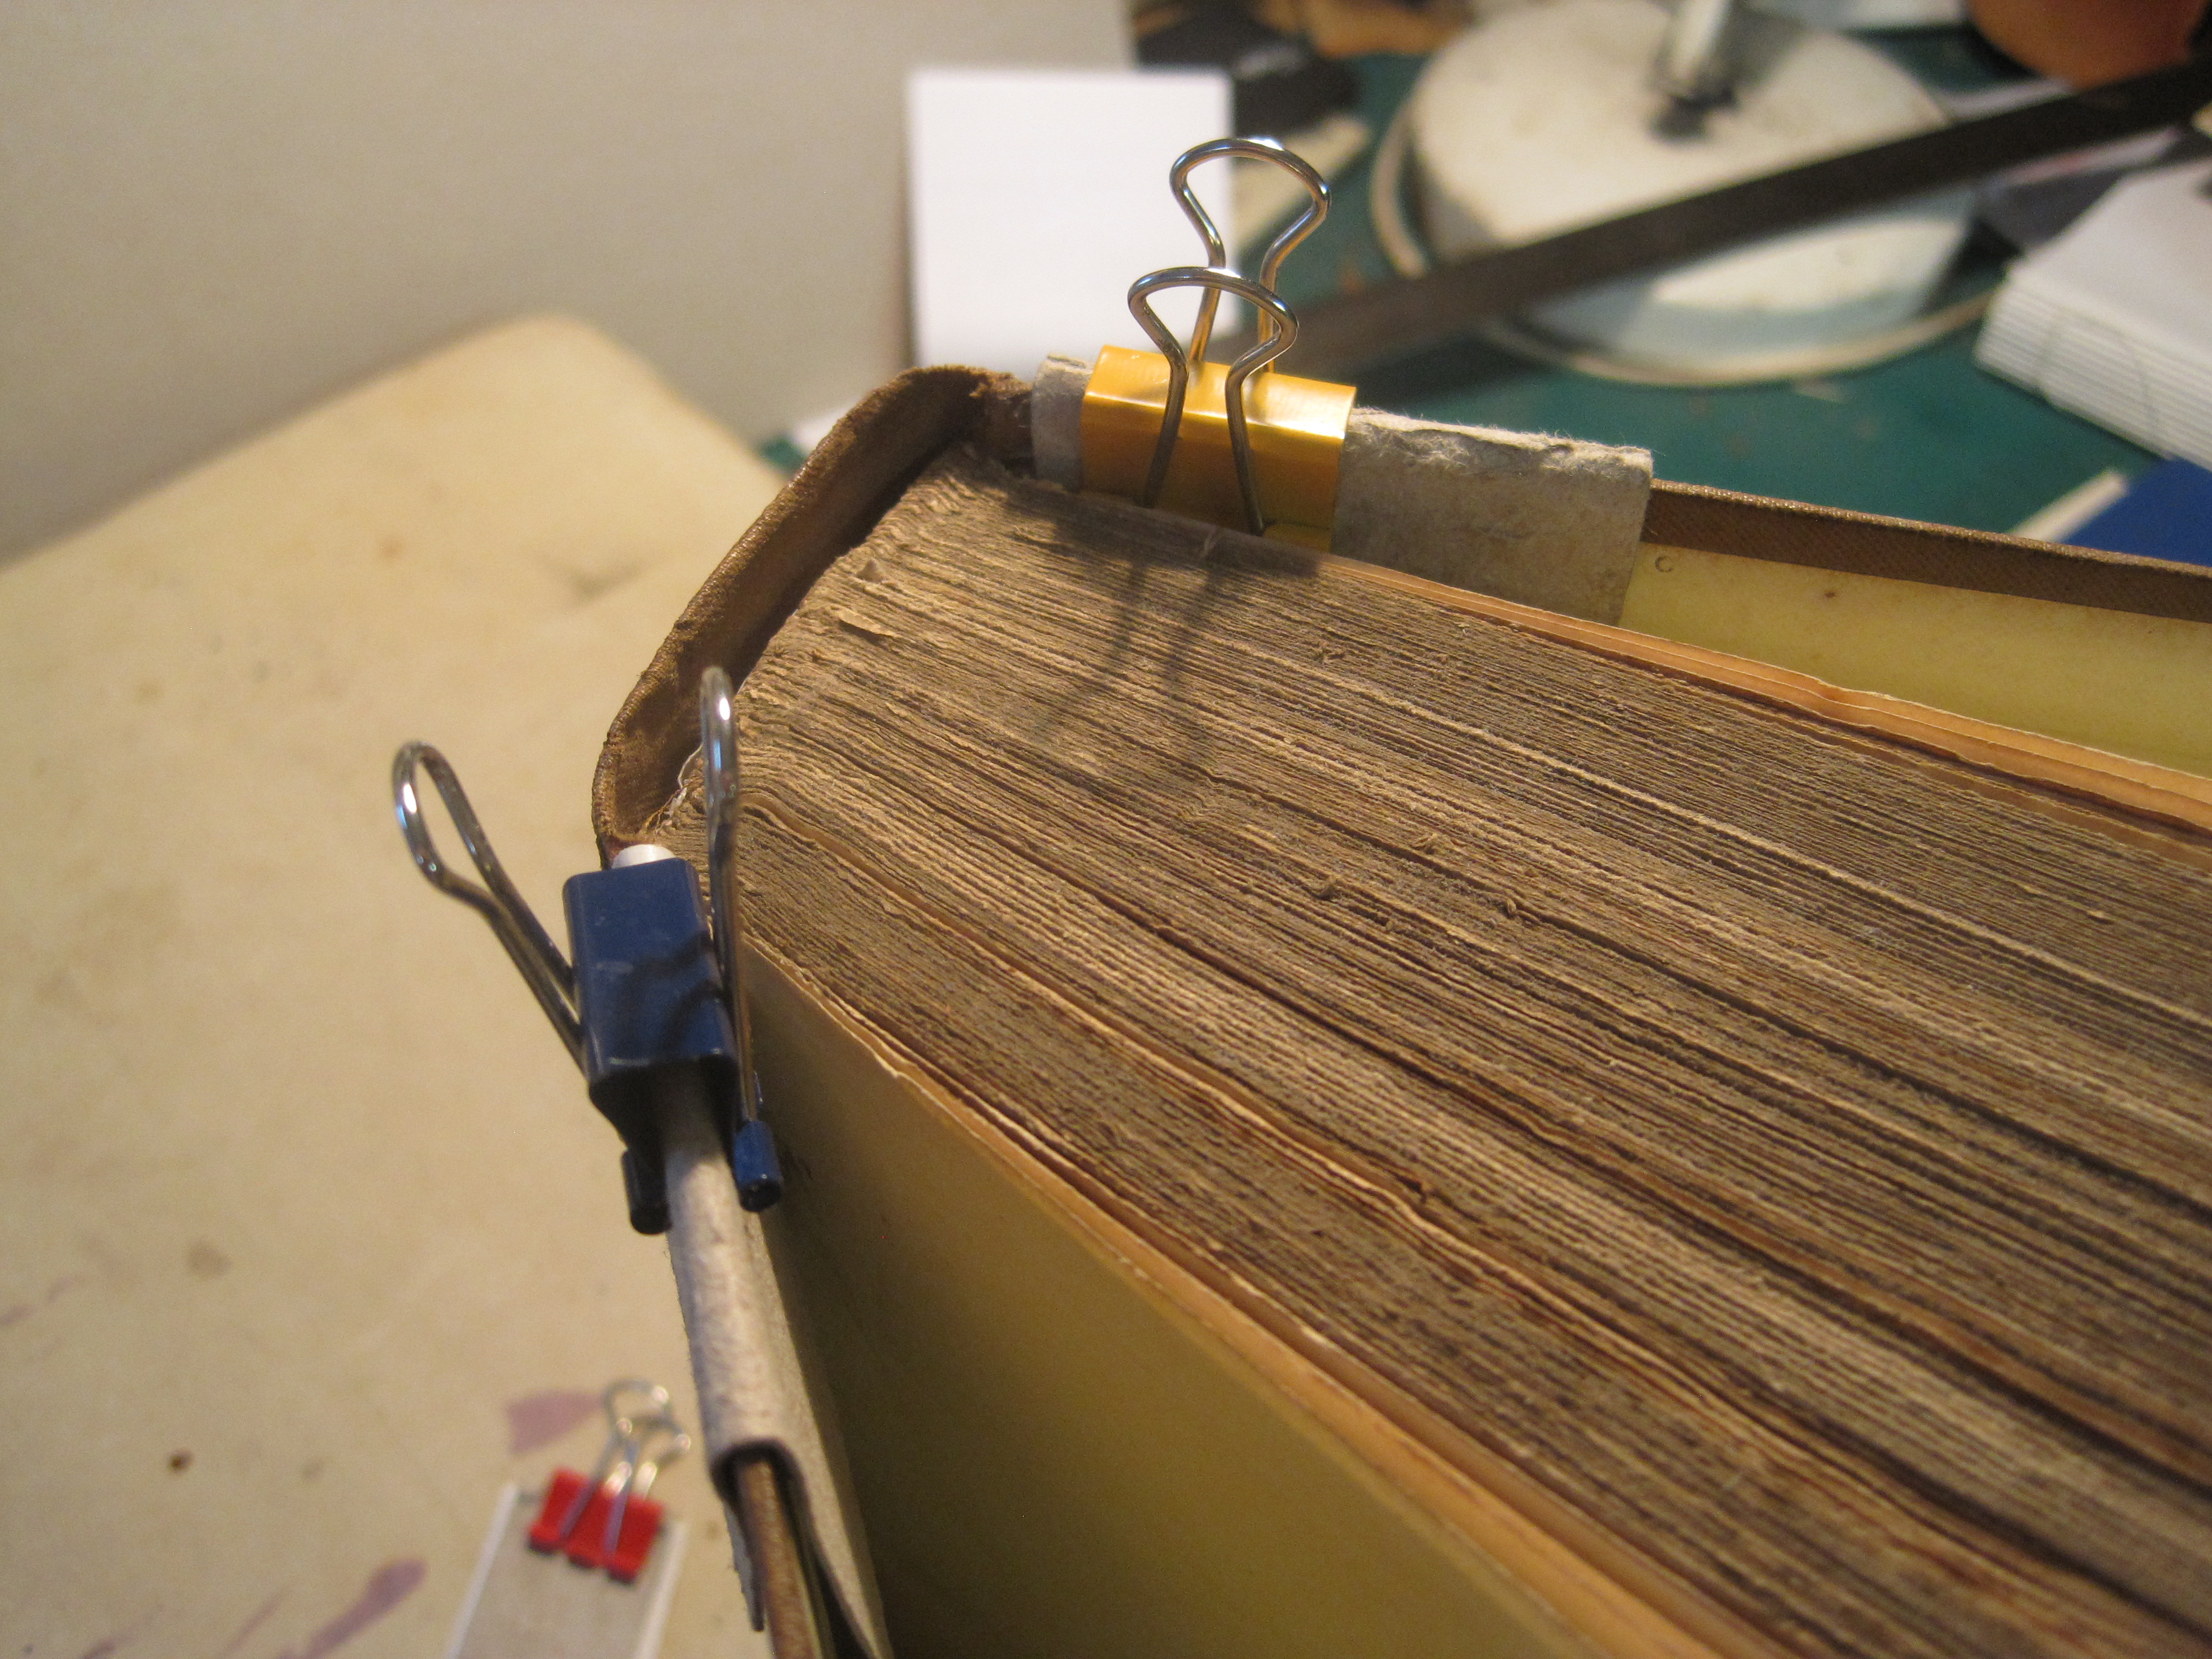
Then fold the little flaps at the top corners of the boards over to meet the top edges of the endpapers and set in place with a fold of release paper, a fold of thin card and a small butterfly clip.
All that remains is to colour frayed or rubbed areas with acrylic paint, paste down any odd frayed bits and polish the whole thing.
NB In this case the corners were OK – I will show how to improve bent or damaged corners another time.

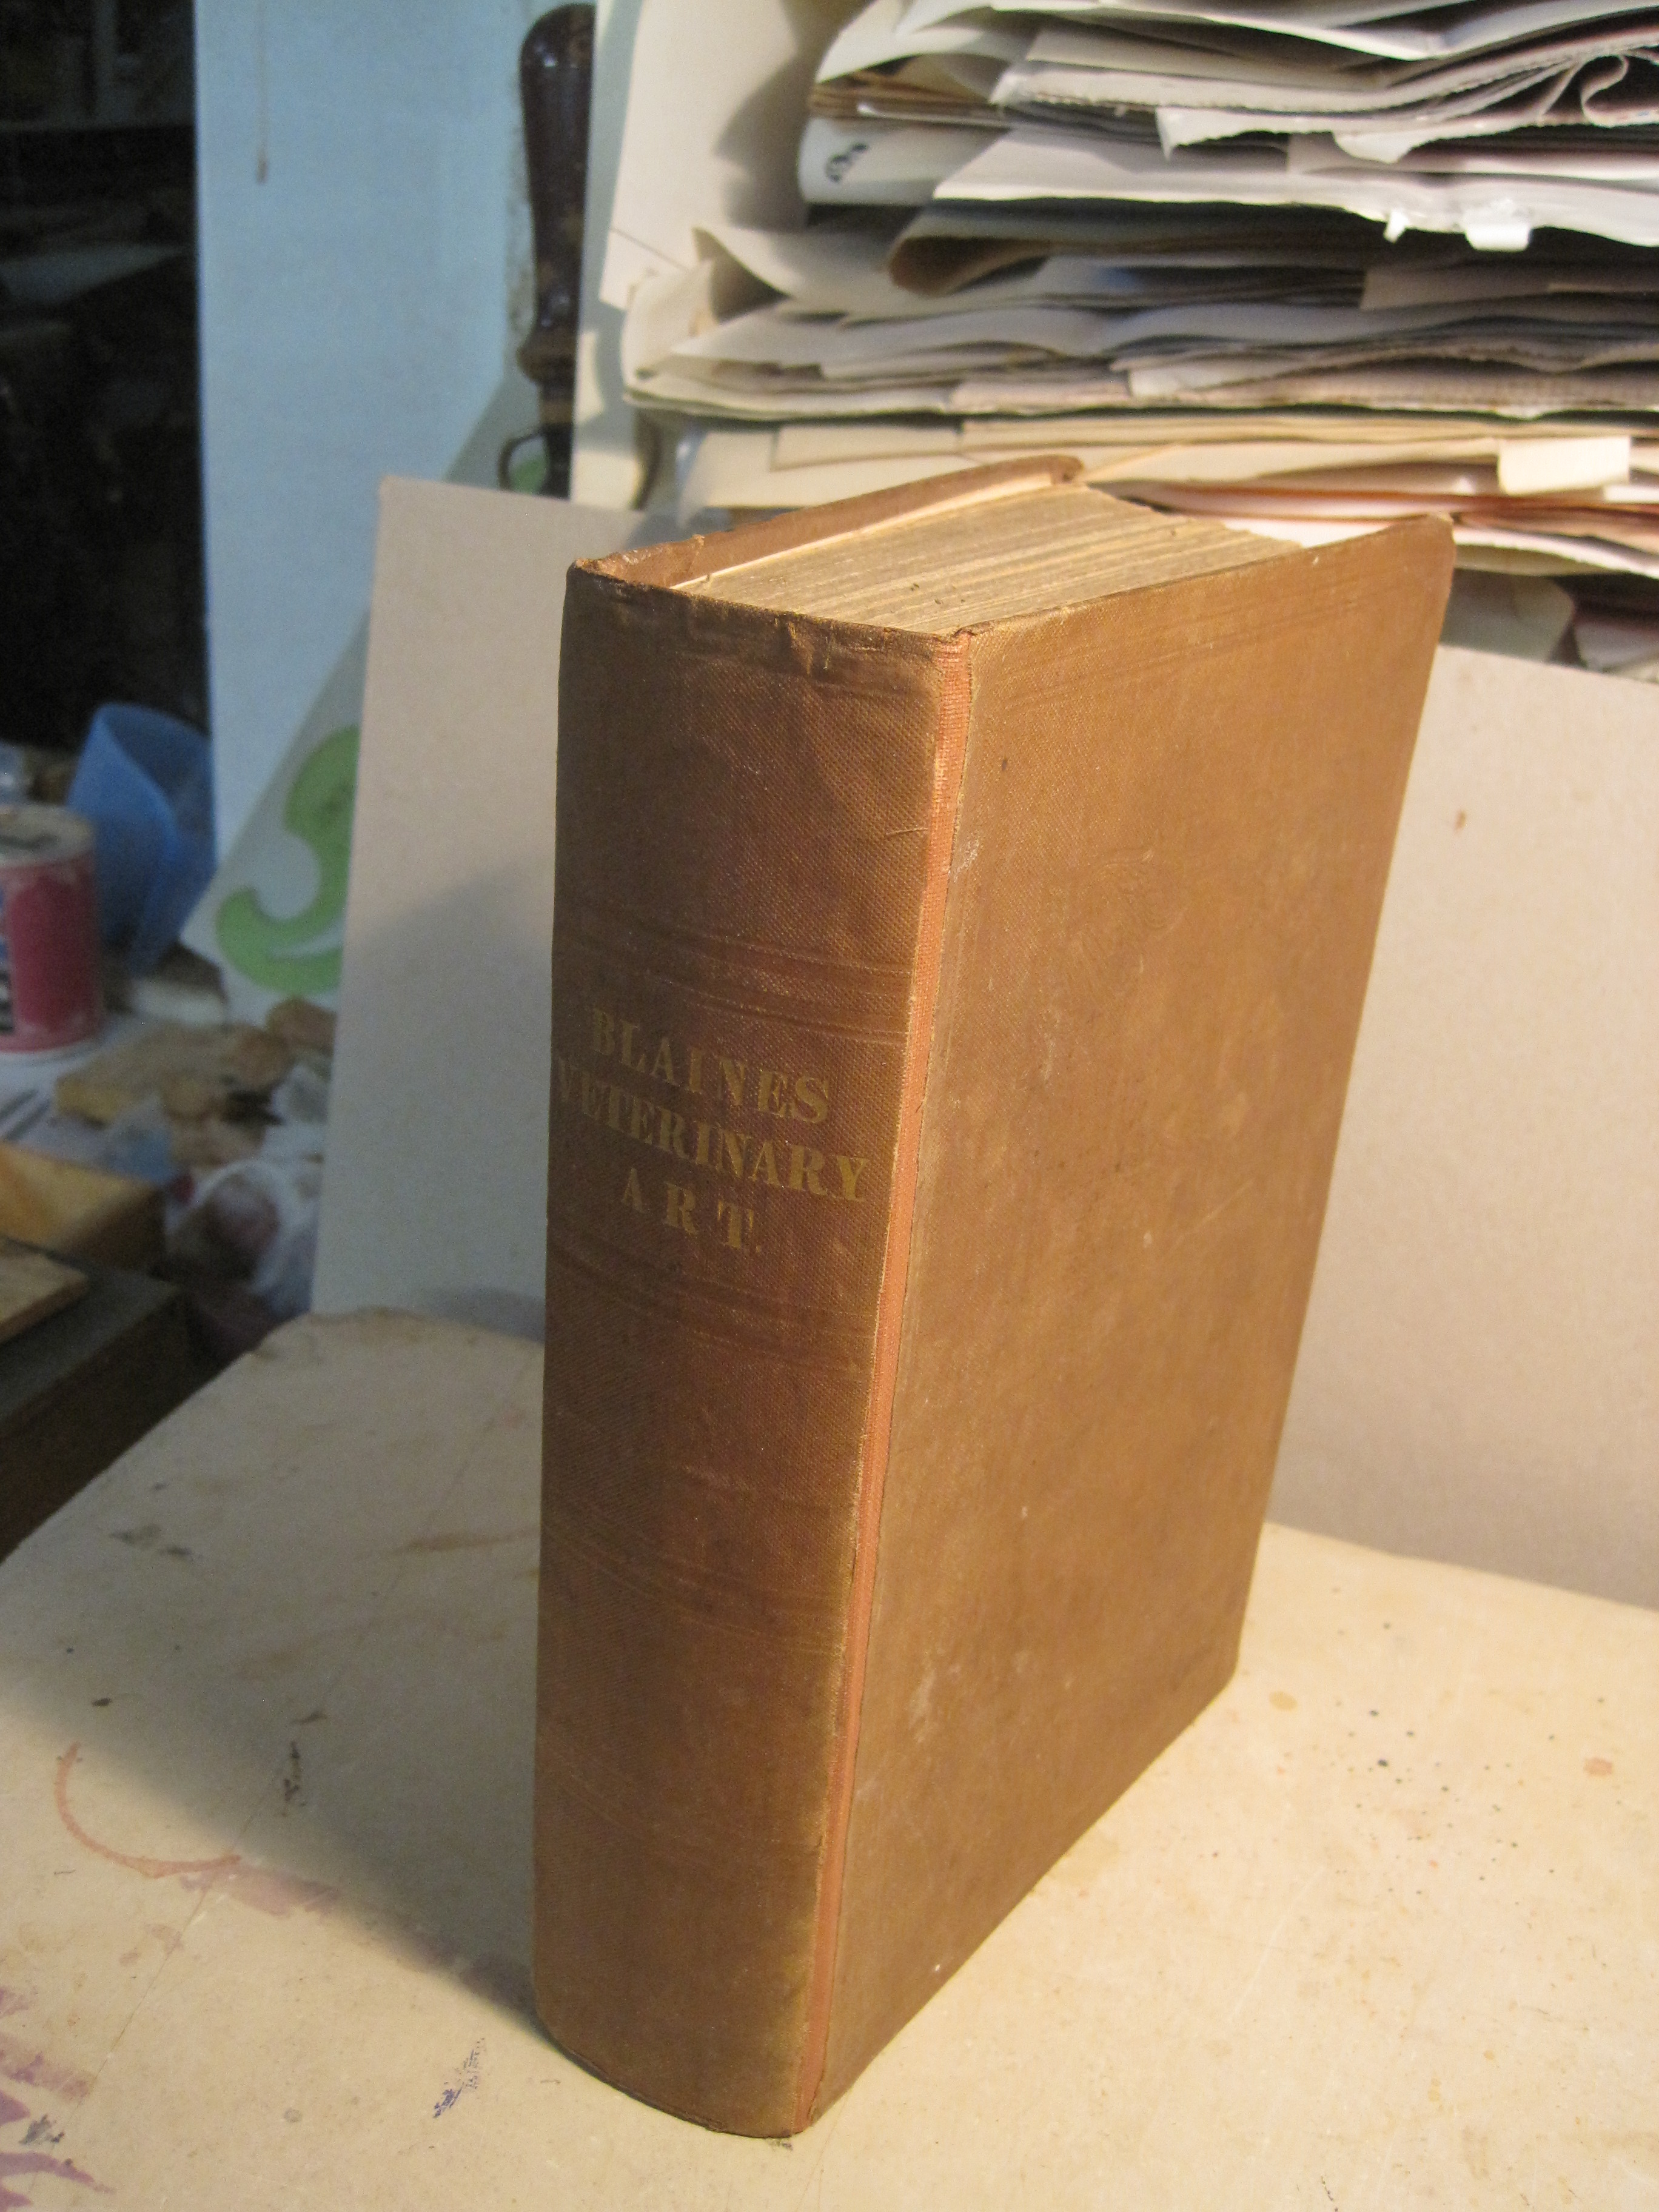
A reminder! This is a repair, not a restoration, so there will be small lumps or creases and the colour match will not be exact. But it will work as a book and will not be harmed by normal use.

Hi Chris,
Fascinating stuff! We met at SoB Western Region’s AGM last Saturday (19 March) when I was telling you about making models of Byzantine codices and you gave me details of this blog. I am going to make my way slowly through it as there are so many hints and tips that I can learn from.
I am a keen amateur, only been binding for the past 3 years or so following retirement, so I have much to learn. I have only done a little book repair work to date and I am working on a late Victorian cheap edition of Alice at the moment. A few questions on these 2 posts:
– my text block is ‘cocked’: I have stripped the spine off, cleaned it back to the sections and put it back into shape in the press. Then I re-glued the spine, lined it with Fraynot and covered with card. Problem is that when I removed the text block from the press it reverted almost to its former cocked state. At this stage is there anything I can do to to try and reshape it again?
– how do you manage the hinge on the inside of the covers and avoid an unsightly gutter? In my case, half of the endpapers are missing front and back, so I am sewing in new endpapers, but I’m thinking that unless I use some Japanese repair paper to cover over it, I may still have an awkward gutter. Any suggestions?
– on the new spine covering, I am not sure I fully understand how you dealt with tucking over the new covering material onto the inside board. Did you just lift the old cloth when you slotted it under and then glue it down again or did you tuck over the new spine lining material?
Many thanks for generously sharing your knowledge and experience.
Peter
LikeLike