But first, welcome to our first viewer from Macedonia, where I spent happy times (working!) twenty years ago.
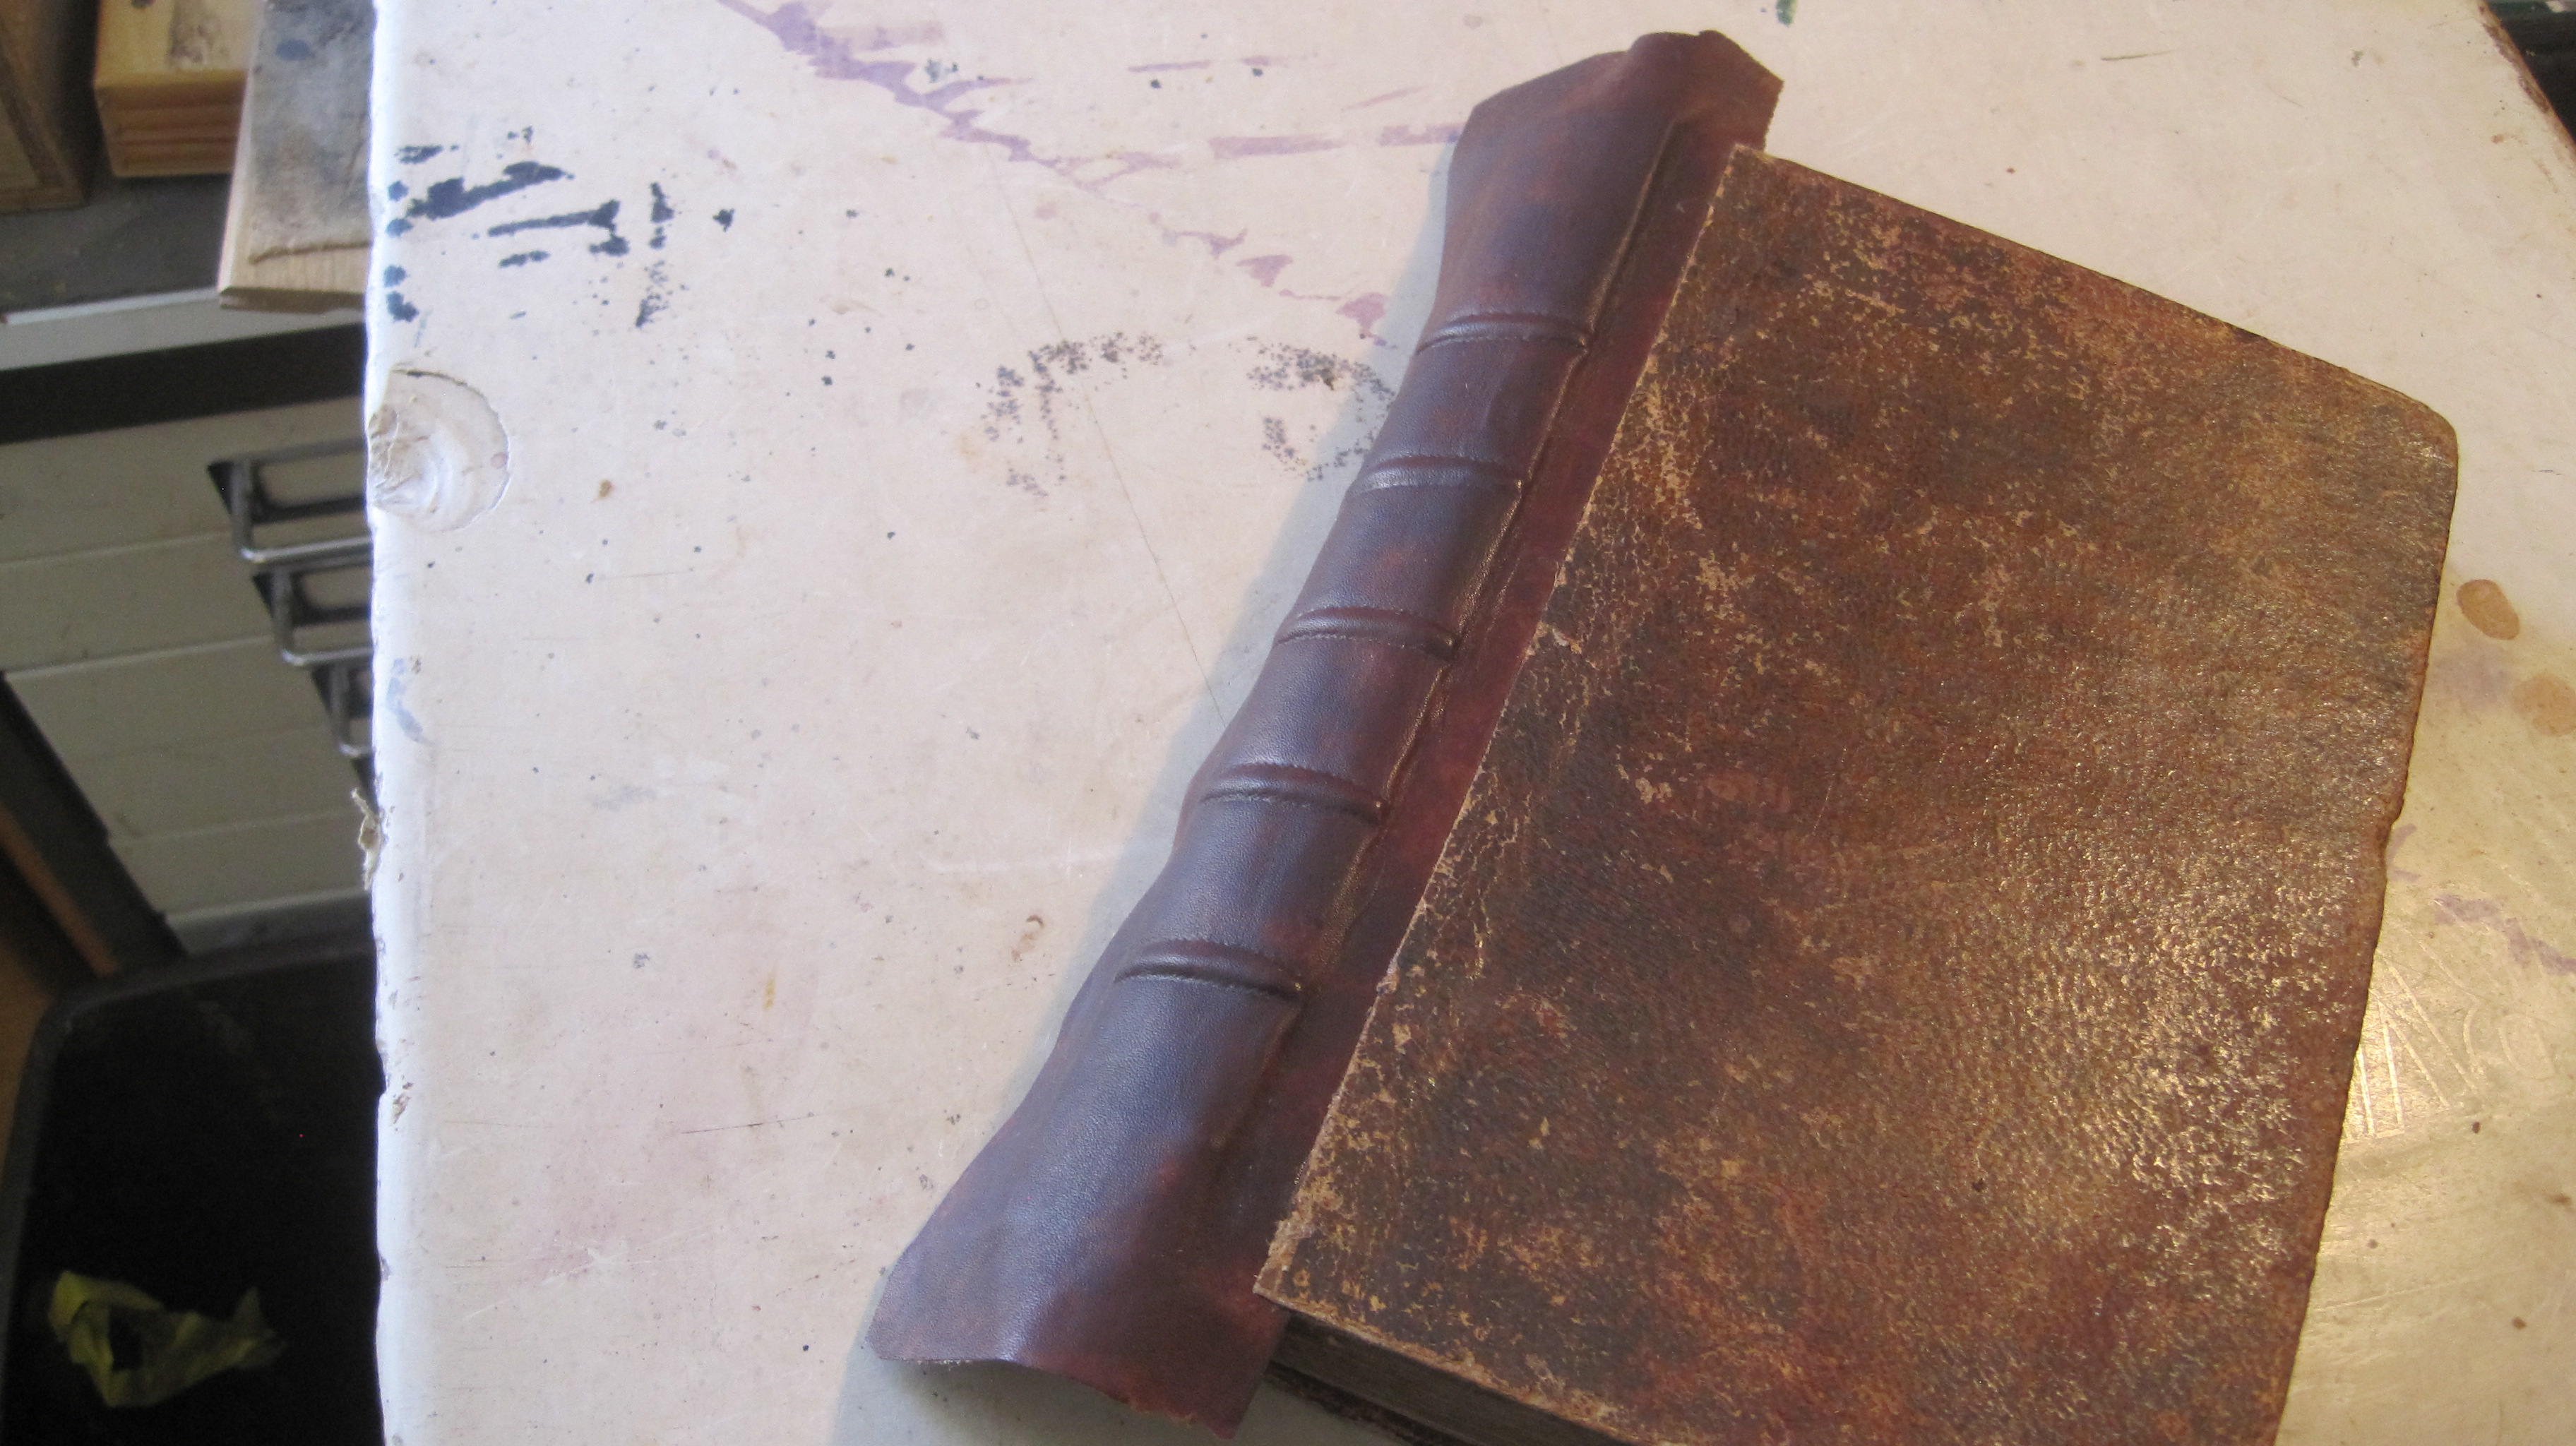
You could see in the previous ‘headbanding’ post that the book in question had raised bands on the spine. The original tight leather covering had completely decayed so it was cleaned off and the spine lined with strong thin cotton fabric (‘Fraynot’) which also acts as new hinges for the boards. Re-backing the book in leather as before, as a ‘tight back’ is fine, but I have found the book works better when finished if it has a hollow back – it opens better and the risk of future failure at the joints is reduced.
But the original raised cords on the spine preclude a traditional hollow. My solution is to shape a strip of thin card to fit over the old cords and then use it as the liner (stiffener) inside the new leather spine.
The picture below is out of focus, I’m afraid, but it shows the principal points
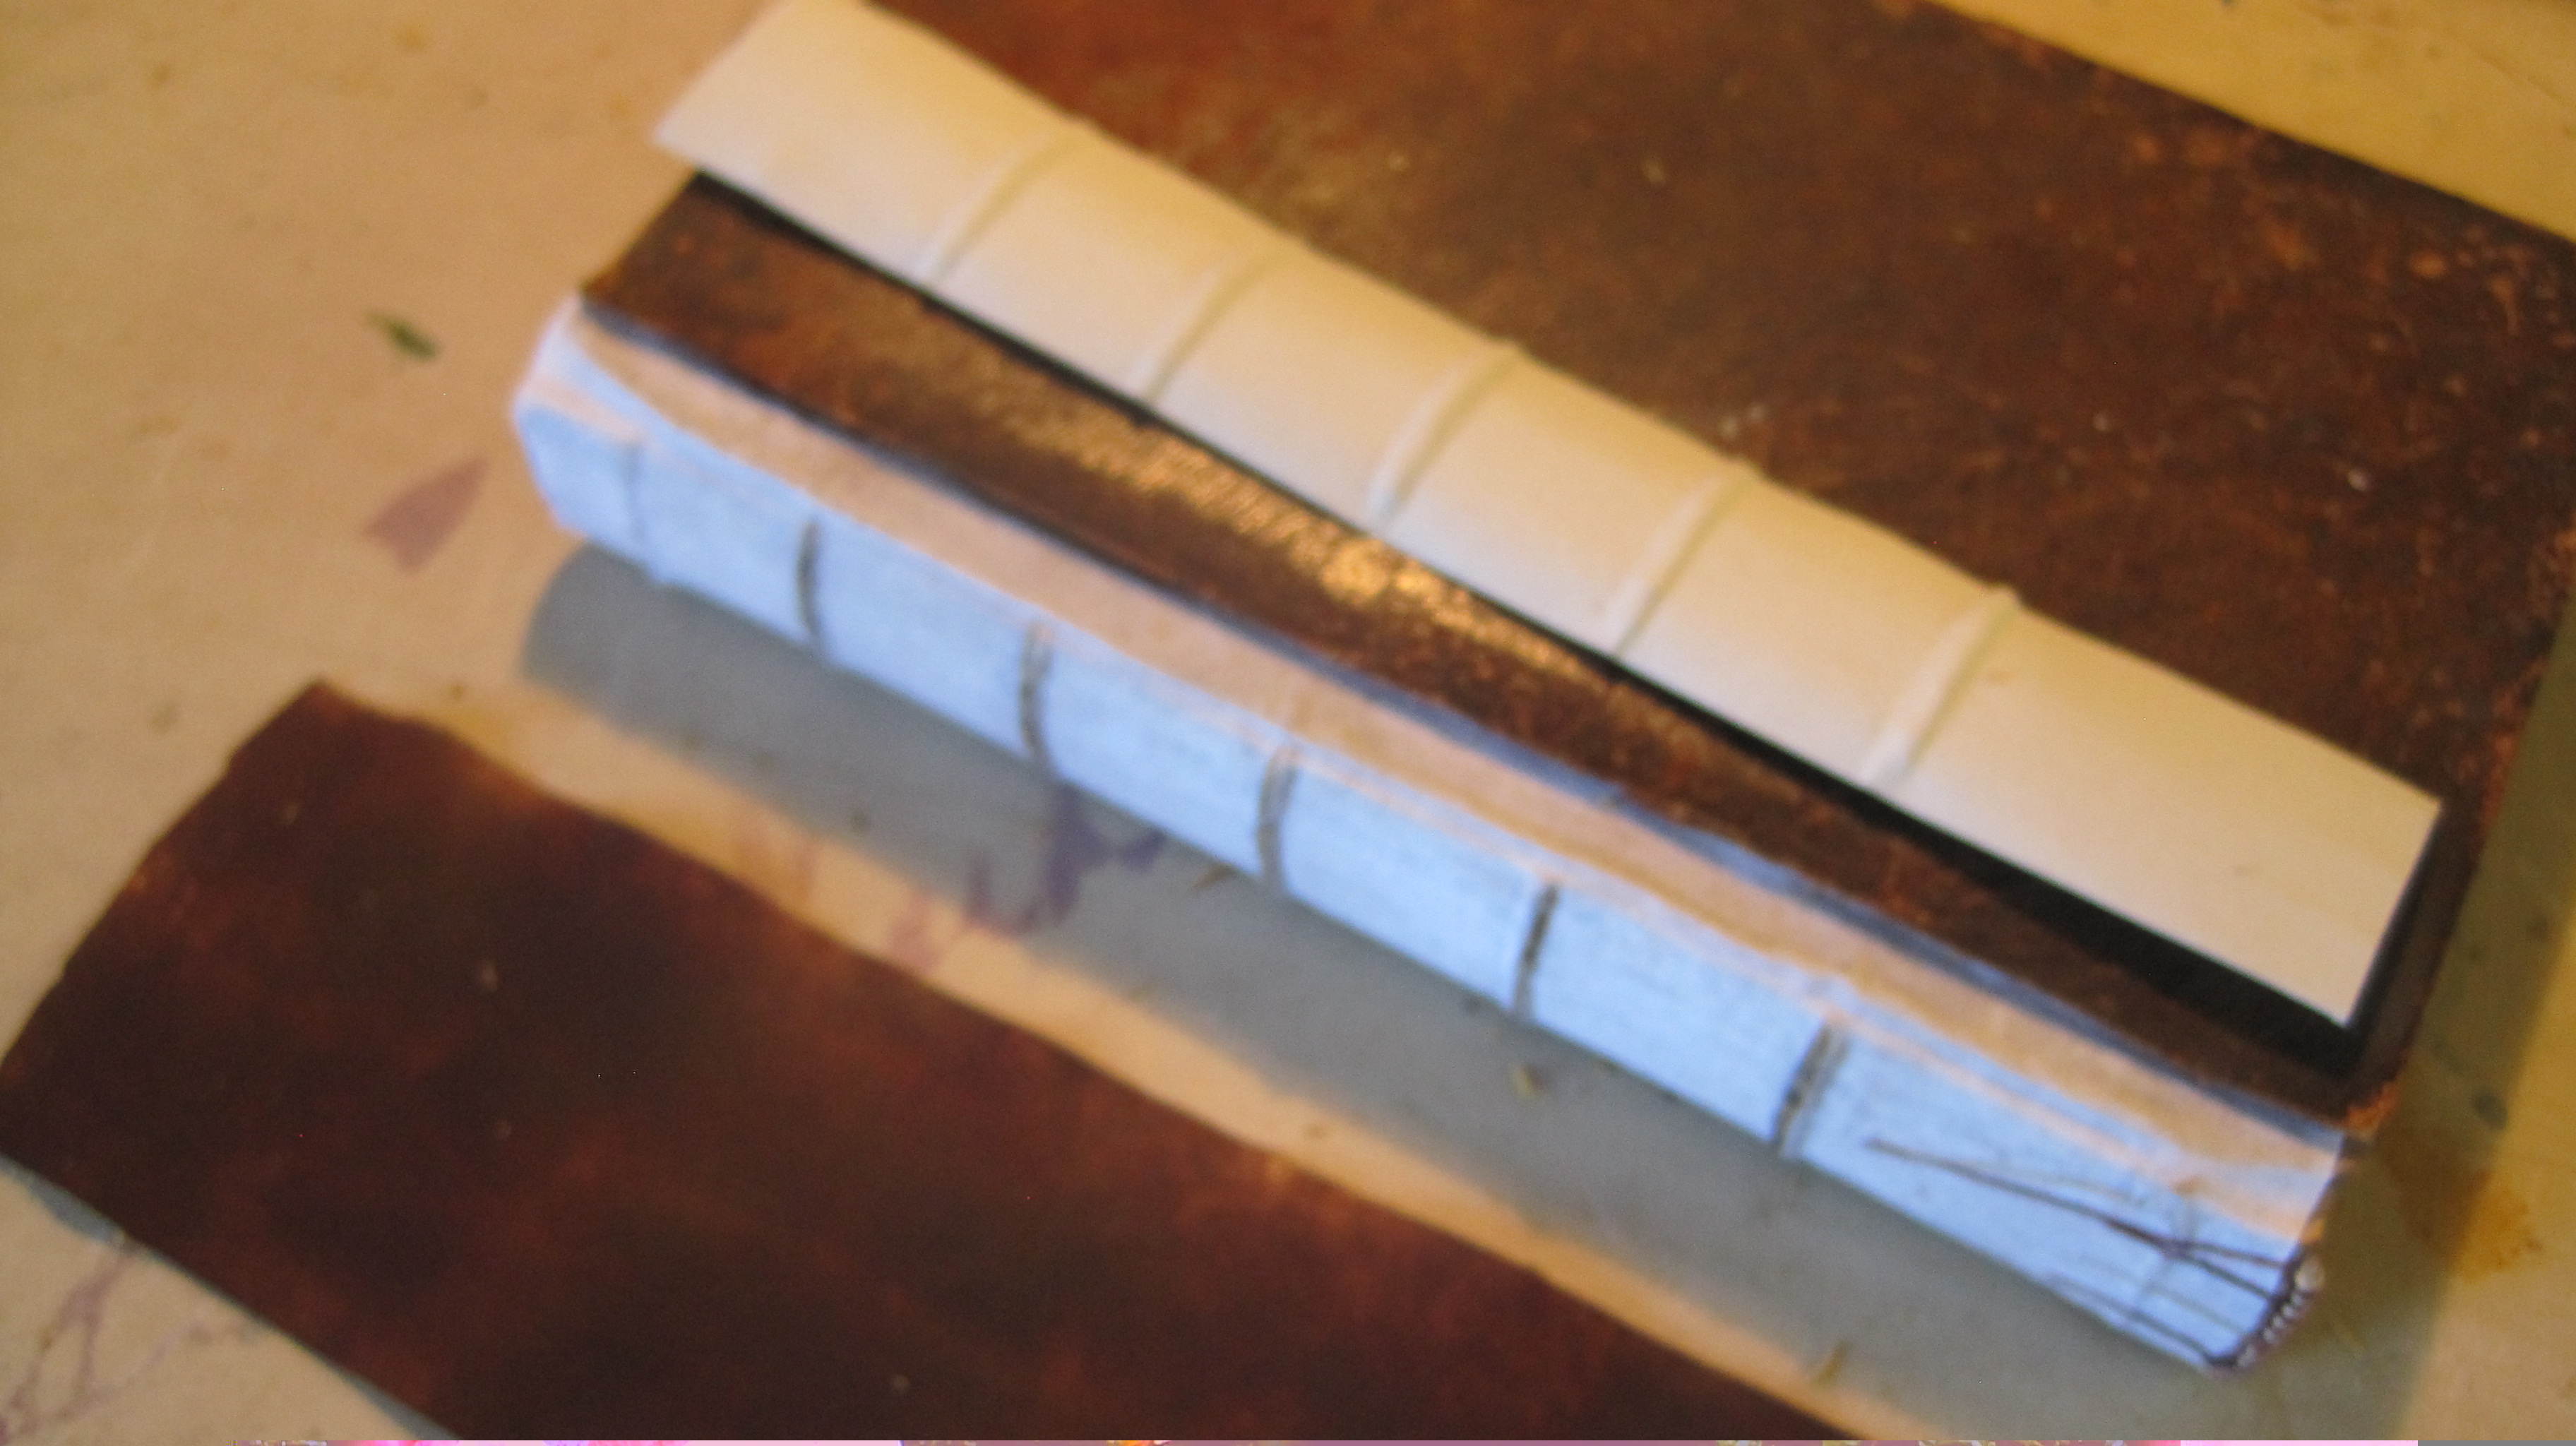
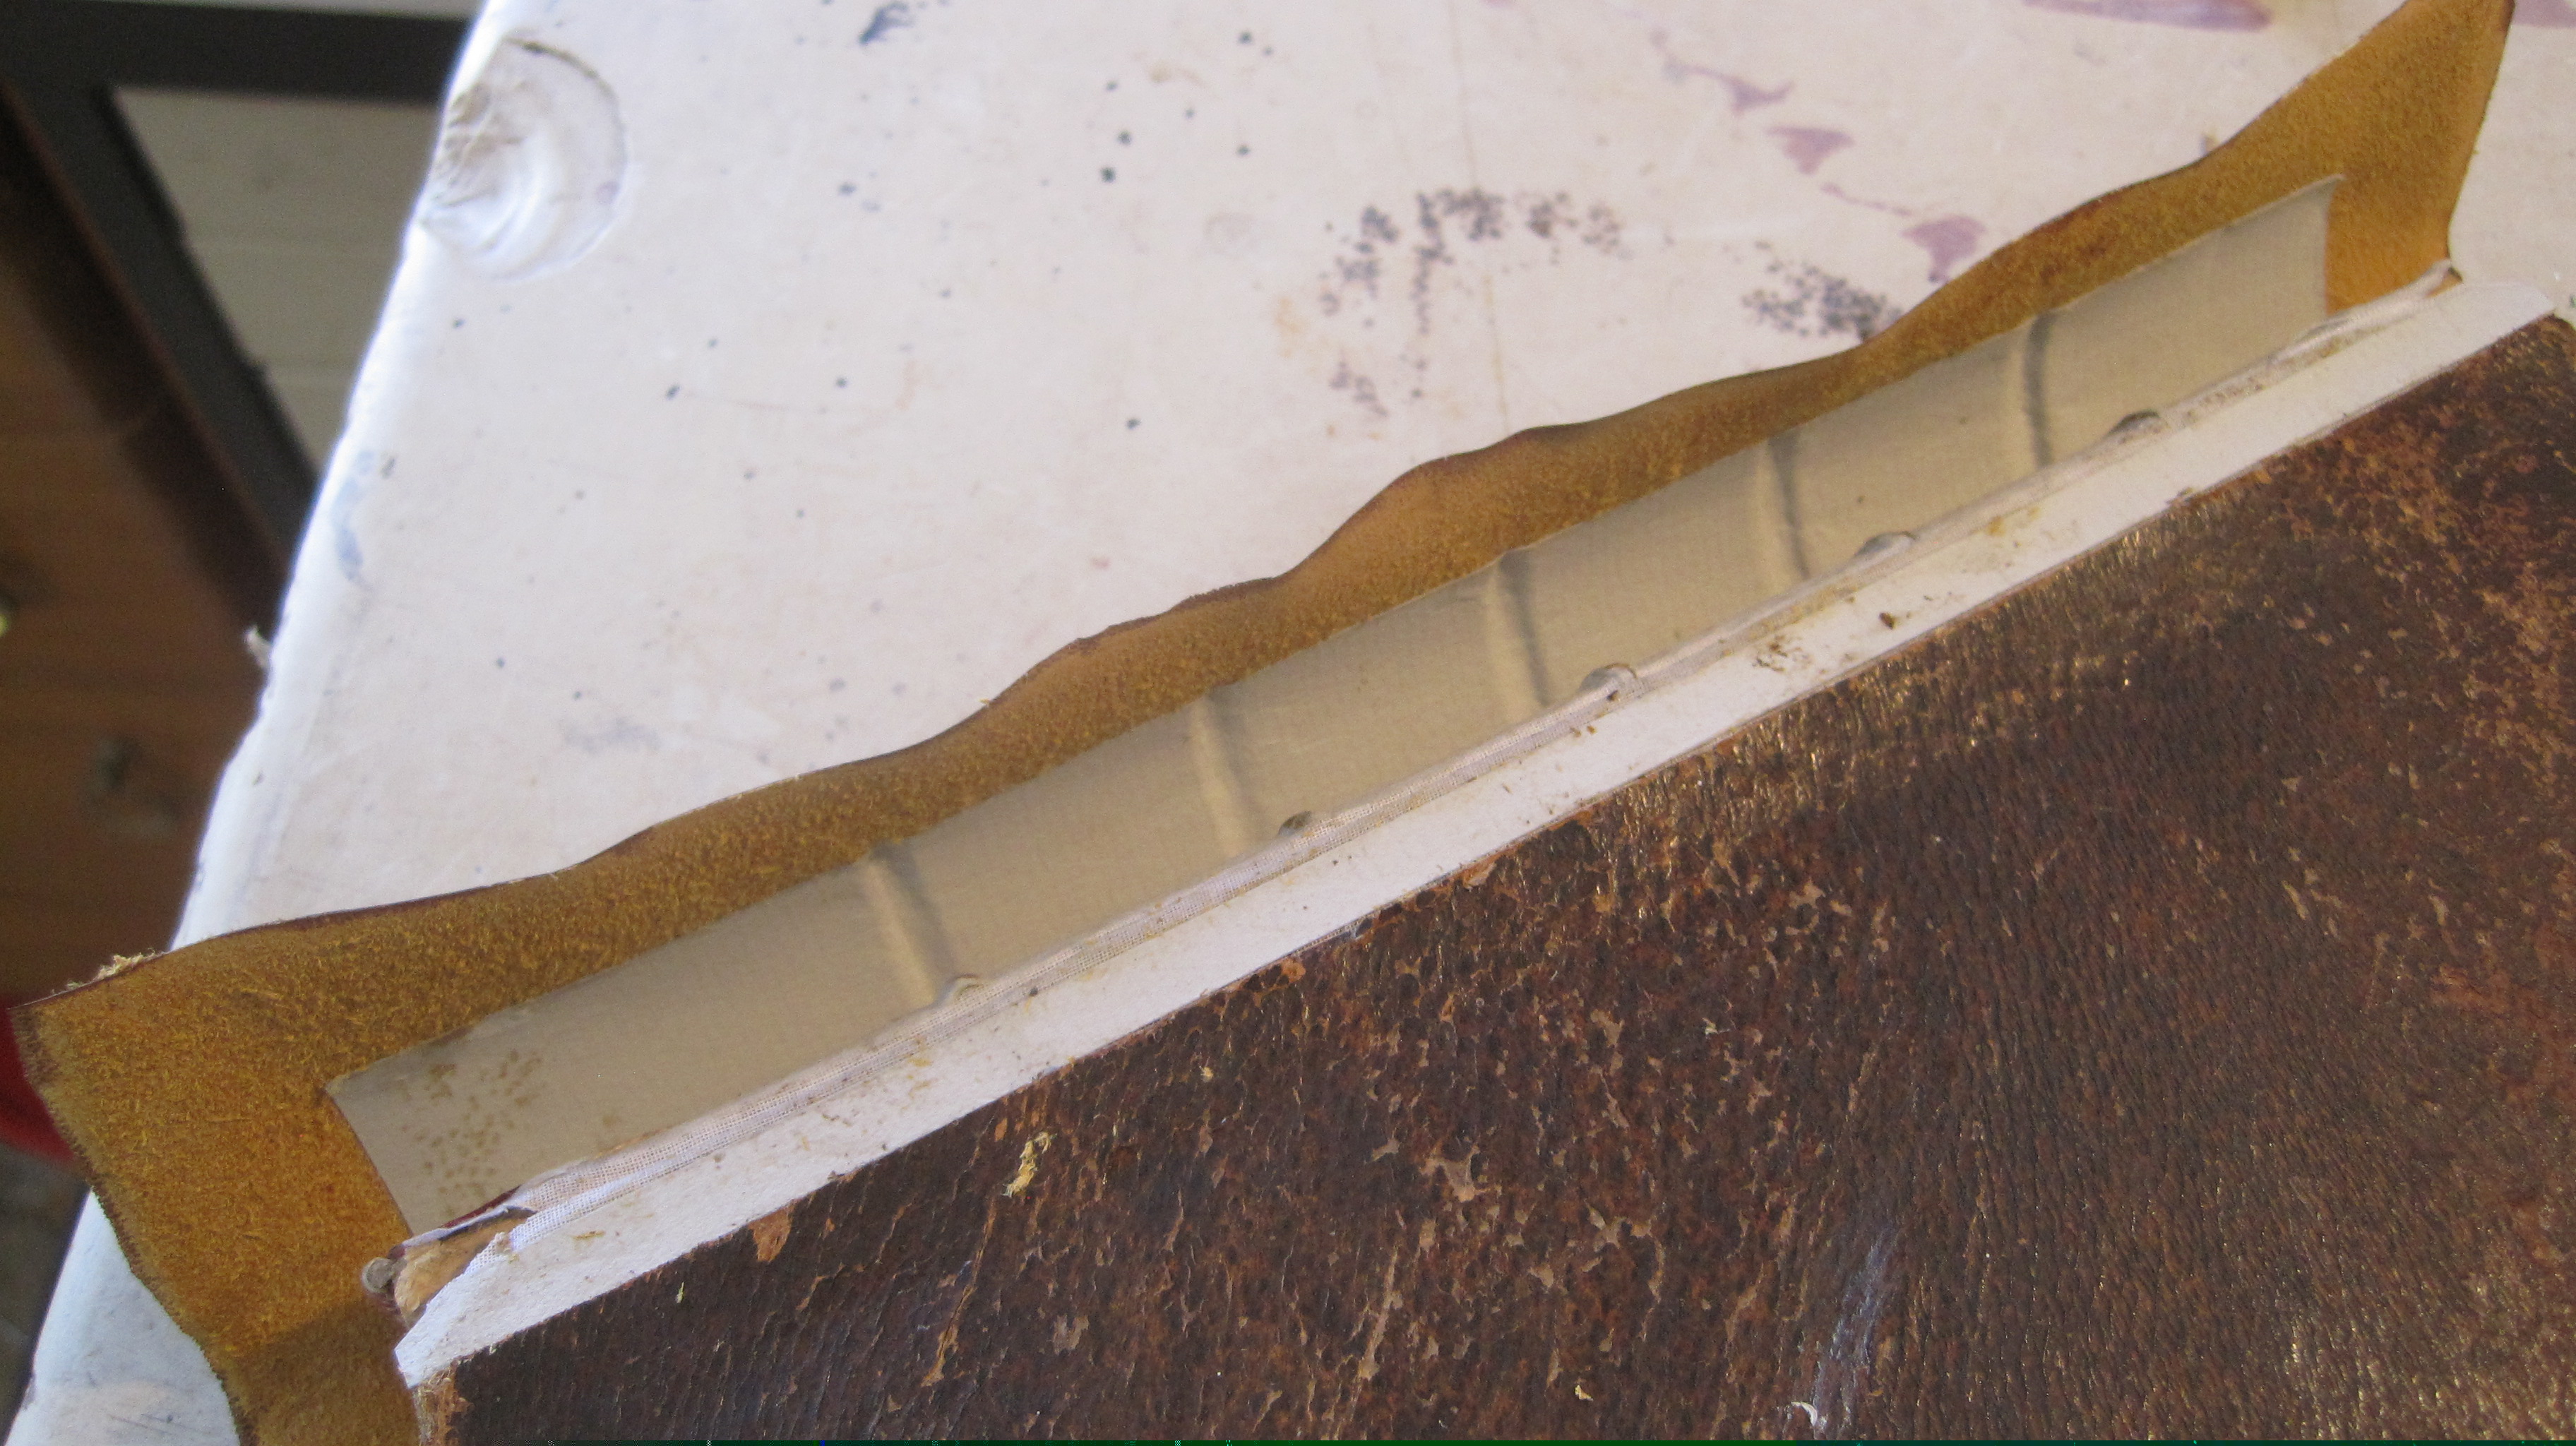
Now glue the Bernie Strips in place and cut back the corners and slit the fraynot to allow the eventual turn-in of the new leather spine. The old leather on the sides has been lifted for the new leather to go under. The lifting must be far enough back to allow a secure turn-in – 20 mm or so.
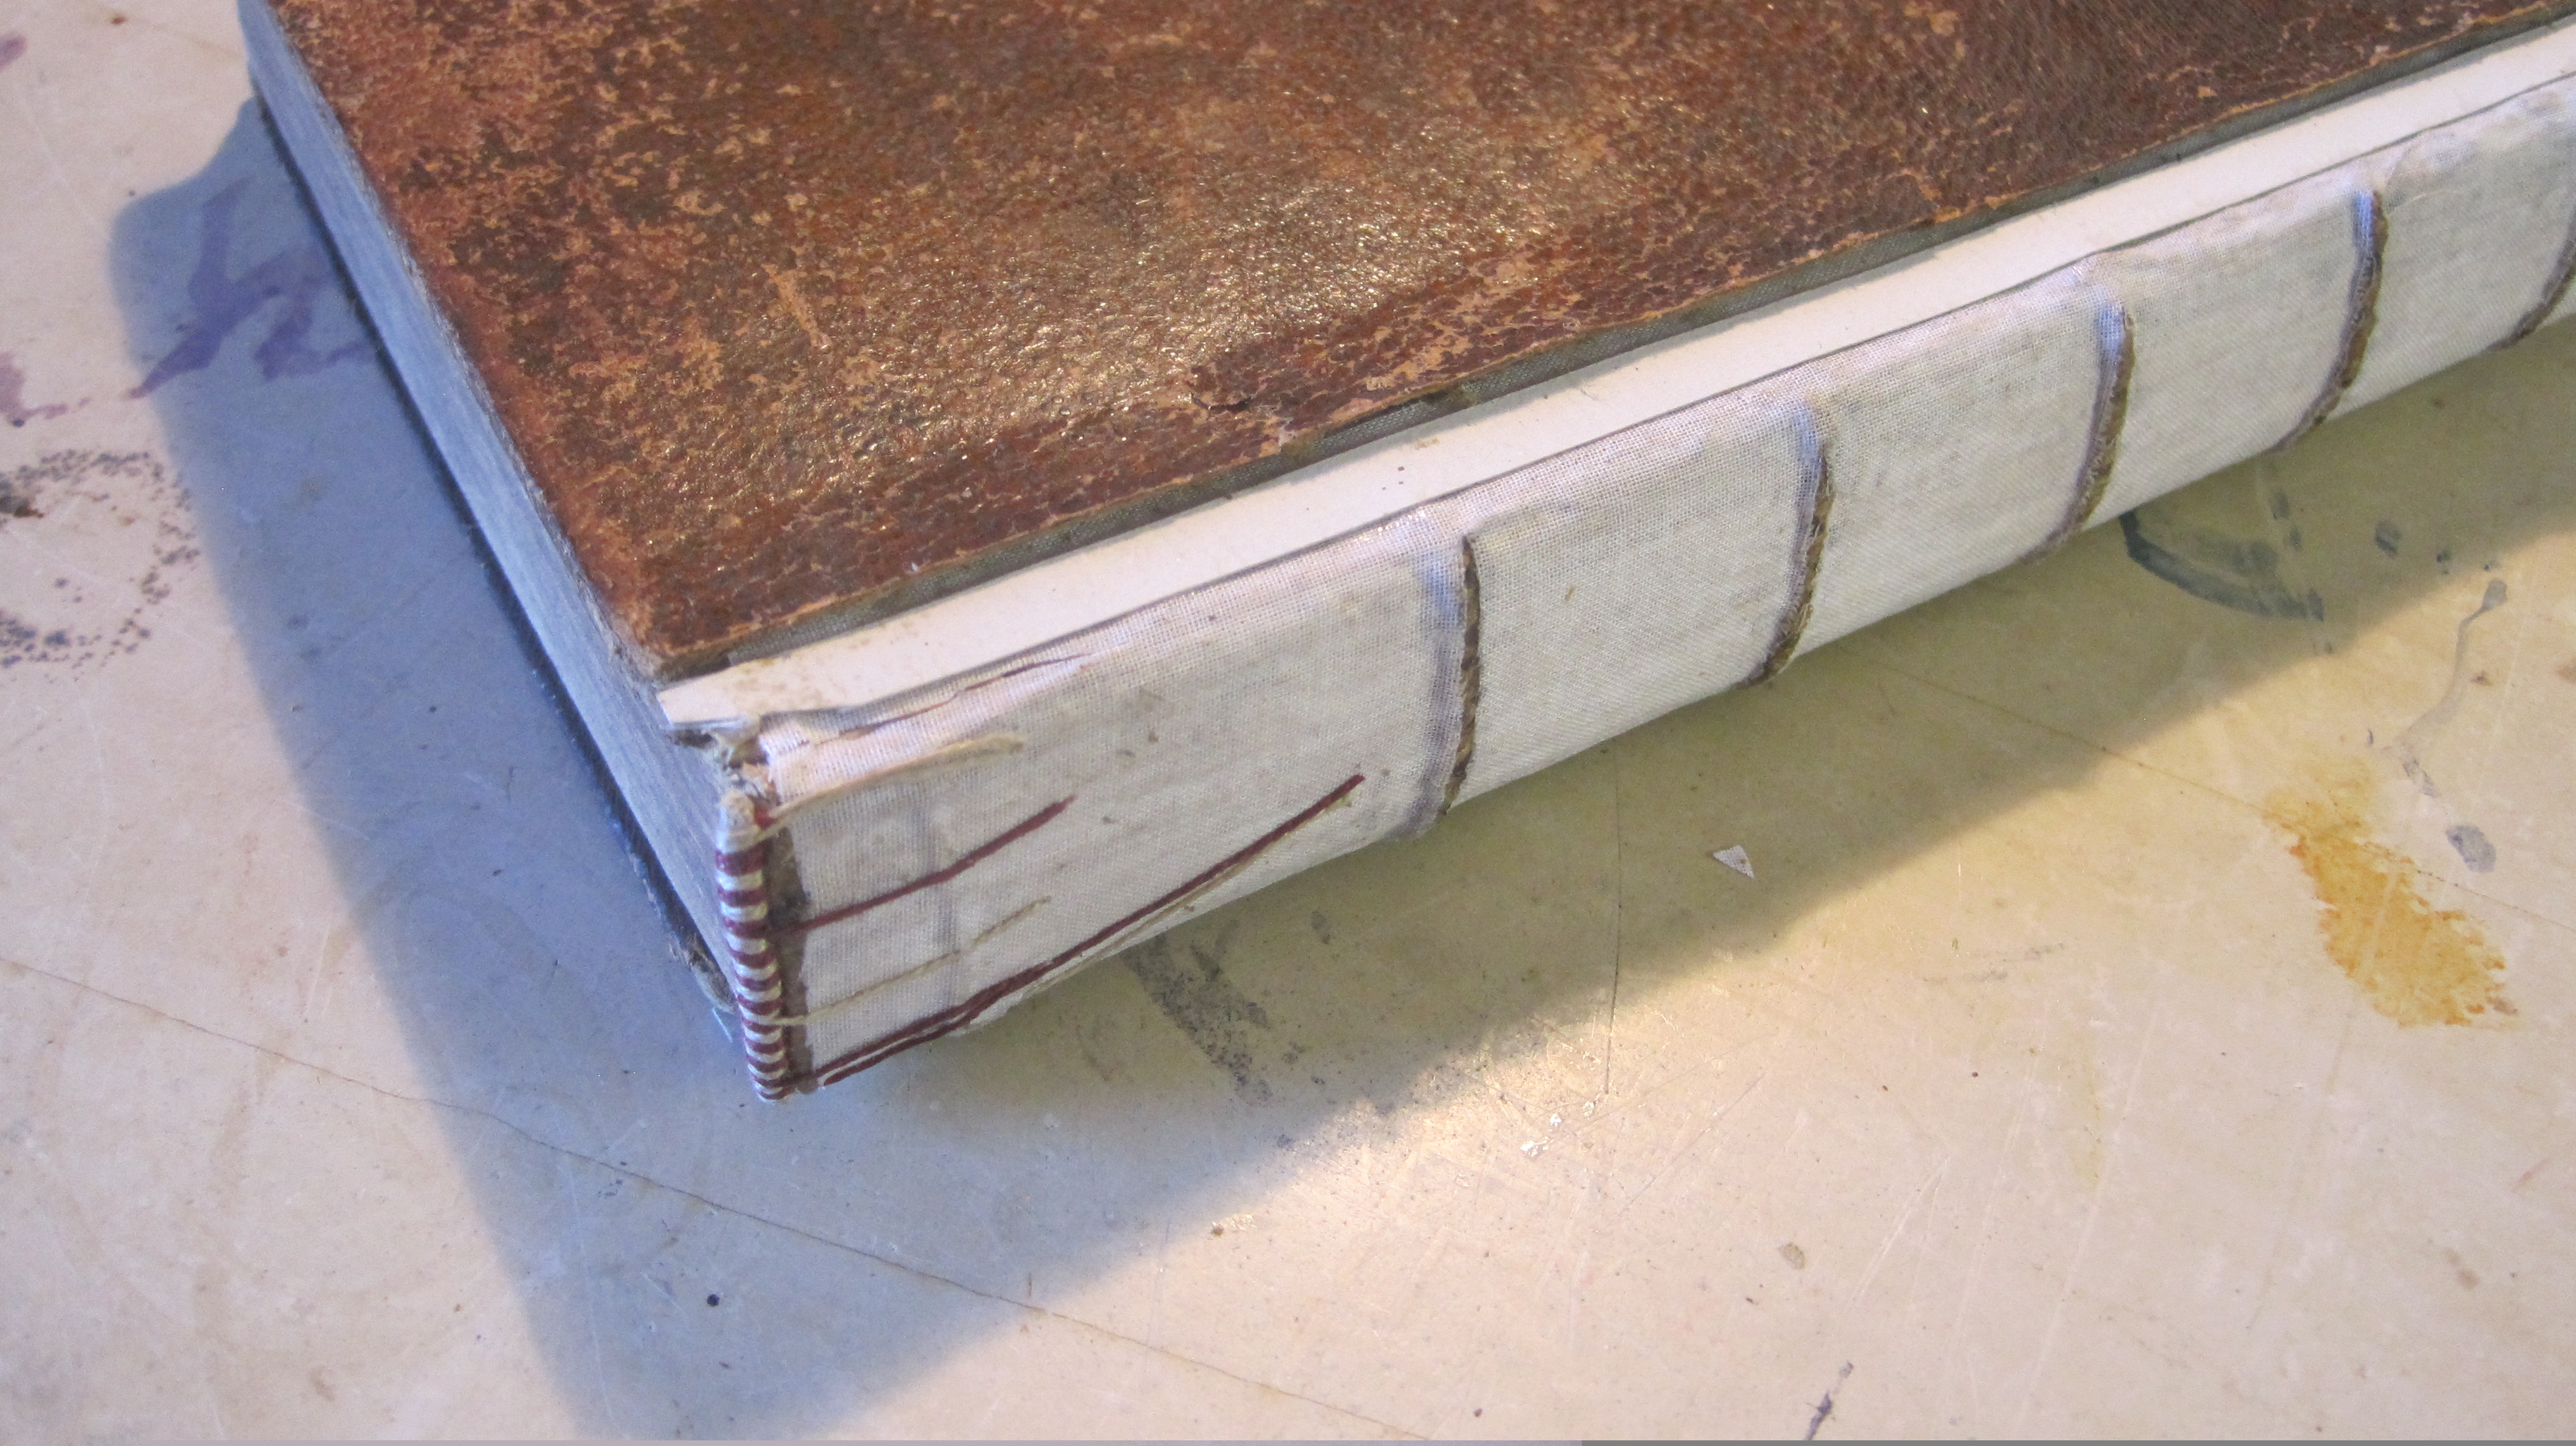
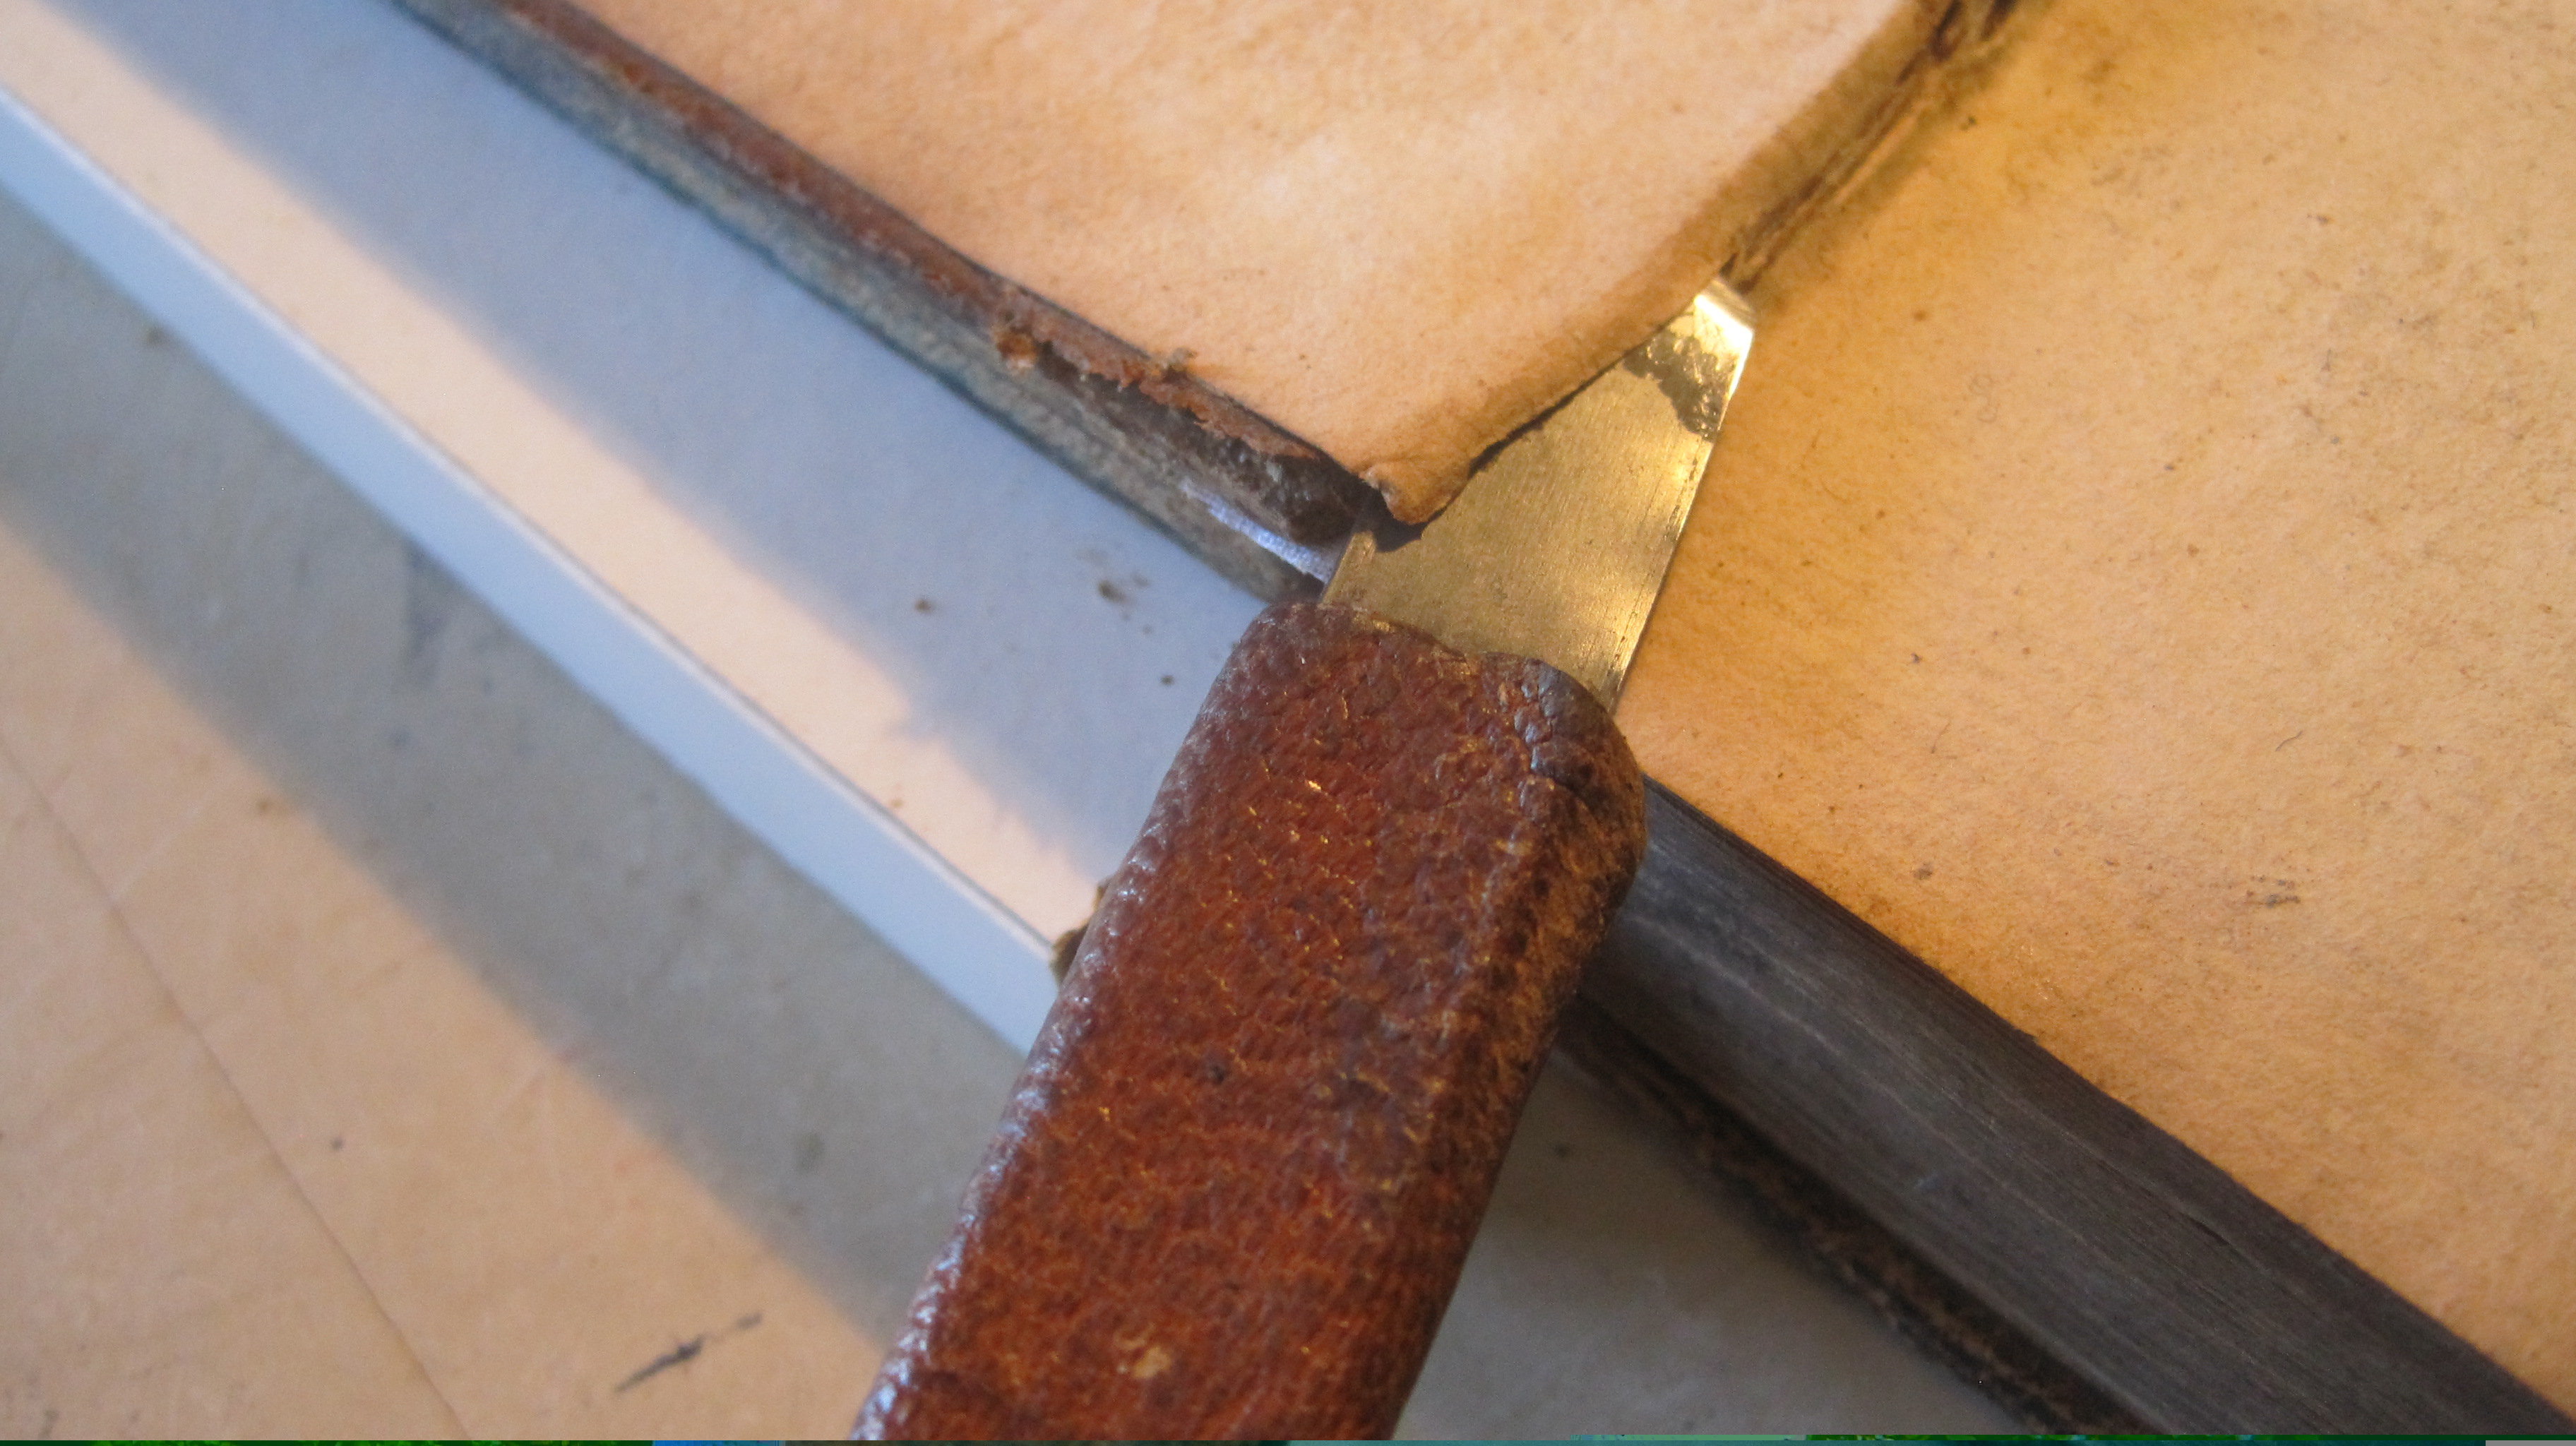
Lift the inside of each board at head and tail to take the turn-in
Now glue the new spine leather into one side of the book, press firmly and allow to set. Place the pre-formed spine strip in position, dampen the upper surface of the leather, glue the underside of the spine strip and put the book in a lay press or finishing press with pegs or tacks along the sides (every repair bindery must have one modified this way) and tie down ensuring the cord is close up against the bands.


When dry the hollow looks like this:
And the other side: