“Binding very worn, front board detached…” Very common words in the book repair world. The textbooks all describe a method of creating a new attachment between the shoulder of the text and the cover/board: the ‘returned cloth joint’ (Burdett, The Craft of Bookbinding’, page 339, Johnson, The Practical Guide to Book Repair and Conservation’, pages 68/69, for example). I used this method myself for many years: no-one complained, so it clearly worked for the customer.
But it troubled me, though I am not an engineer, because it didn’t actually attach the new cloth at the hinge-point, i.e. at the top of the shoulder. The attachment is right in the groove and the top of the shoulder is held only by glue. Here is the method:
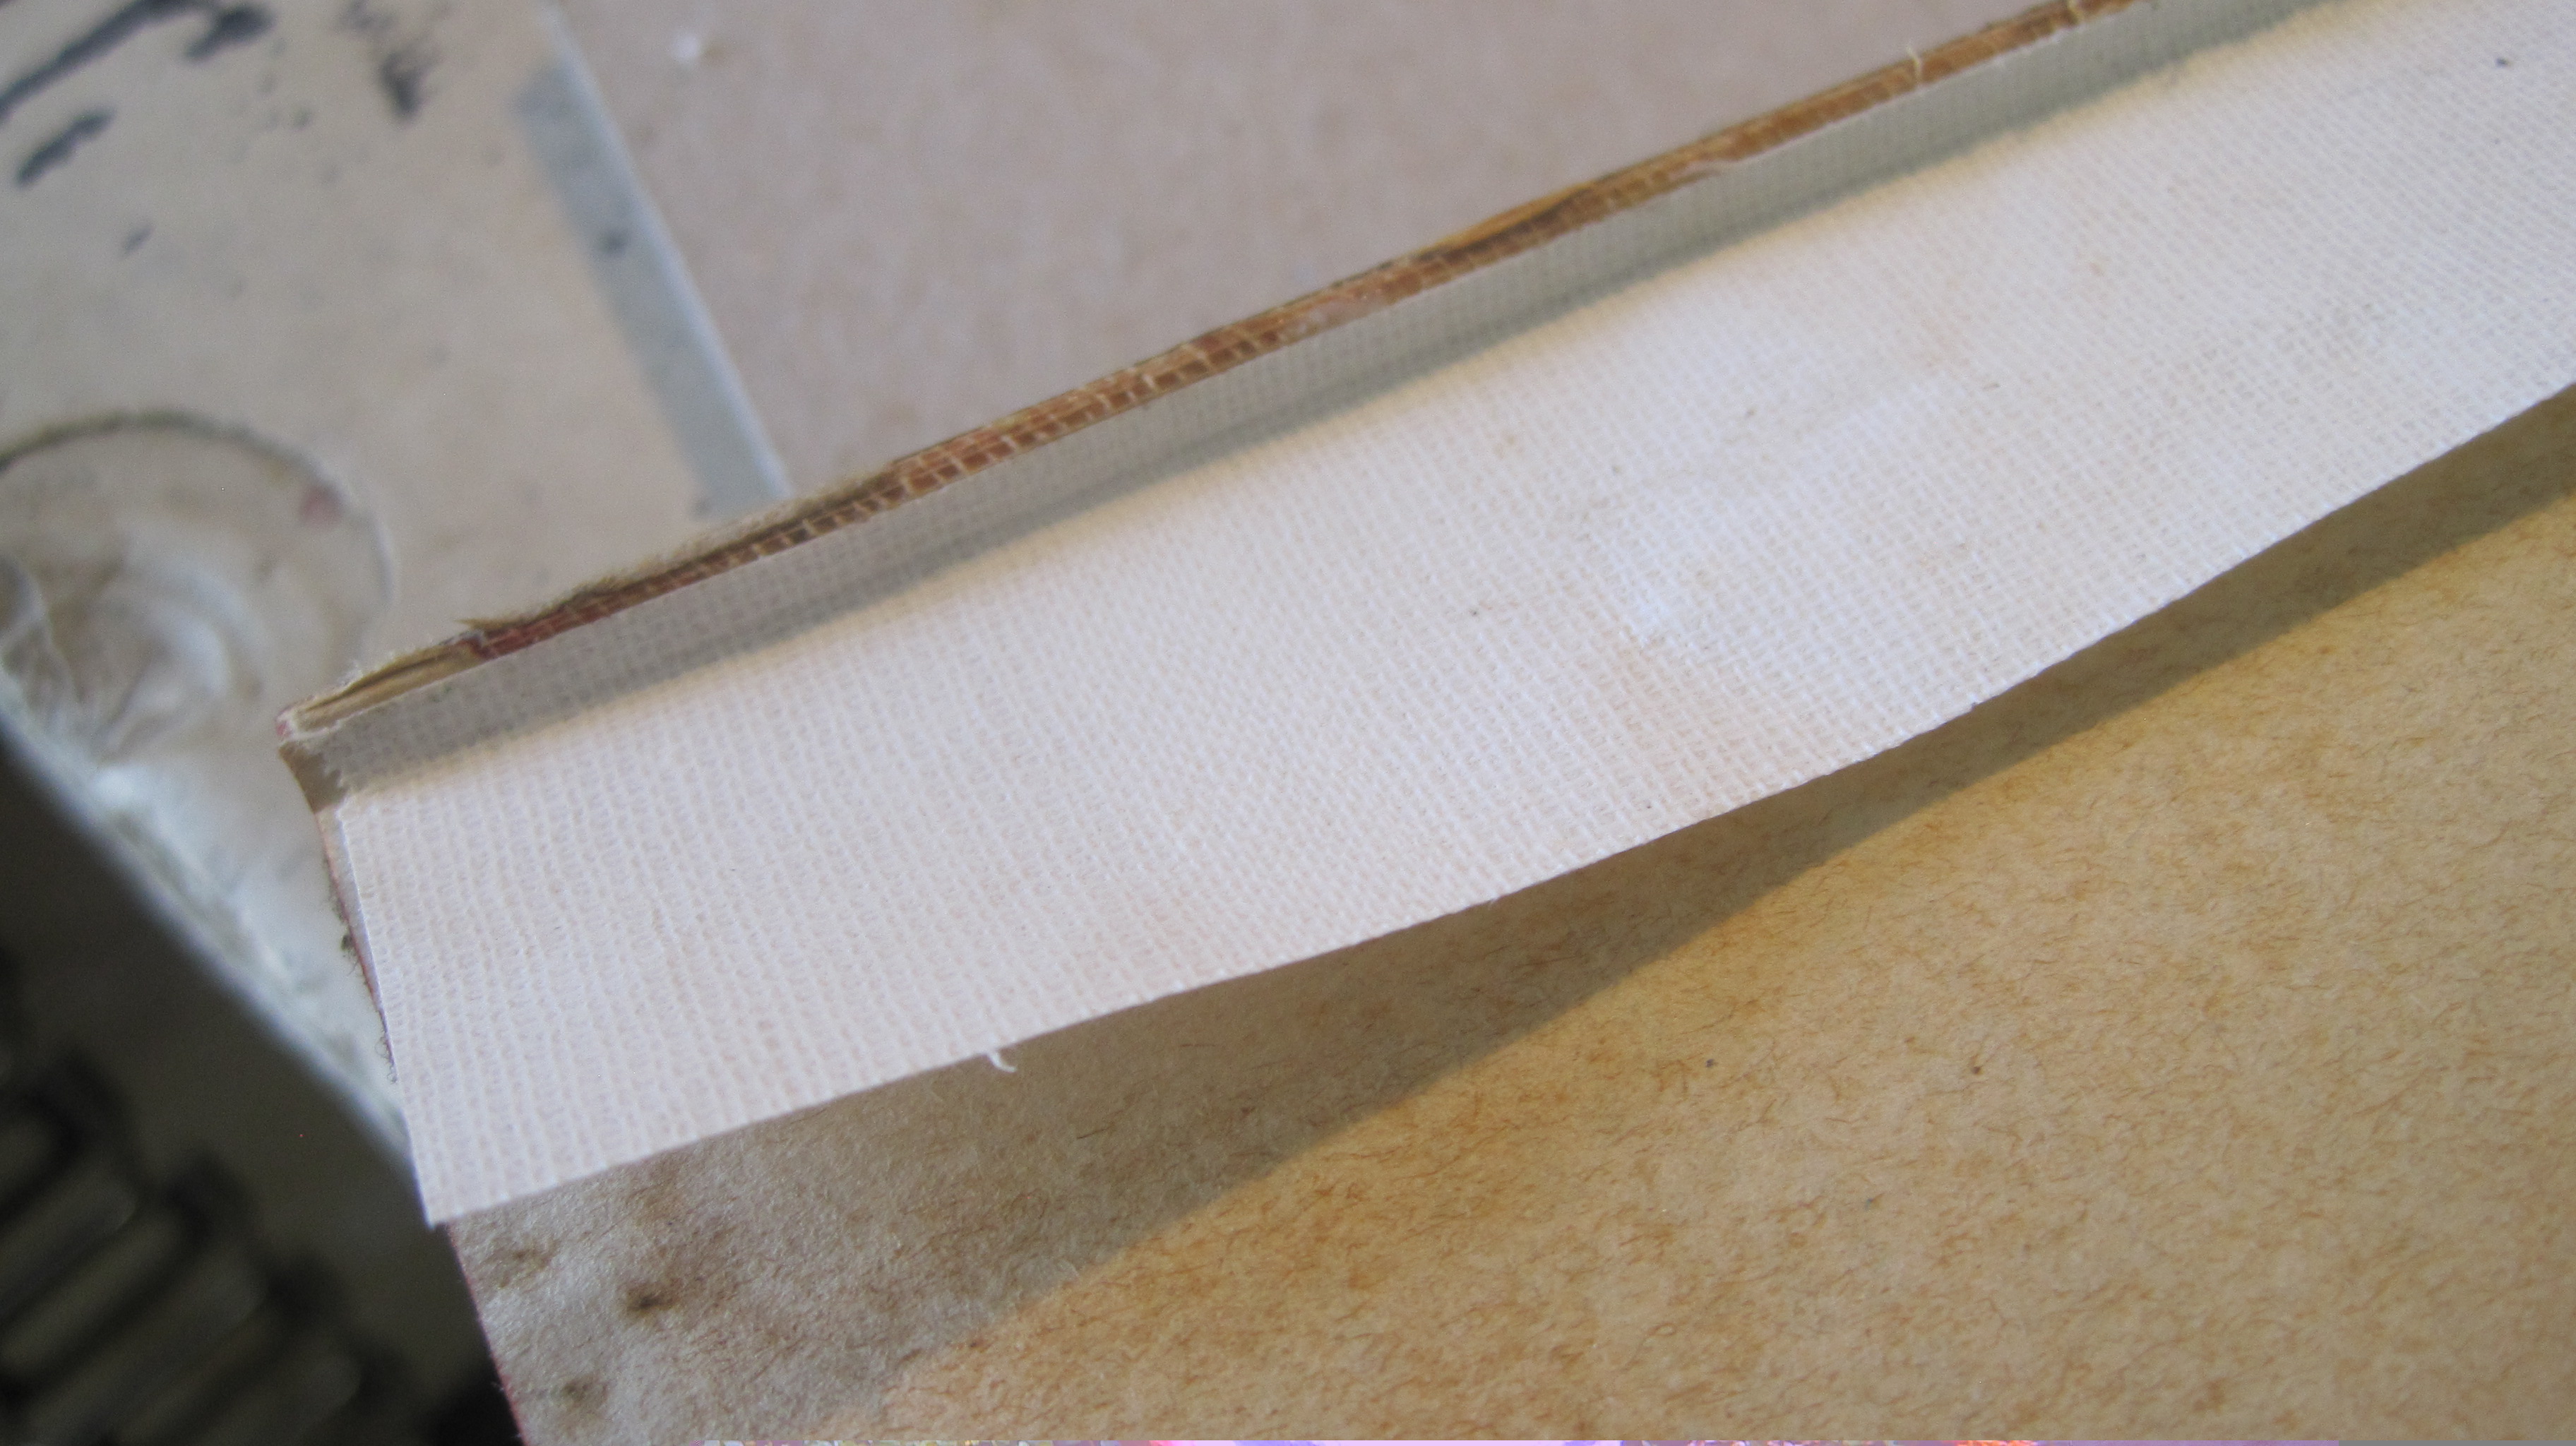


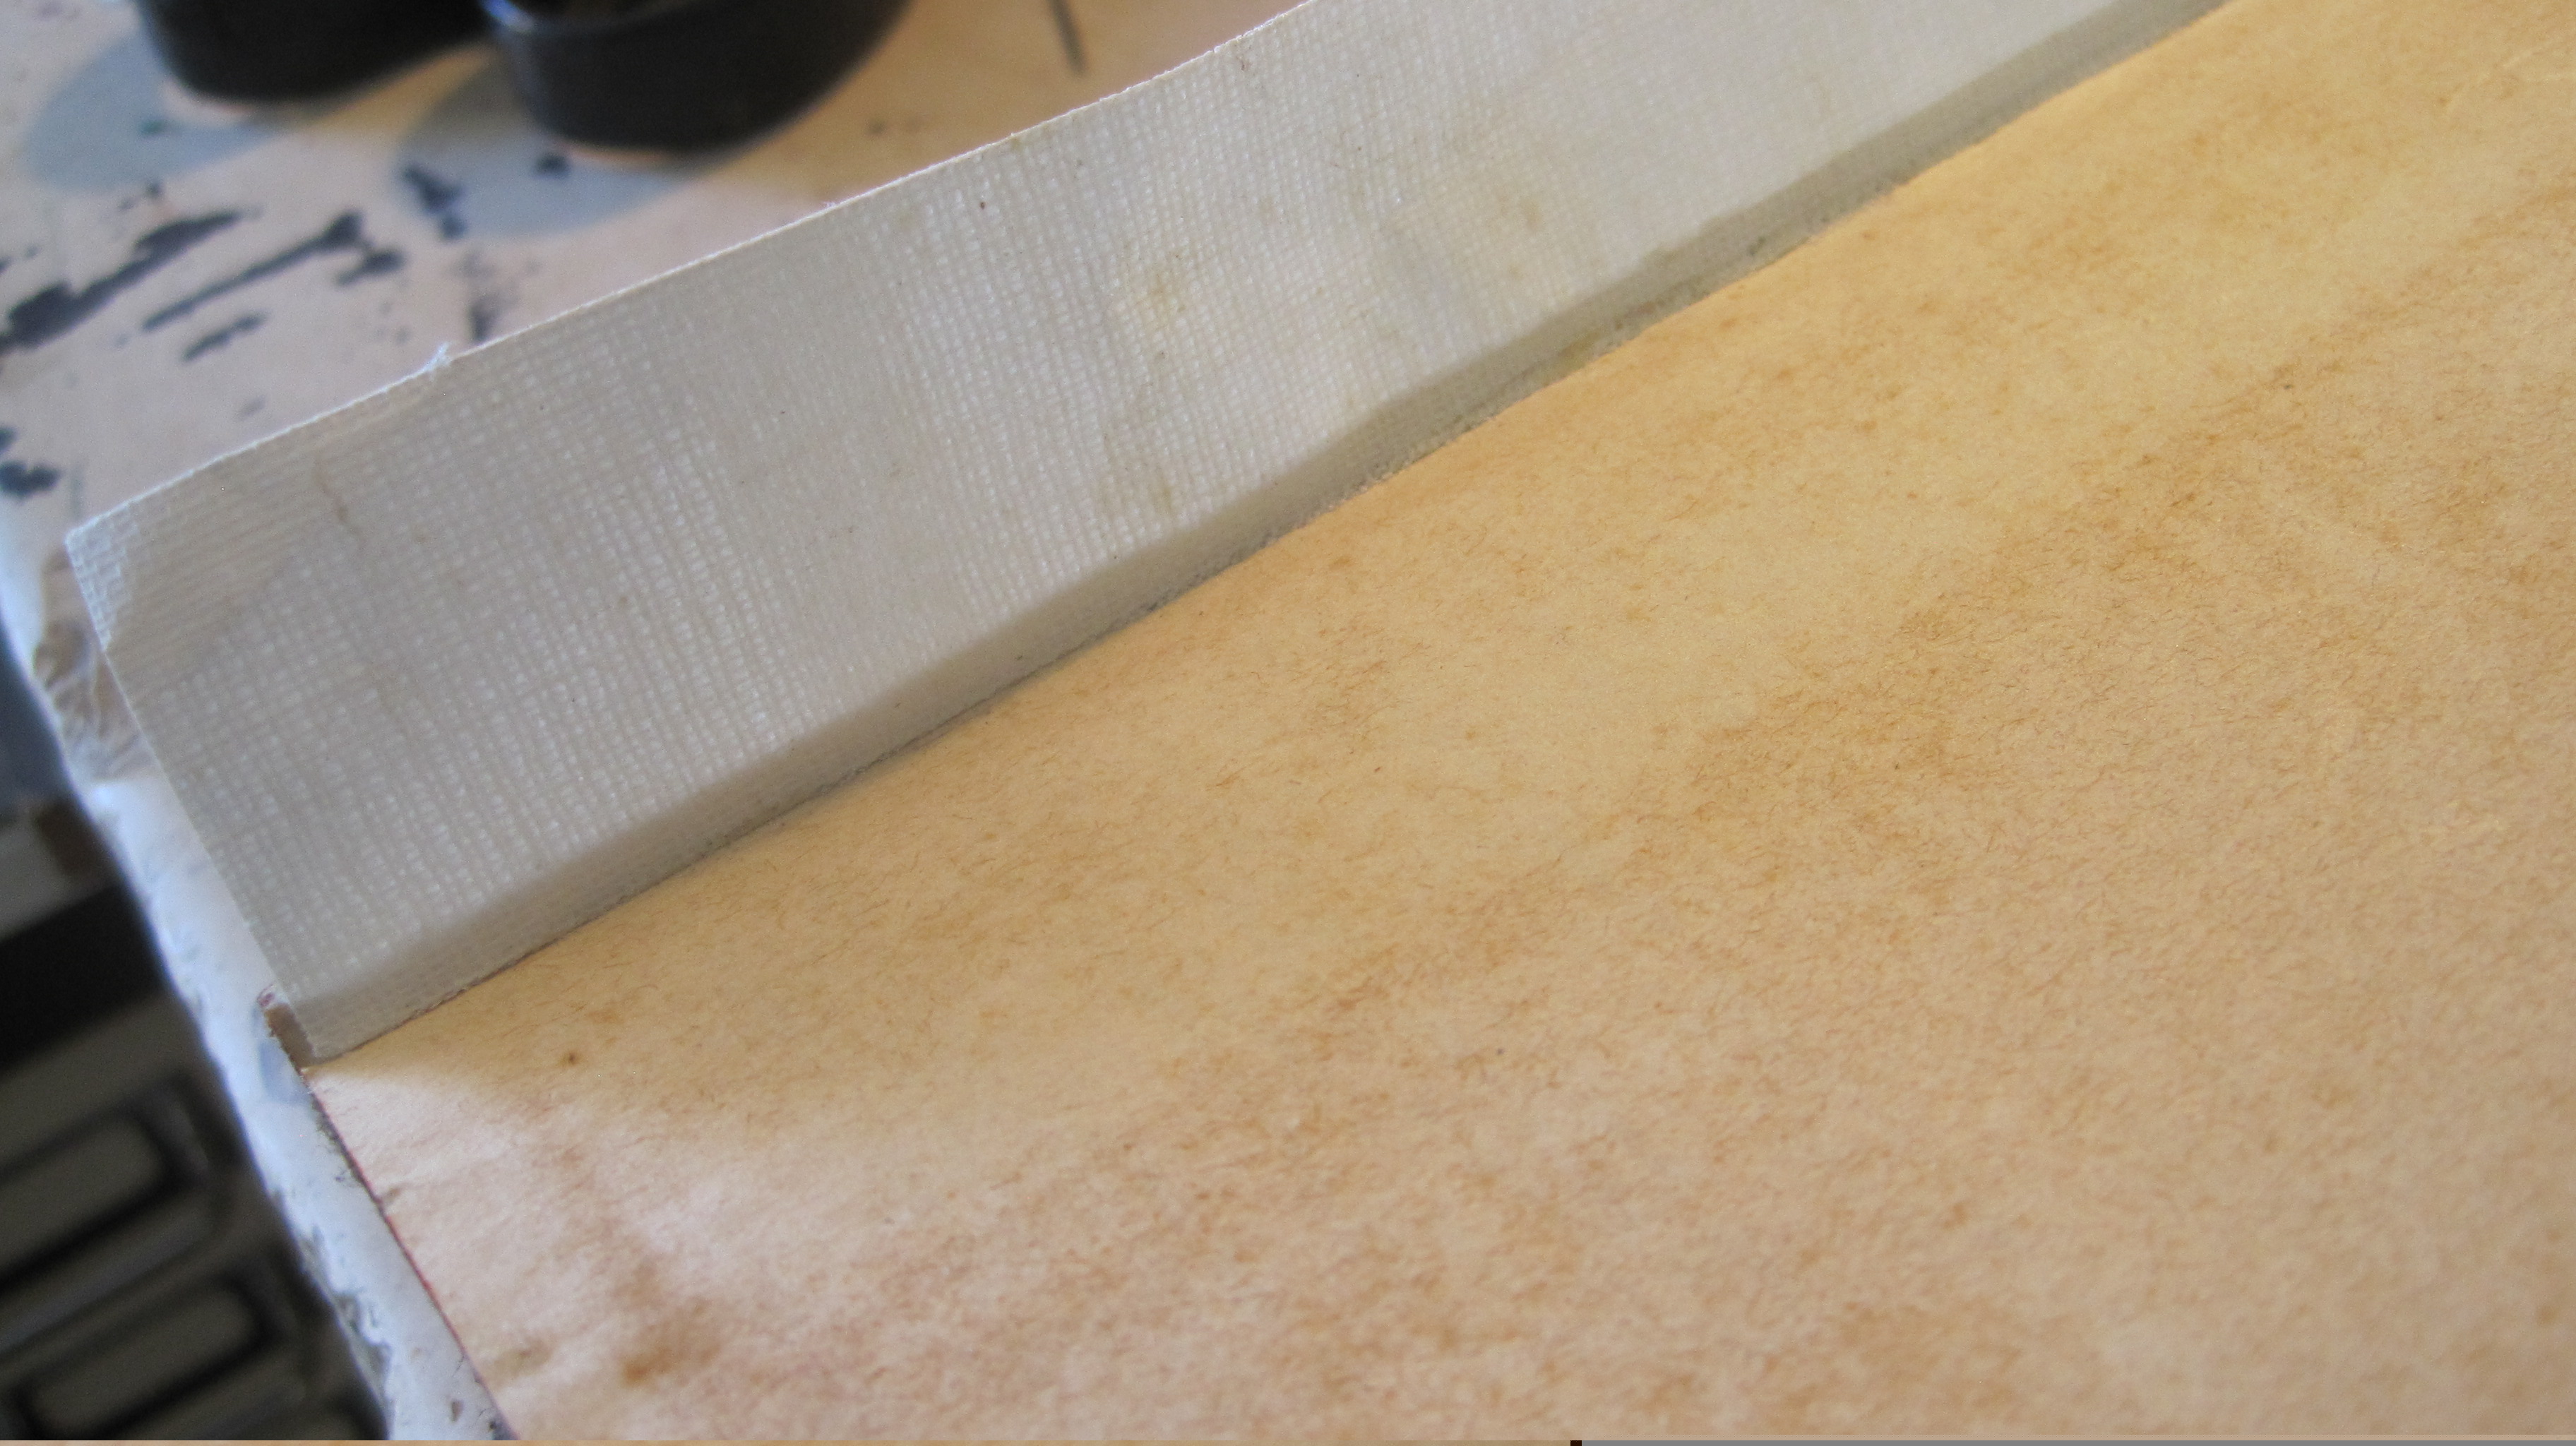

The problems this method produces are two-fold: first, the glued ‘up’ fold can just pull away from the shoulder:

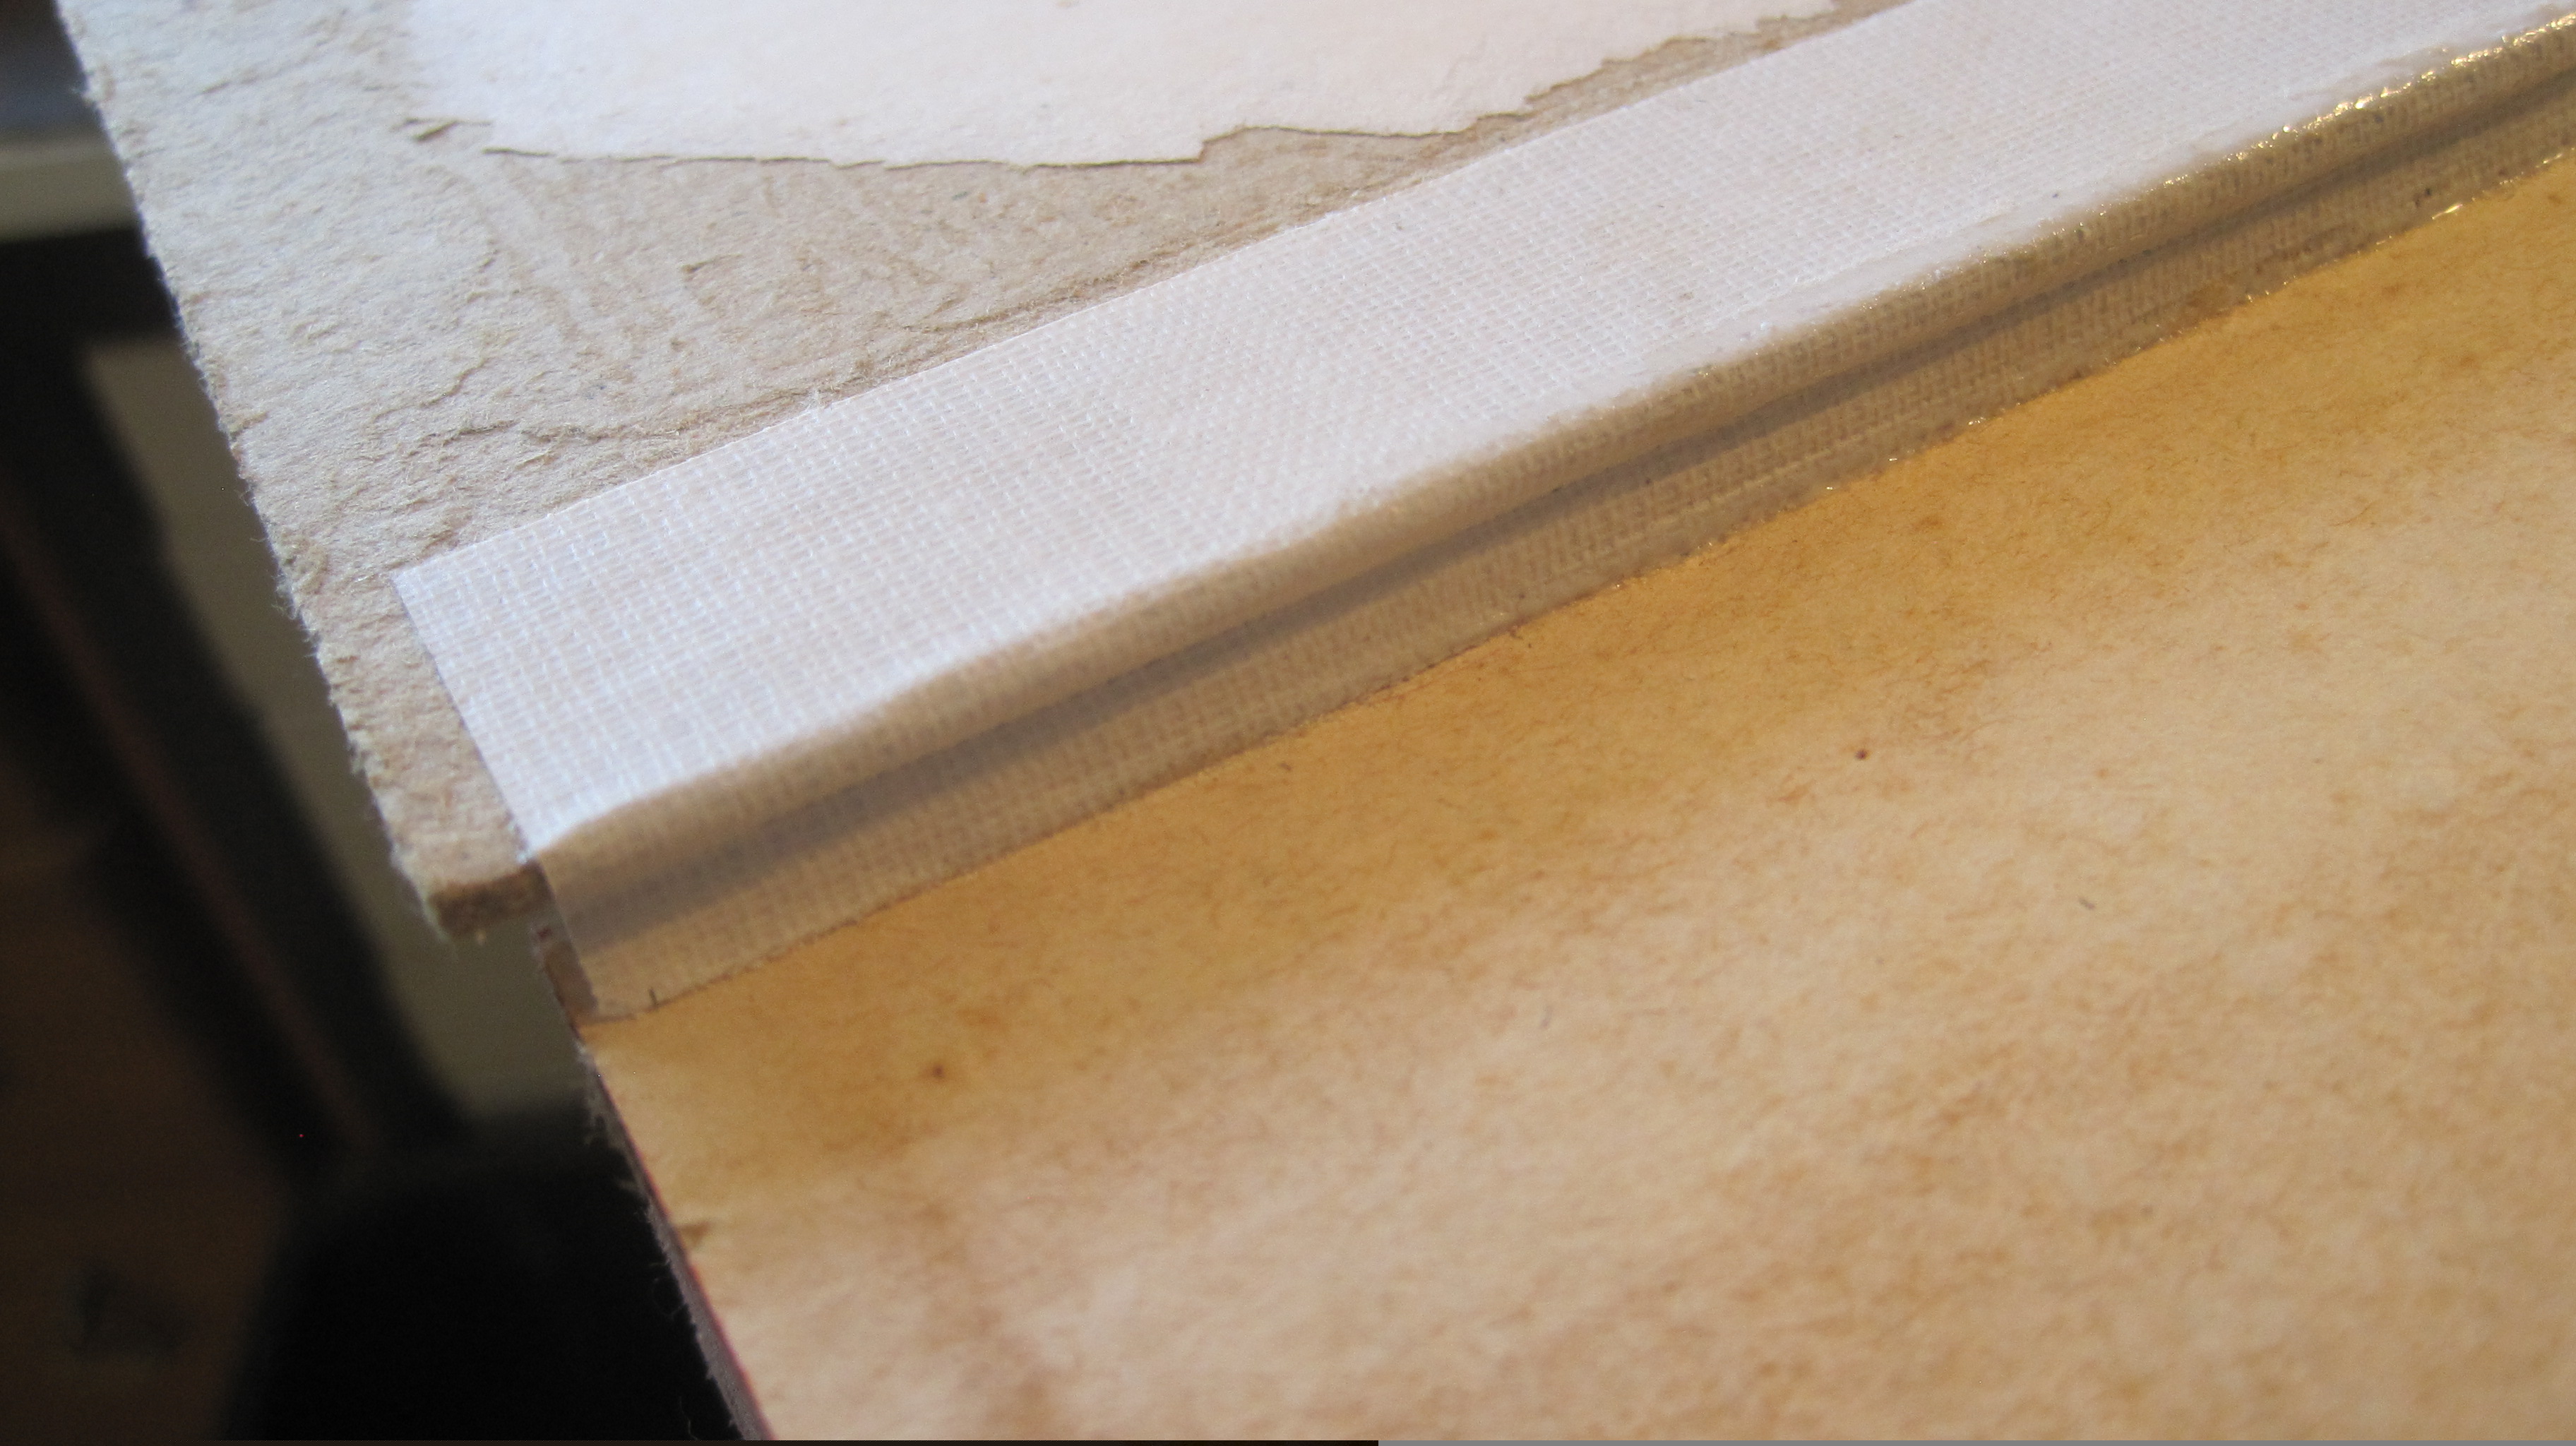
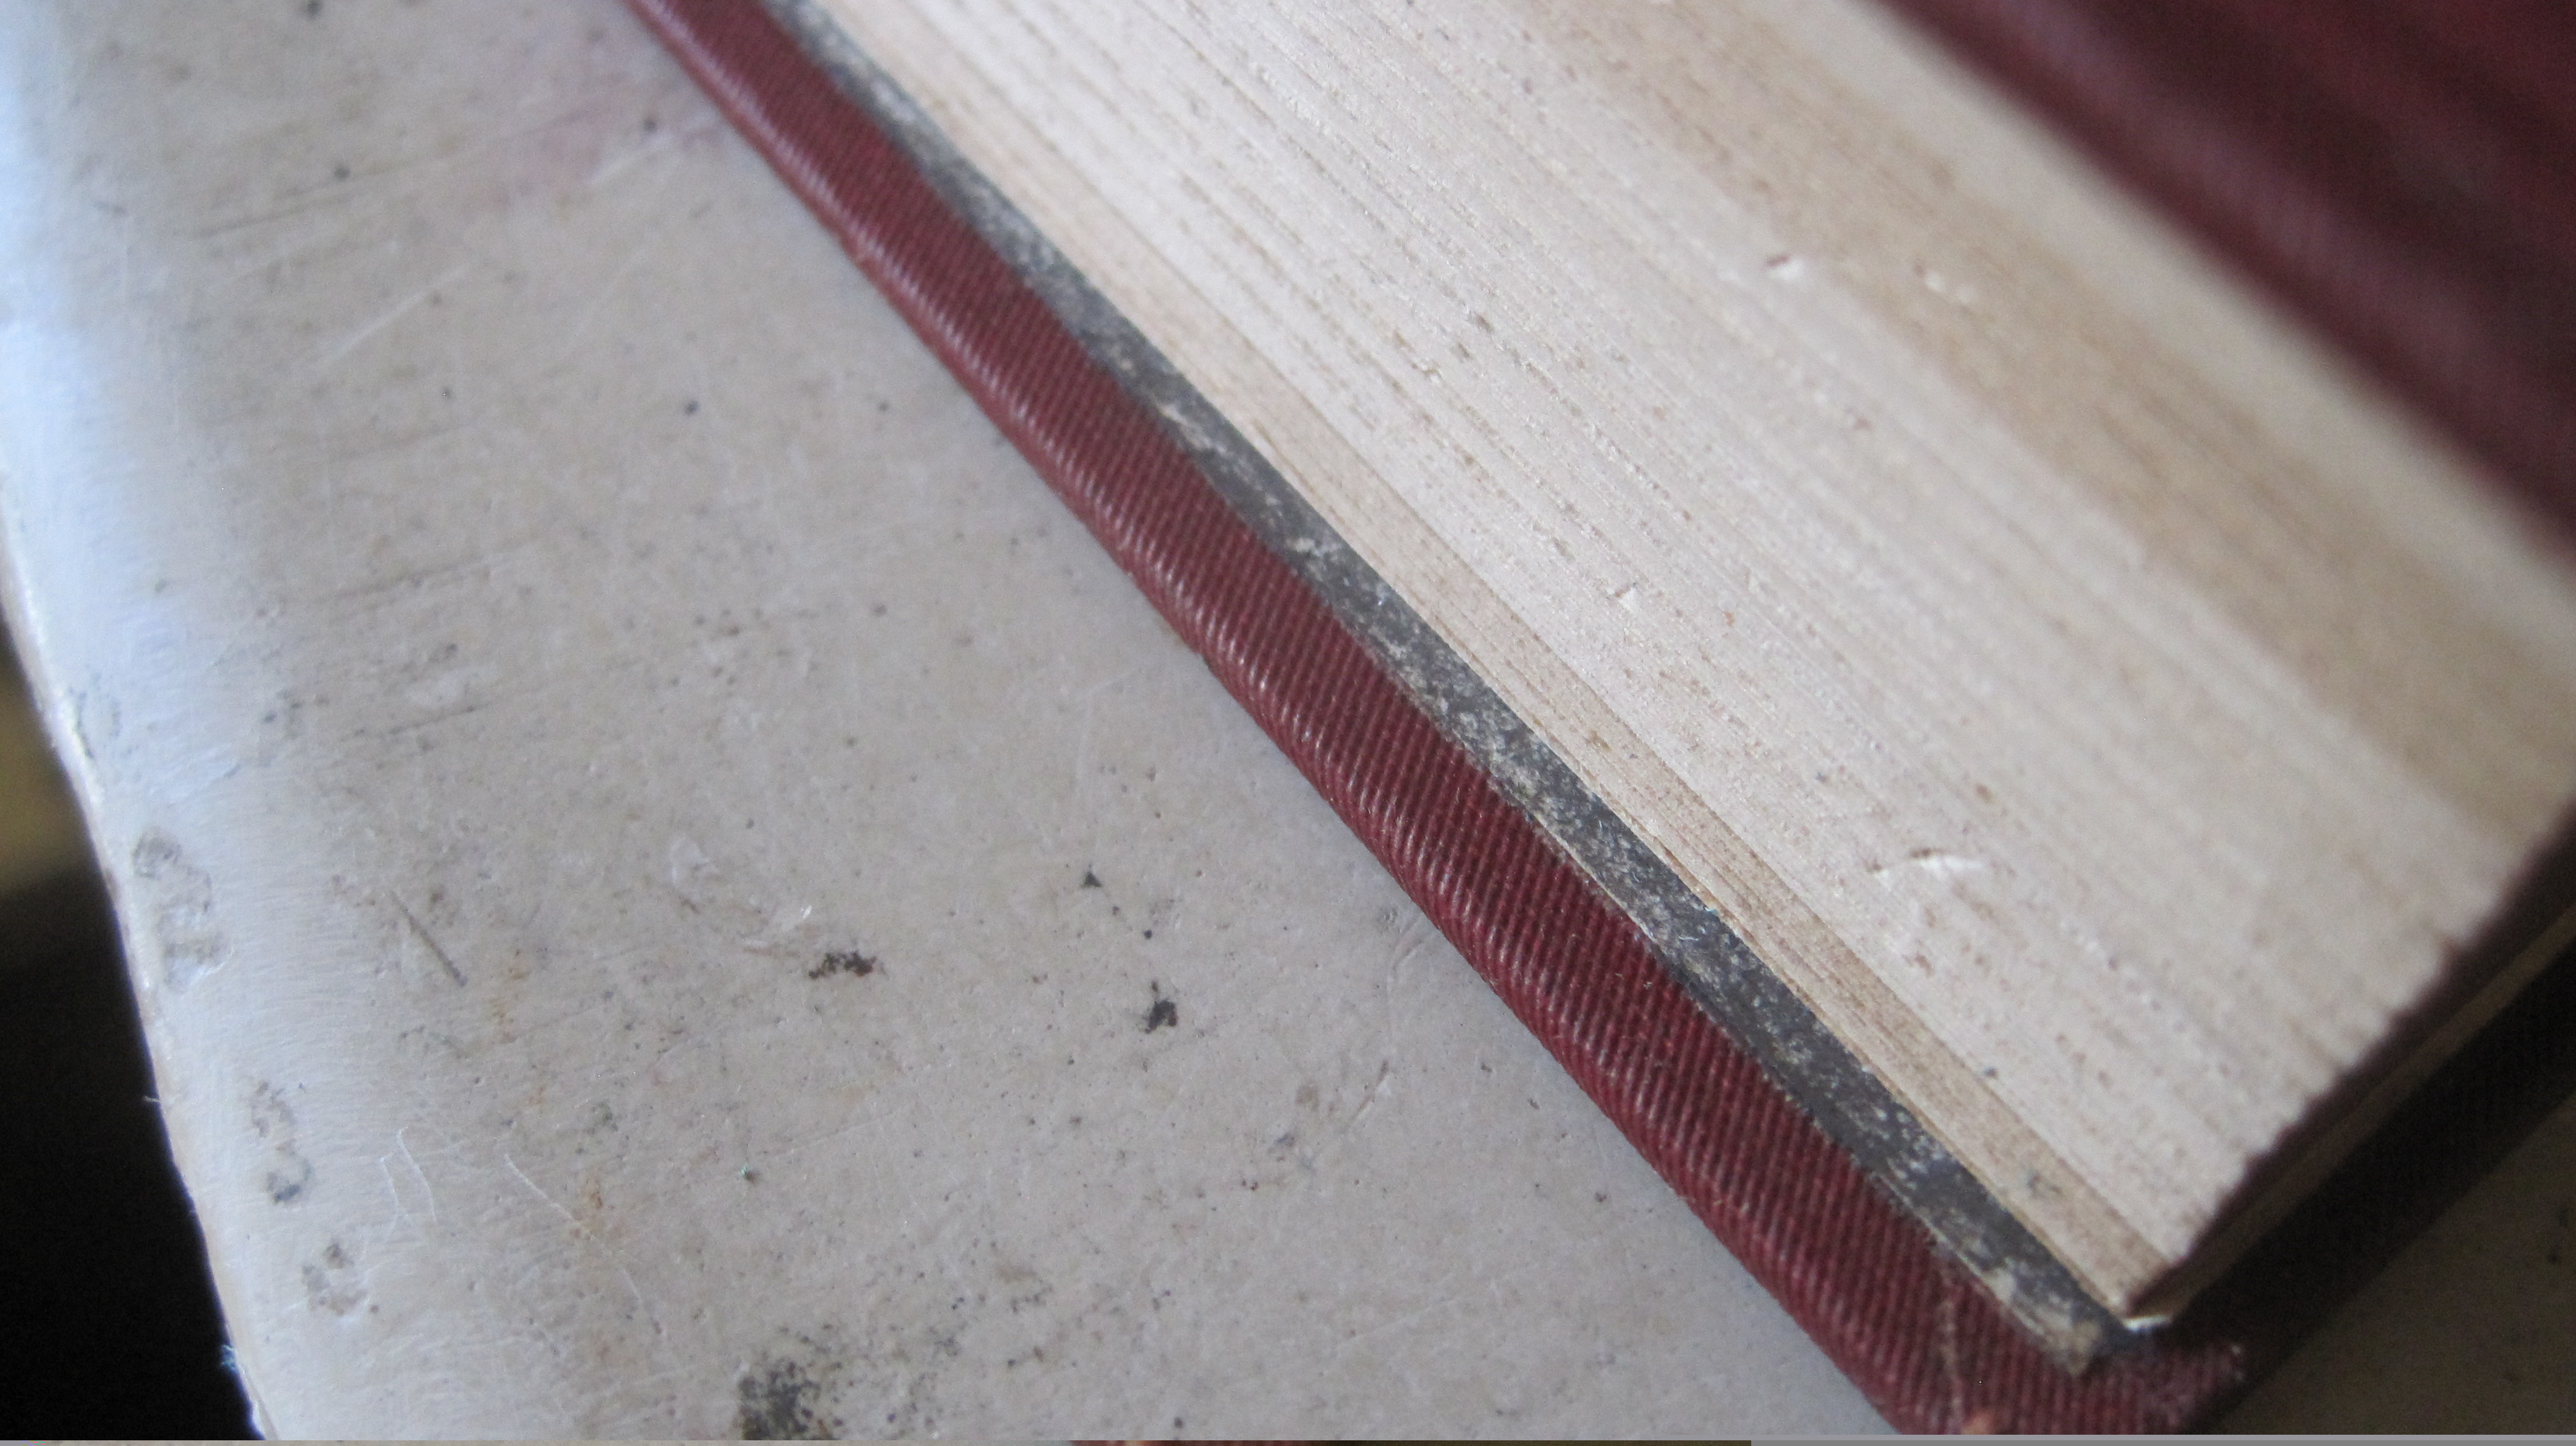
Second, the method puts three layers of cloth into the hinge where initially there was only one – the mull lining. If the repair uses the original board (as it very often does) this will push the board forward by enough to show the paste-down endpaper along the foredge:
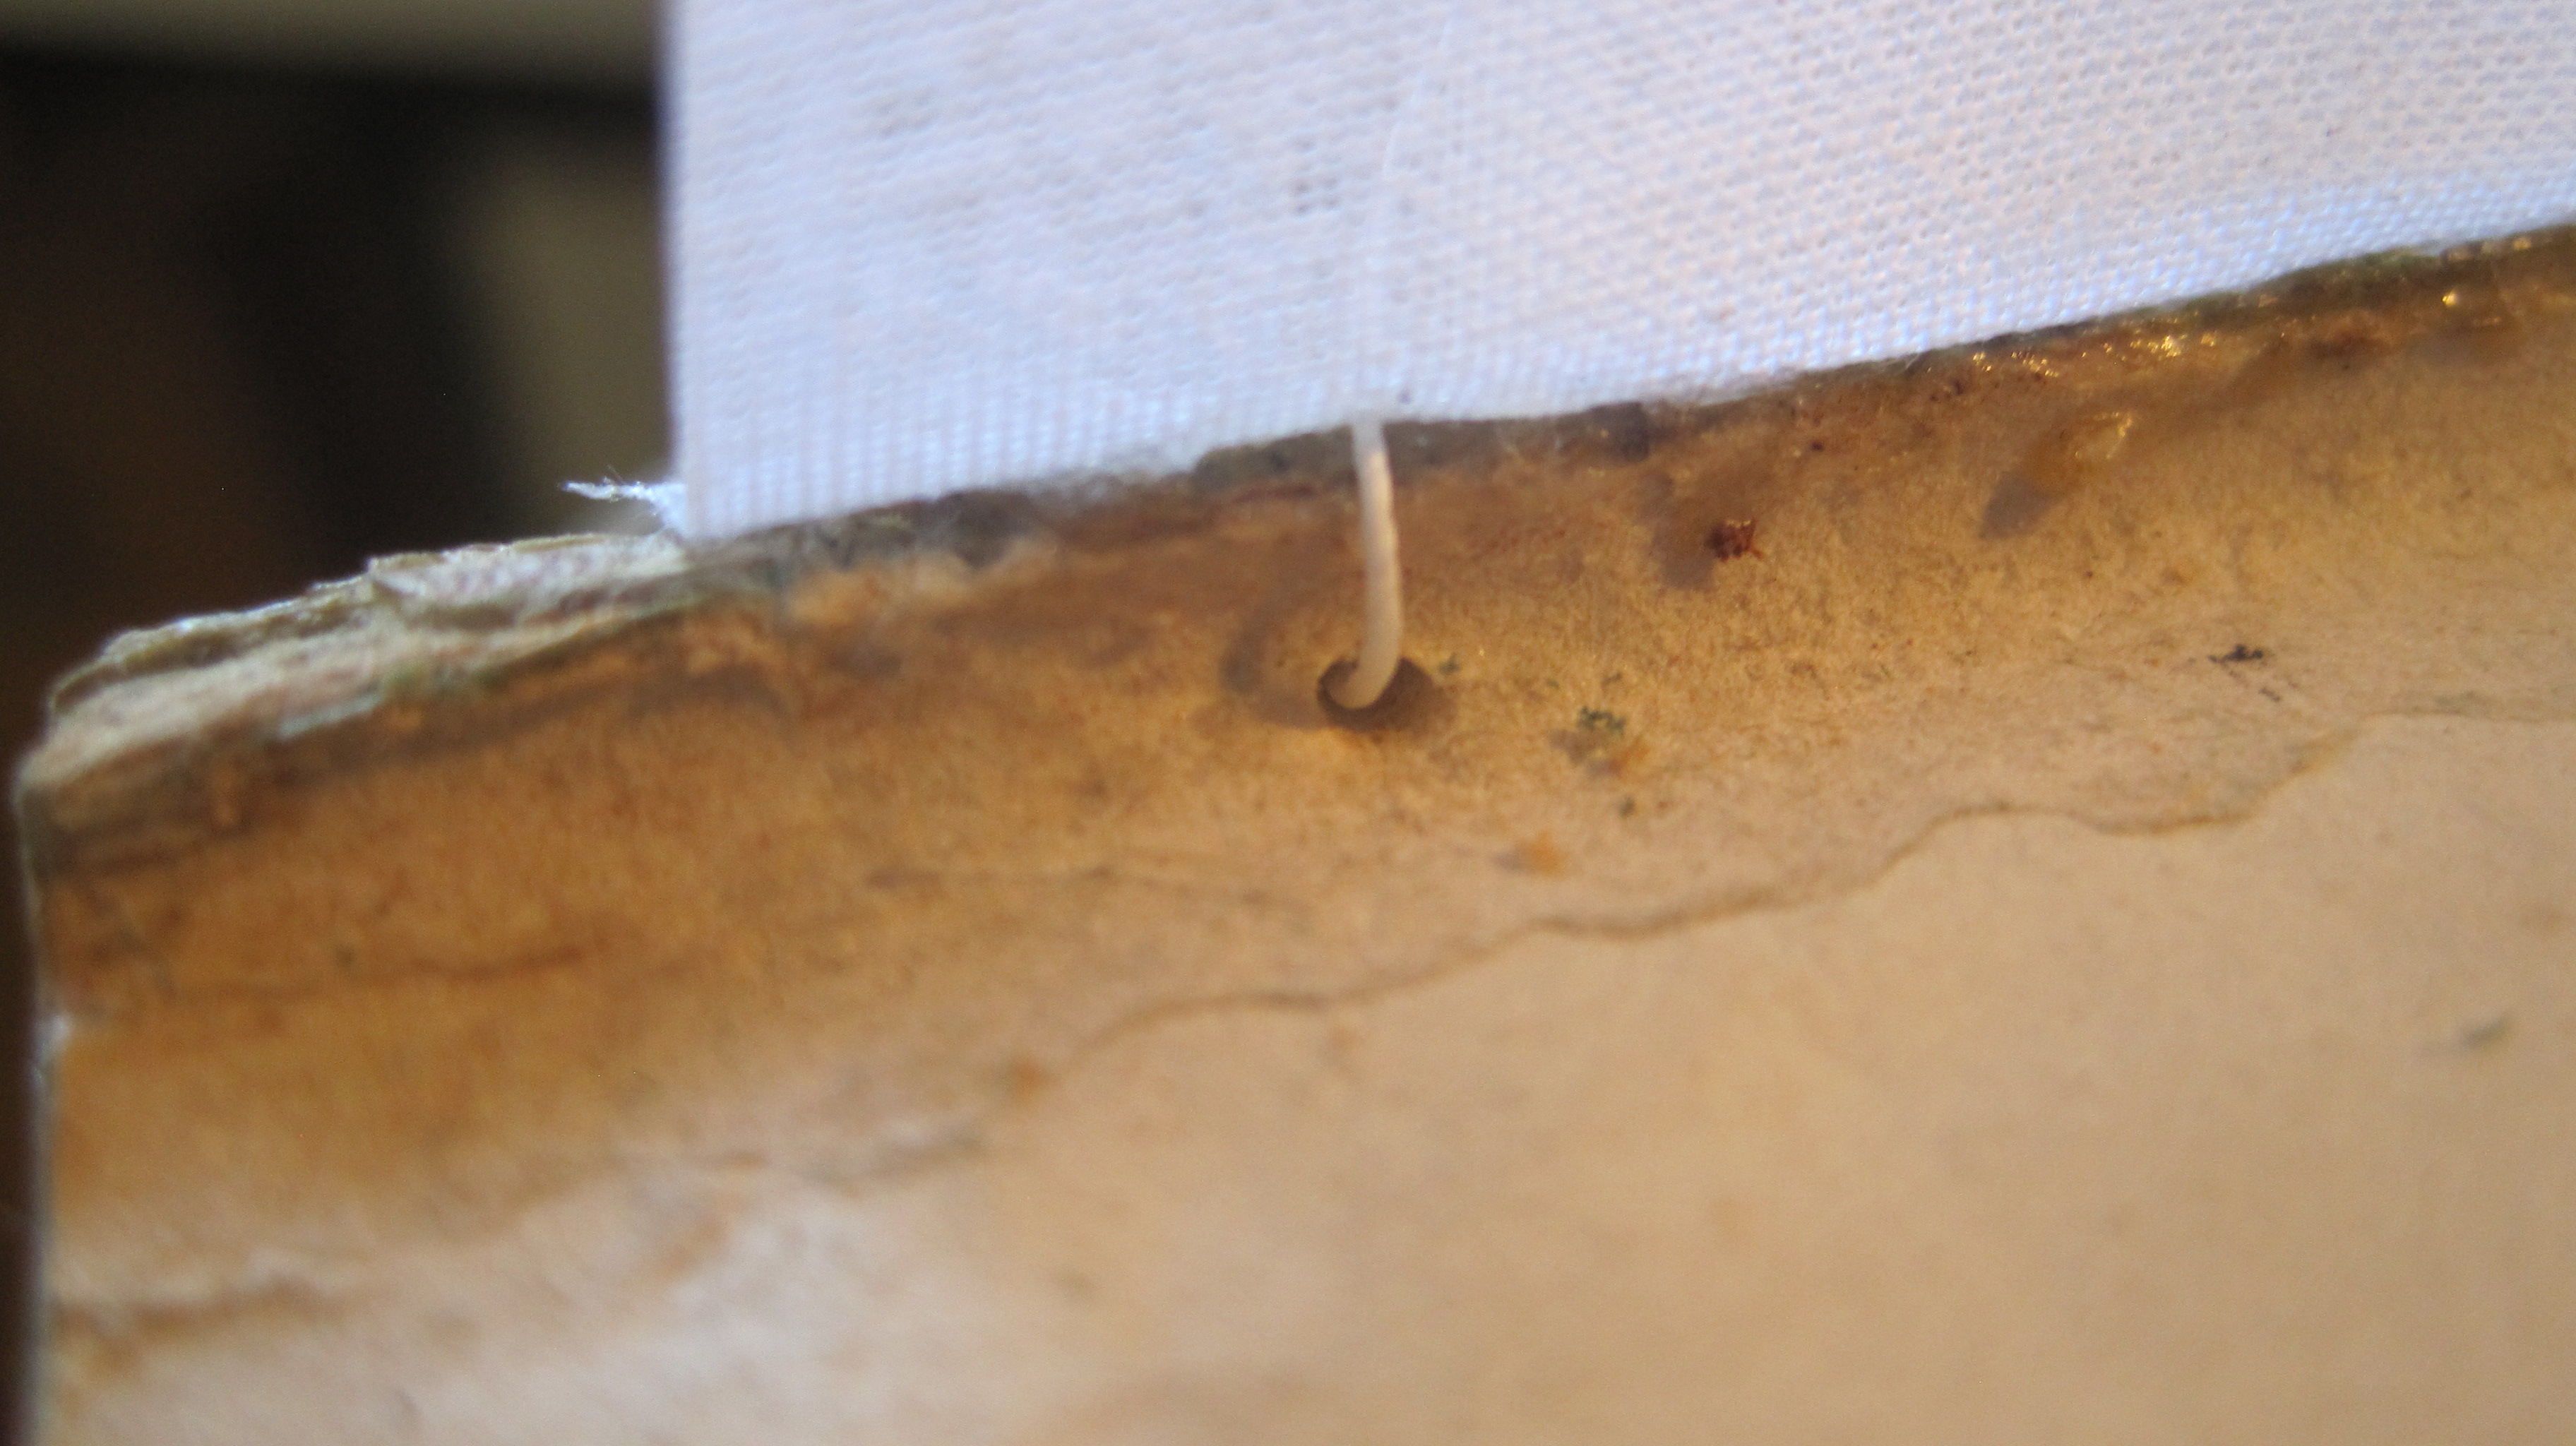
It took me years to realise there is a better way which avoids both those problems. Why not make the physical attachment point at the top of the shoulder, not at the base of the groove? You still need to pierce the shoulder to give the attaching thread something to hold on to, but you simply pass it through the new cloth at the top.
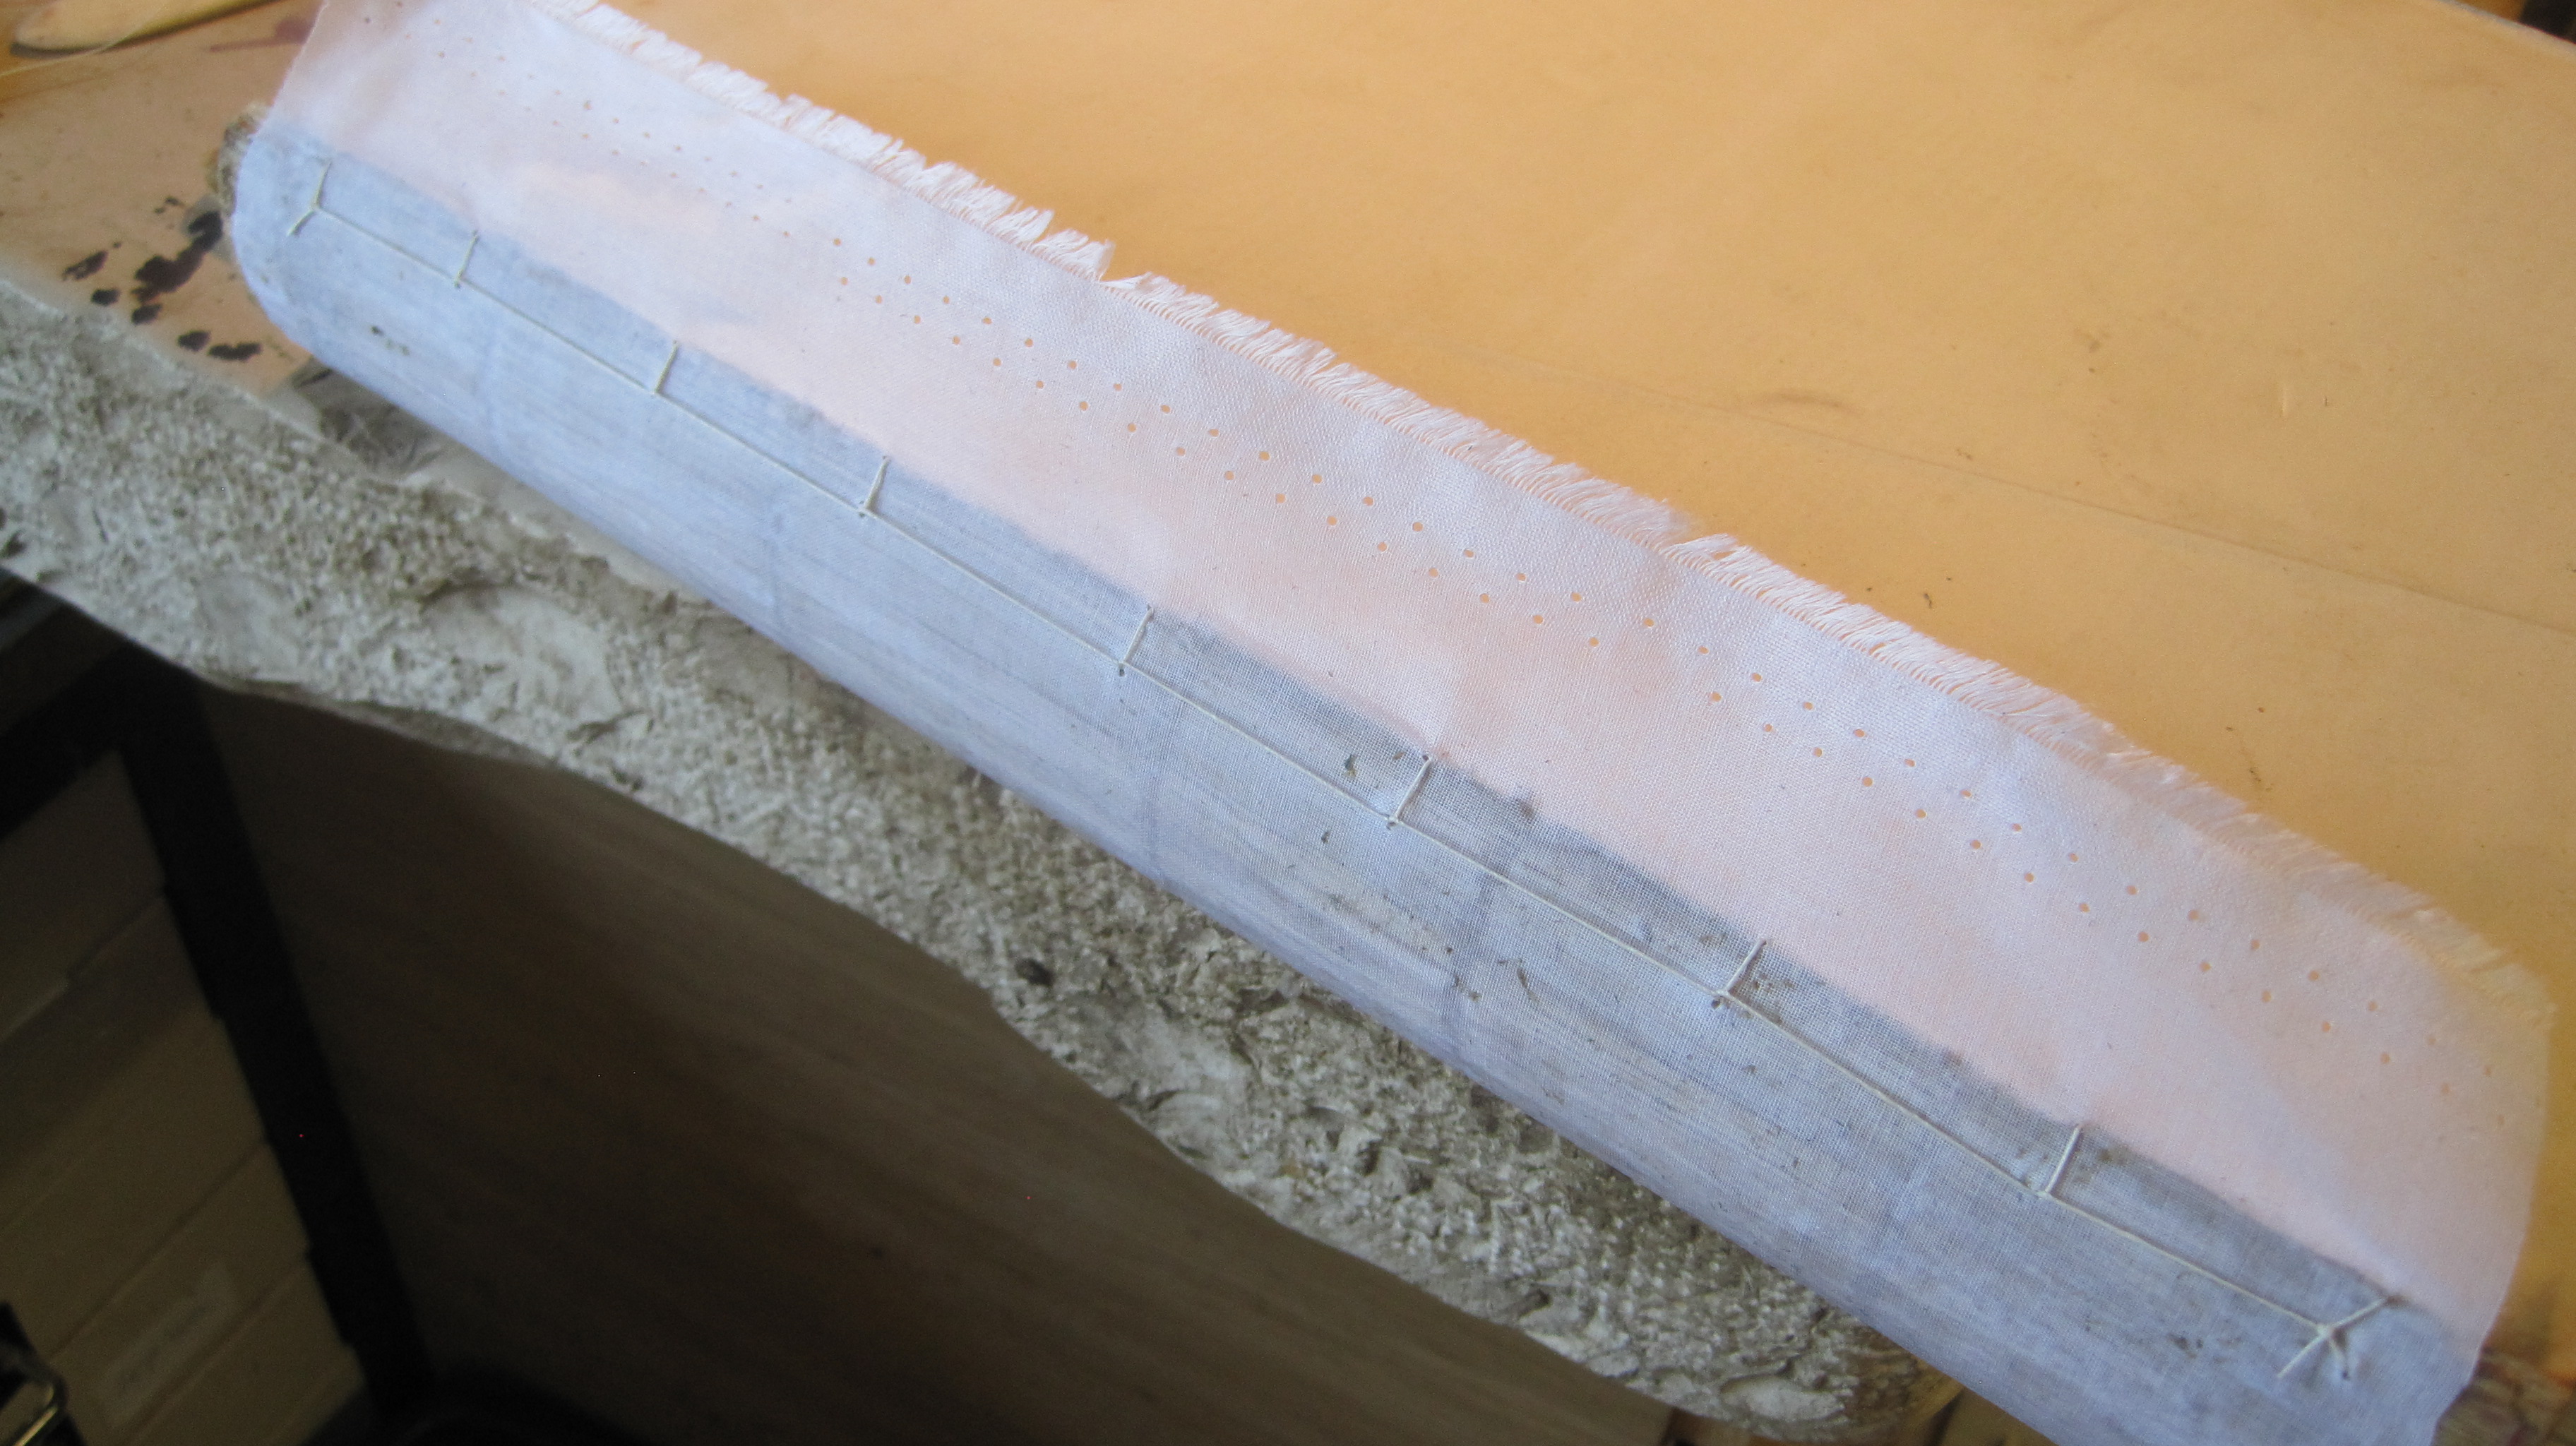
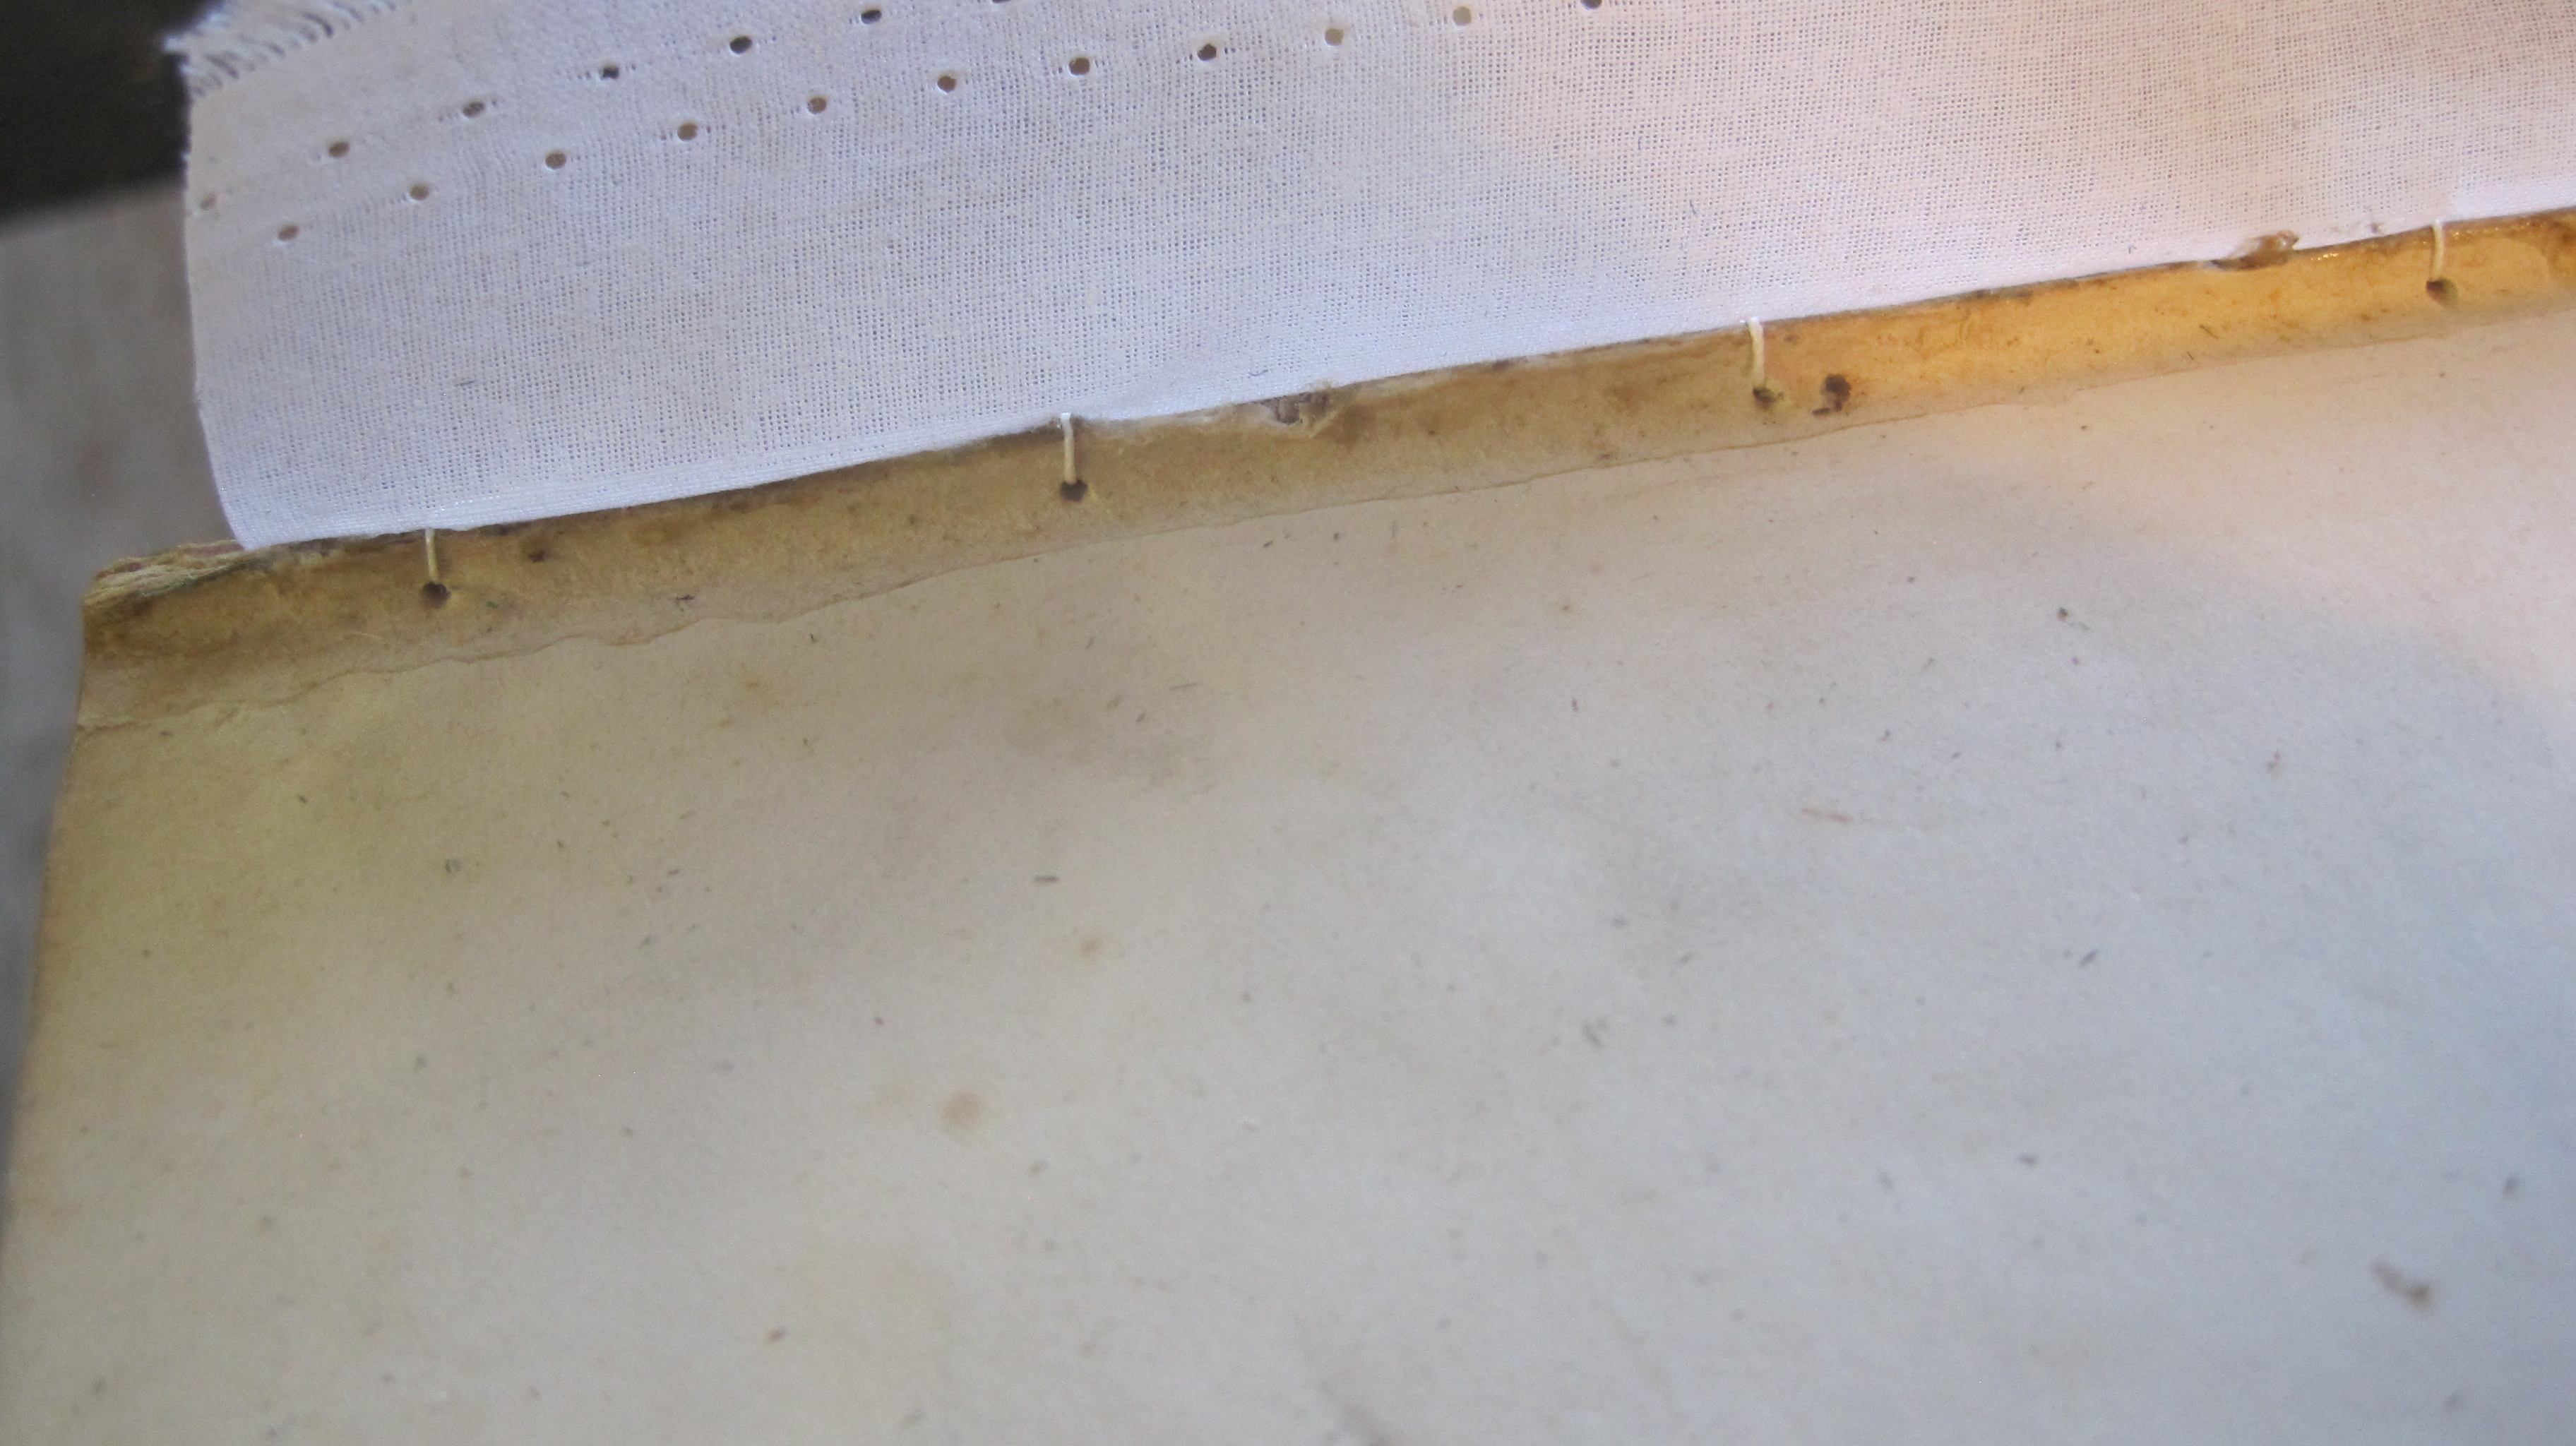
So, glue a strip of cloth across the spine, just as the original mull was, with an inch extra on each side as before. Pierce through from the base of the shoulder all along – 35 mm spacing is fine – and put a threaded needle through from the back and out again at the hinge point:
Tie a knot at the back

Repeat all along, using a simple blanket stitch:
The back is then lined with kraft paper in the usual way, anchoring the sewn threads

Another layer of thicker paper will enable the little lumps to be sanded down and a kraft paper hollow produces a smooth back.

In the joint there is nothing extra so the old covers can go back exactly where they were:
I have used this method on all types of book – simple re-casing, leather hollow back, and tight back. It is quicker, but more important, it is simply better!
Of course, you may disagree – if so, please say so.
