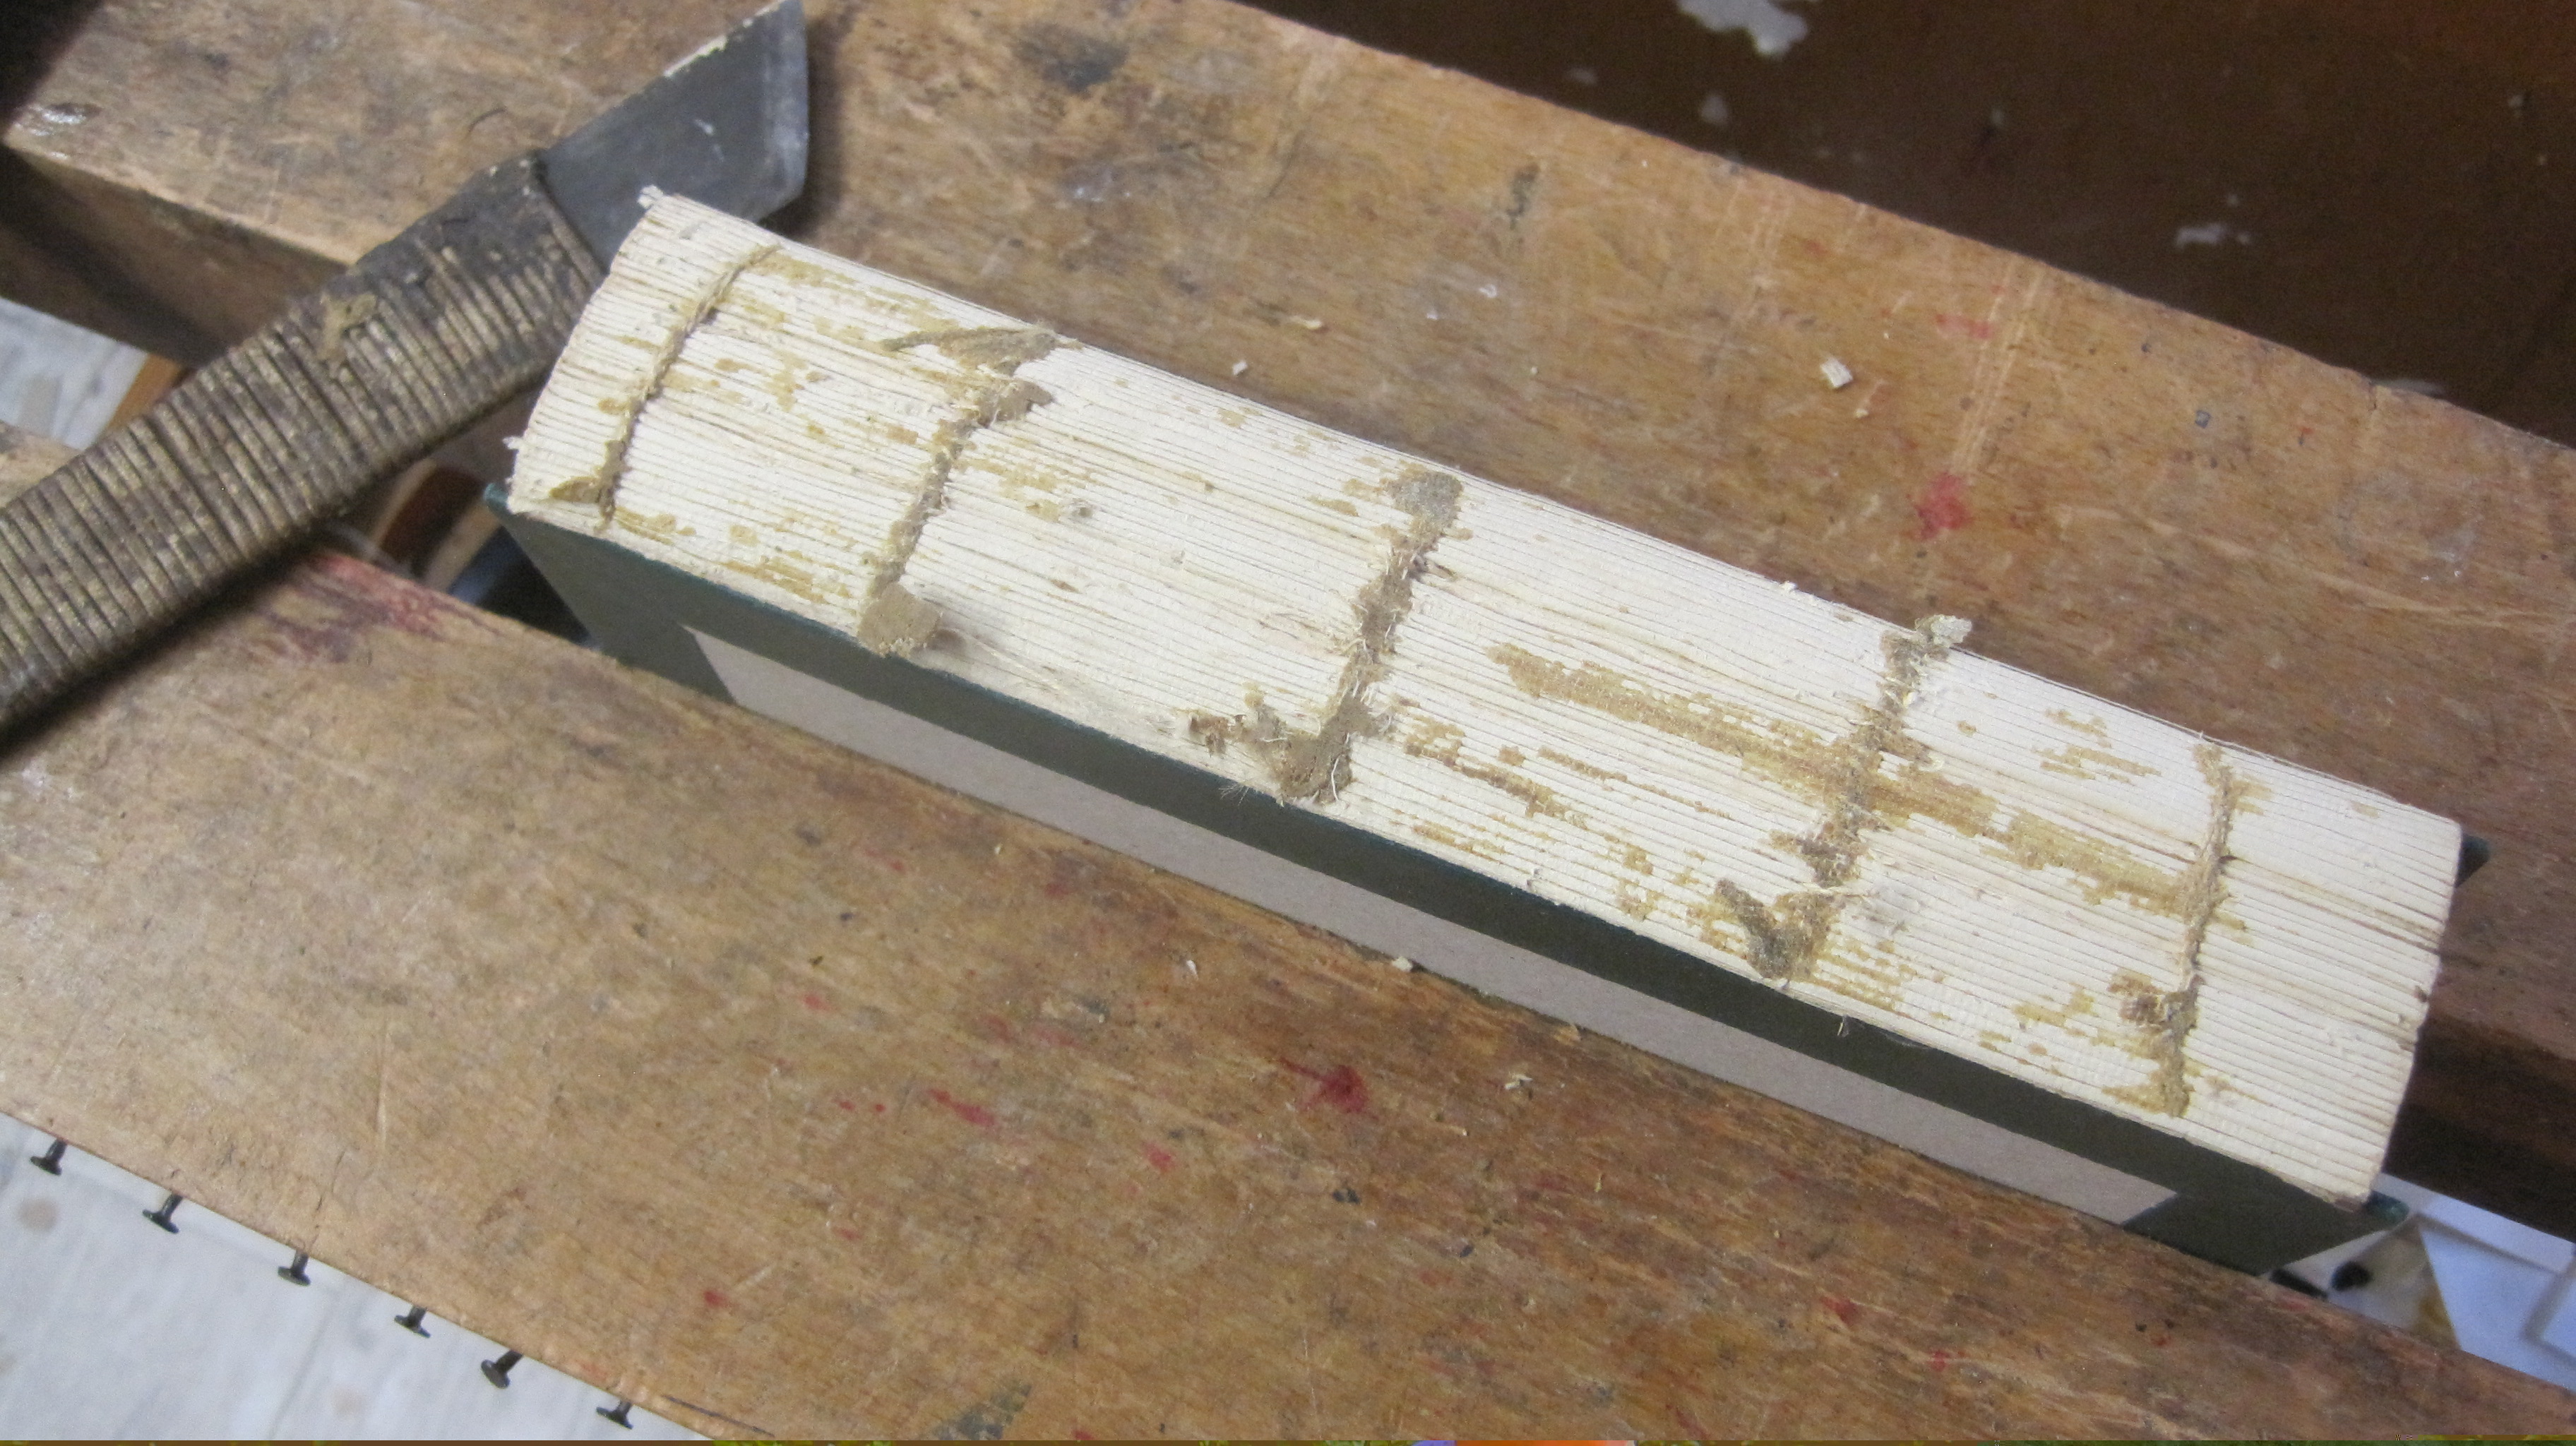
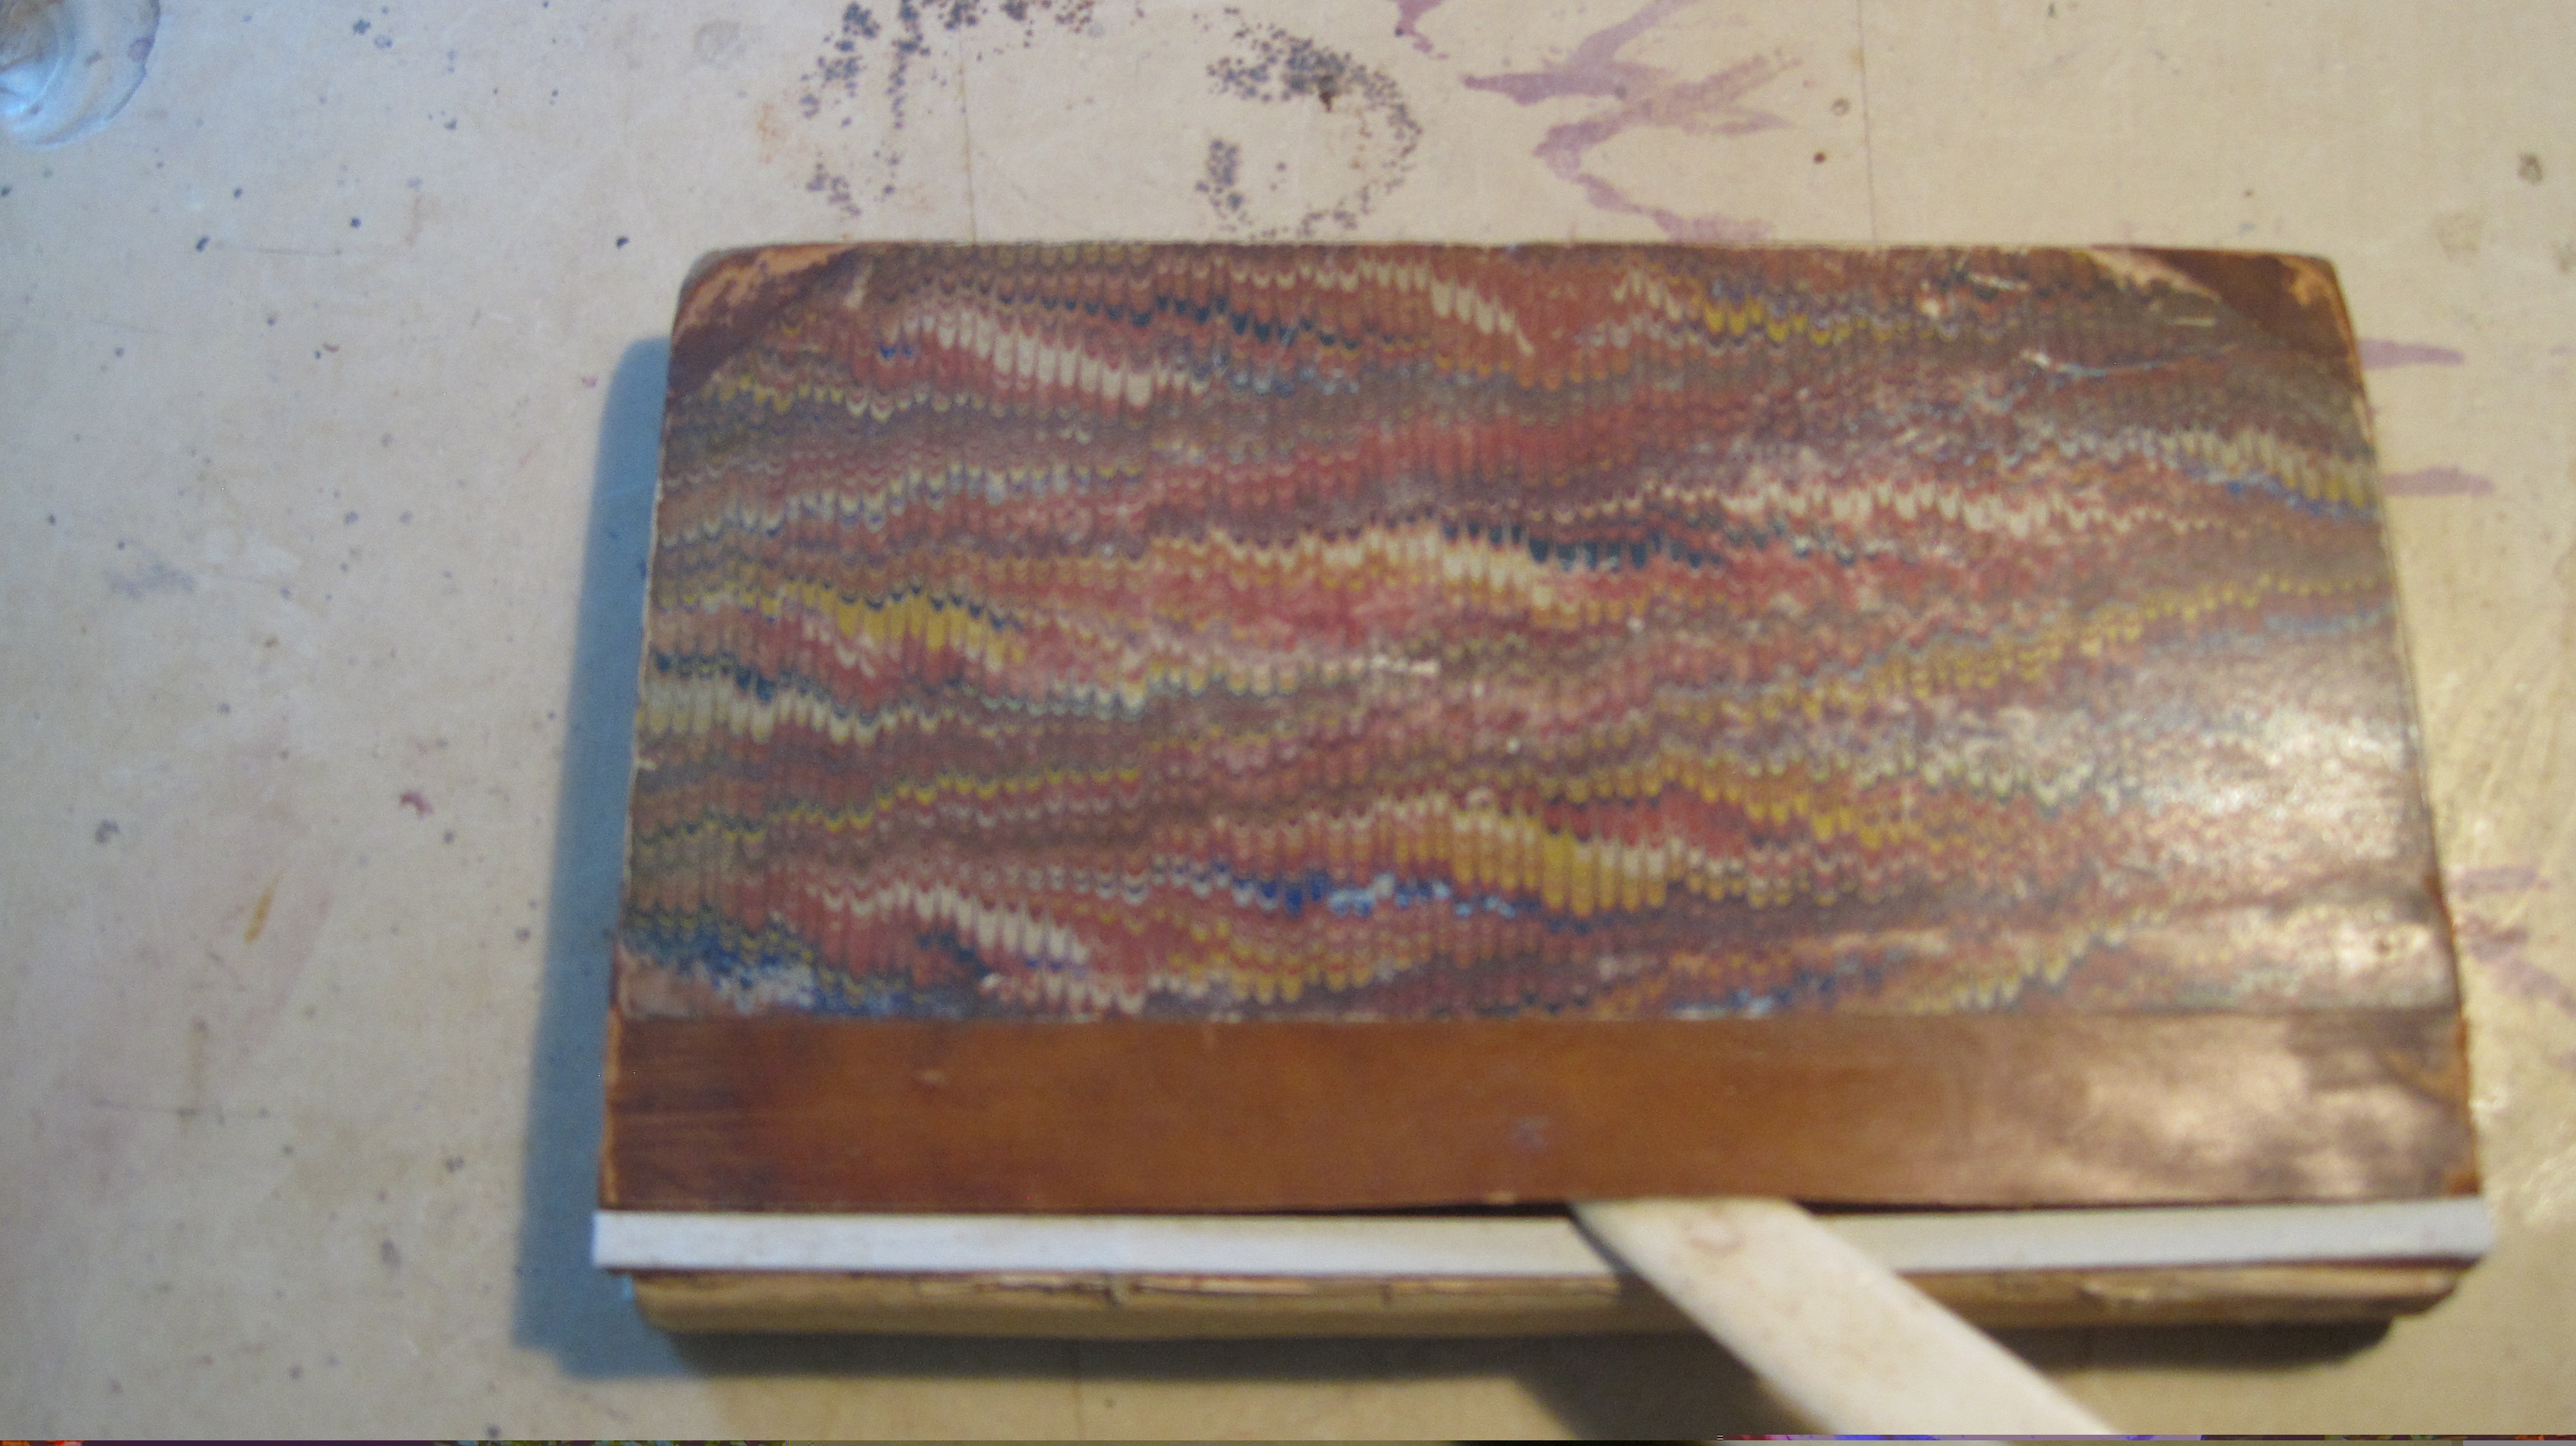
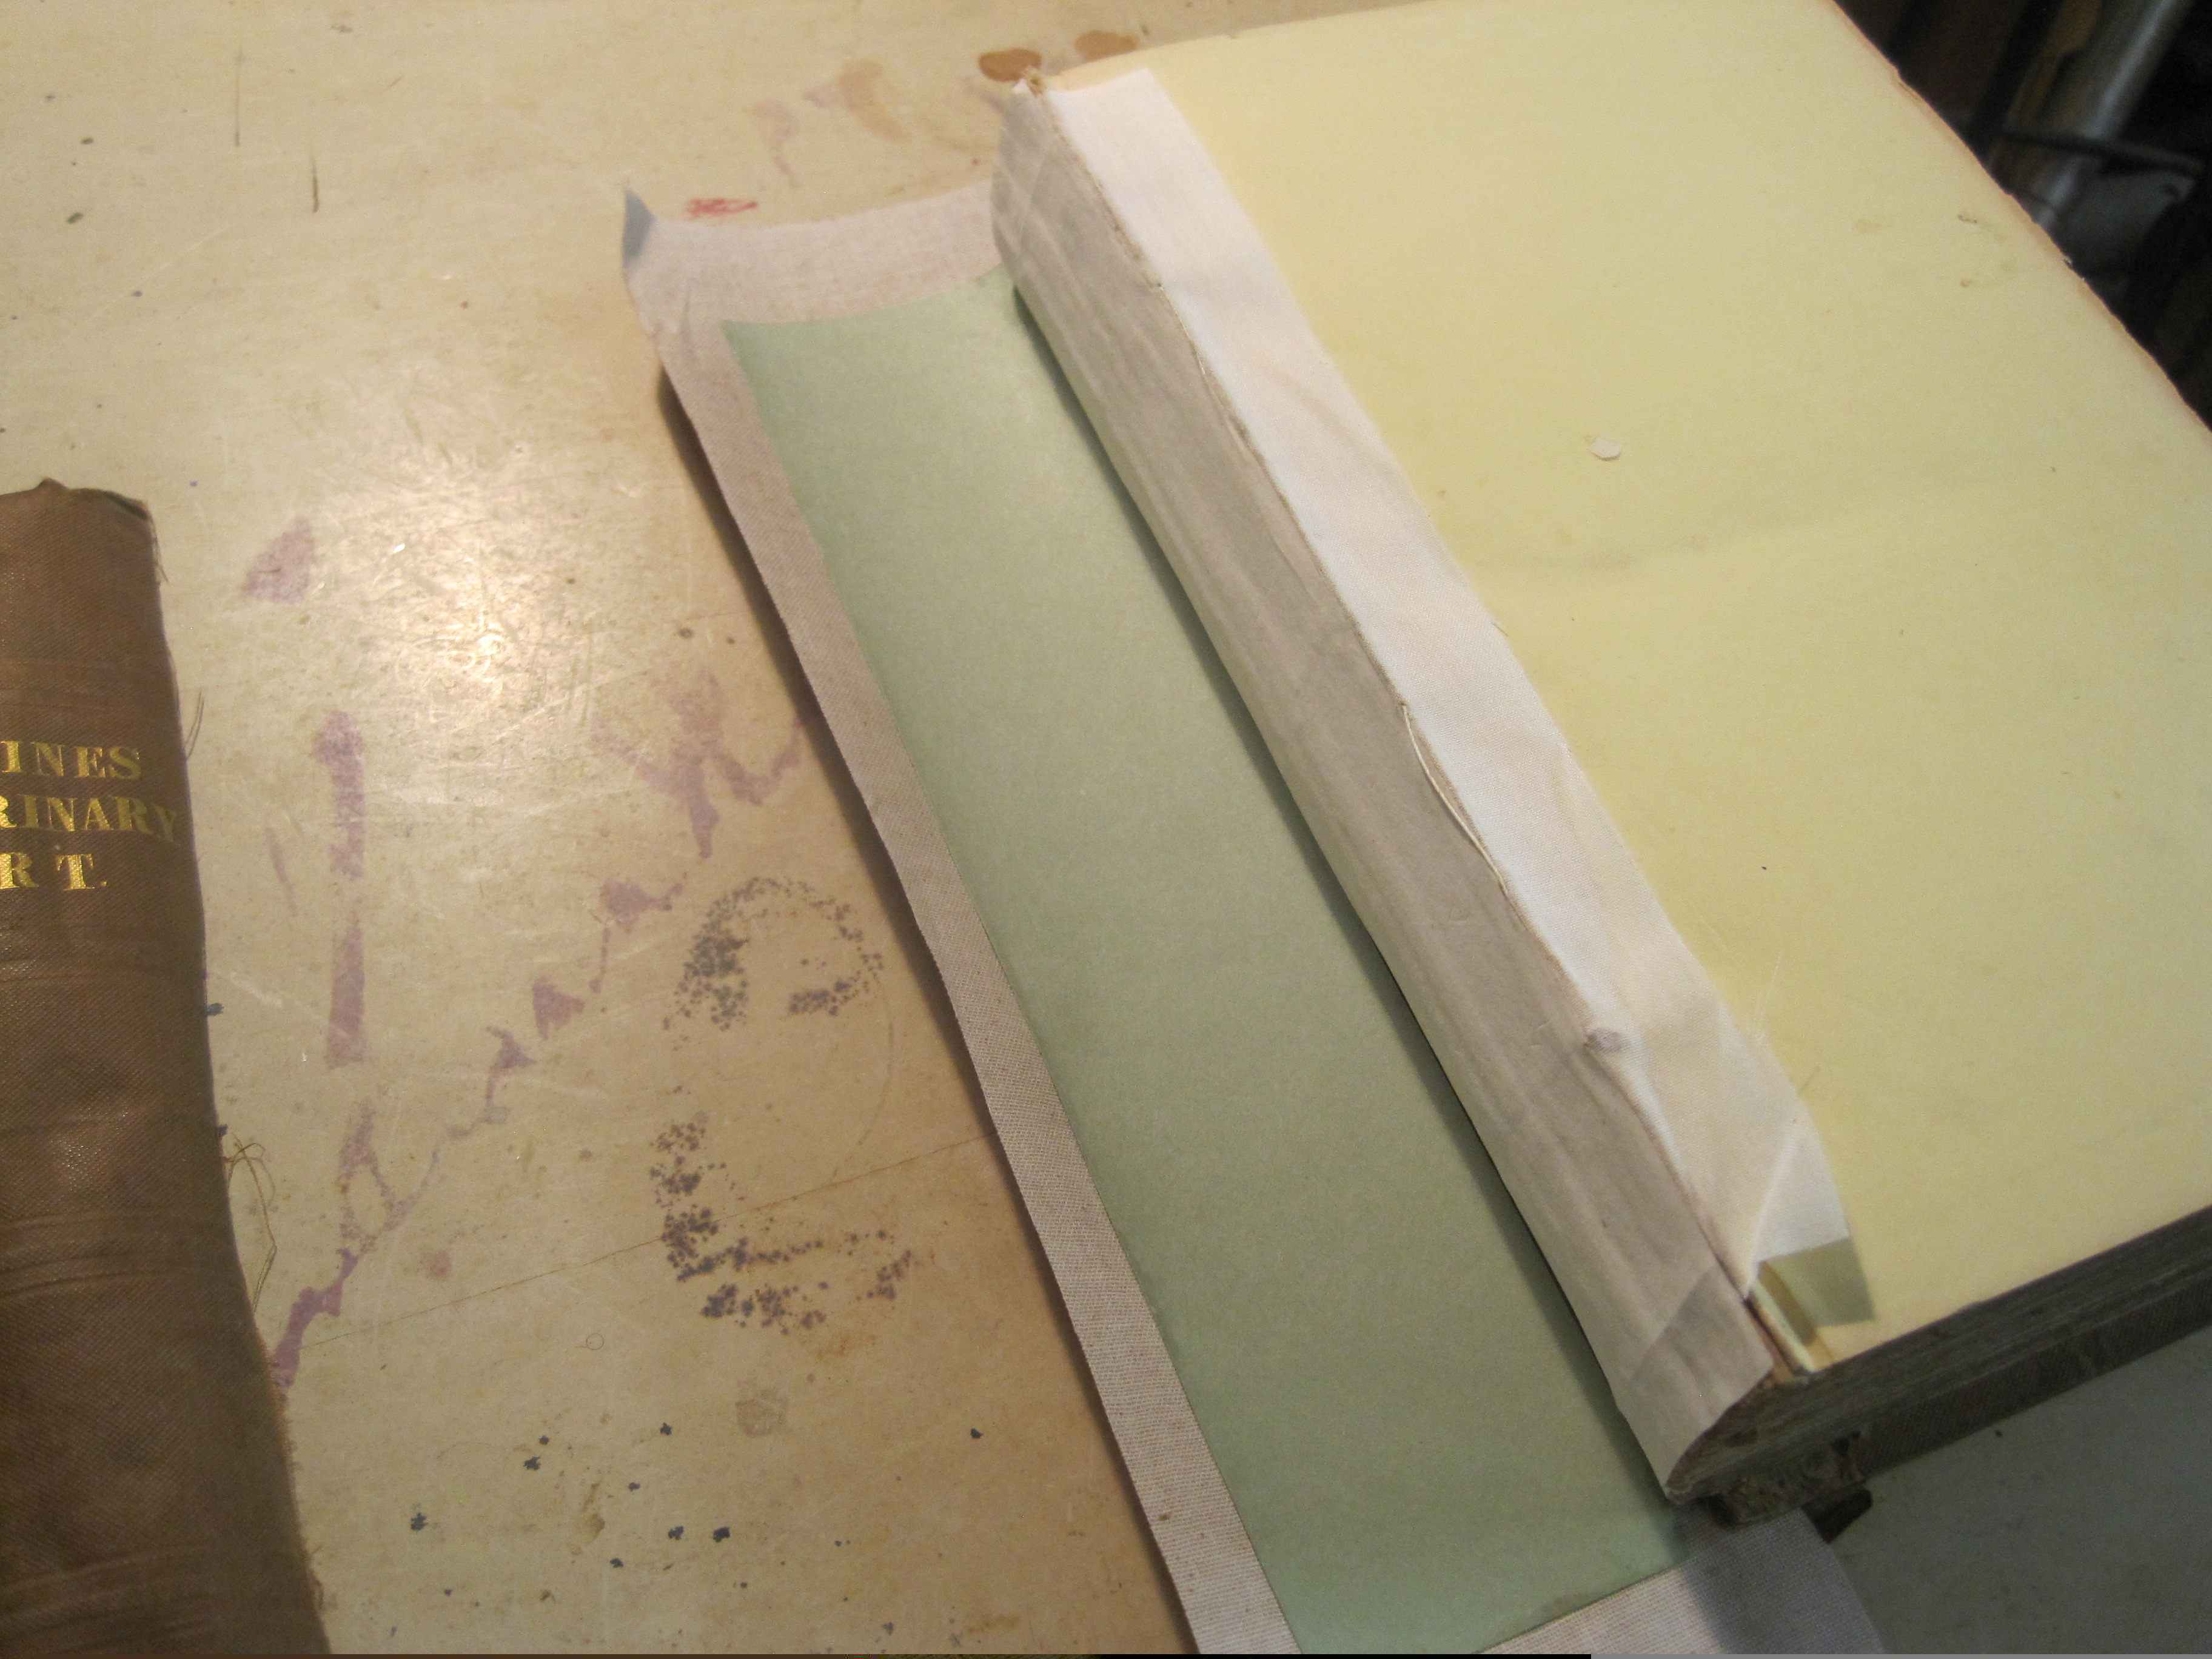
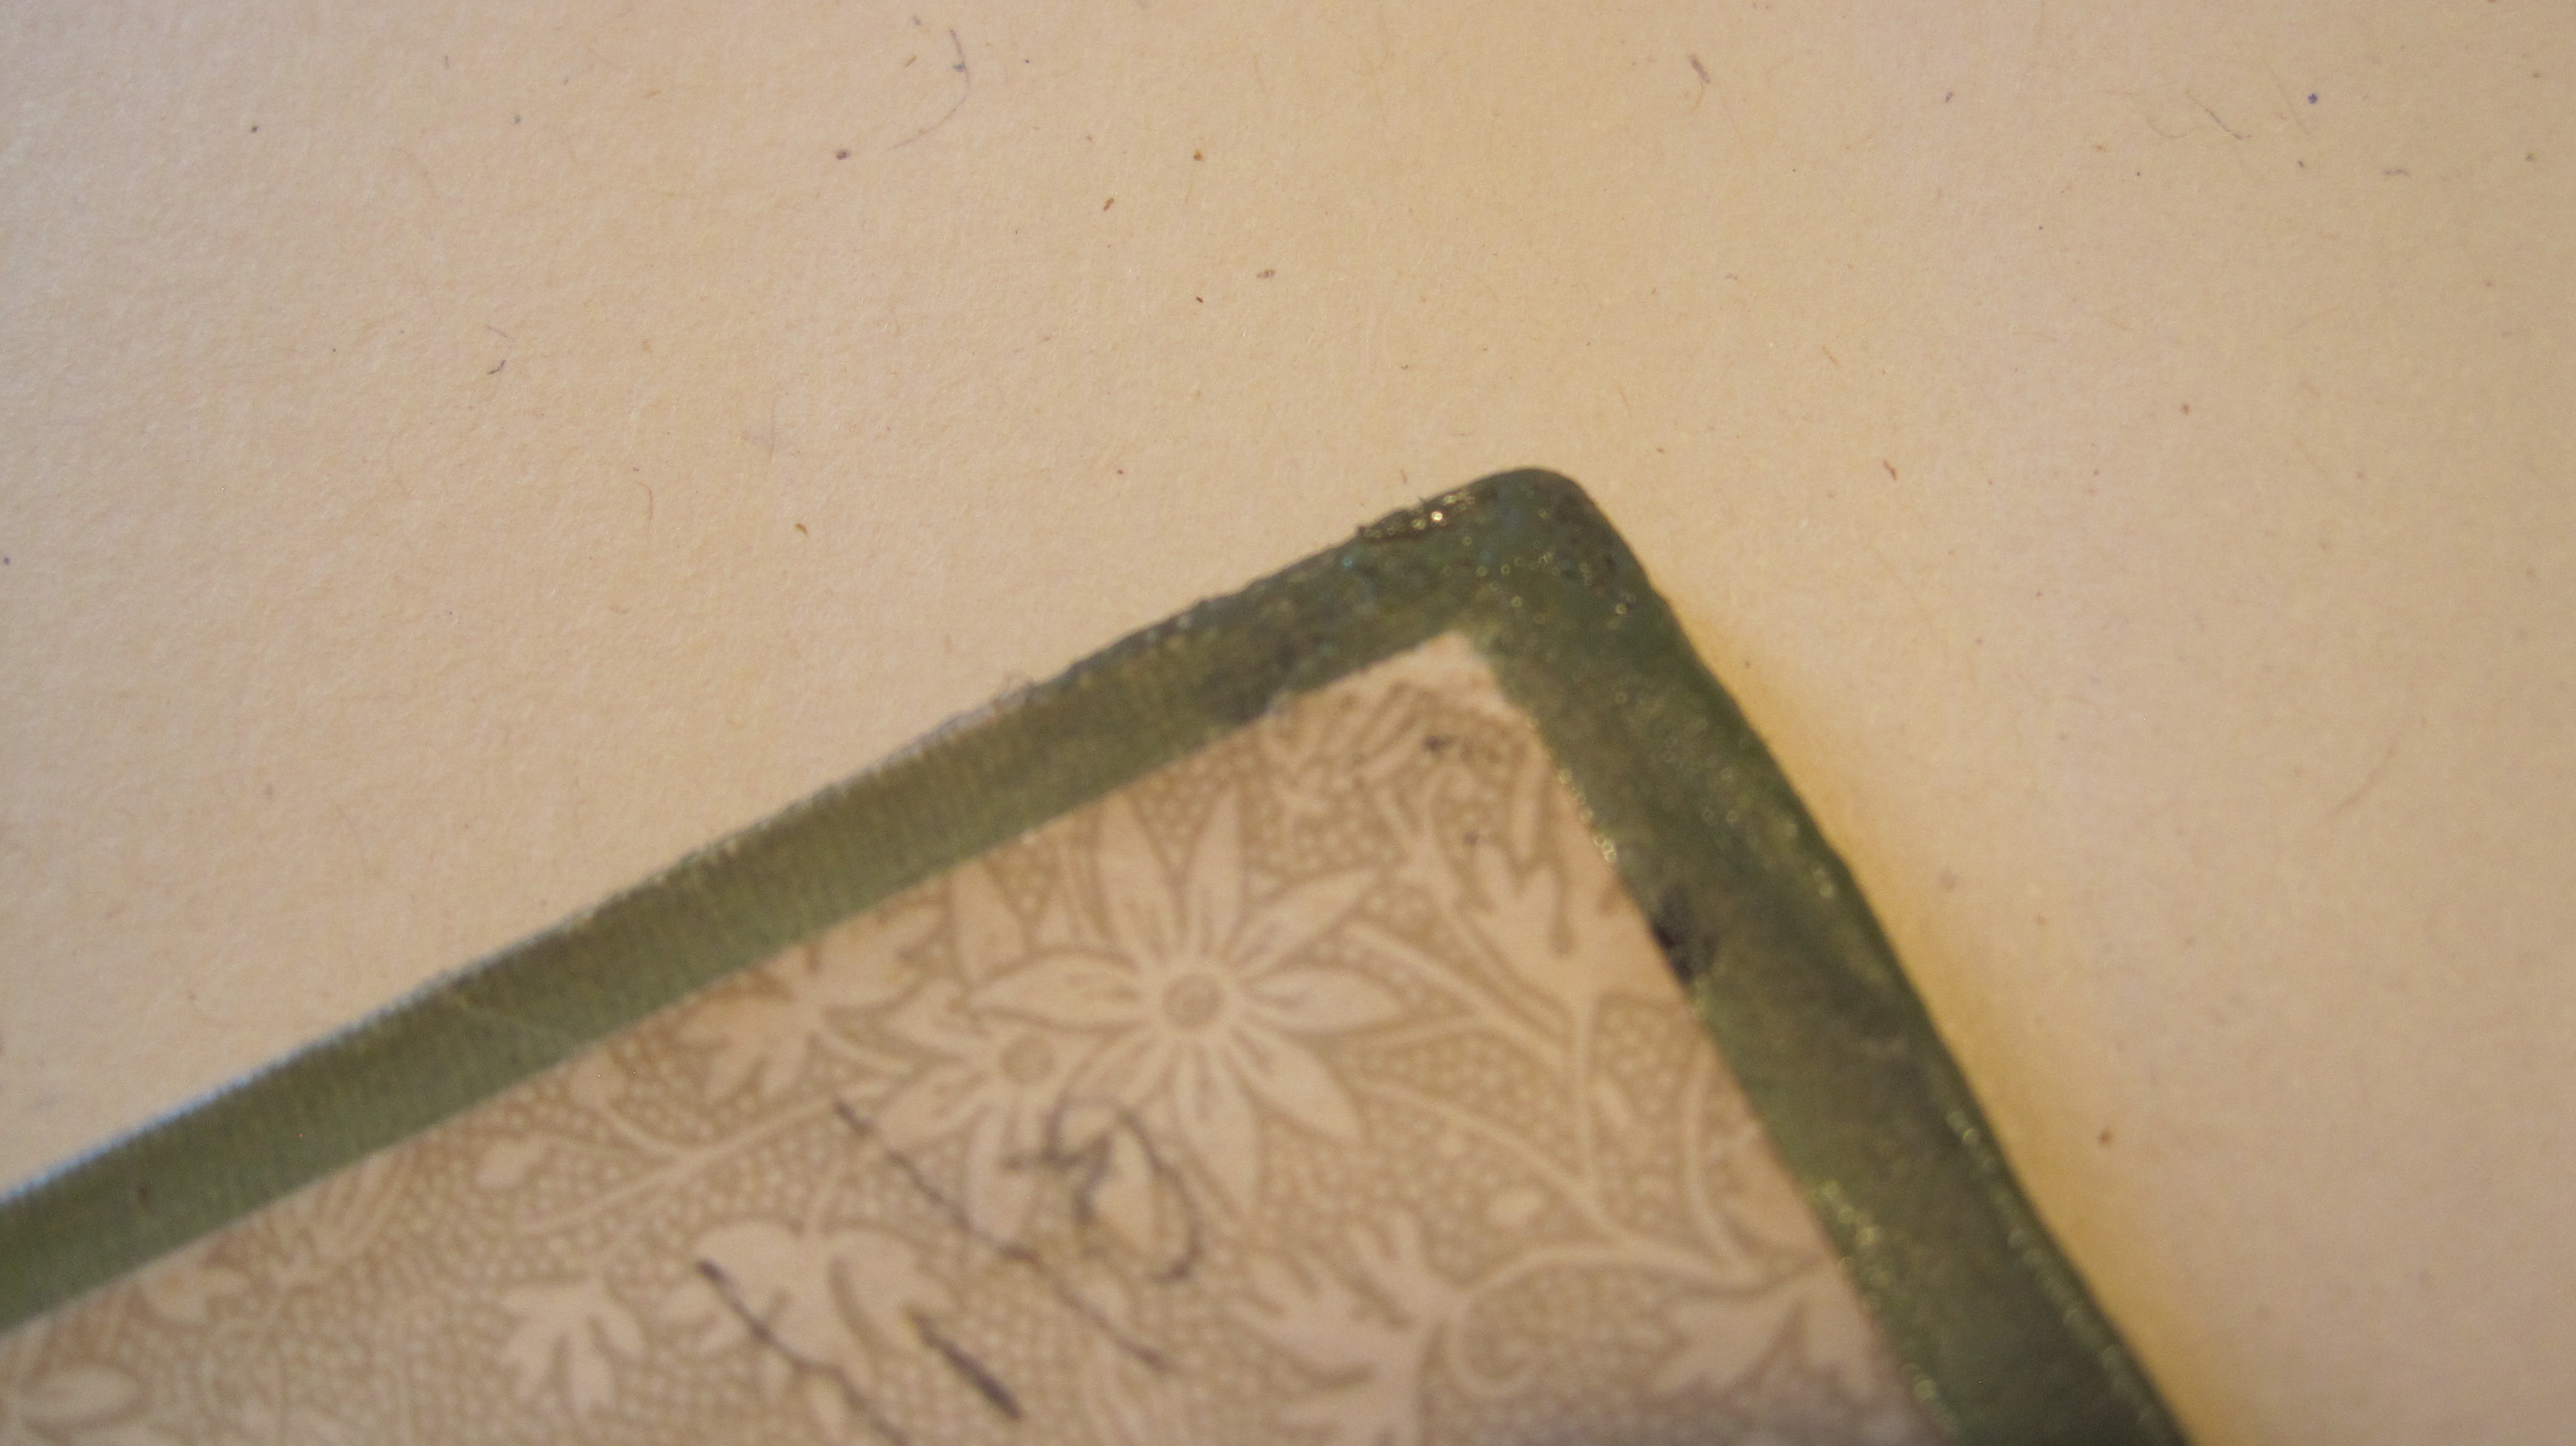
I said in an earlier post (‘another slice of the same…’) that I would deal with damaged corners, such as this:
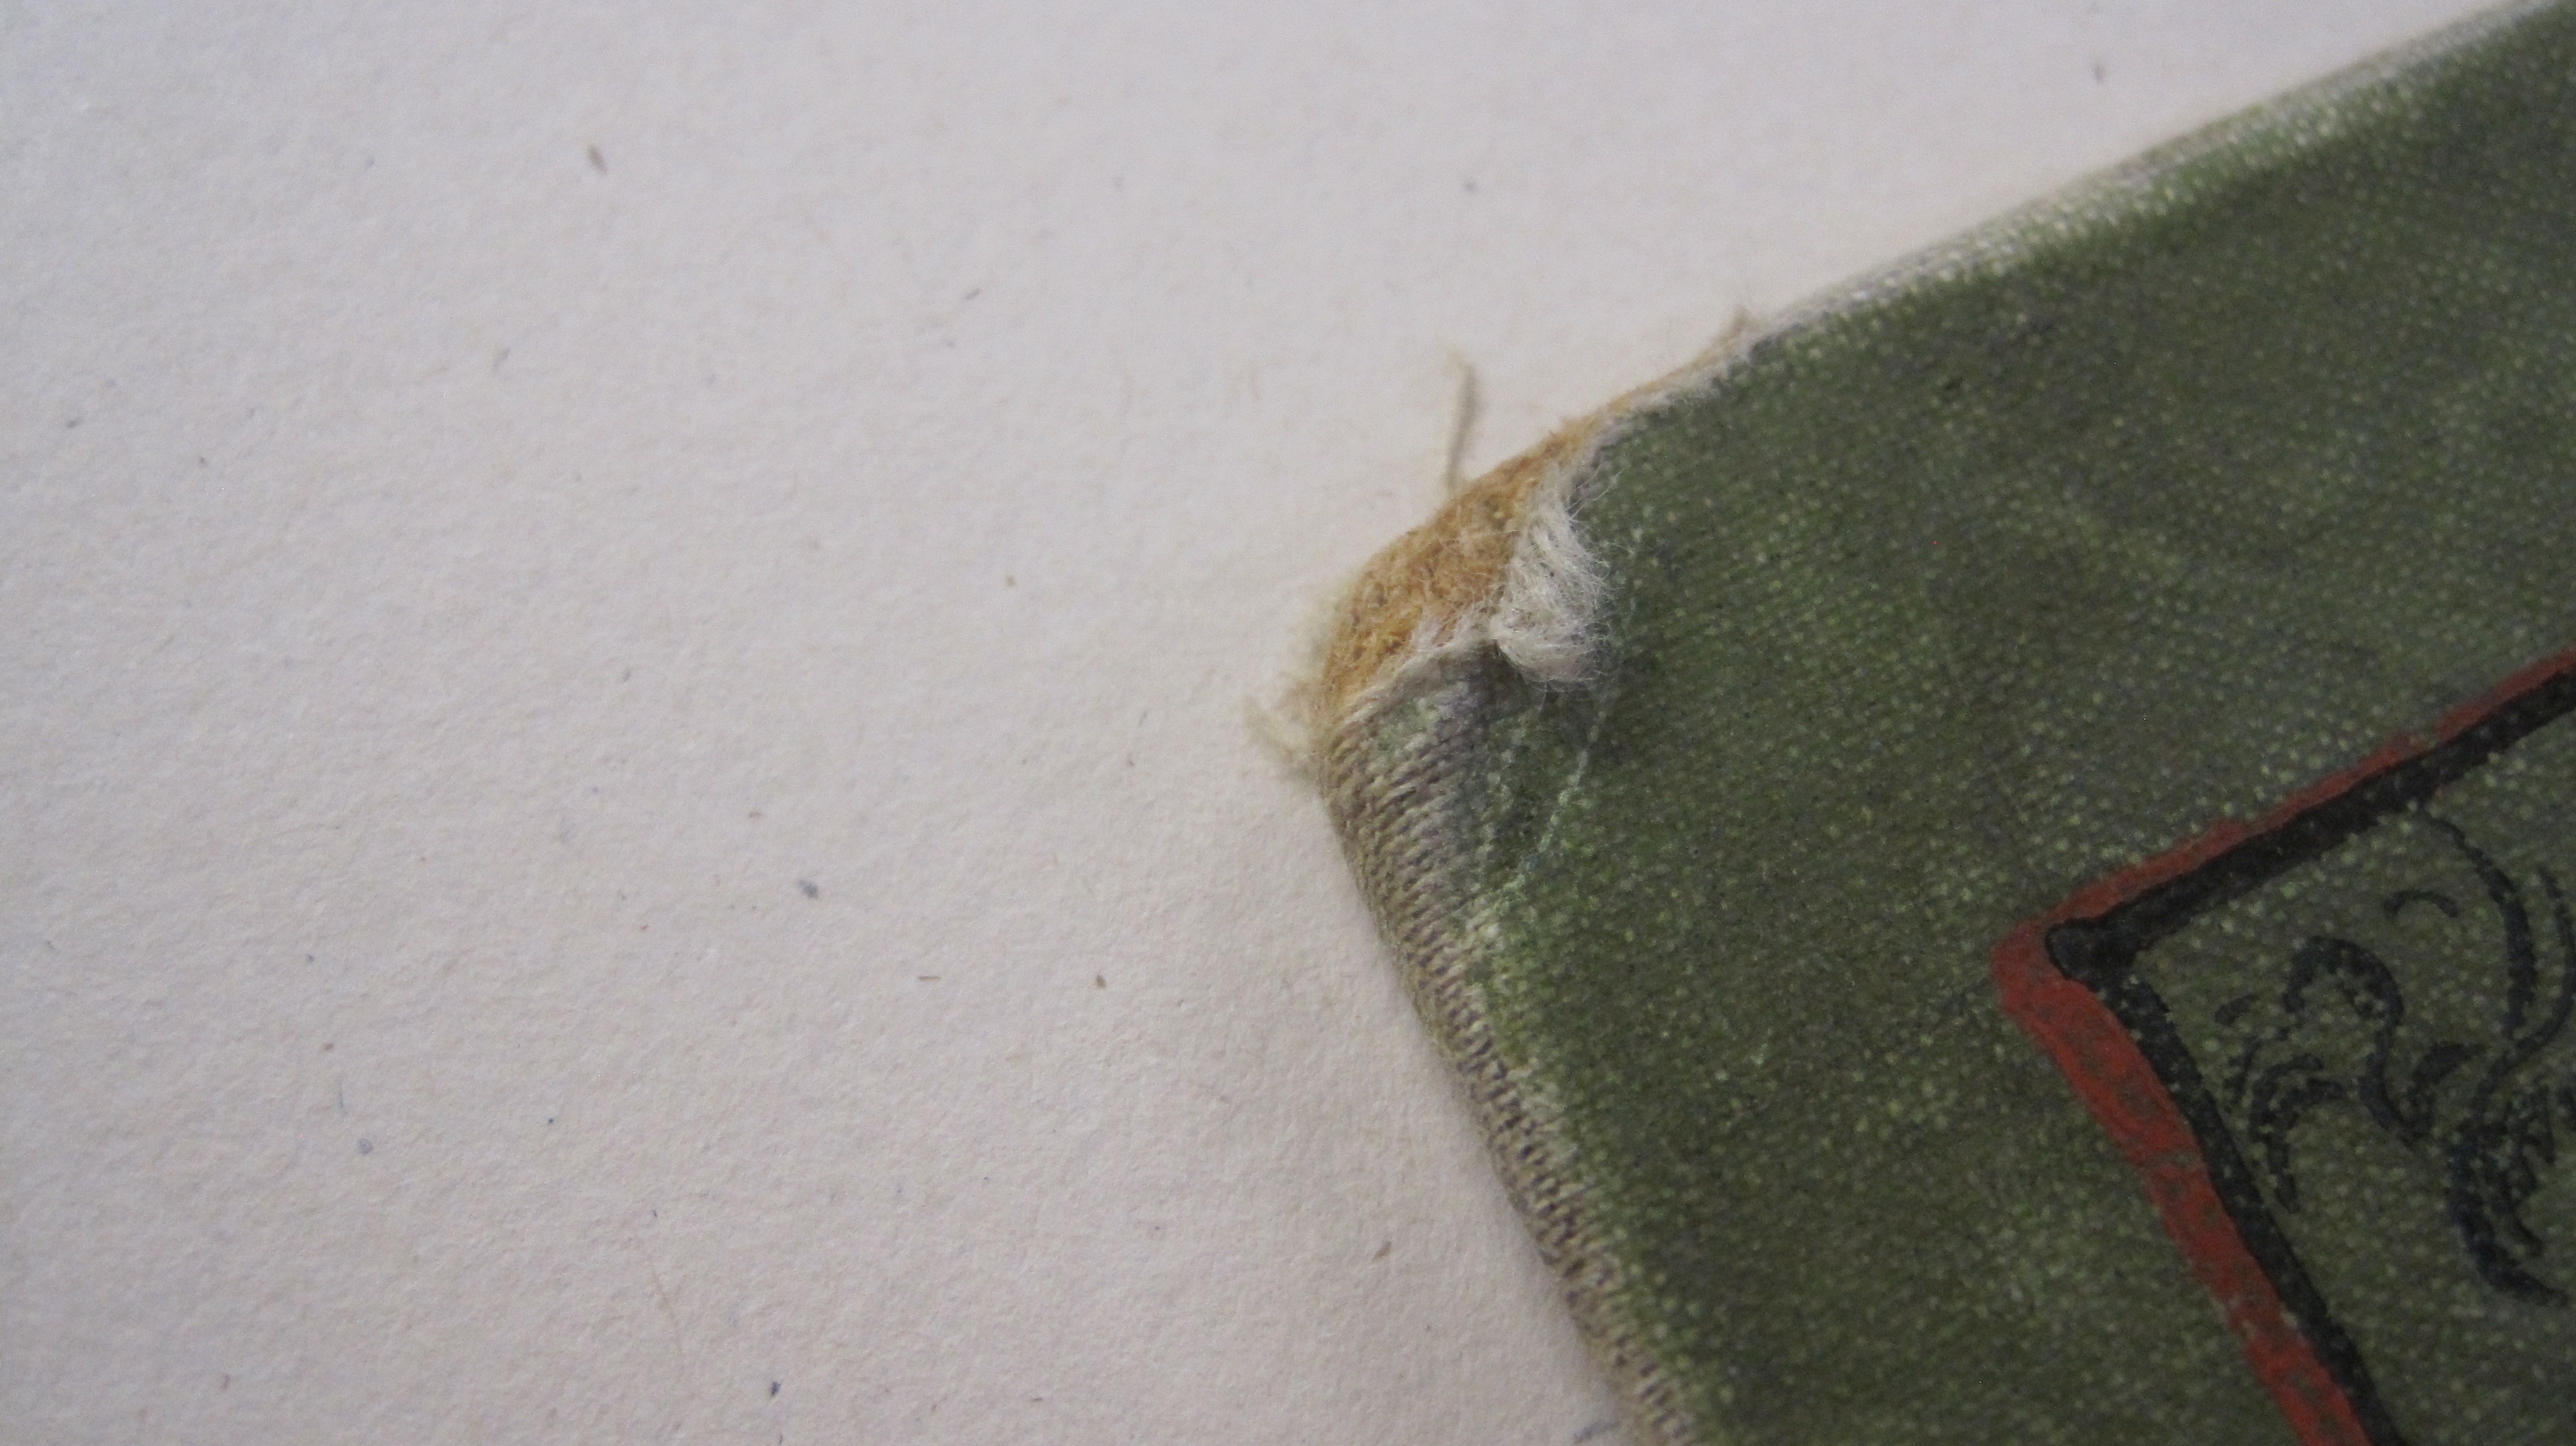
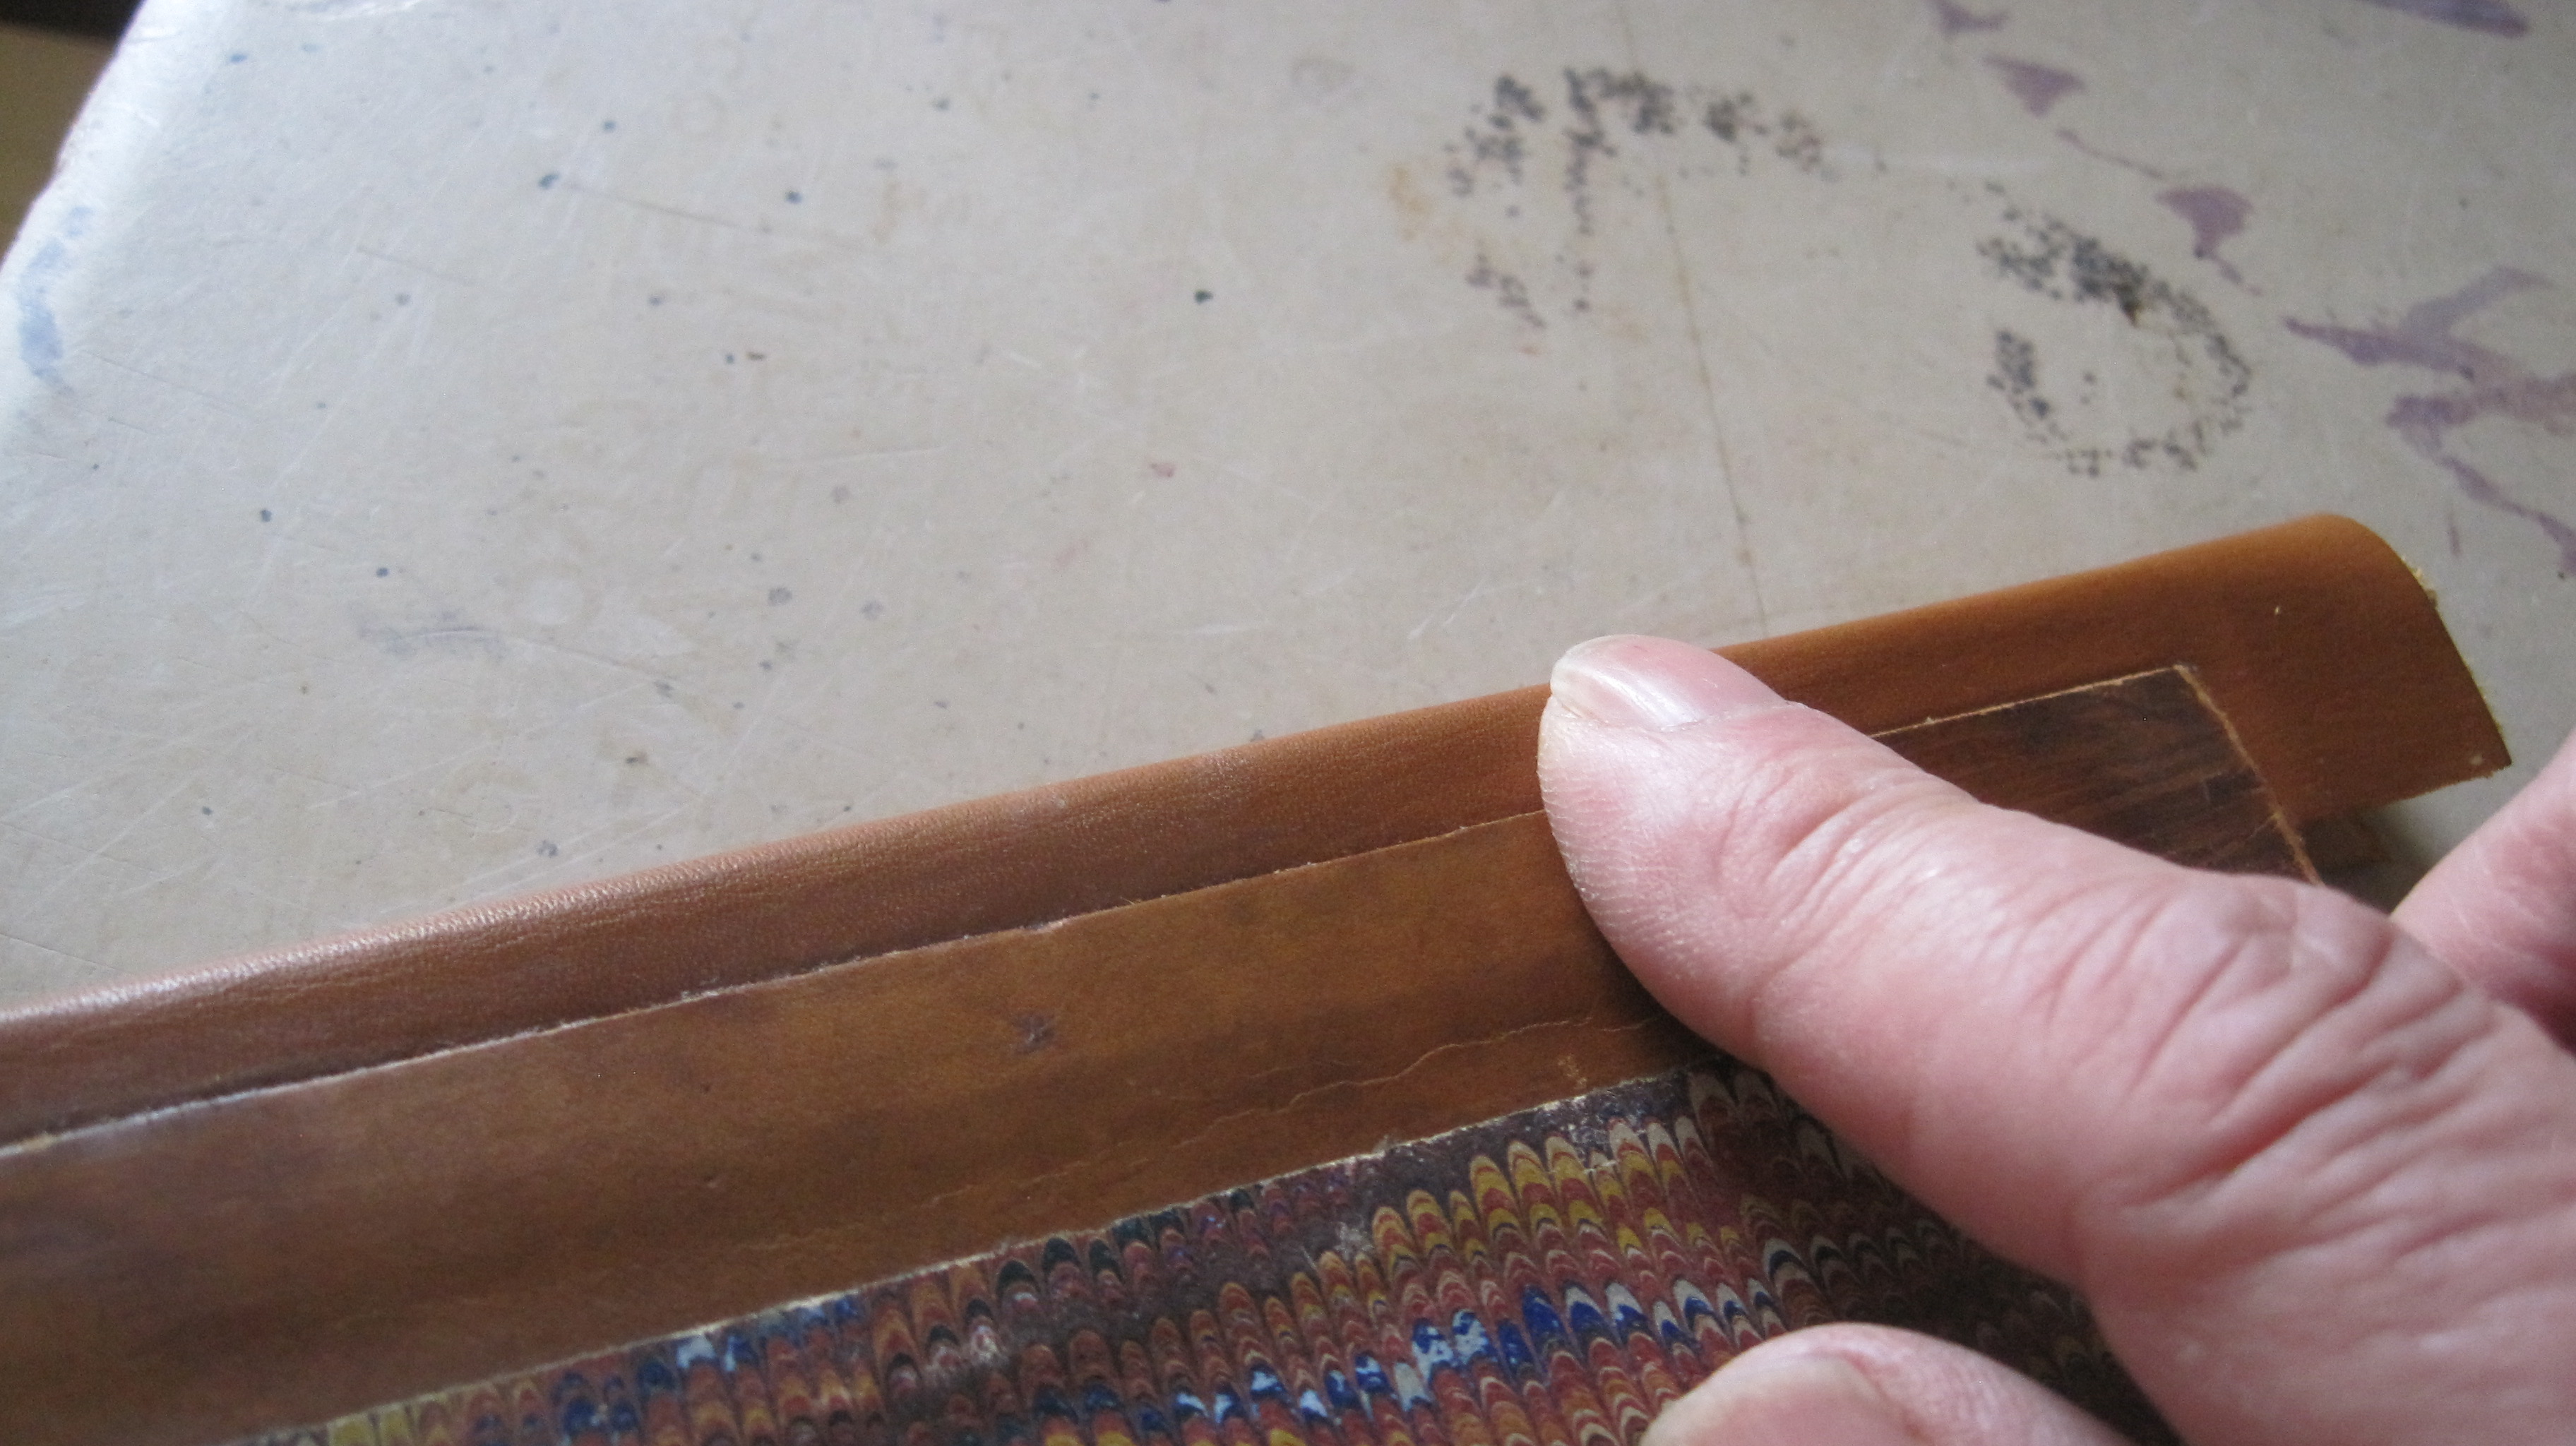
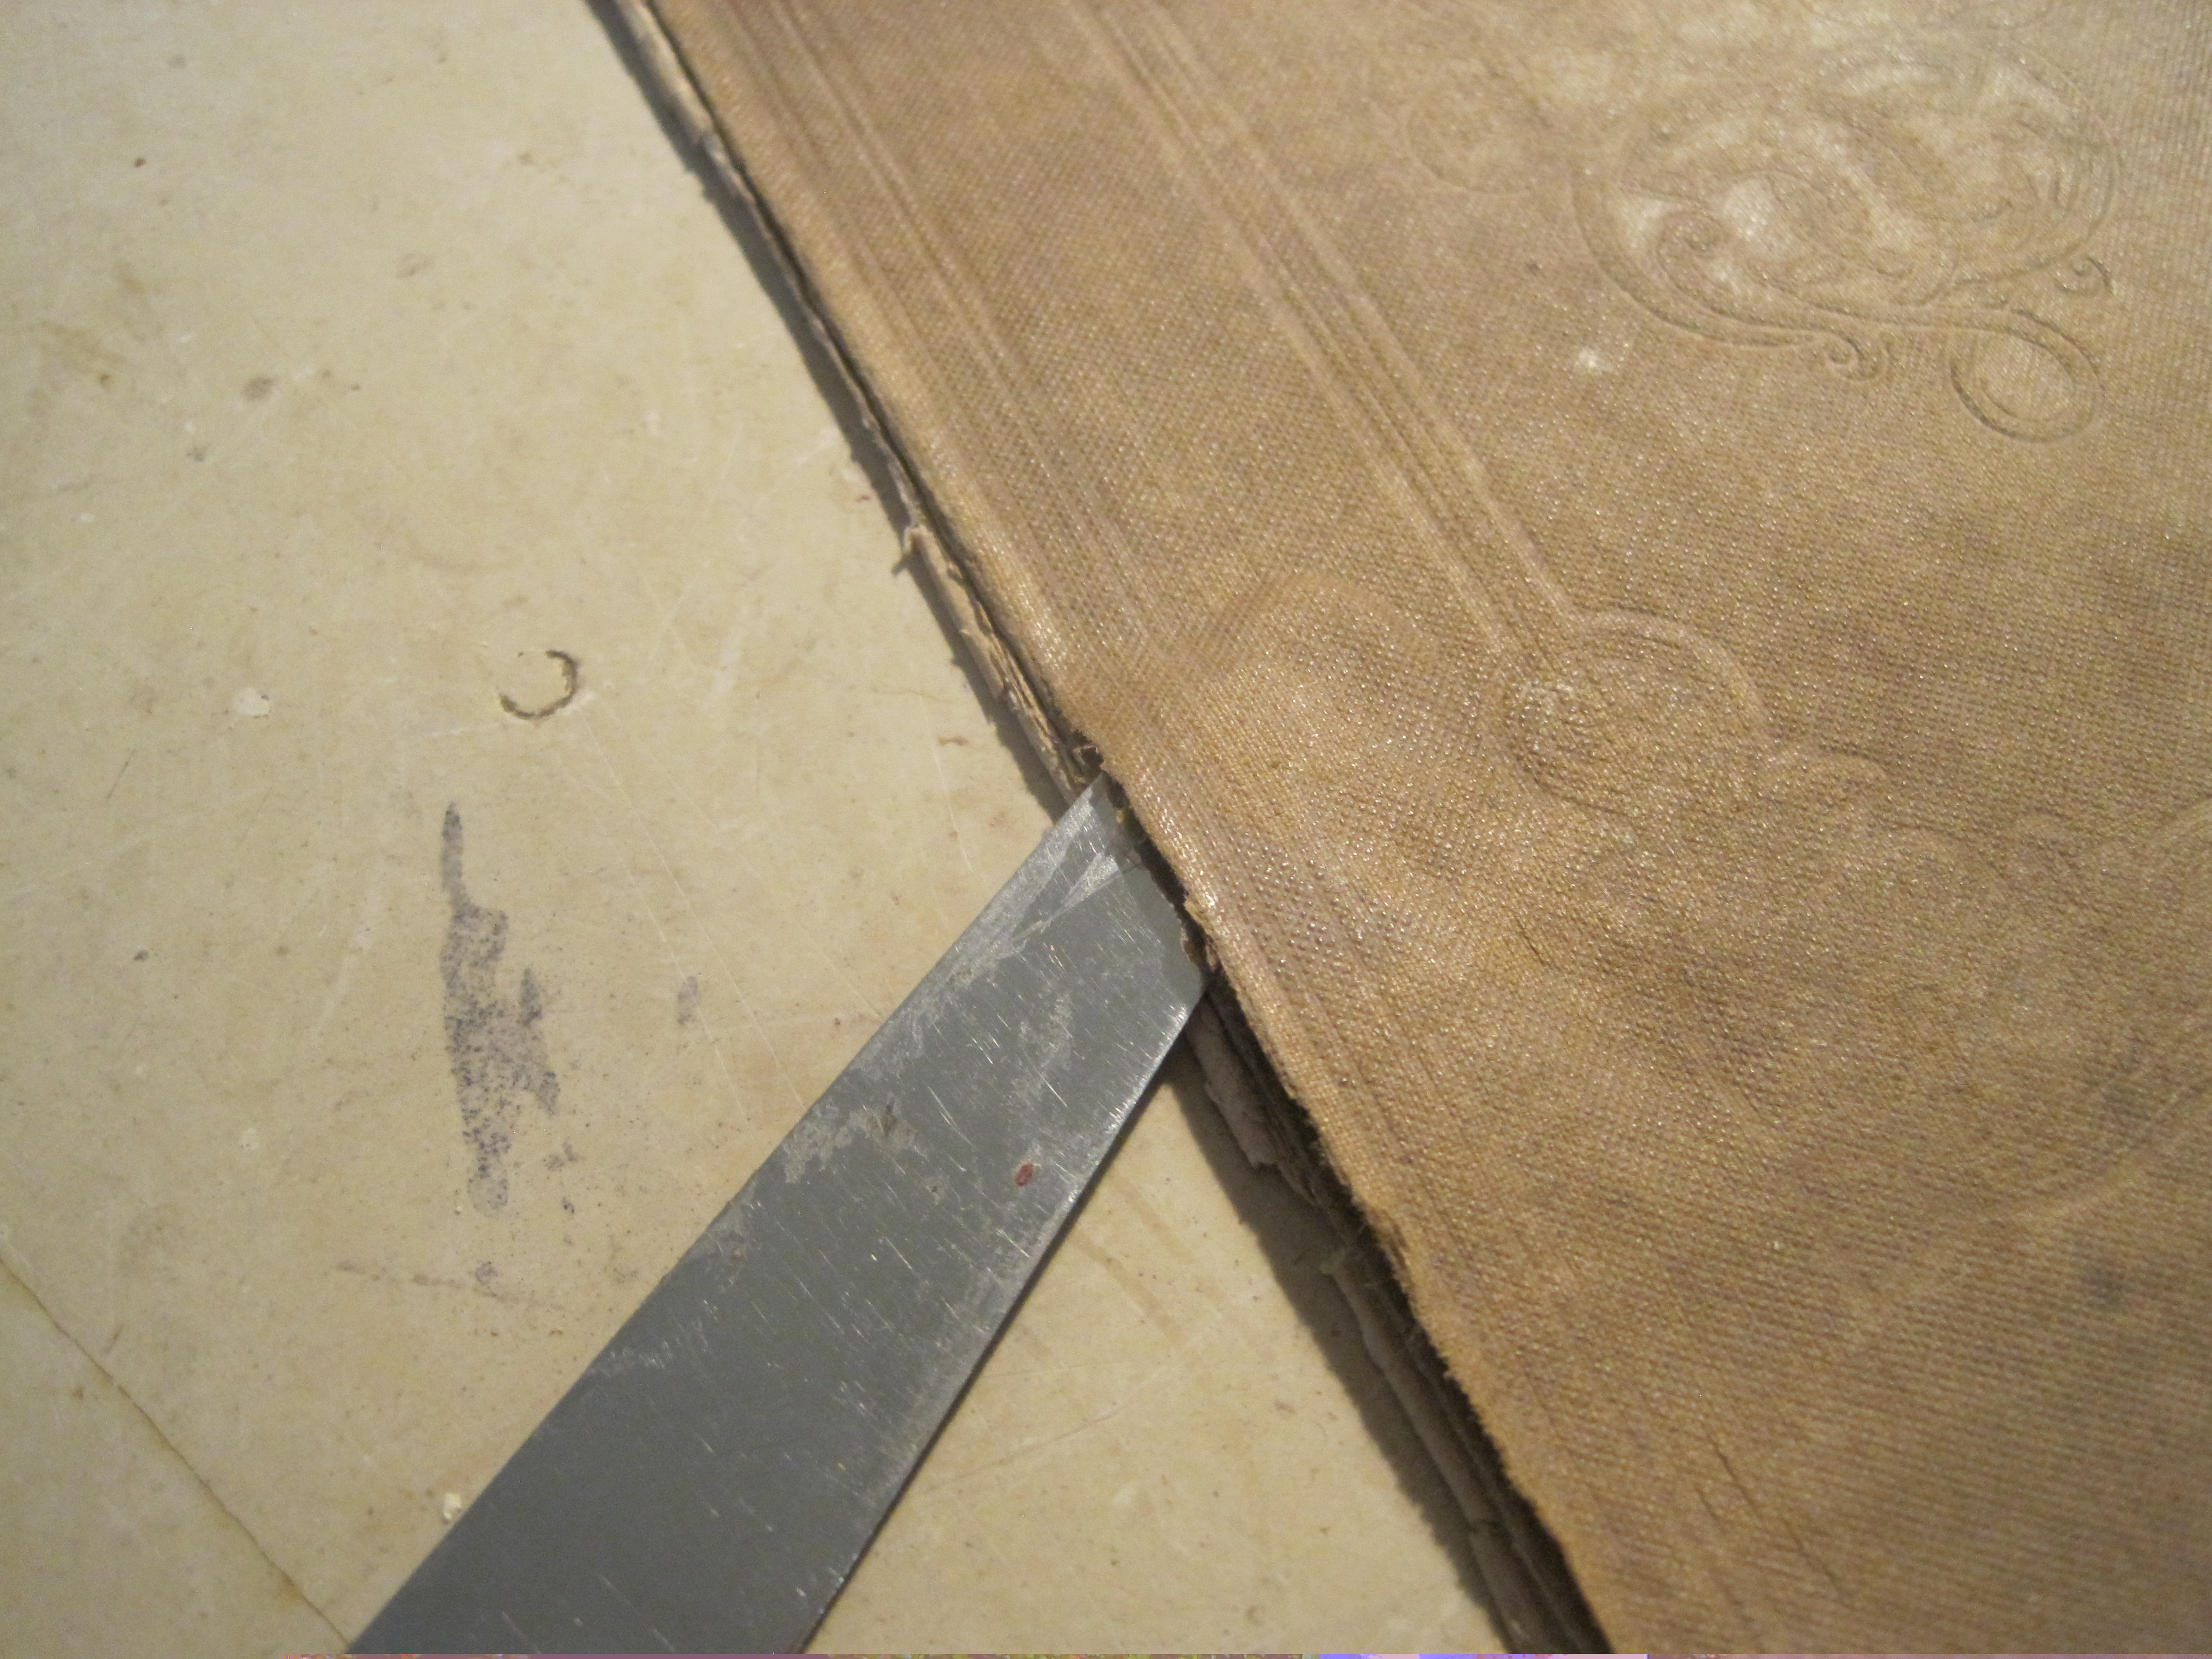
The textbooks suggest splitting the damaged board at the corner and putting a ‘wedge’ of millboard or similar into the split, gluing it in and the sanding down the resulting lump to the right shape (both Johnson and Burdett say this). I disagree. Of course, to look right, the lost material has to be replaced. But there is a quicker, stronger and less messy way. First, peel back the cloth (or leather) on the face of the cover:
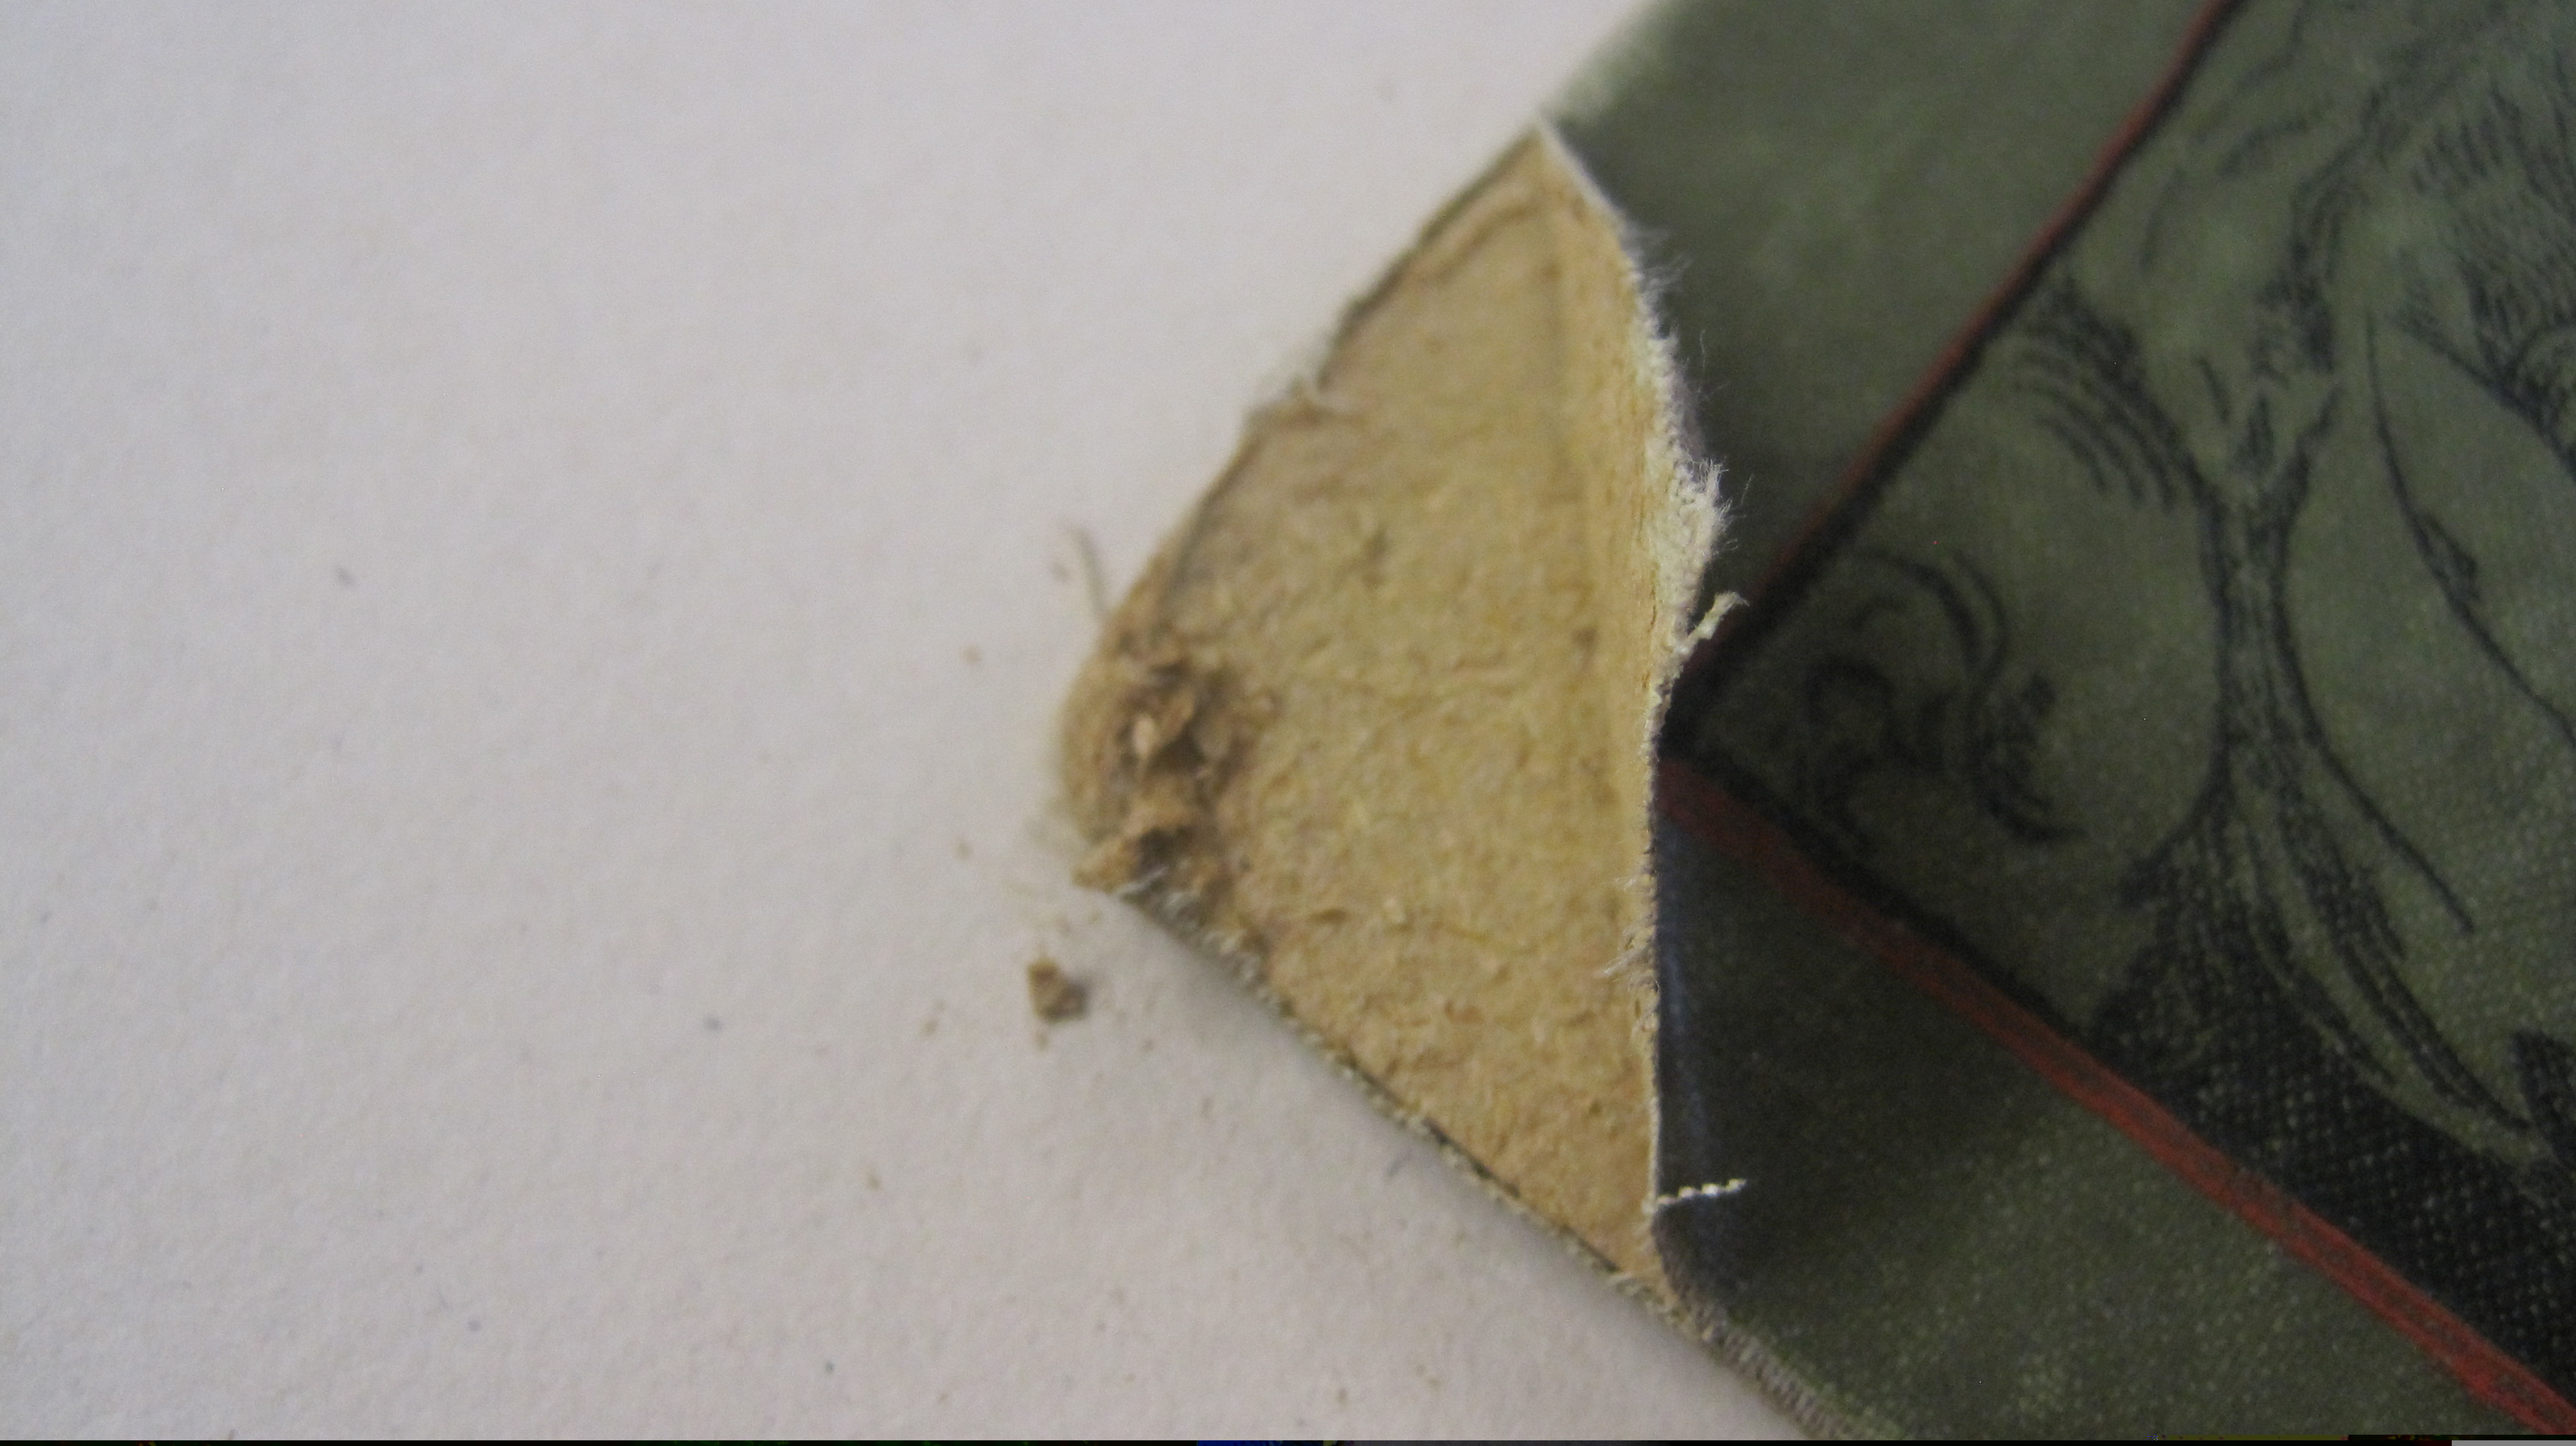
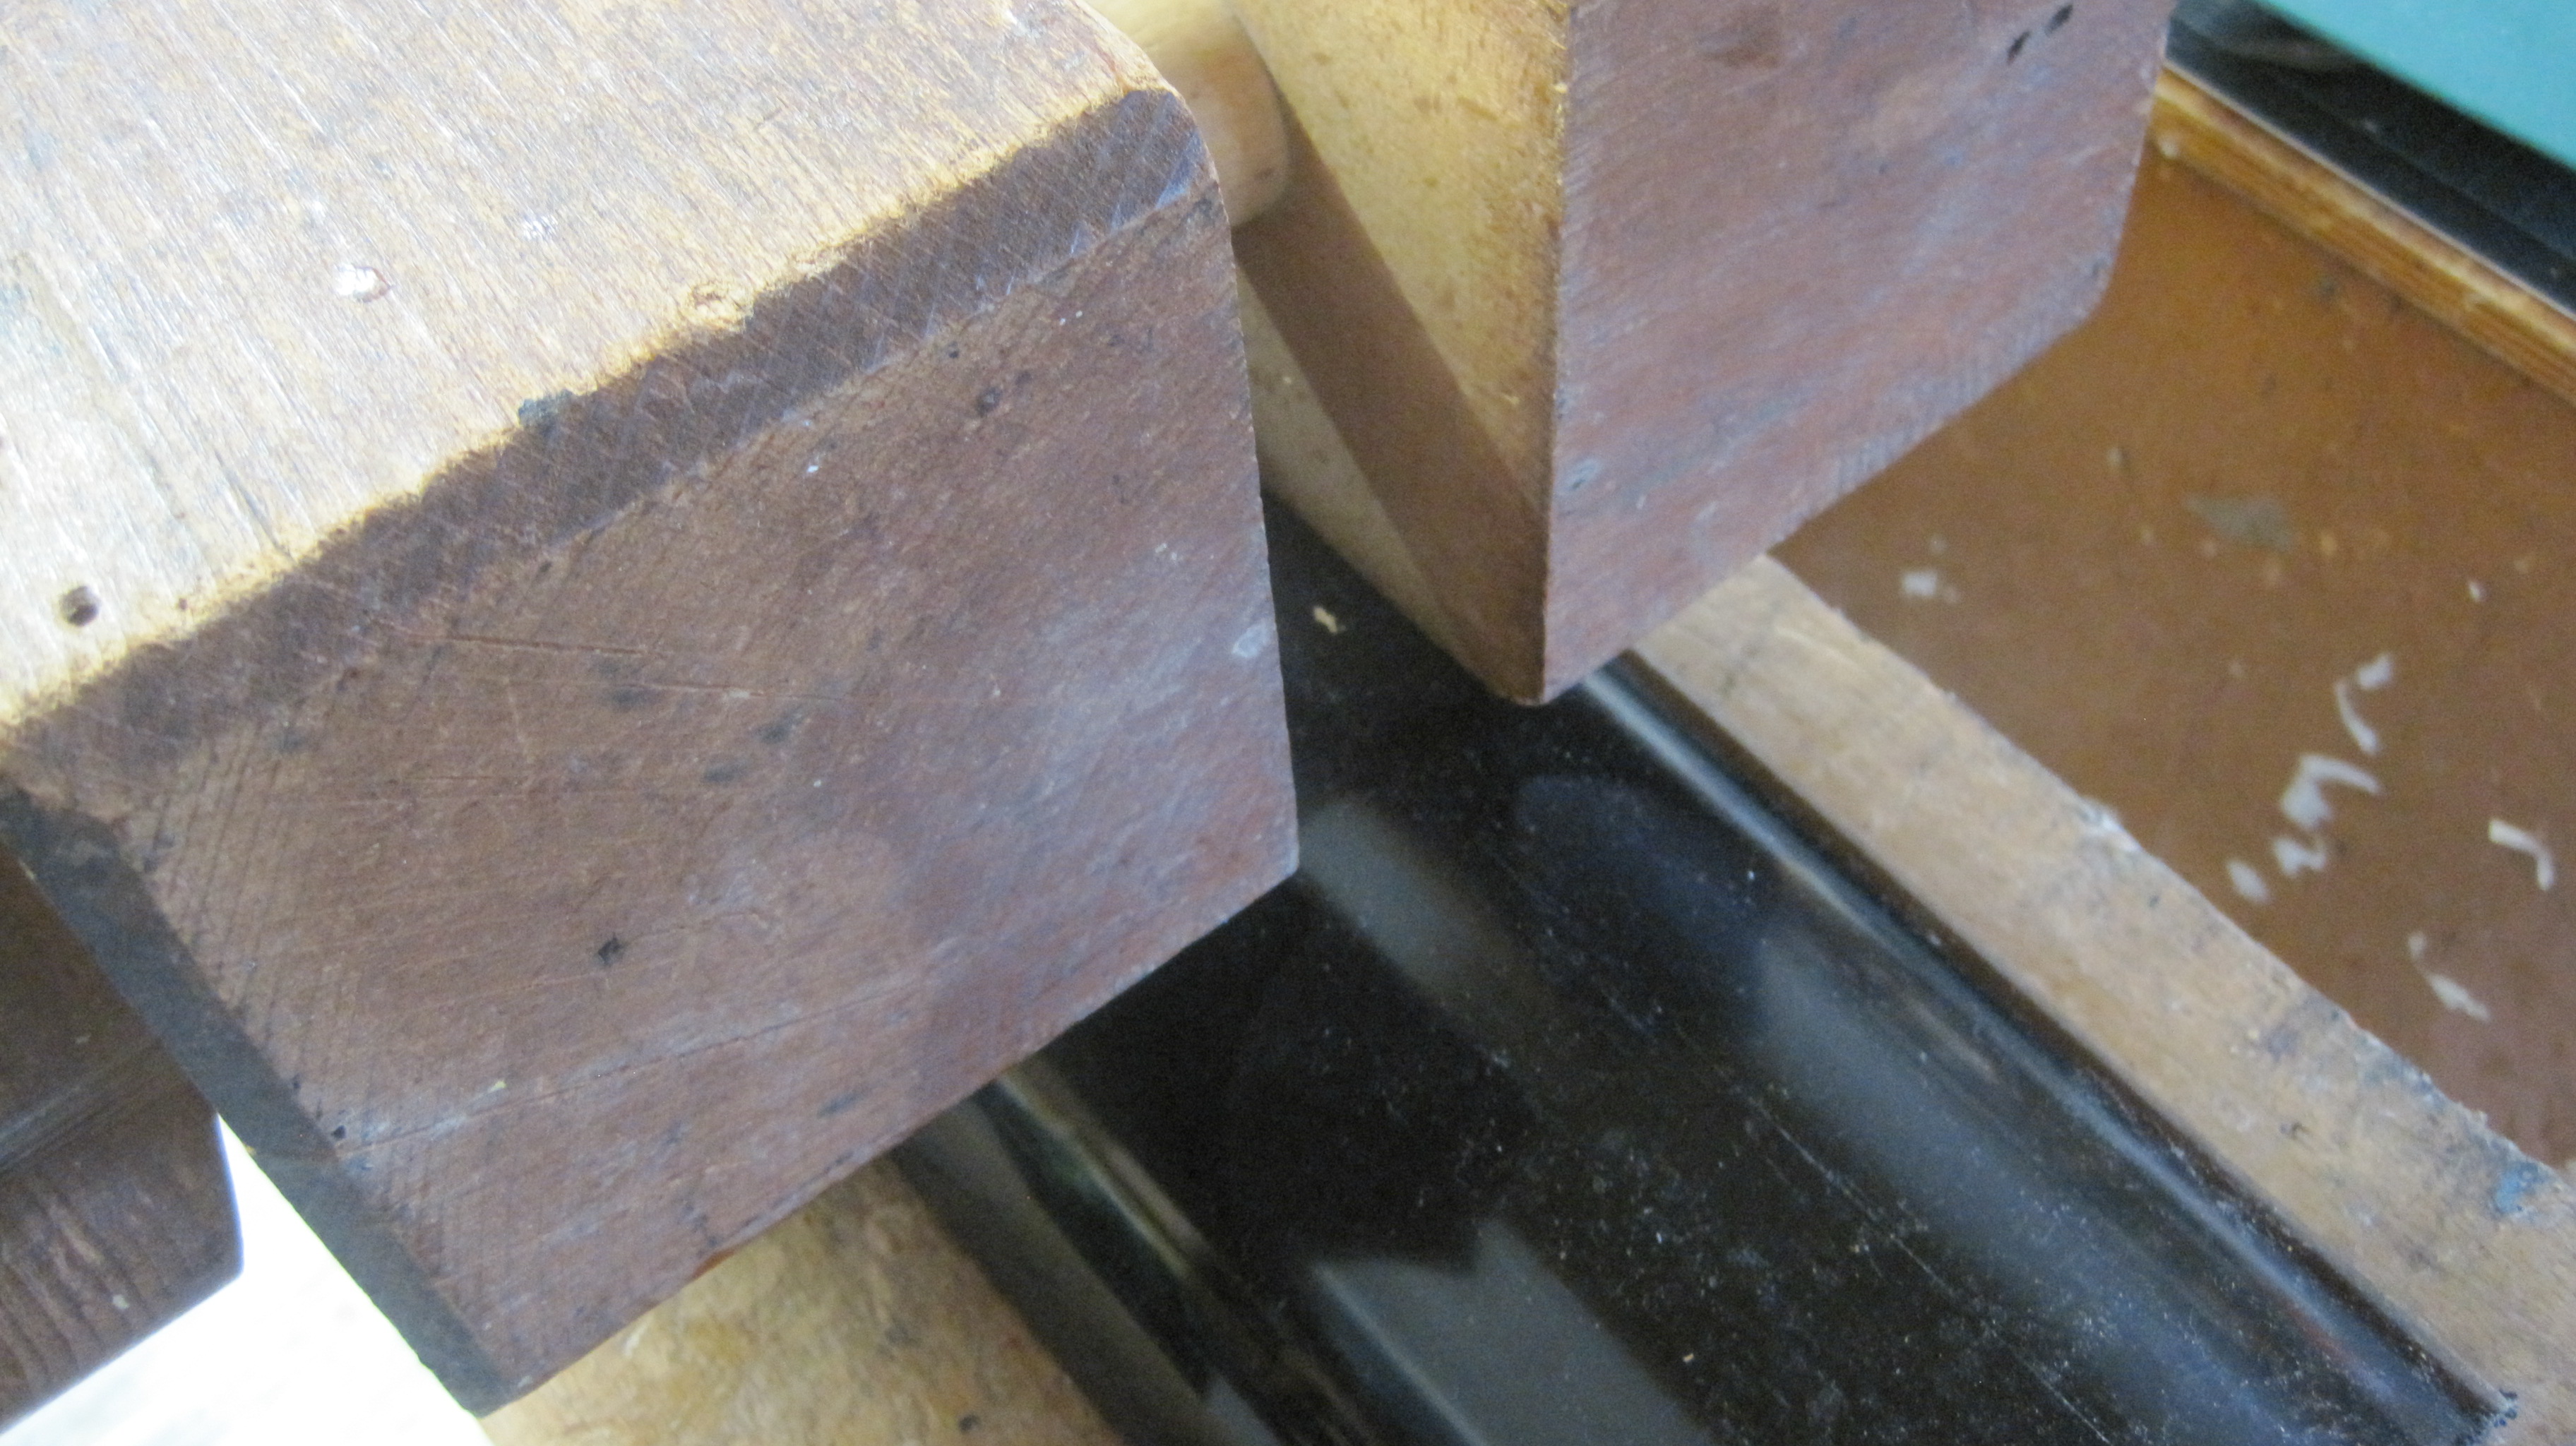
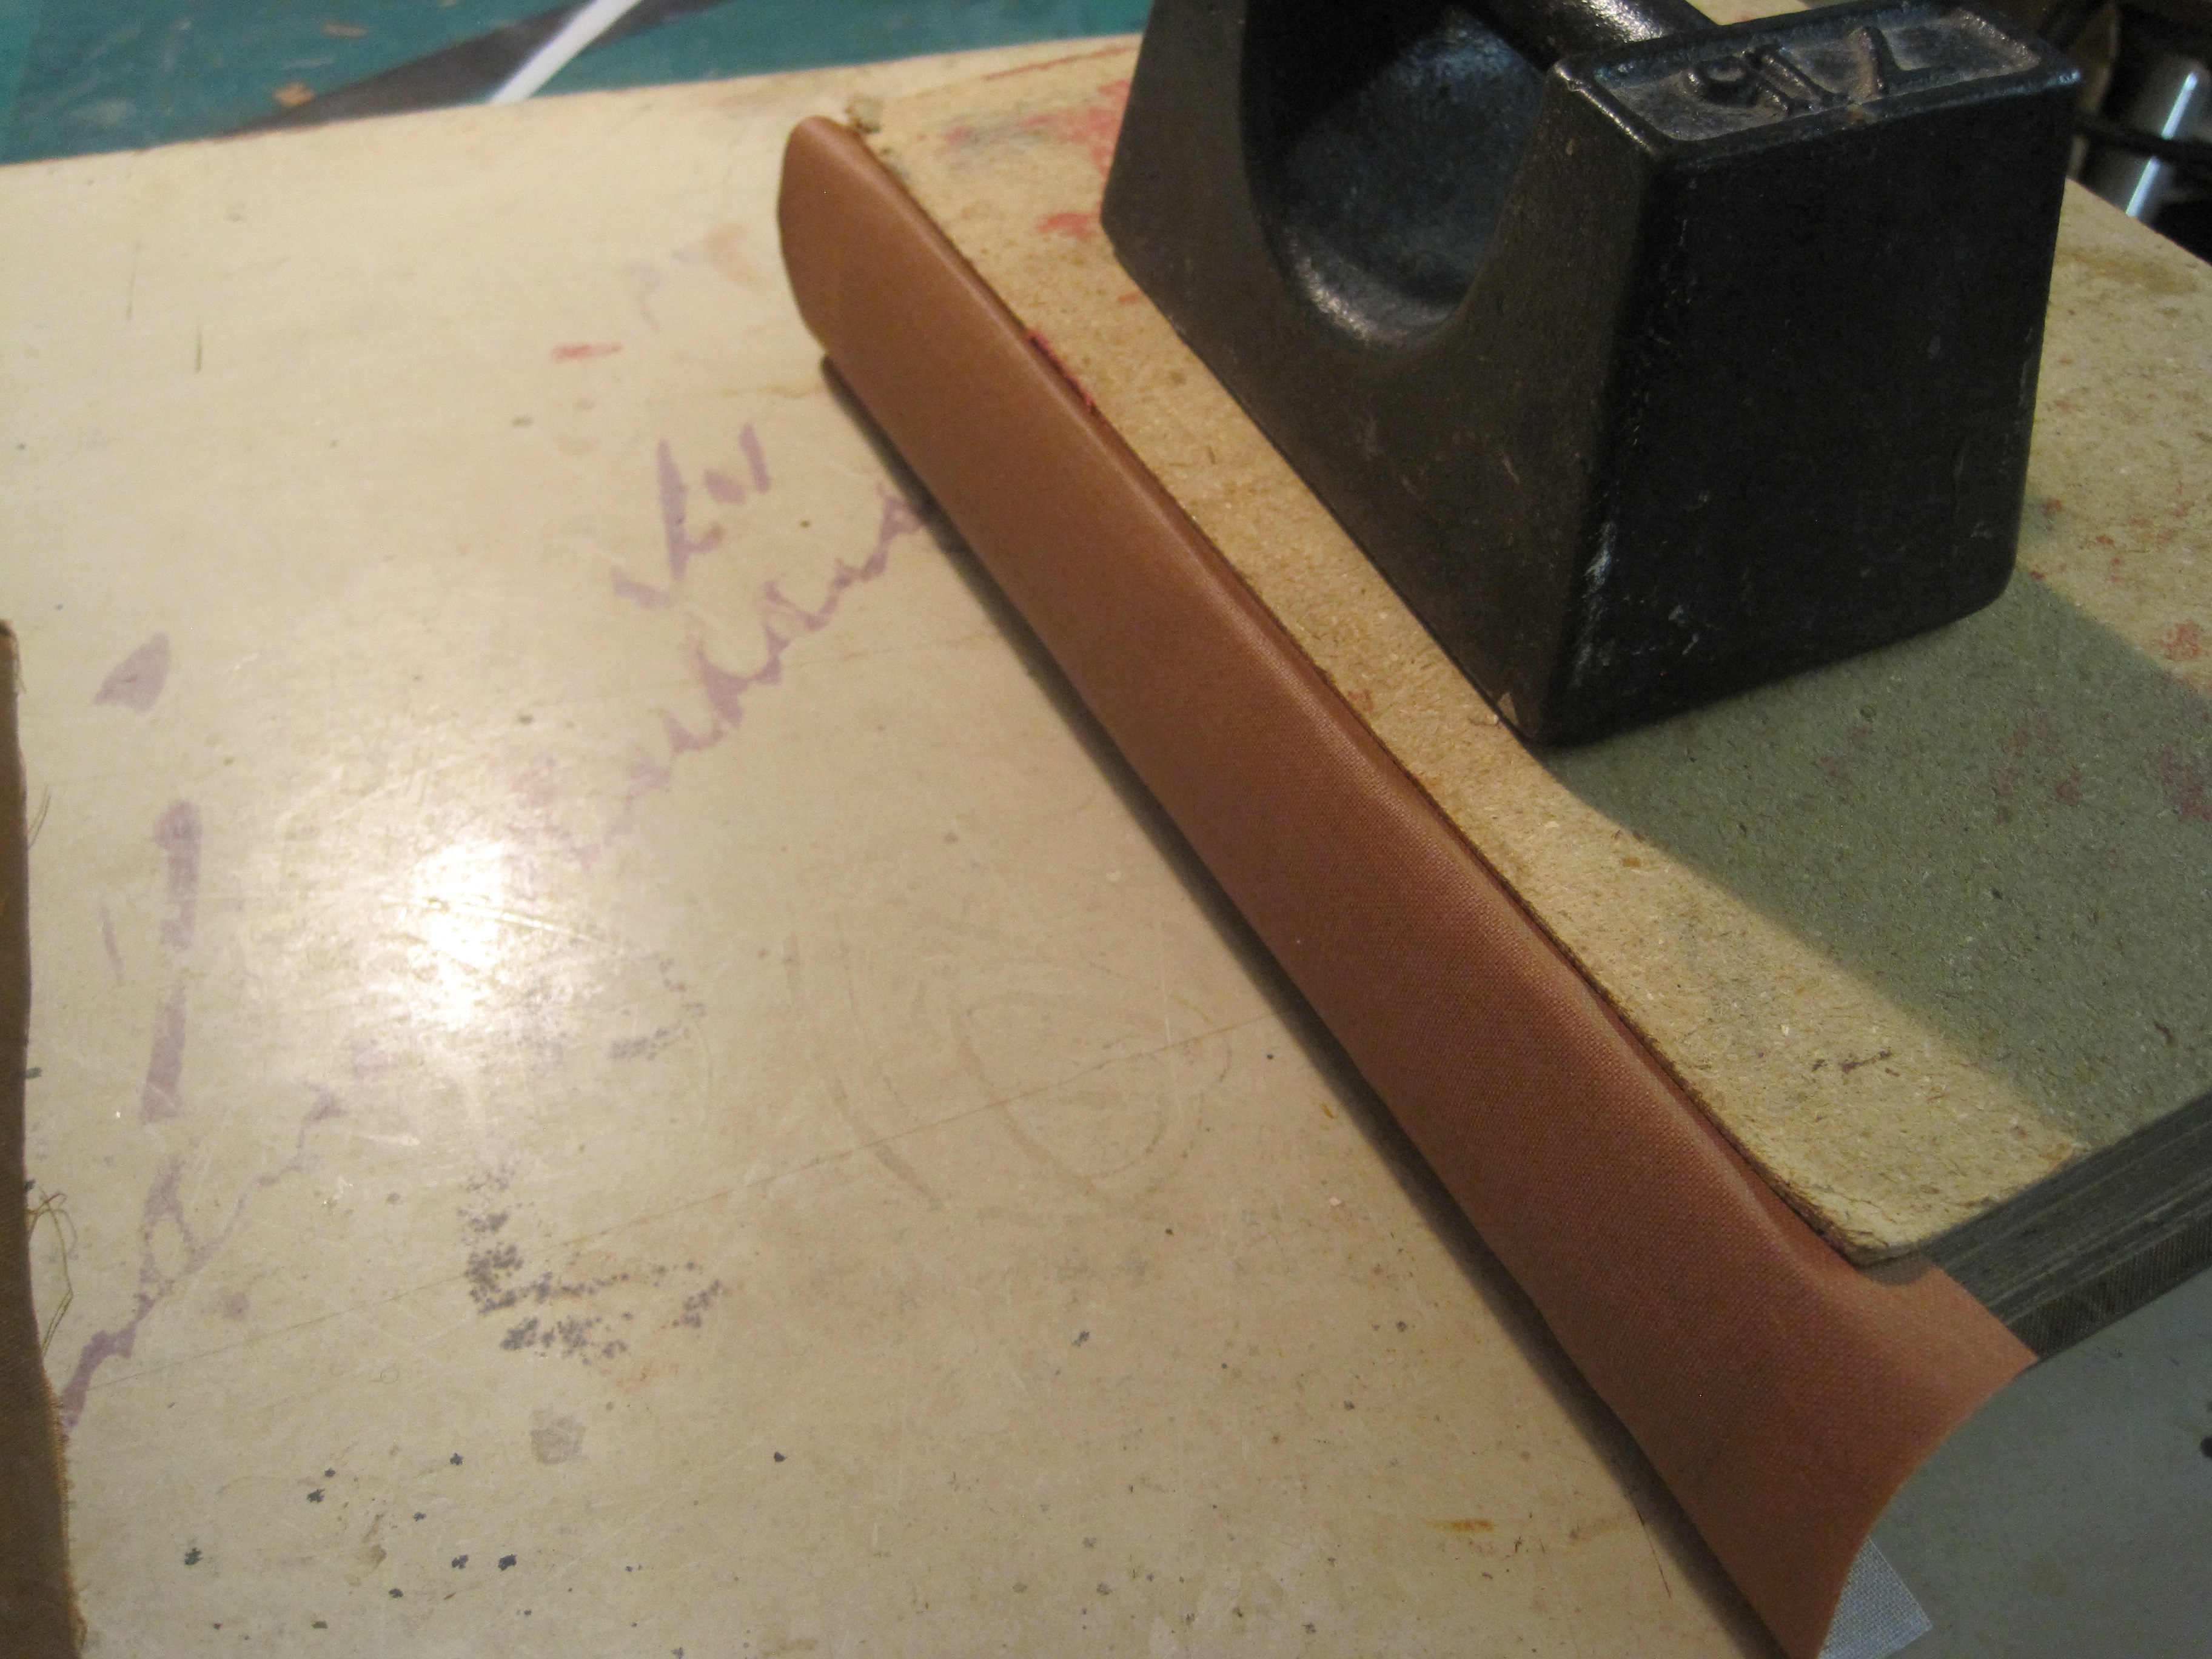
Then cut halfway through the board and shave off the corner part to the depth of the cut

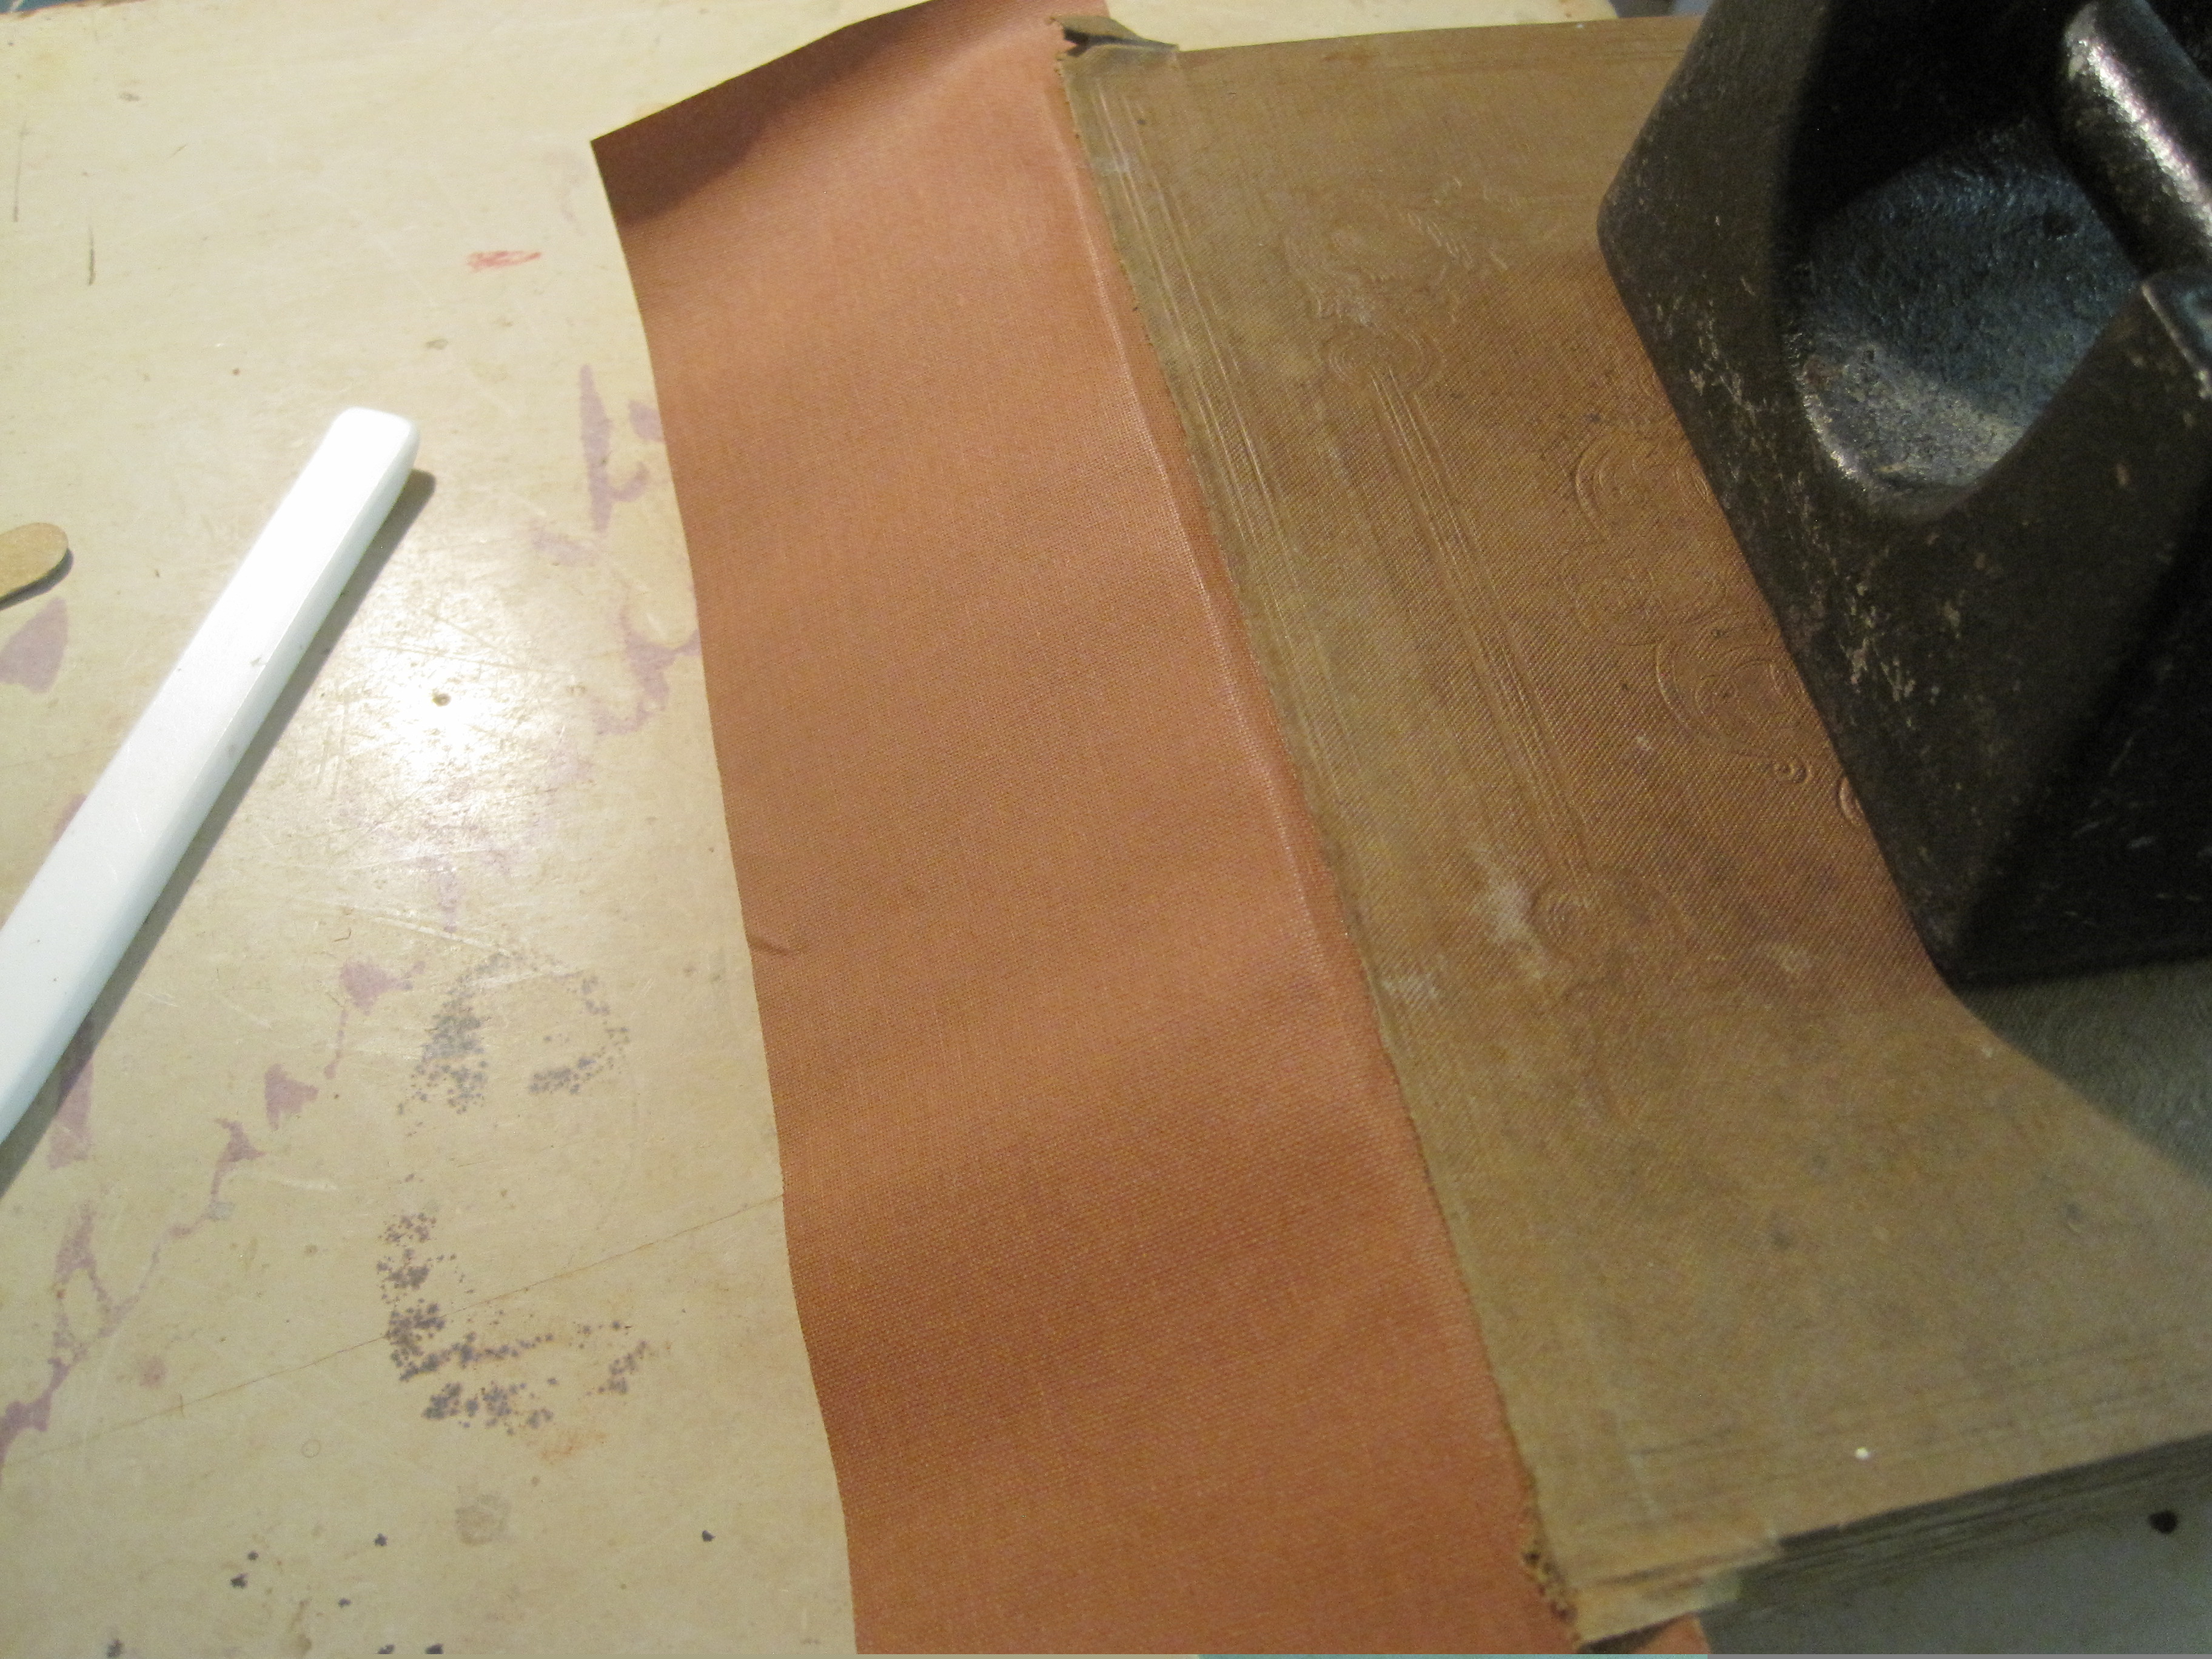
Cut a piece of thin strawboard, greyboard or card the same thickness as the depth of the cut – you can make up the correct thickness with kraft paper if necessary – and glue it in place:

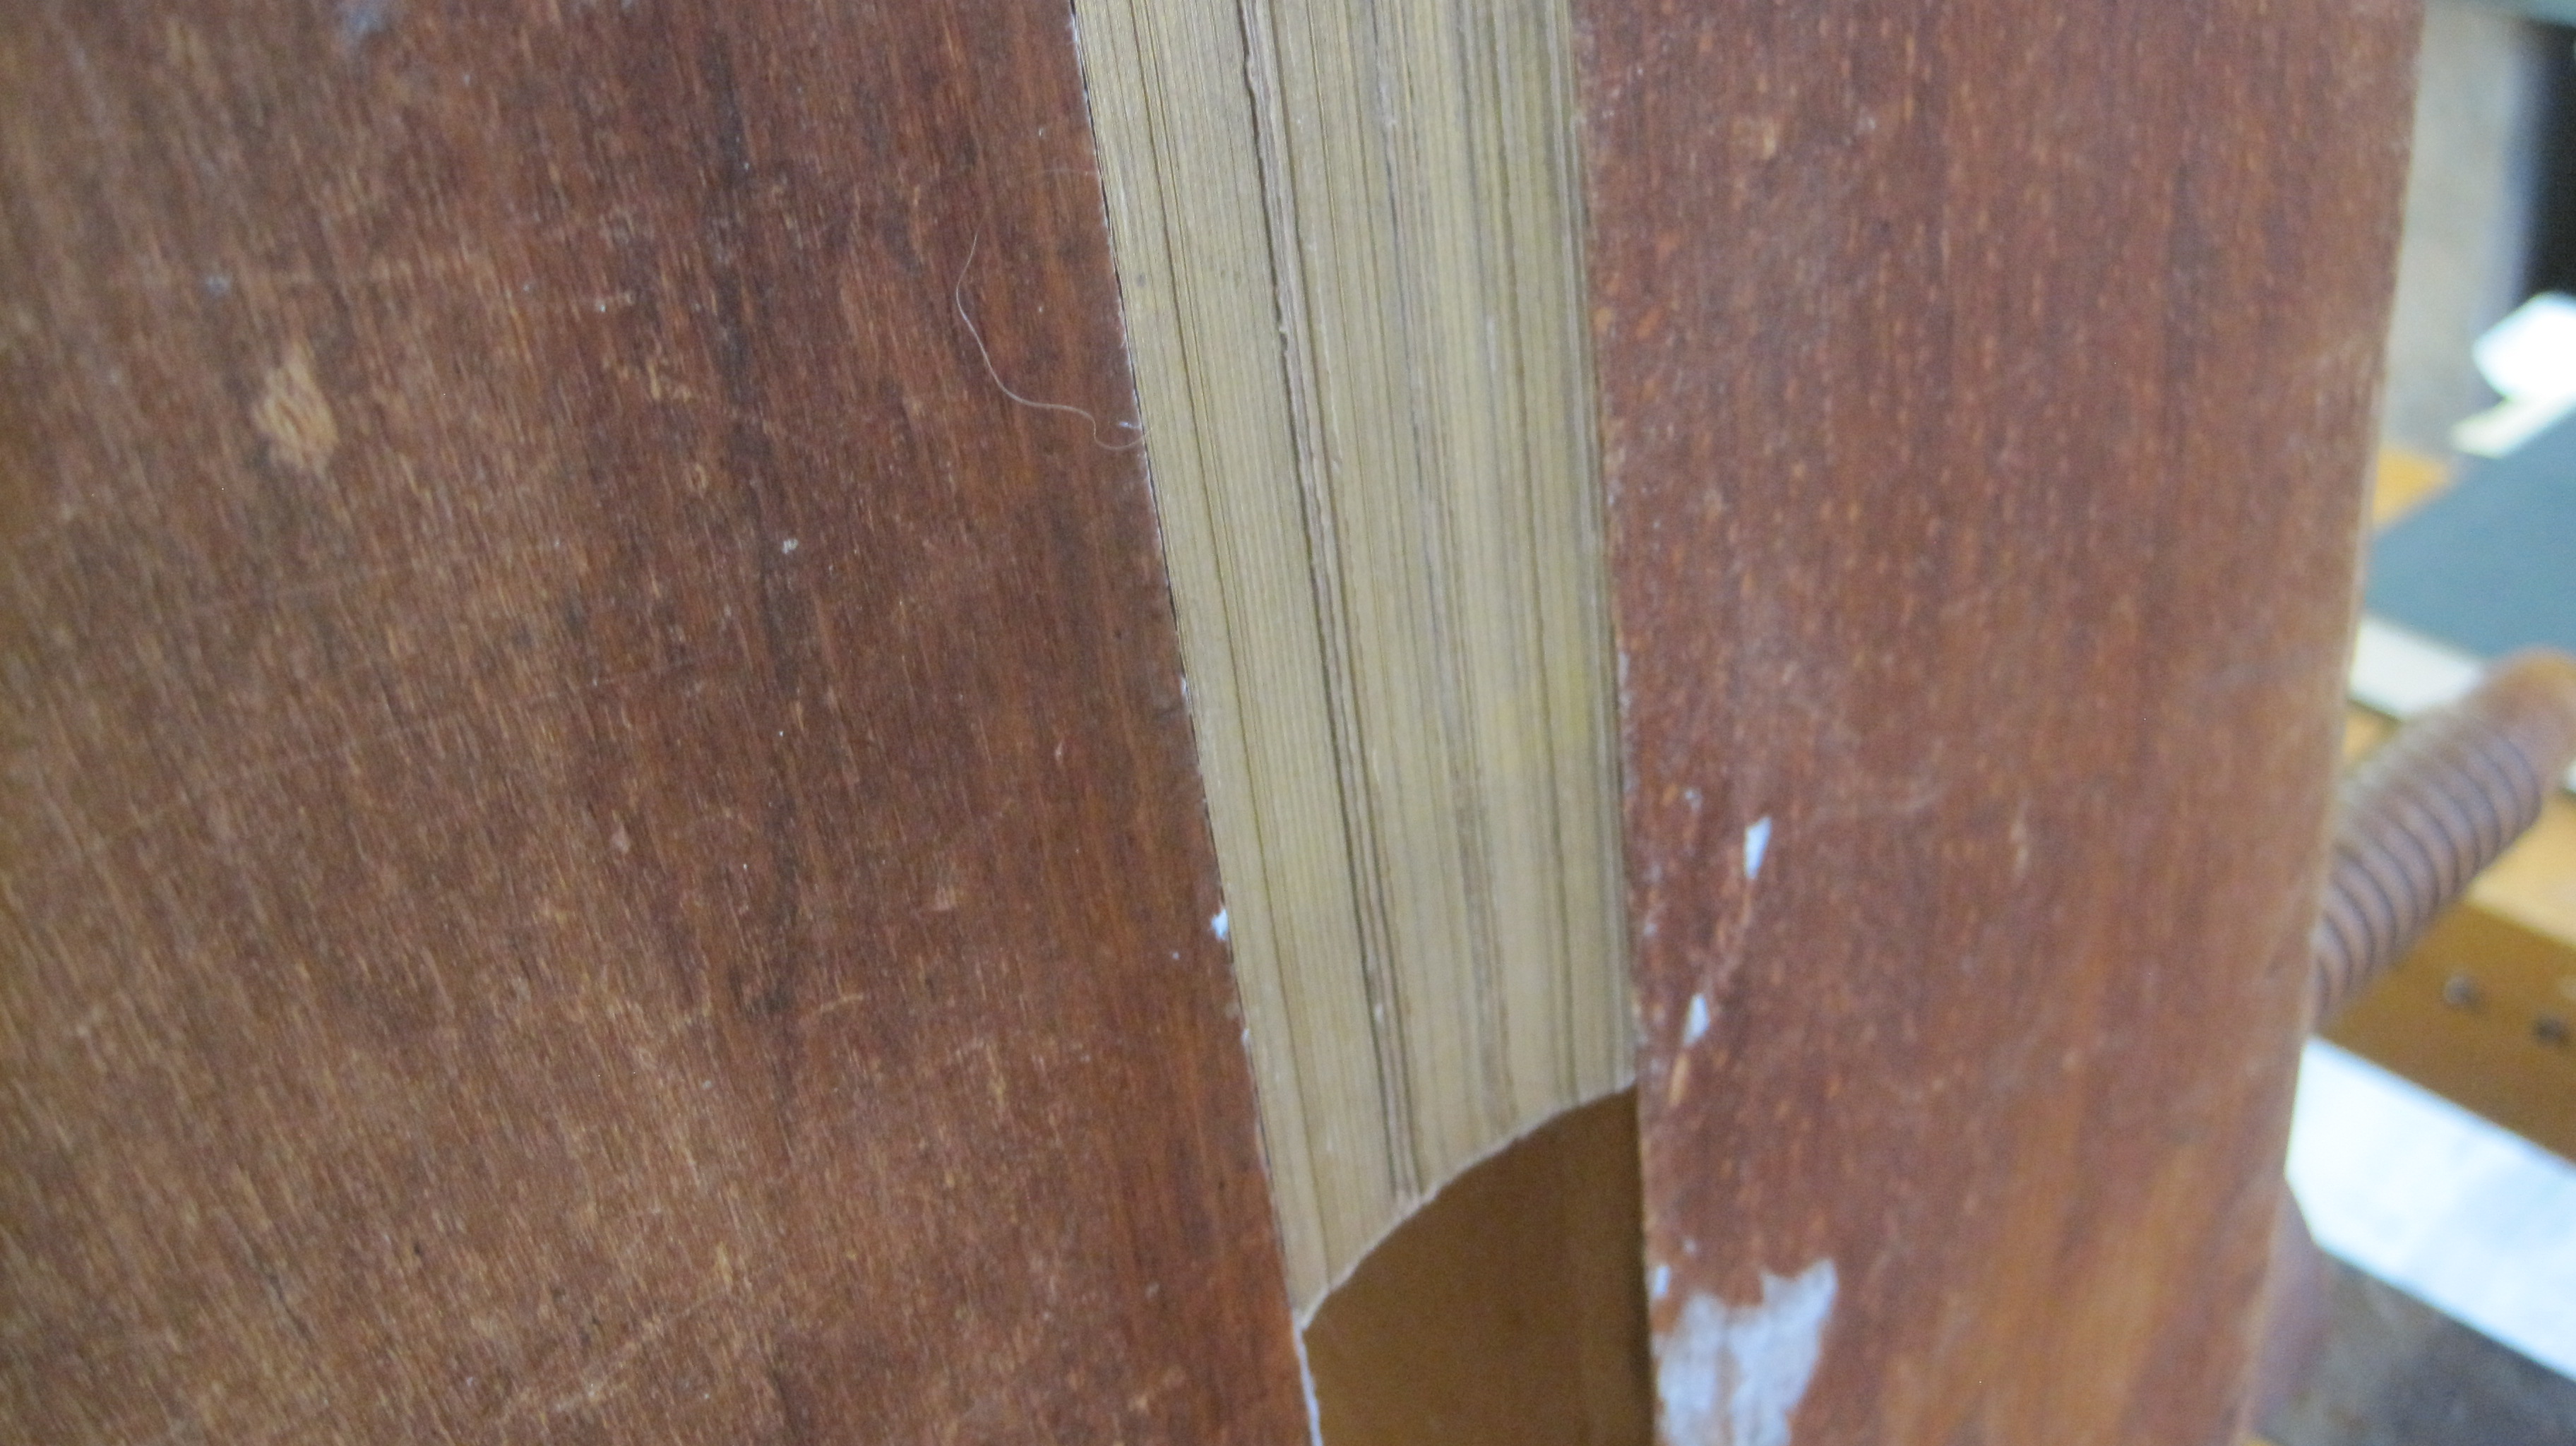
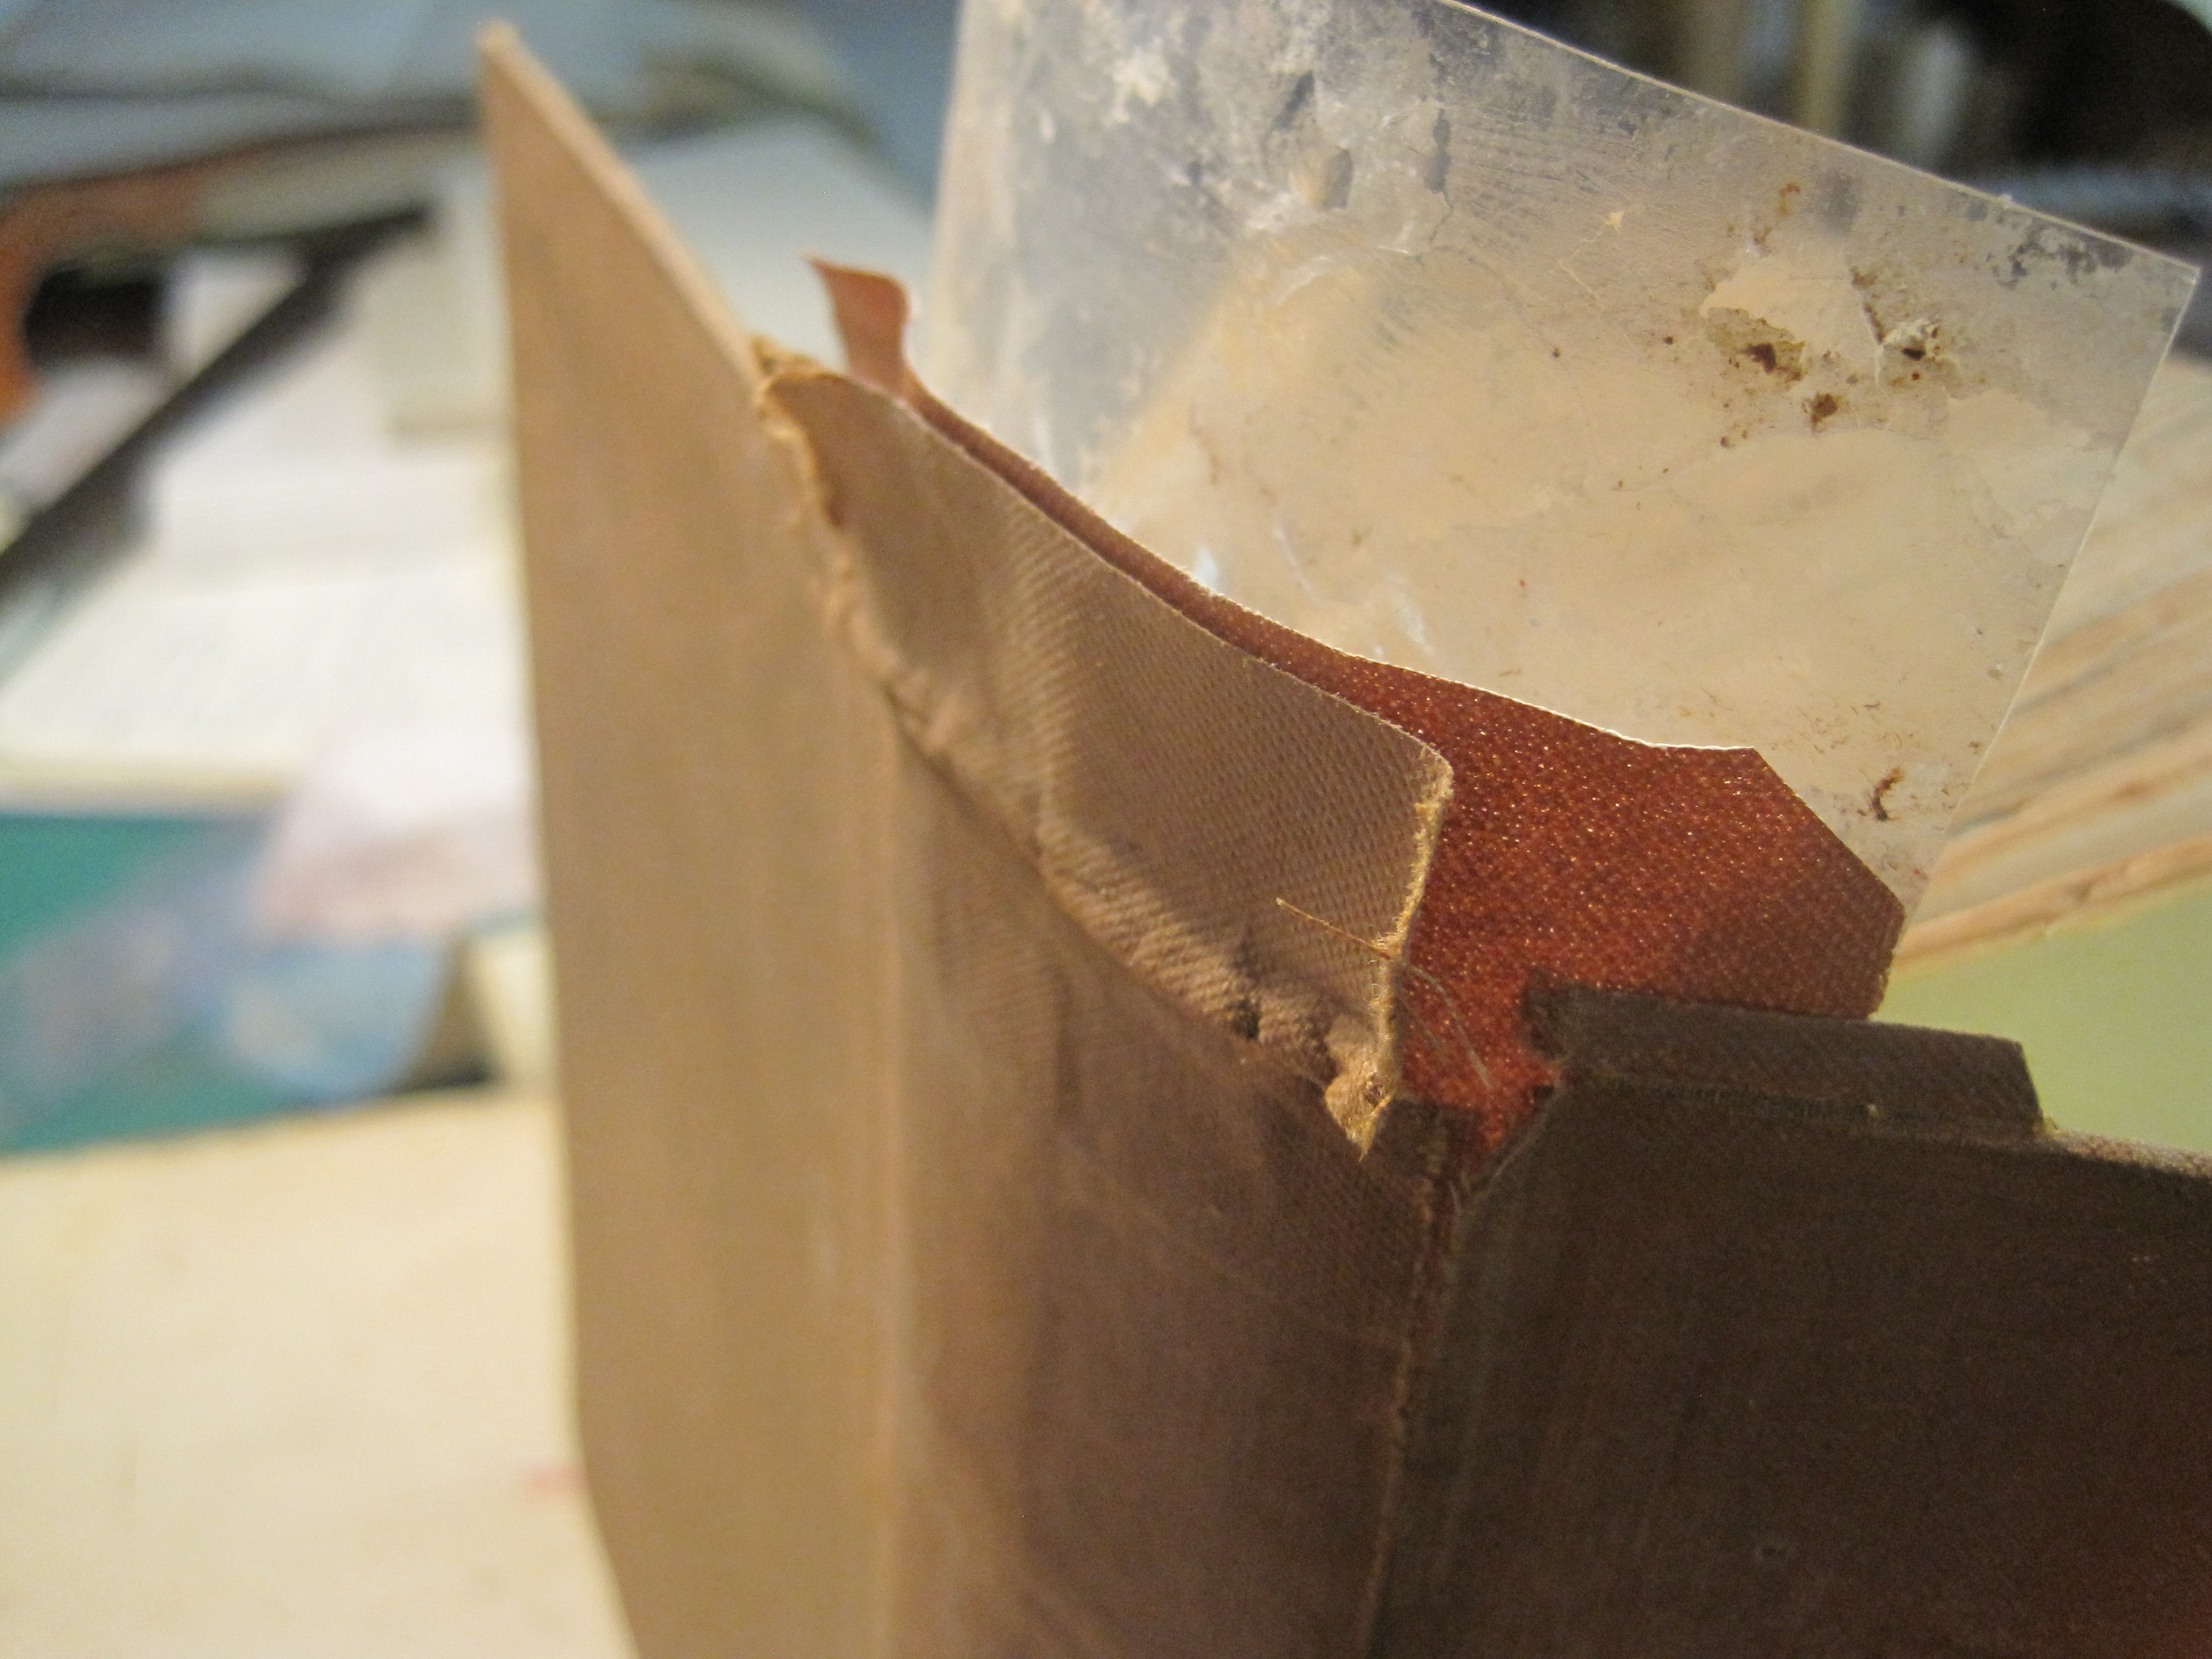
When dry, turn the board over and remove the other half-thickness of the old board, but at least 5 mm closer to the corner. This create a lap joint to give strength to the new corner:
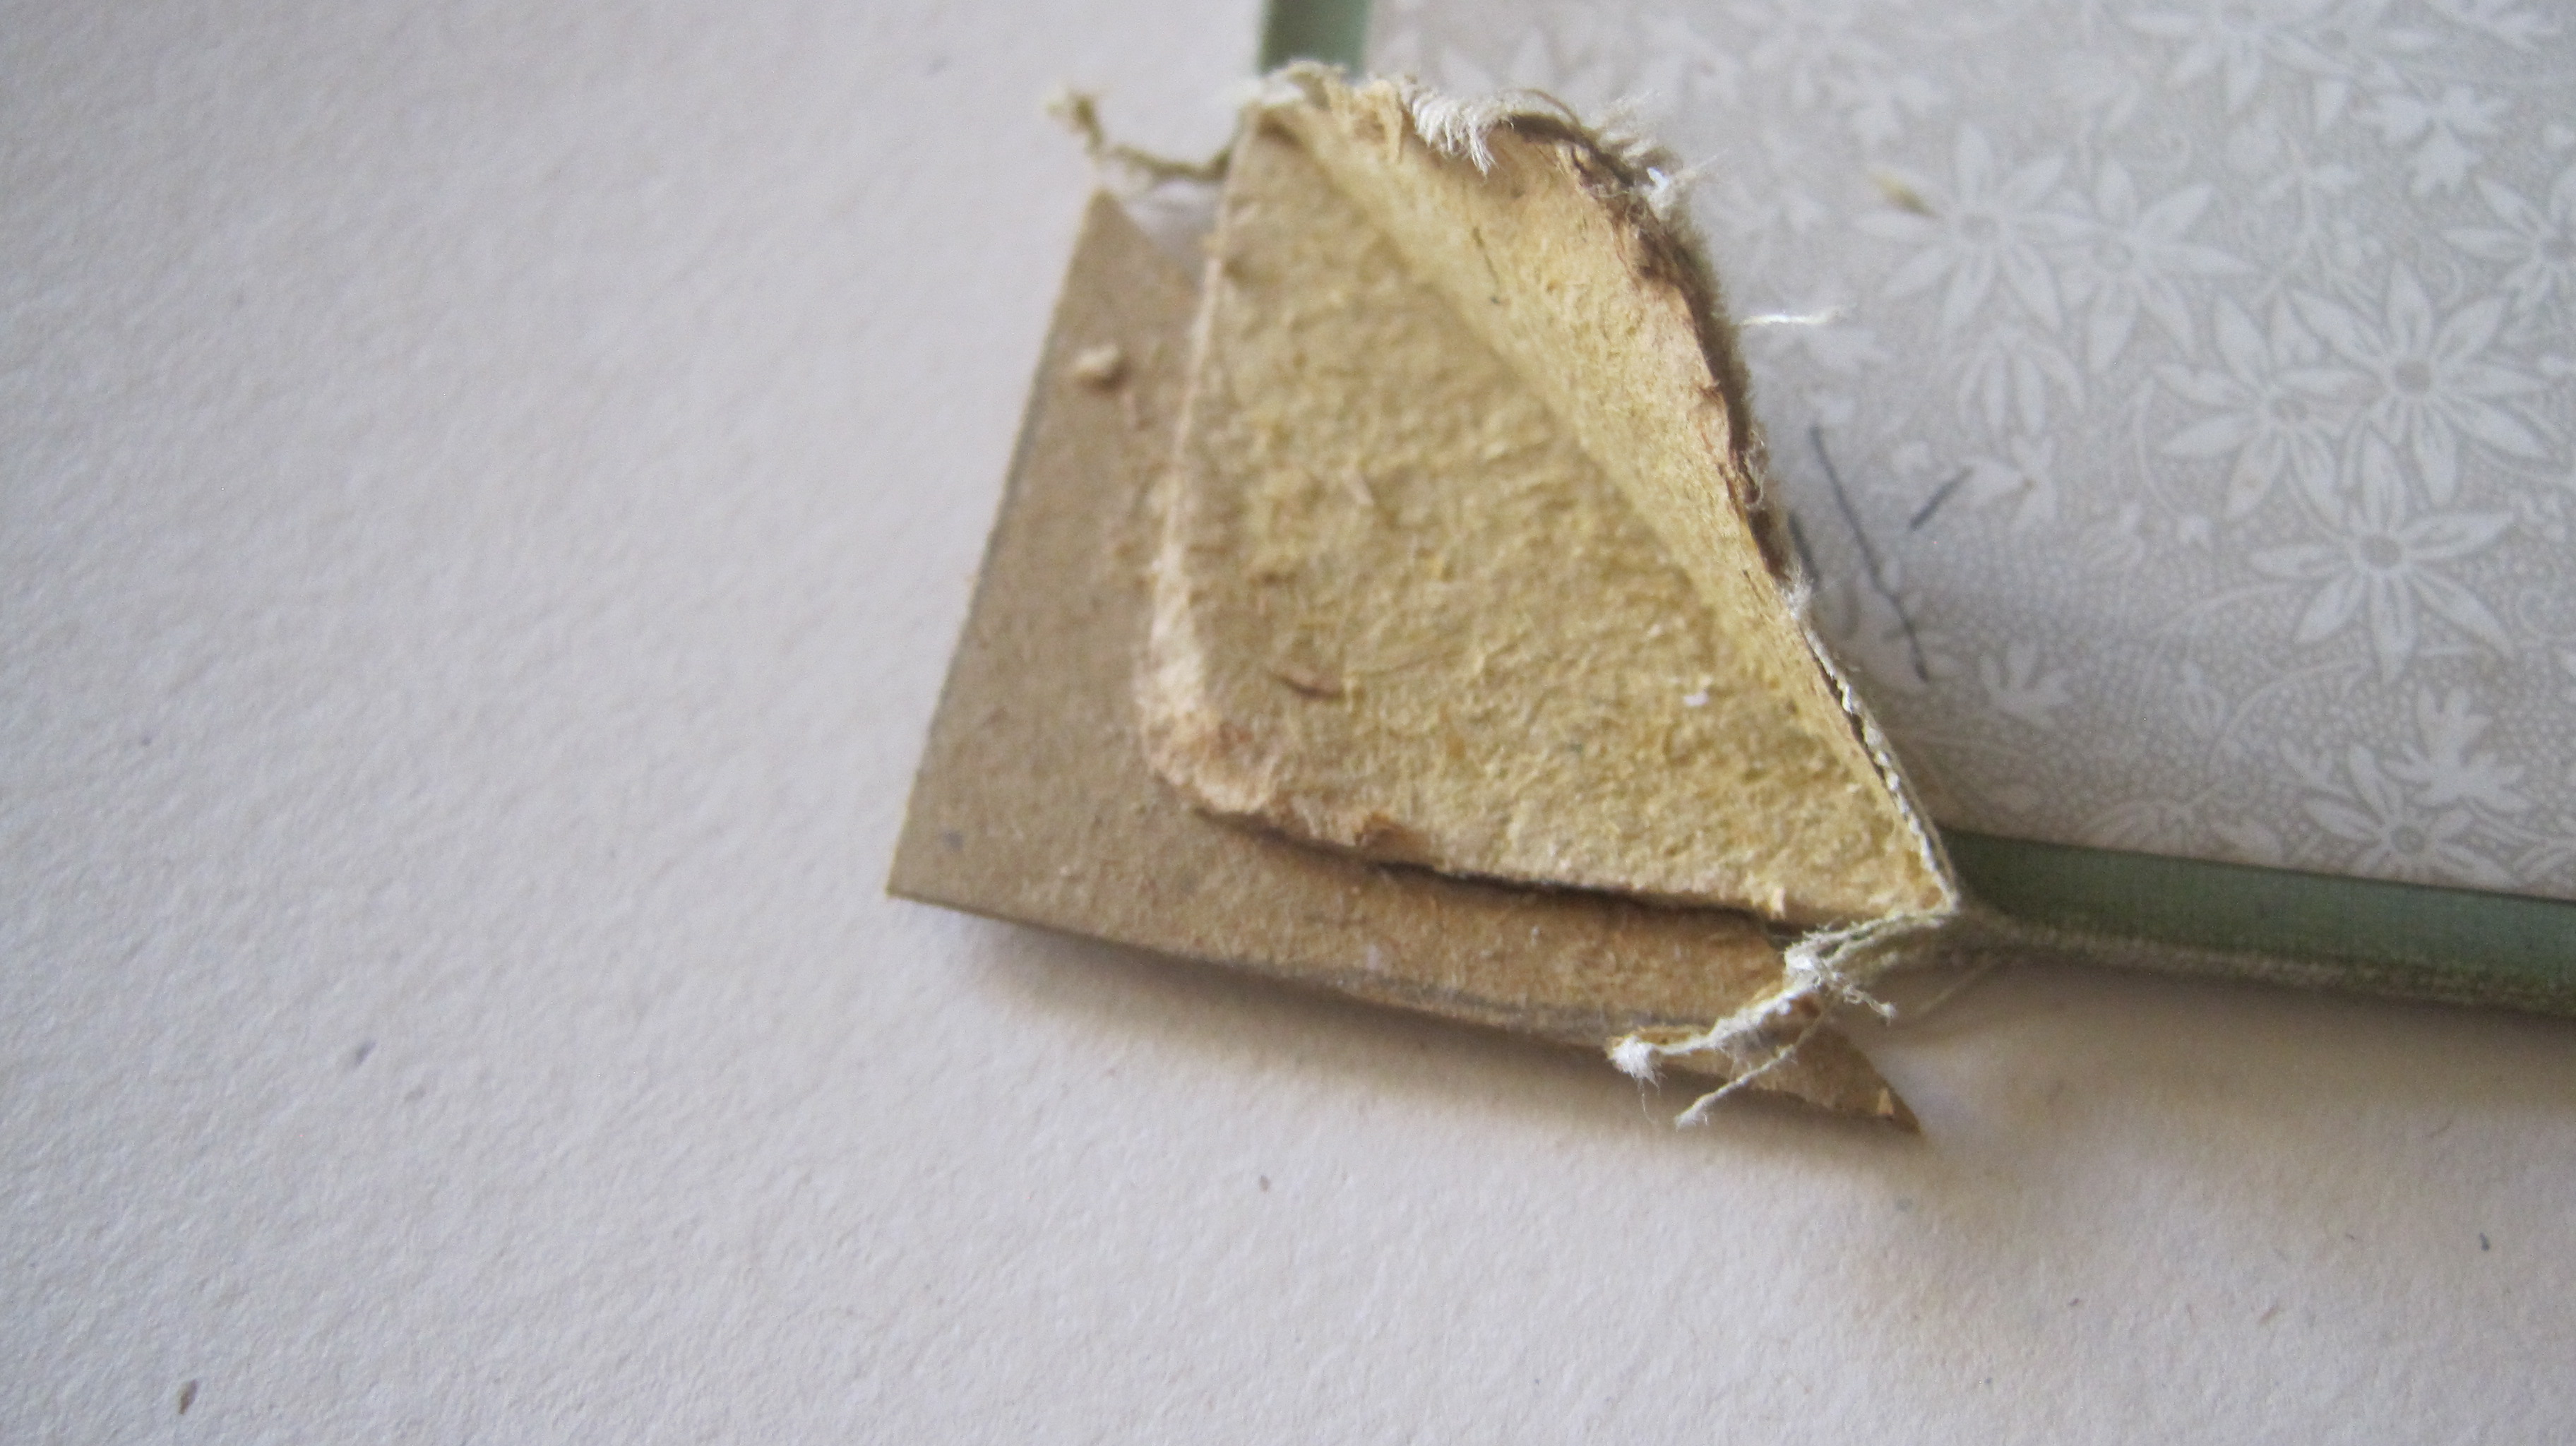
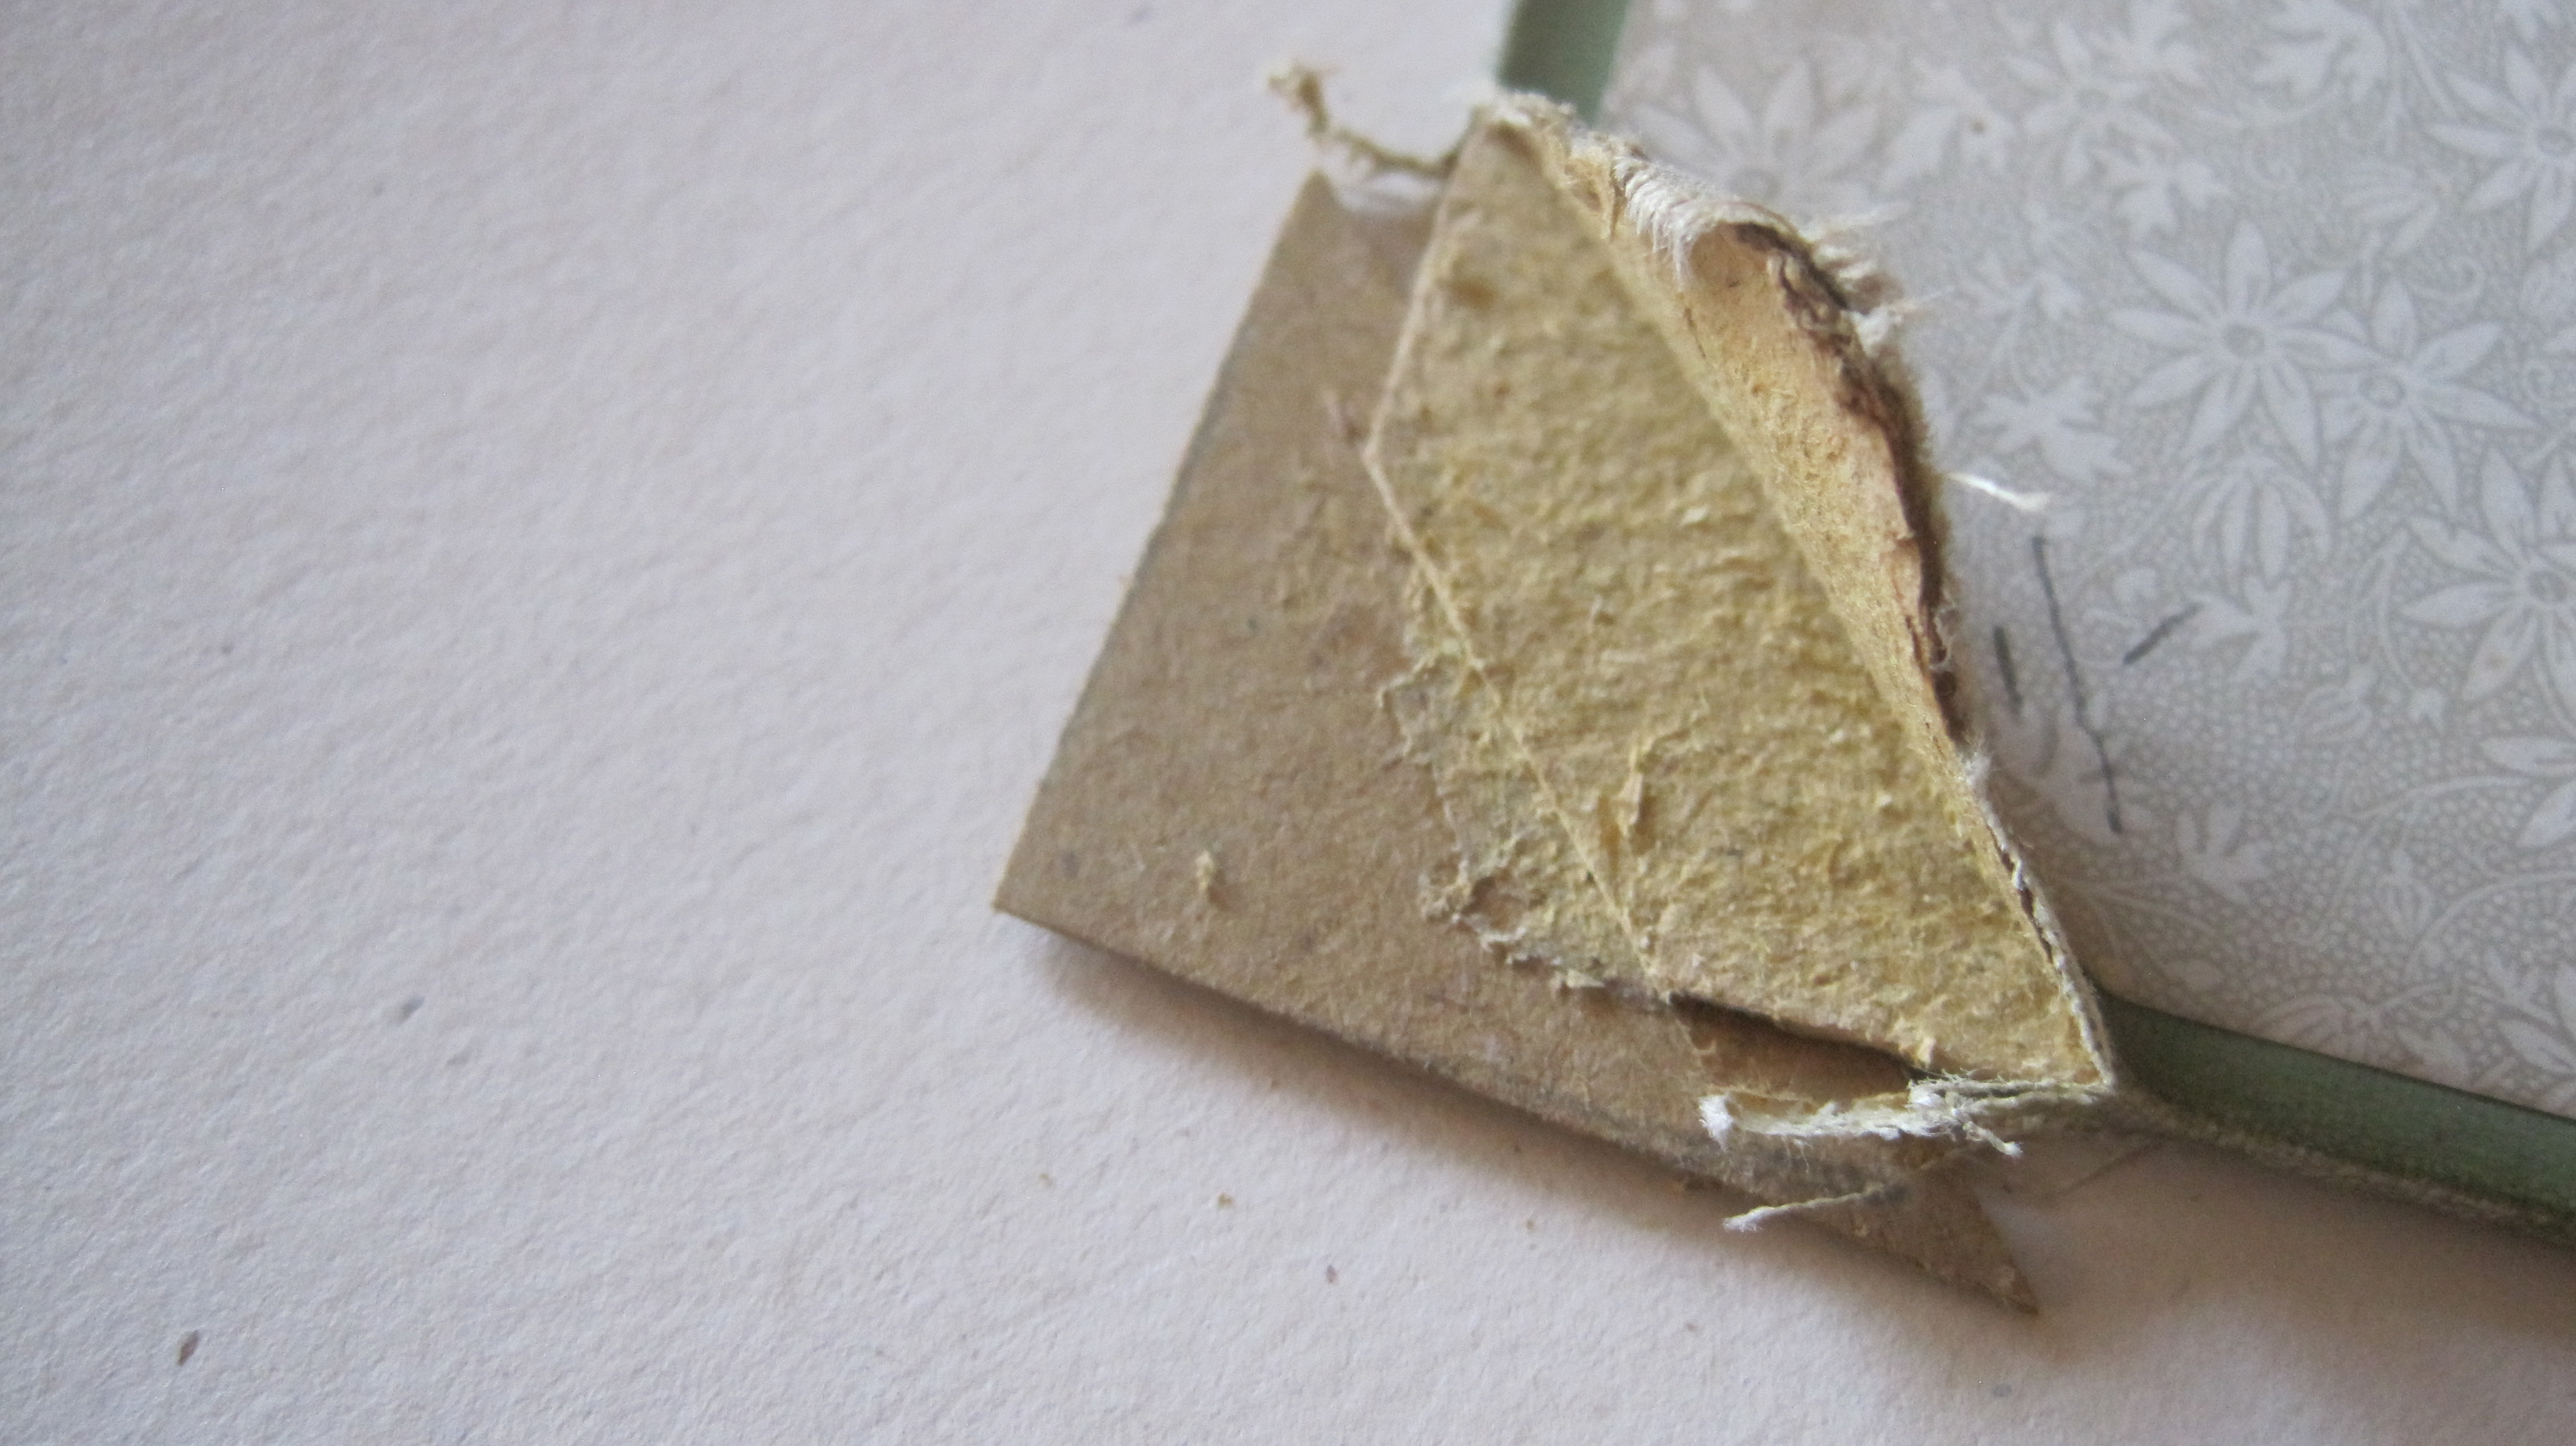
Now glue another piece of thin board on to the previous piece:
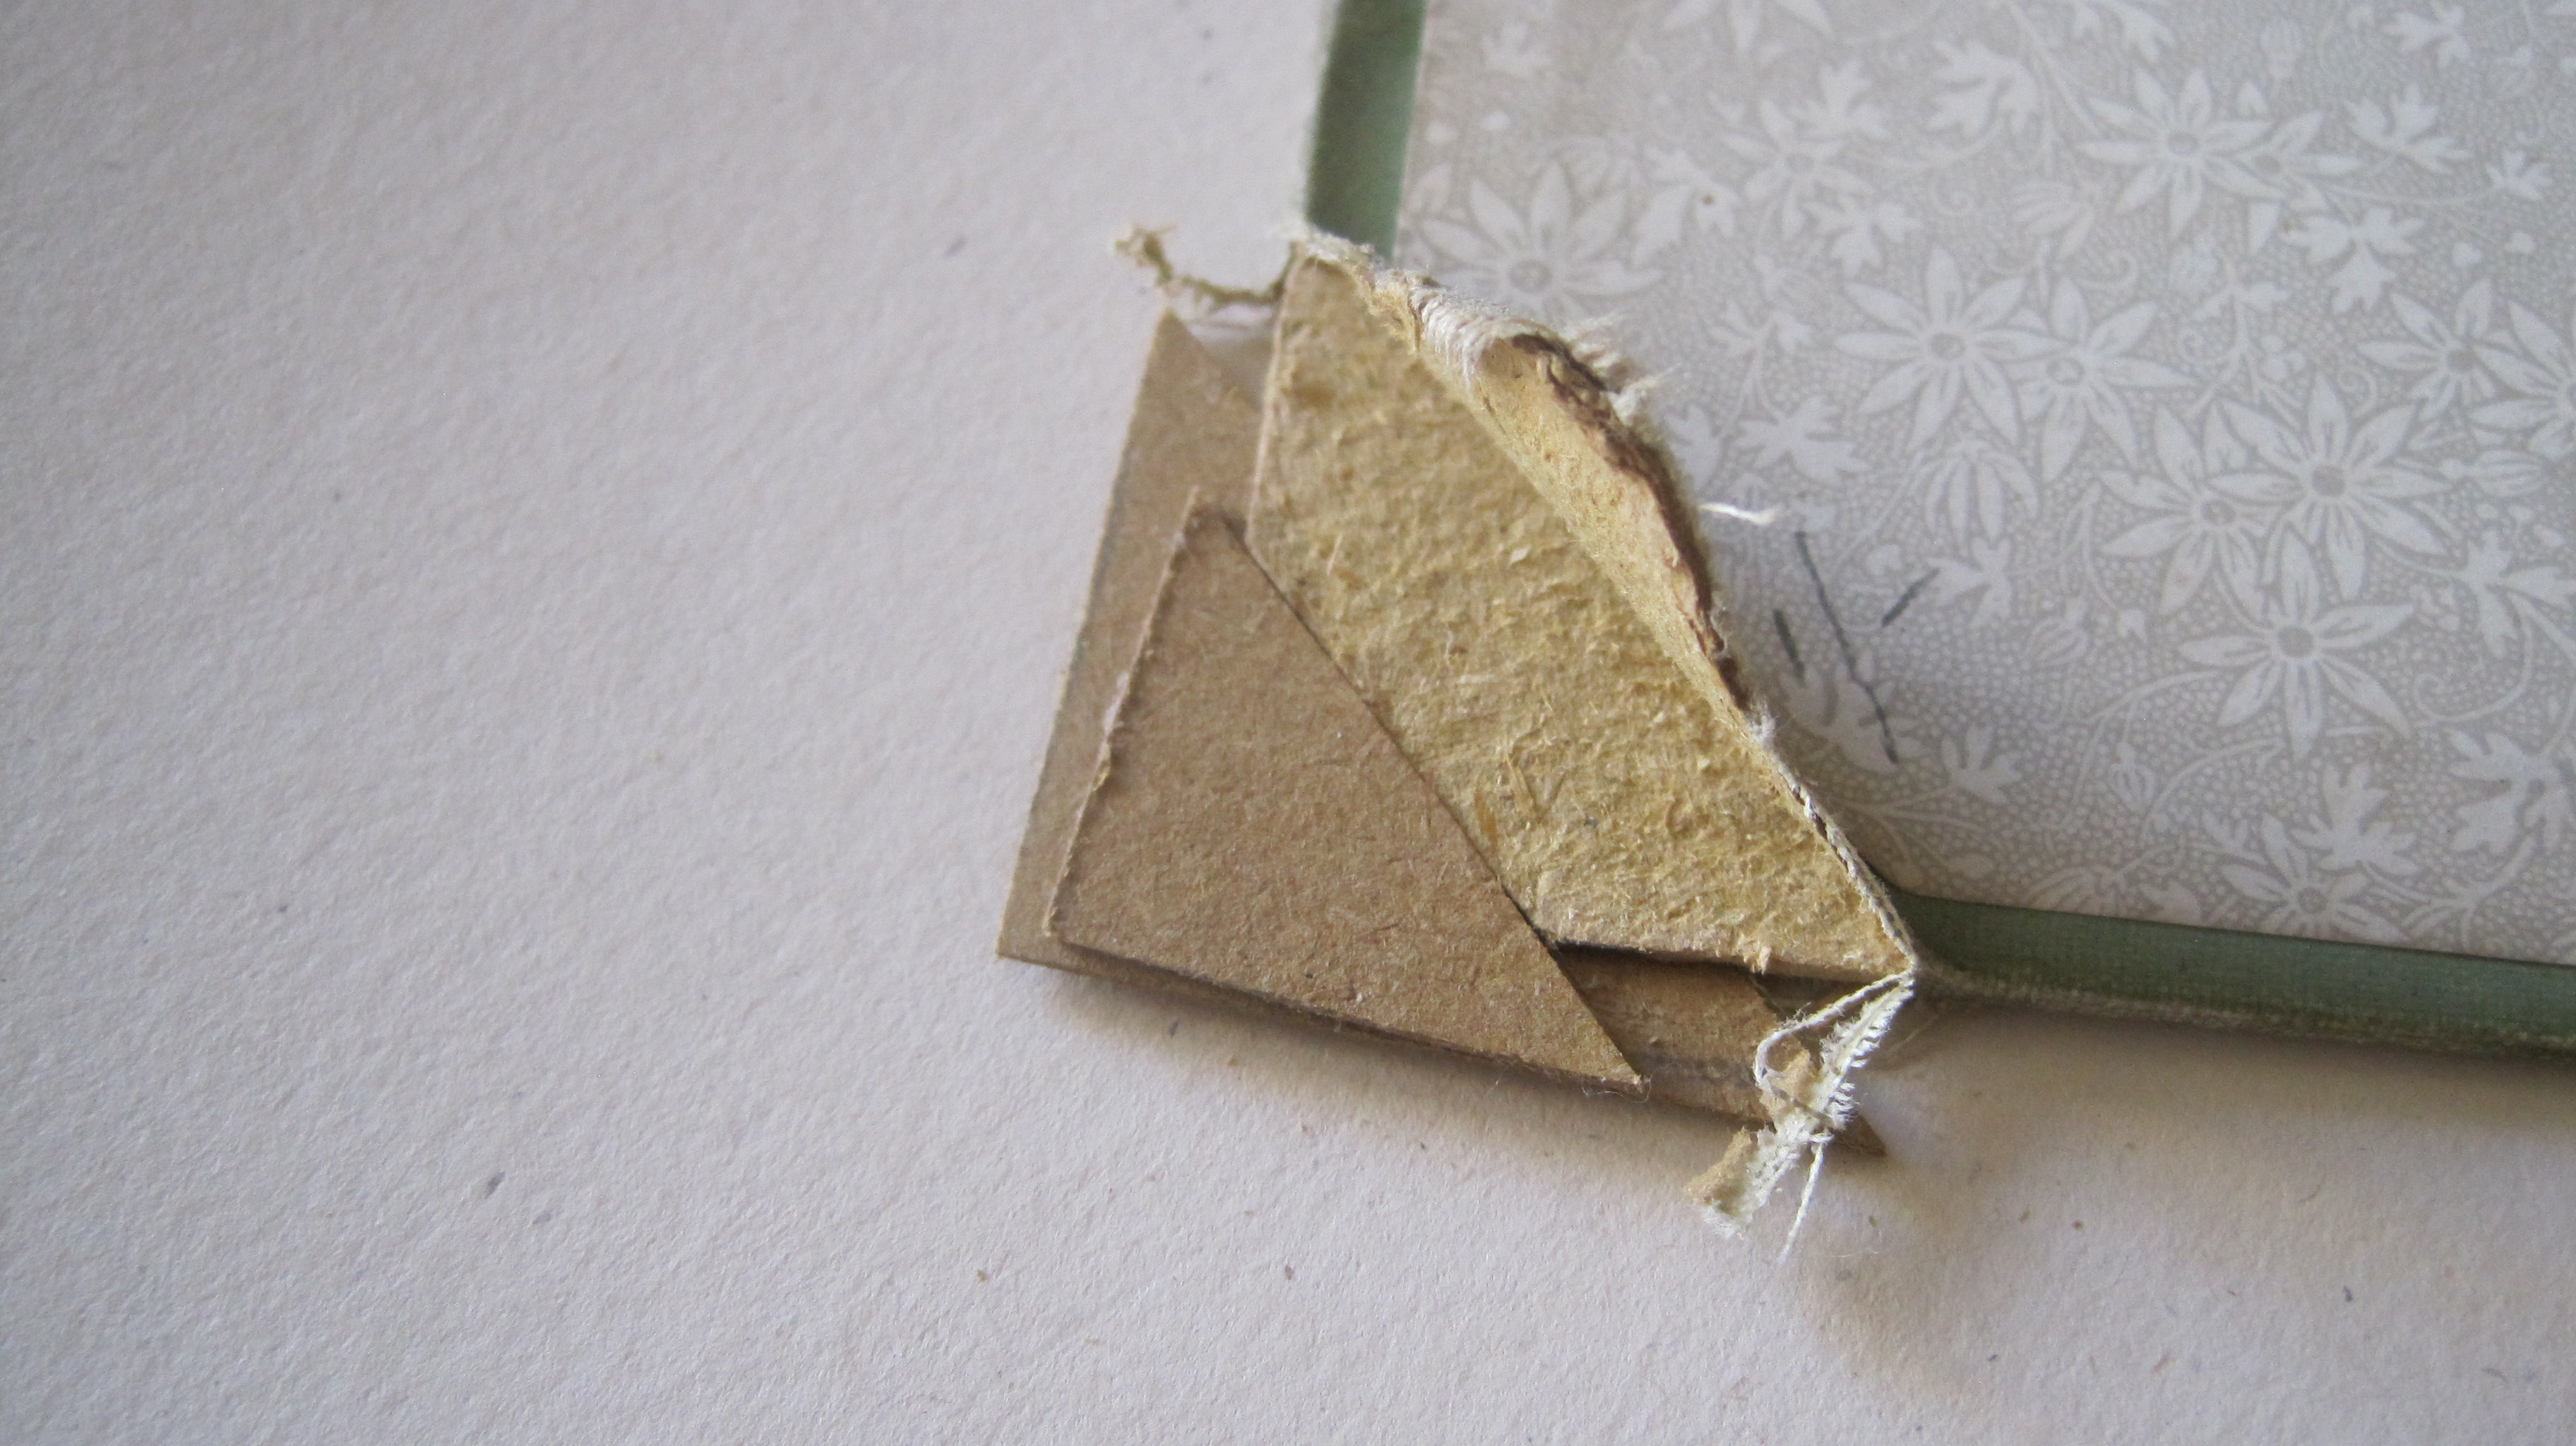
When dry cut off the excess and gently sand off the edges and corner:

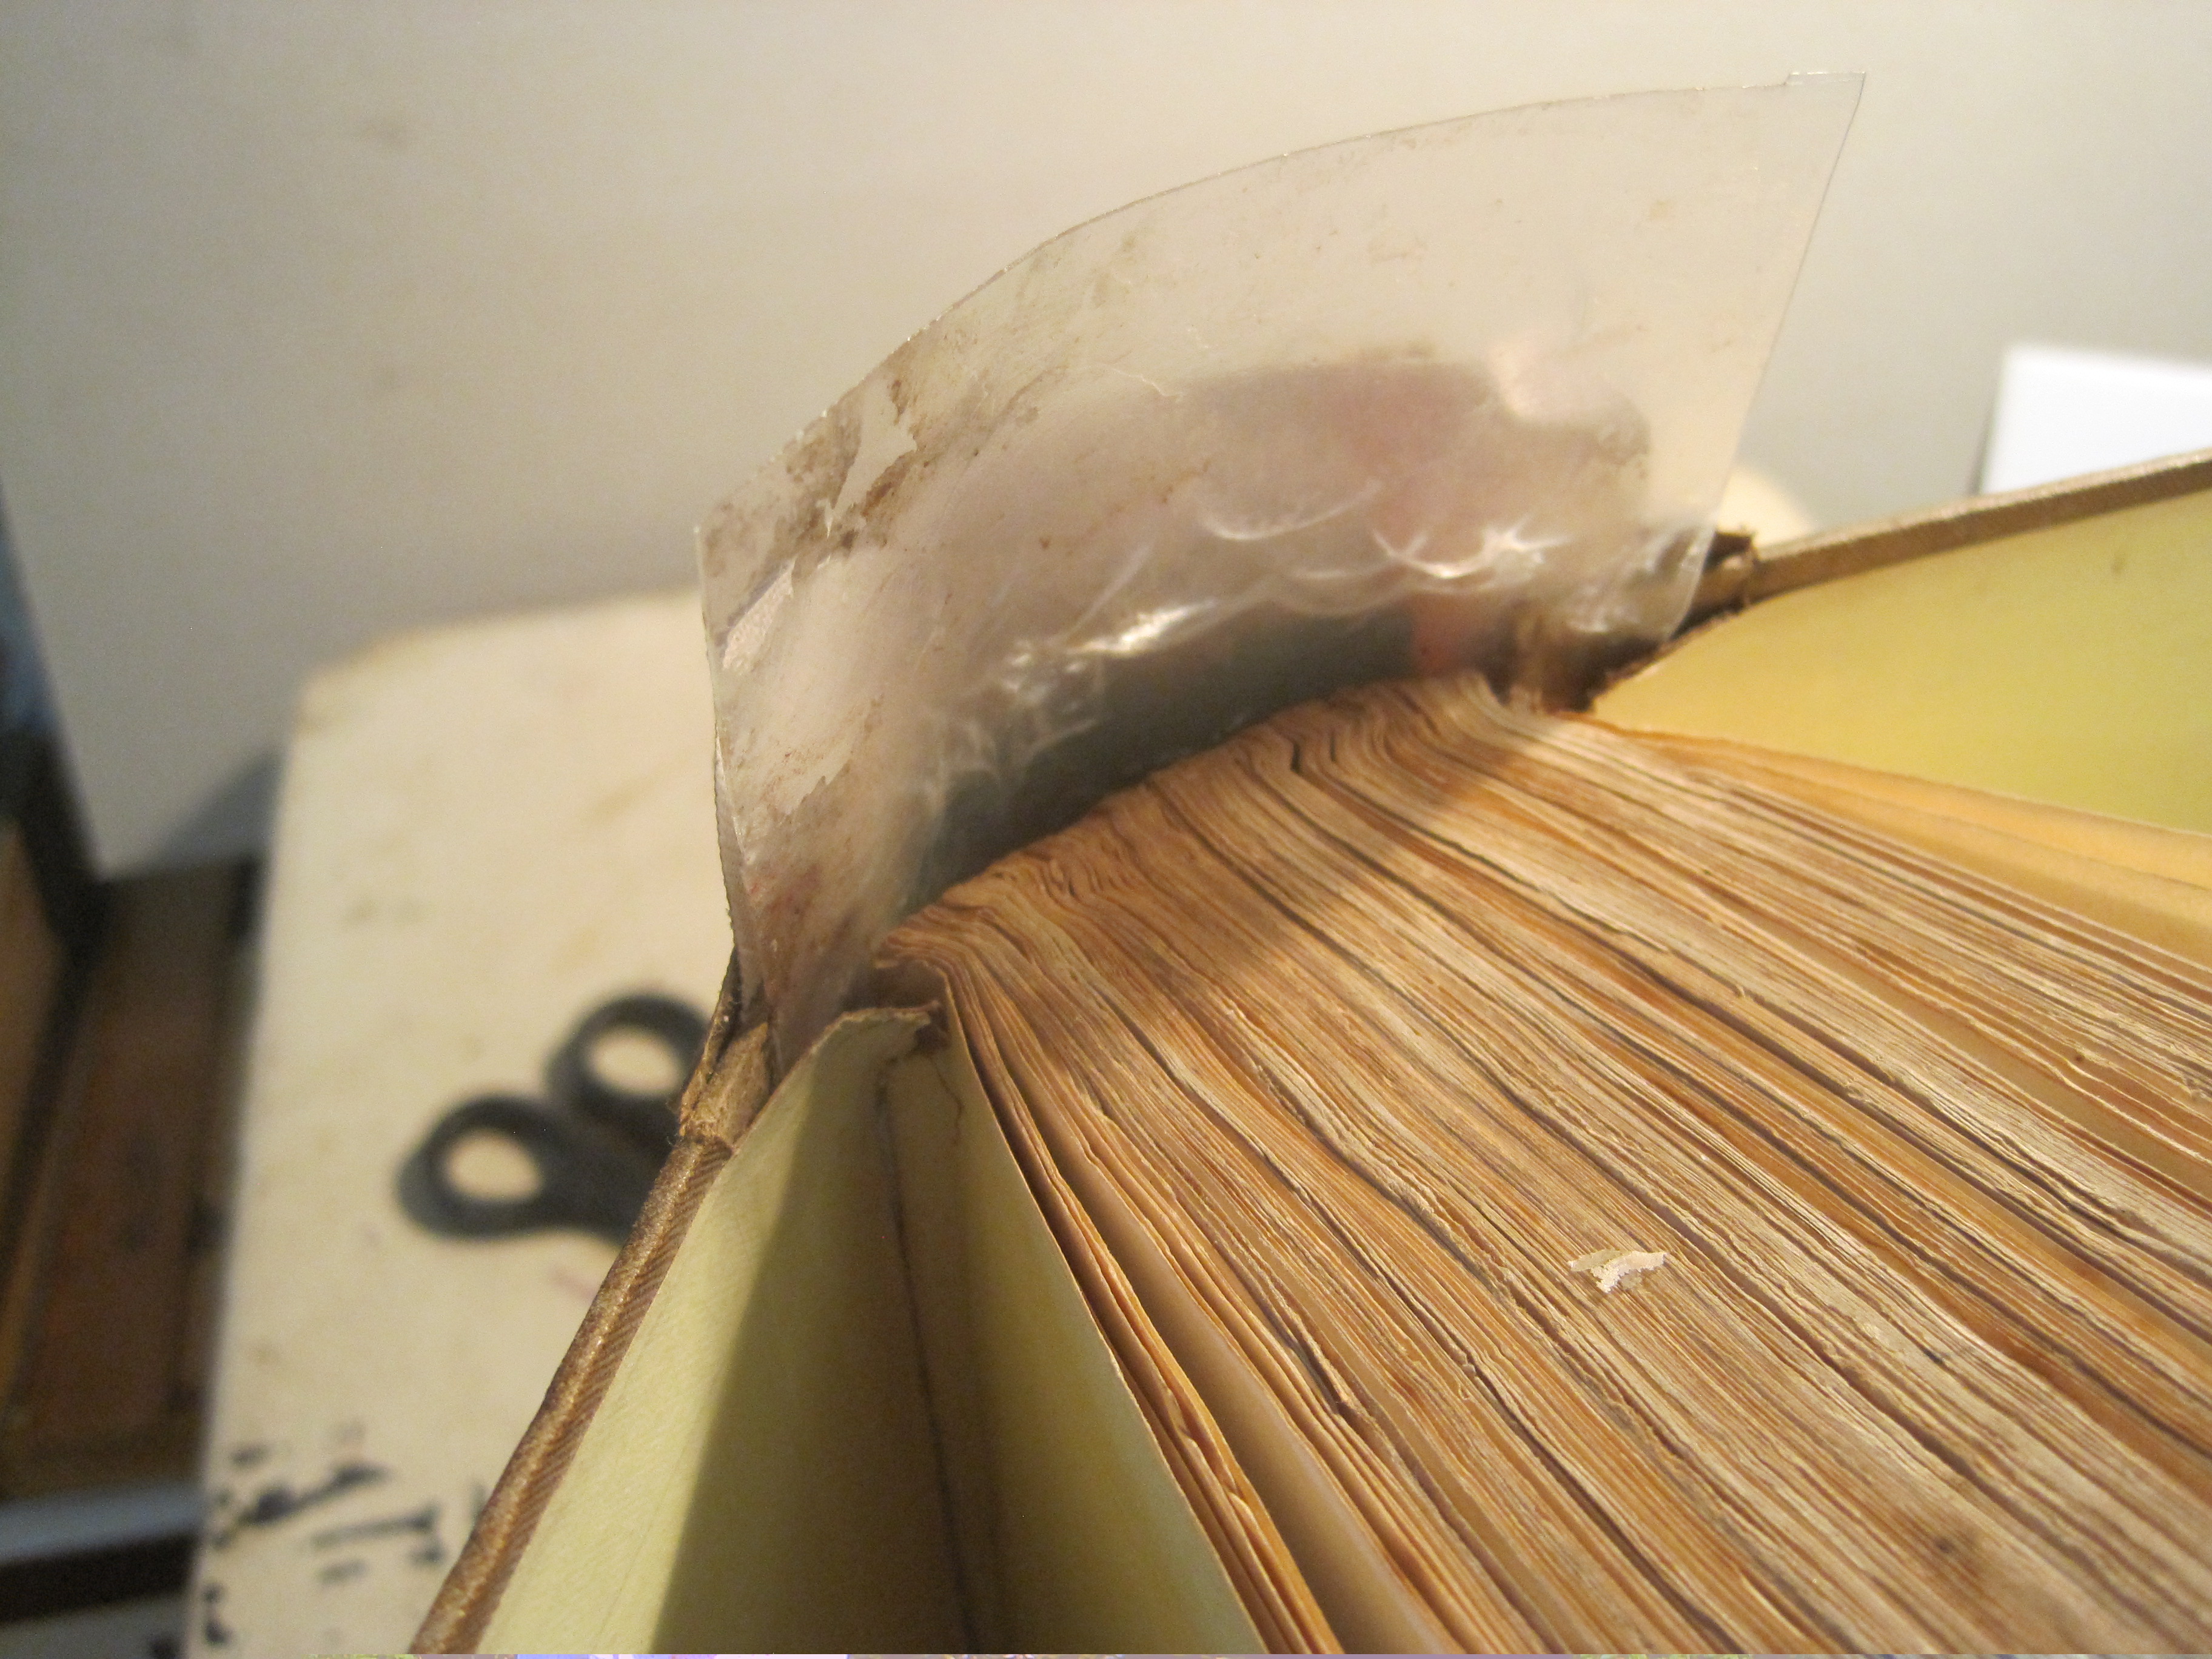
Cover with repair tissue, to receive acrylic colour:

Glue down the upper and lower flaps and colour to match
A touch of wax polish:

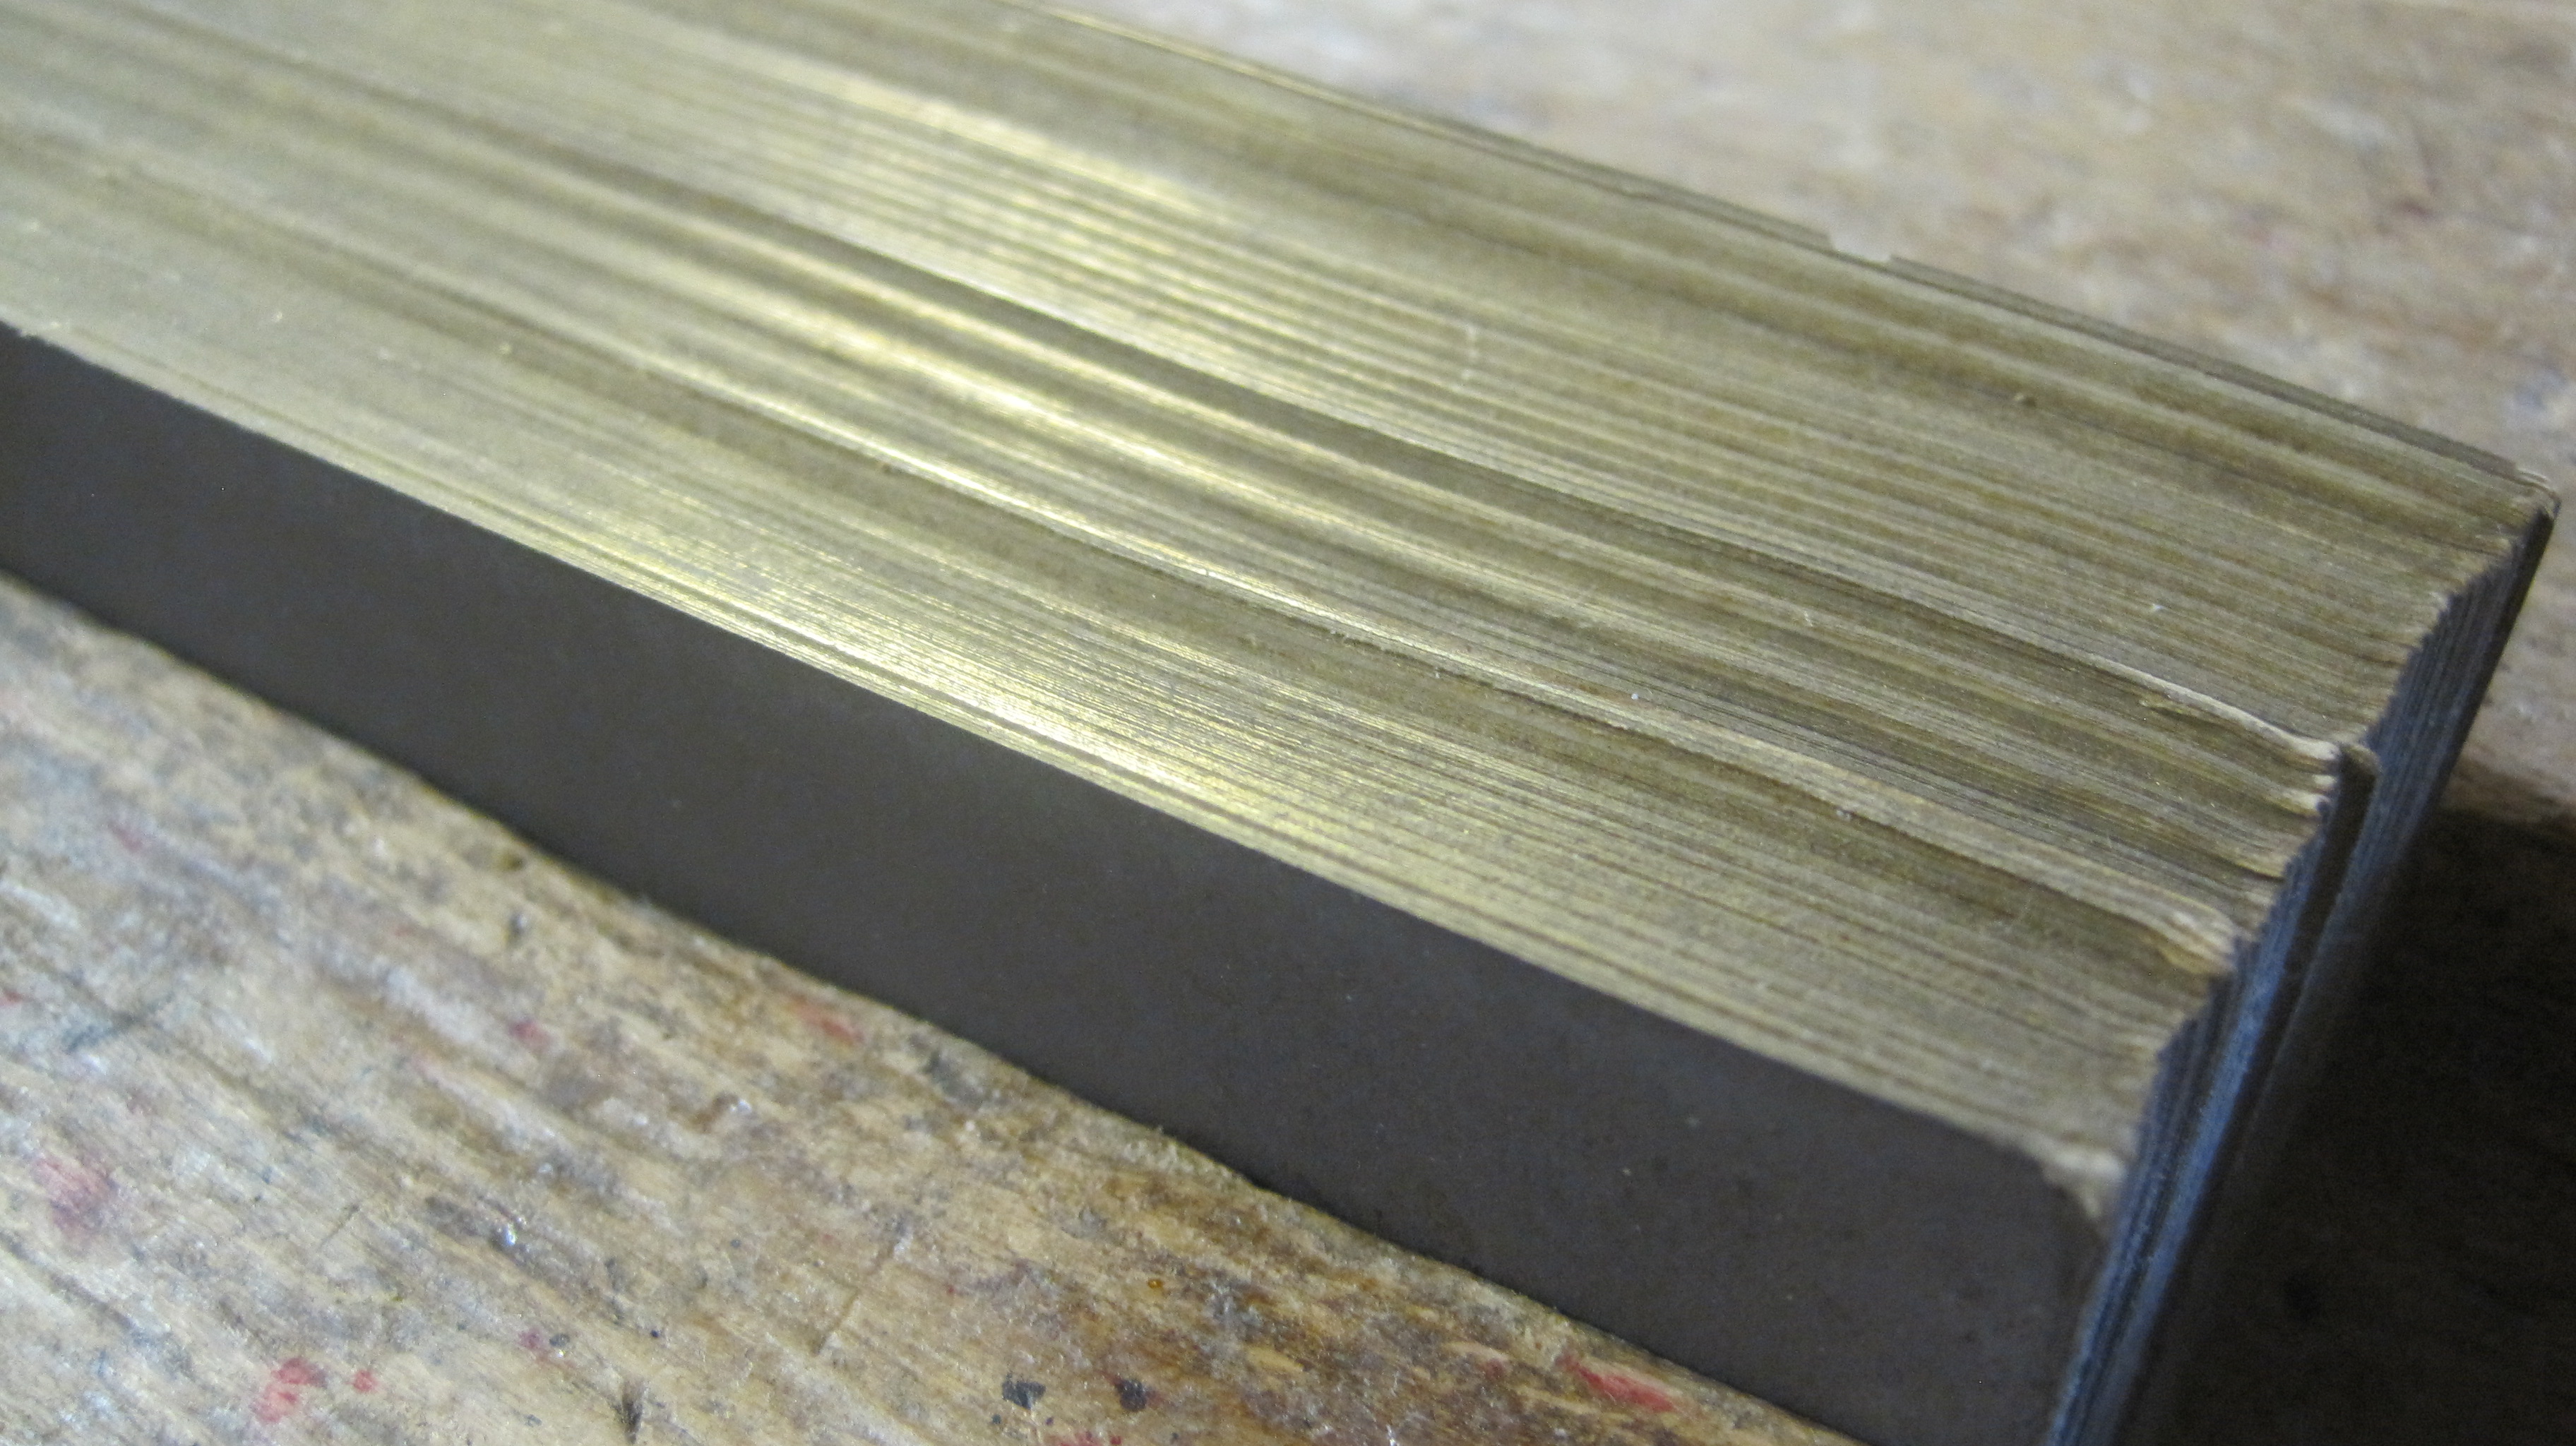
Same inside the board:
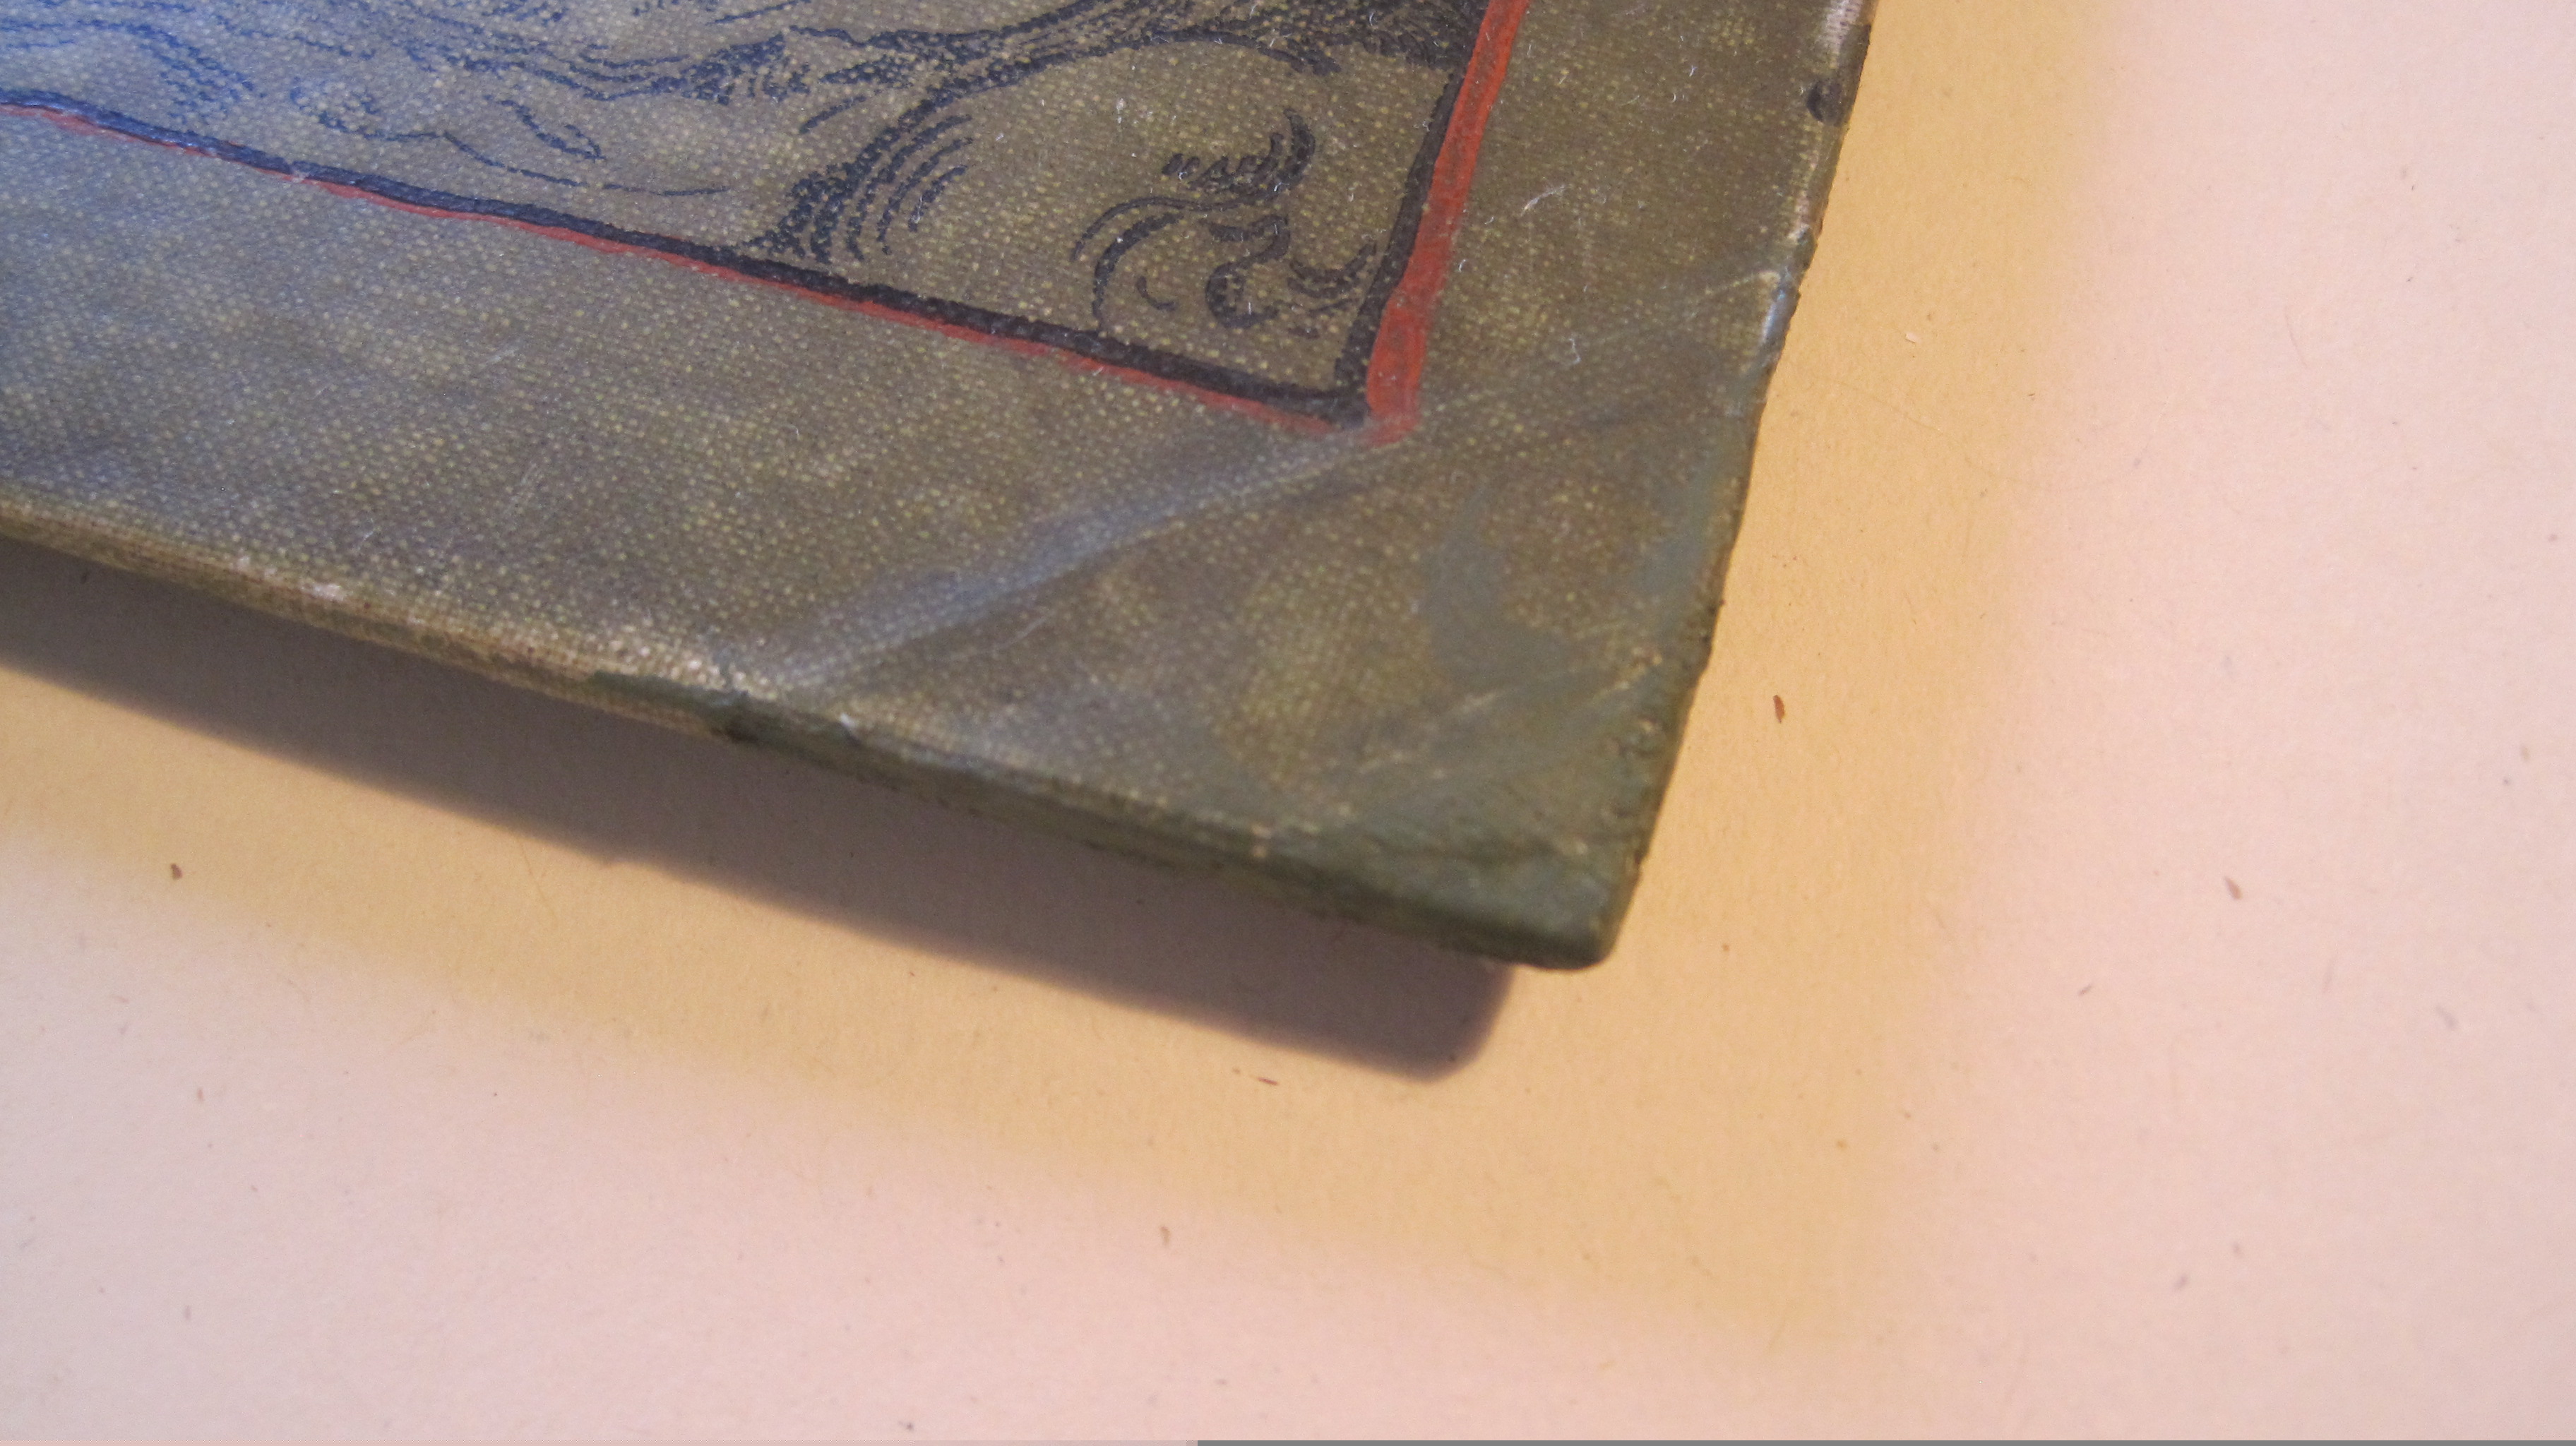
You can spend more time on getting the thickness exact and the colour perfect. But the repair itself is strong and visually pleasing.
Please look at the previous posts, since January 7th, and do ask questions or make comments. Especially if you disagree!