First, I’m sorry it has been more than a year since my last post. Some medical things, not unconnected with my age (now 83), have taken up a fair bit of time. Now all resolved.
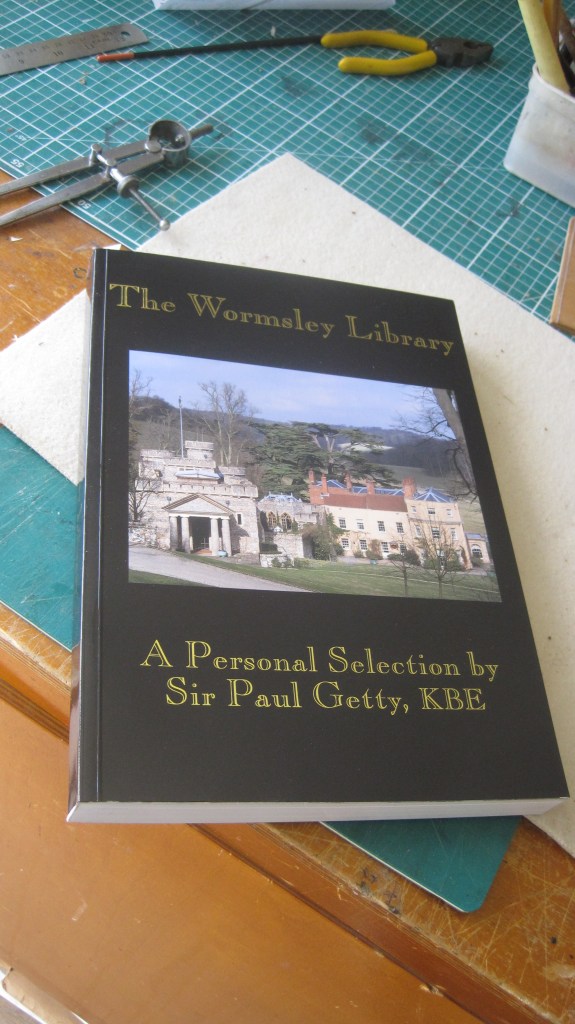
But I wasn’t sure of such a good outcome for a while so I focussed on clearing up a backlog of projects that have been tucked away in cupboards in the bindery – as mentioned in one of the earlier posts – in some cases for years. One such project is to put a worthy binding on one of my two copies of the Catalogue of the exhibition of treasures from Sir Paul Getty’s Wormsley Library that was mounted at the Pierpont Morgan Library in New York in 1999. The Wormsley Library is an astonishing flint and stone addition to the main house on the Getty Buckinghamshire estate, in the style of a medieval castle. It is not open to the public but I have been fortunate enough to visit it on several occasions over the past 20-odd years. The Pierpont Morgan Exhibition comprised 106 items chosen by Sir Paul himself, ranging from a sheet of vellum written out in the middle of the 7th century, probably in Northumberland, to a calligraphic manuscript of Under Milk Wood completed in 1978. Most of the books chosen are in exceptional bindings, which is why I treasure the catalogue myself.
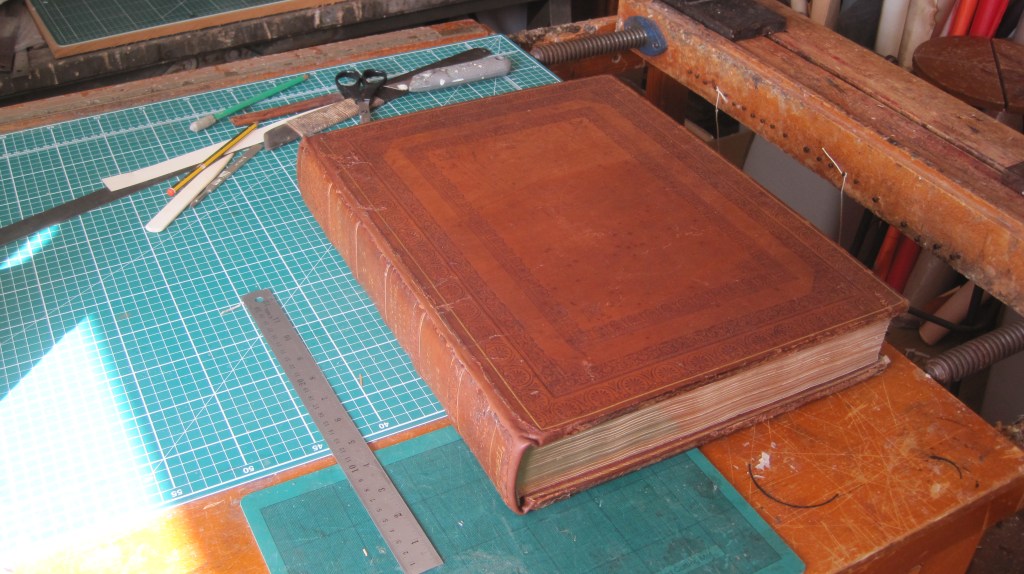
I have a lot of catalogues of either auction sales or exhibitions and I have bound a few in the past, both to preserve and to dignify them.

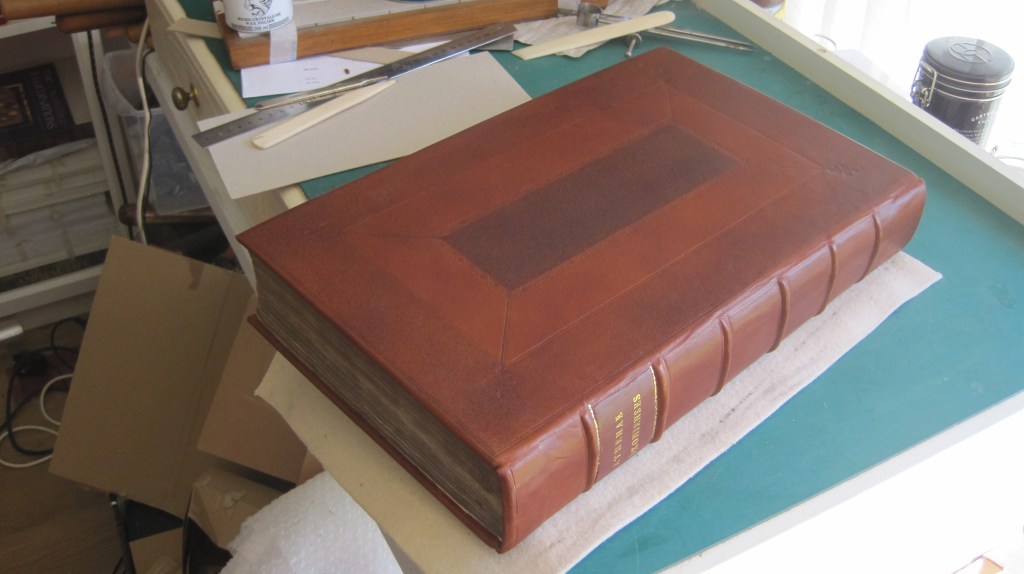
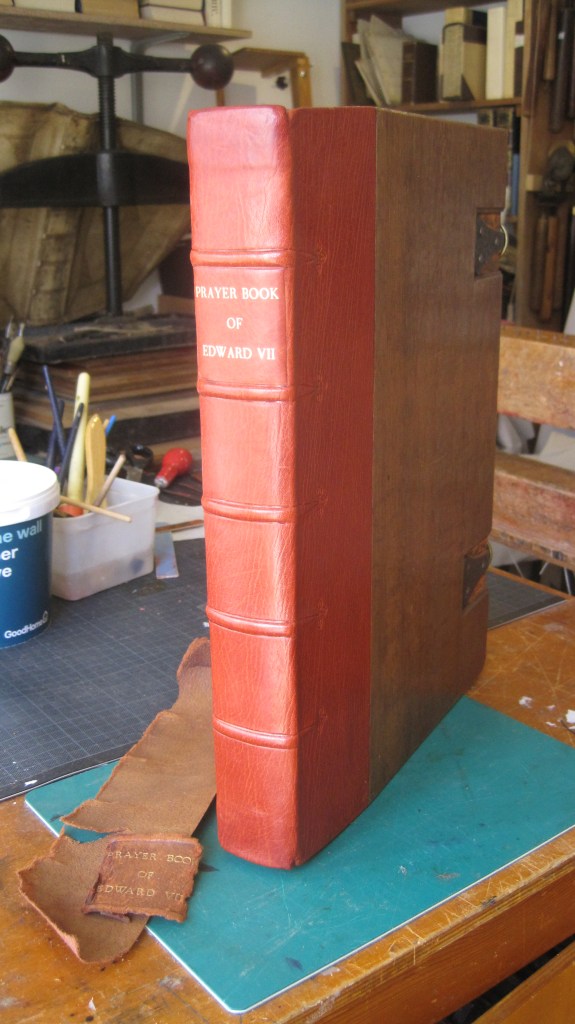
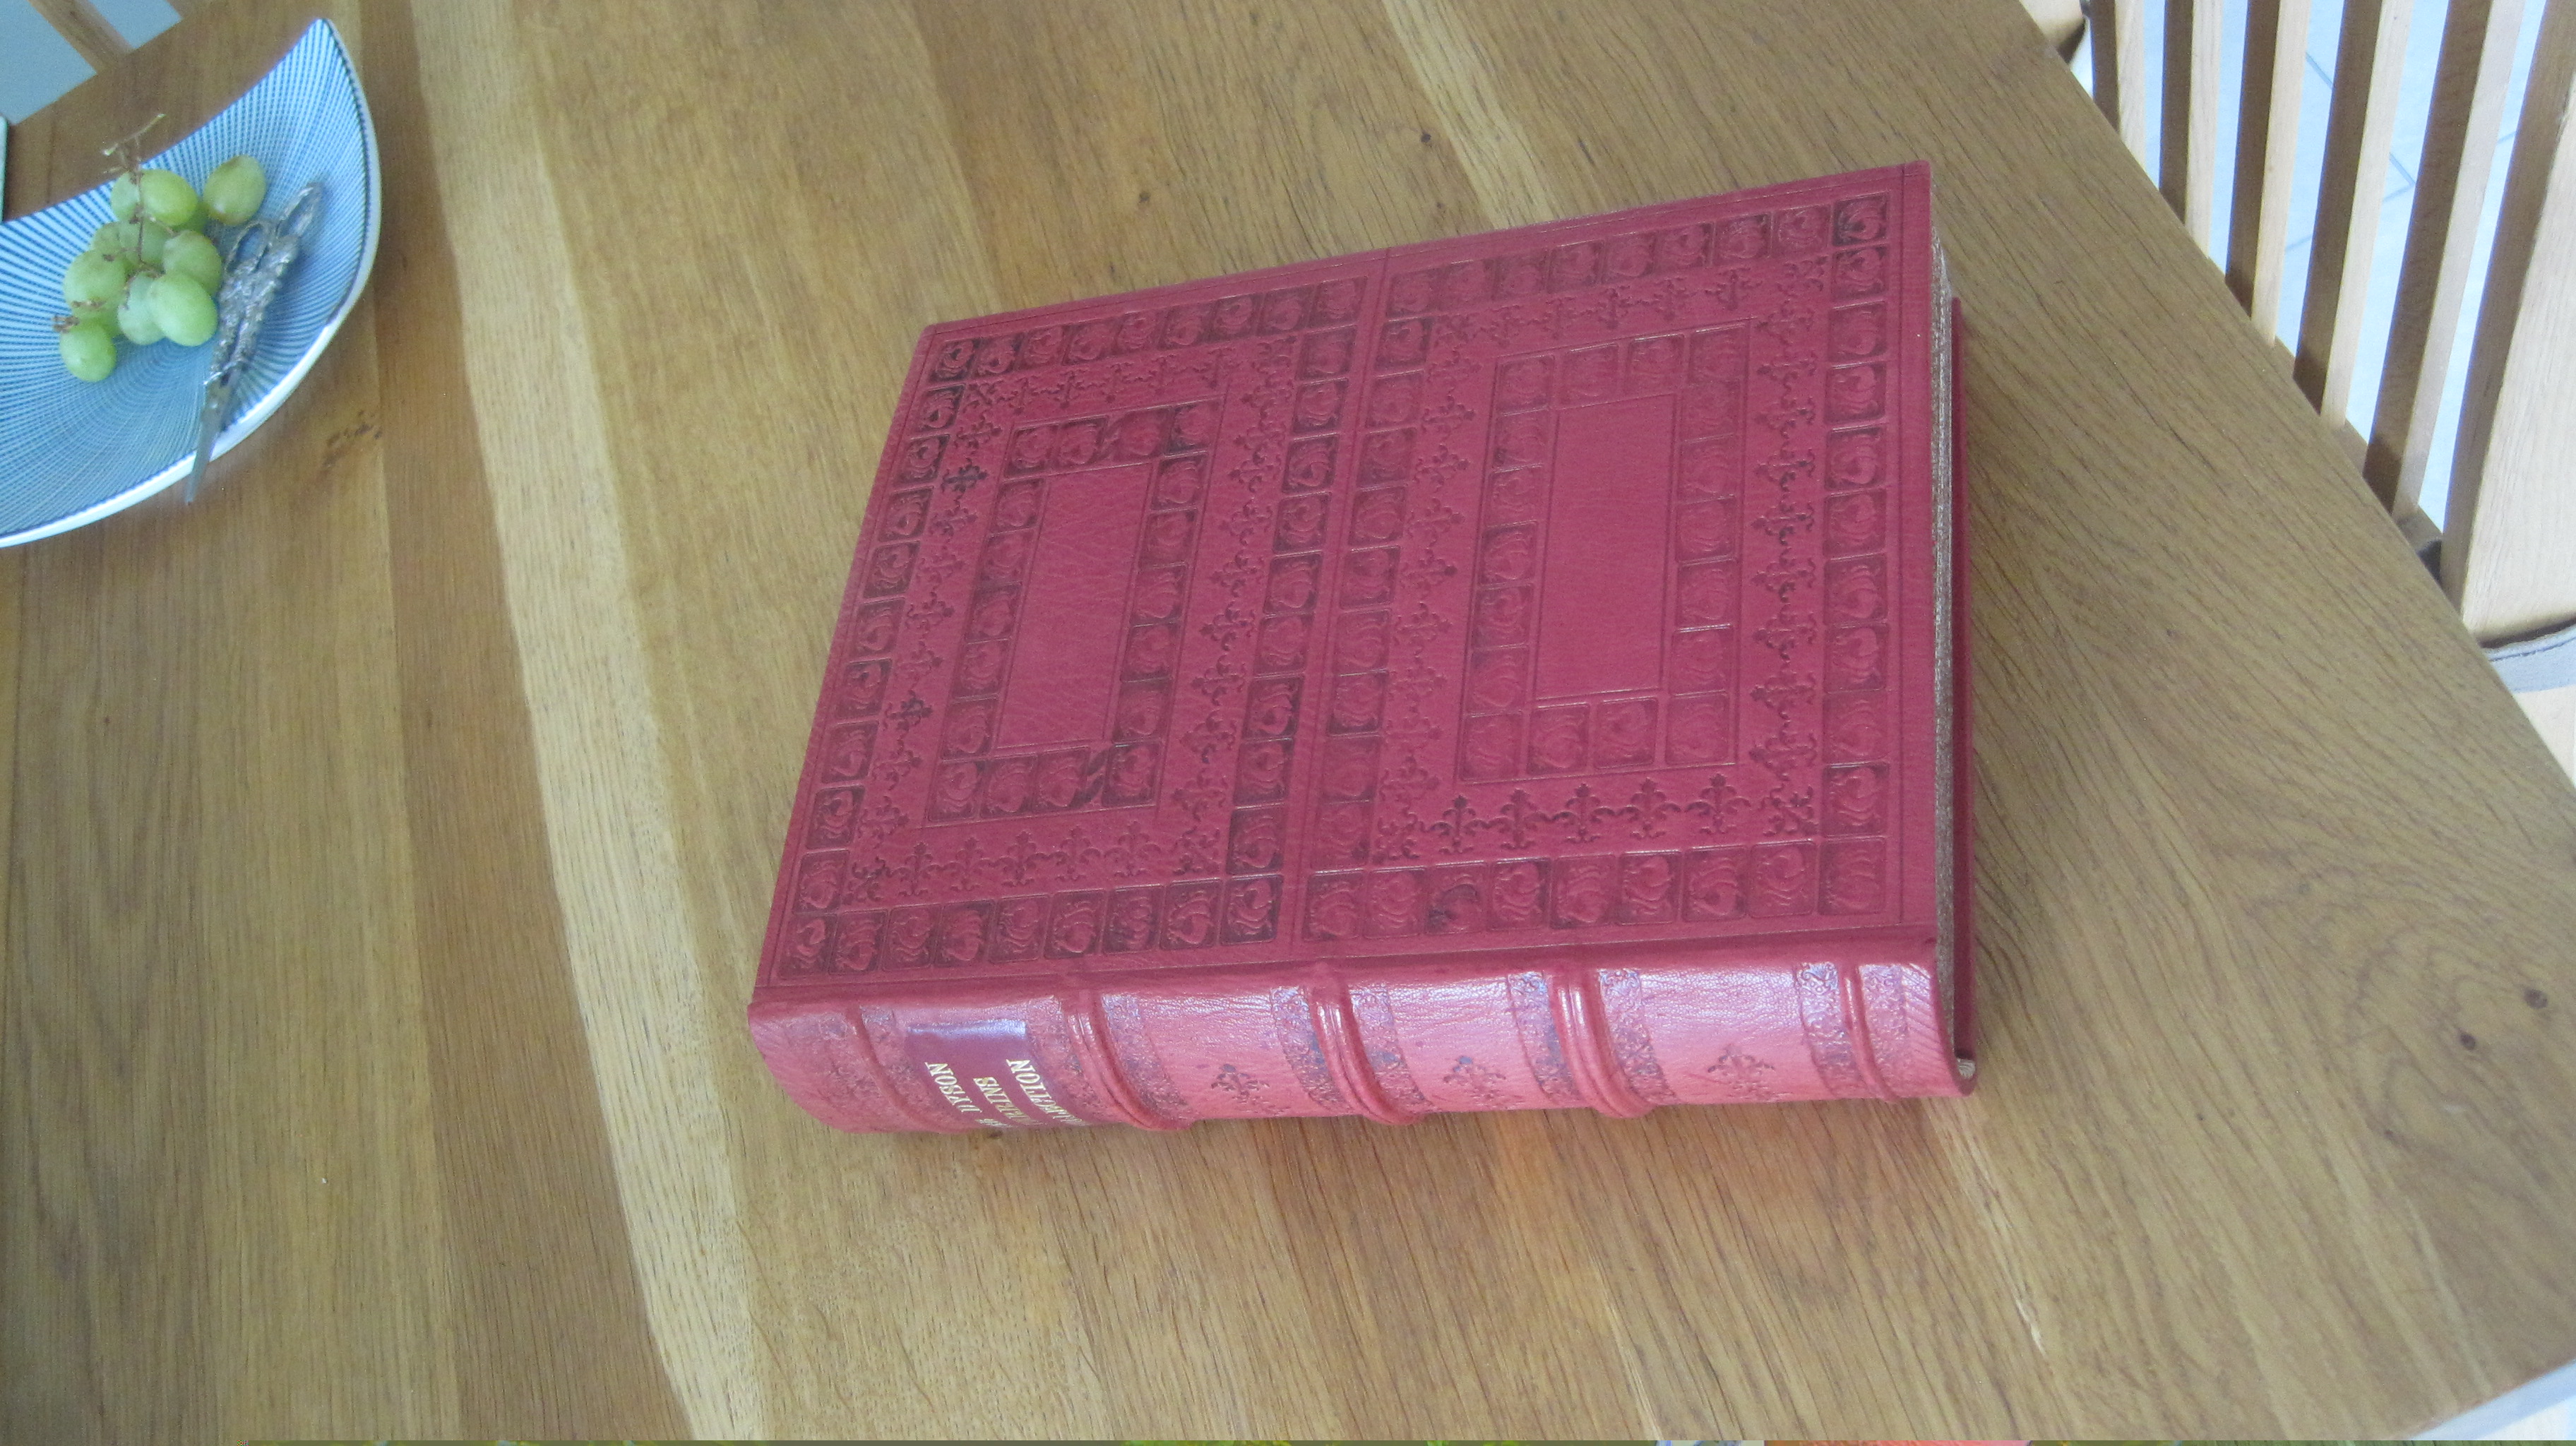
This is one of my two copies of the famous 1958 Baltimore Museum of Art exhibition catalogue illustrating the history of bookbinding from 525 AD to 1950. The design is a rather obvious pastiche of French binding of the mid-16th century.
About 30 years ago I used a newly-acquired pair of medieval stamps to decorate a binding of the three Sotheby’s catalogues of their sales of the medieval manuscripts collected by C. W. Dyson Perrins, of Worcestershire sauce fame, that took place in 1958, 1959 and 1960. I rather over did it!
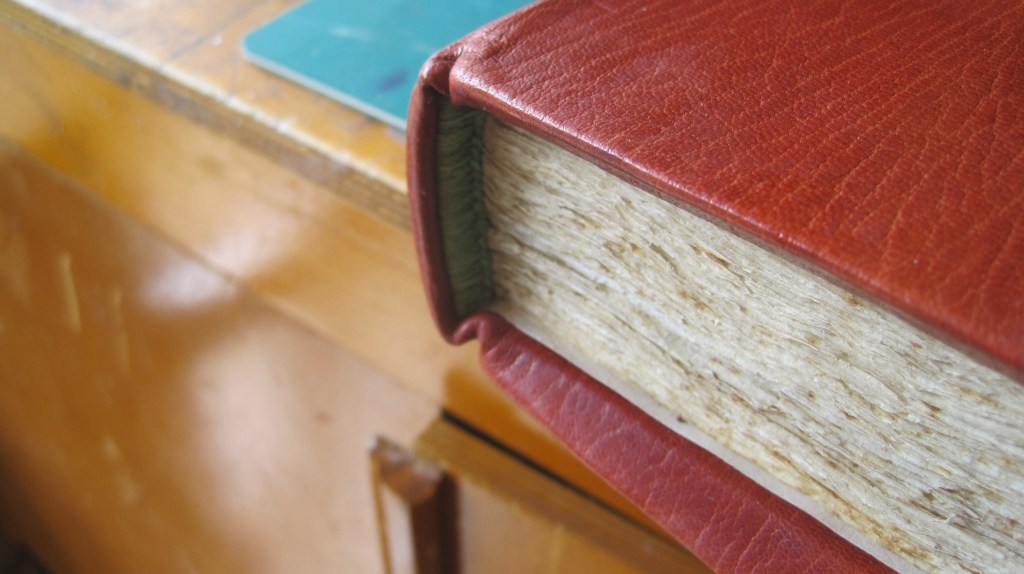
The boards are wooden and the edges sprinkled dark brown.
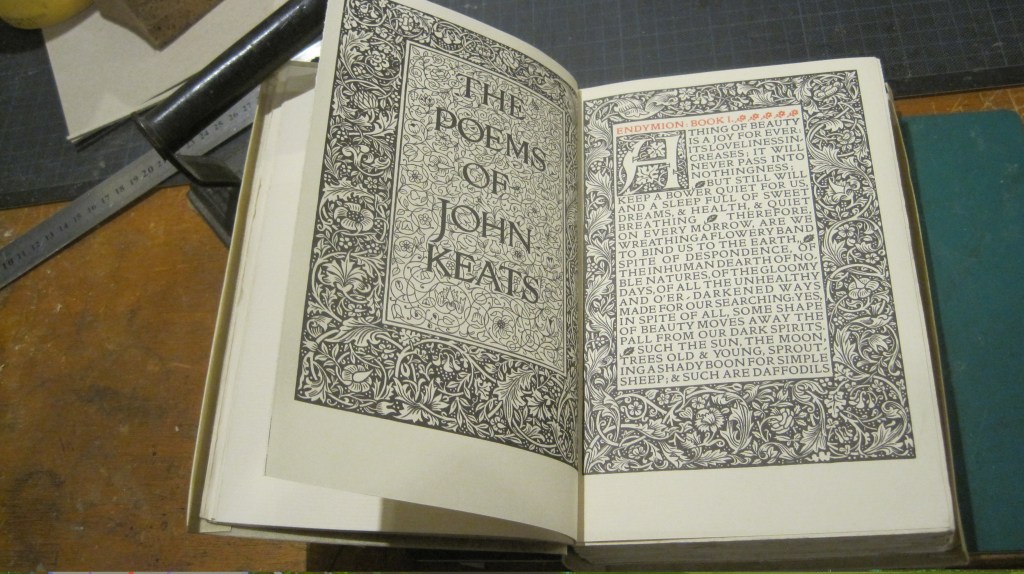
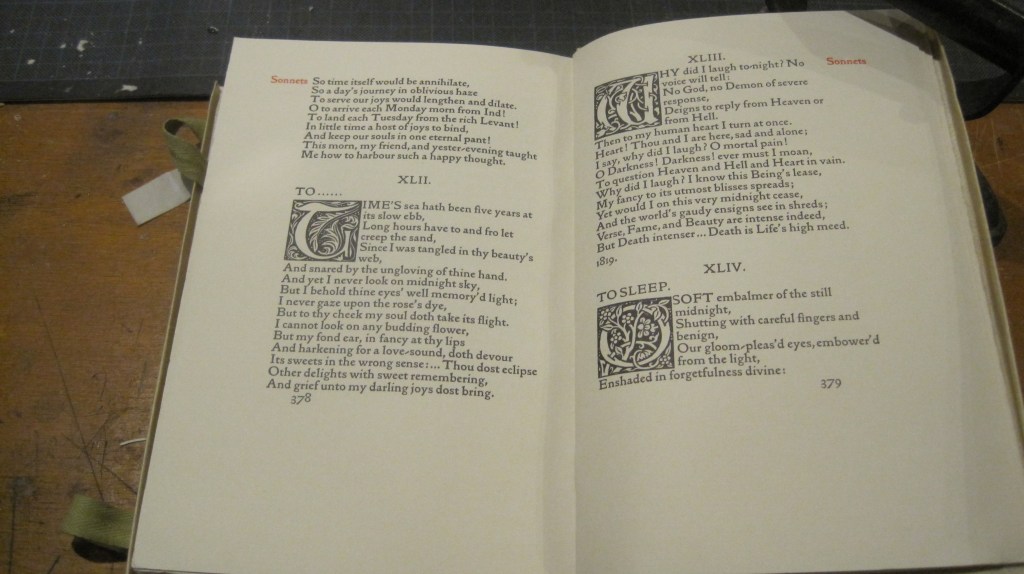
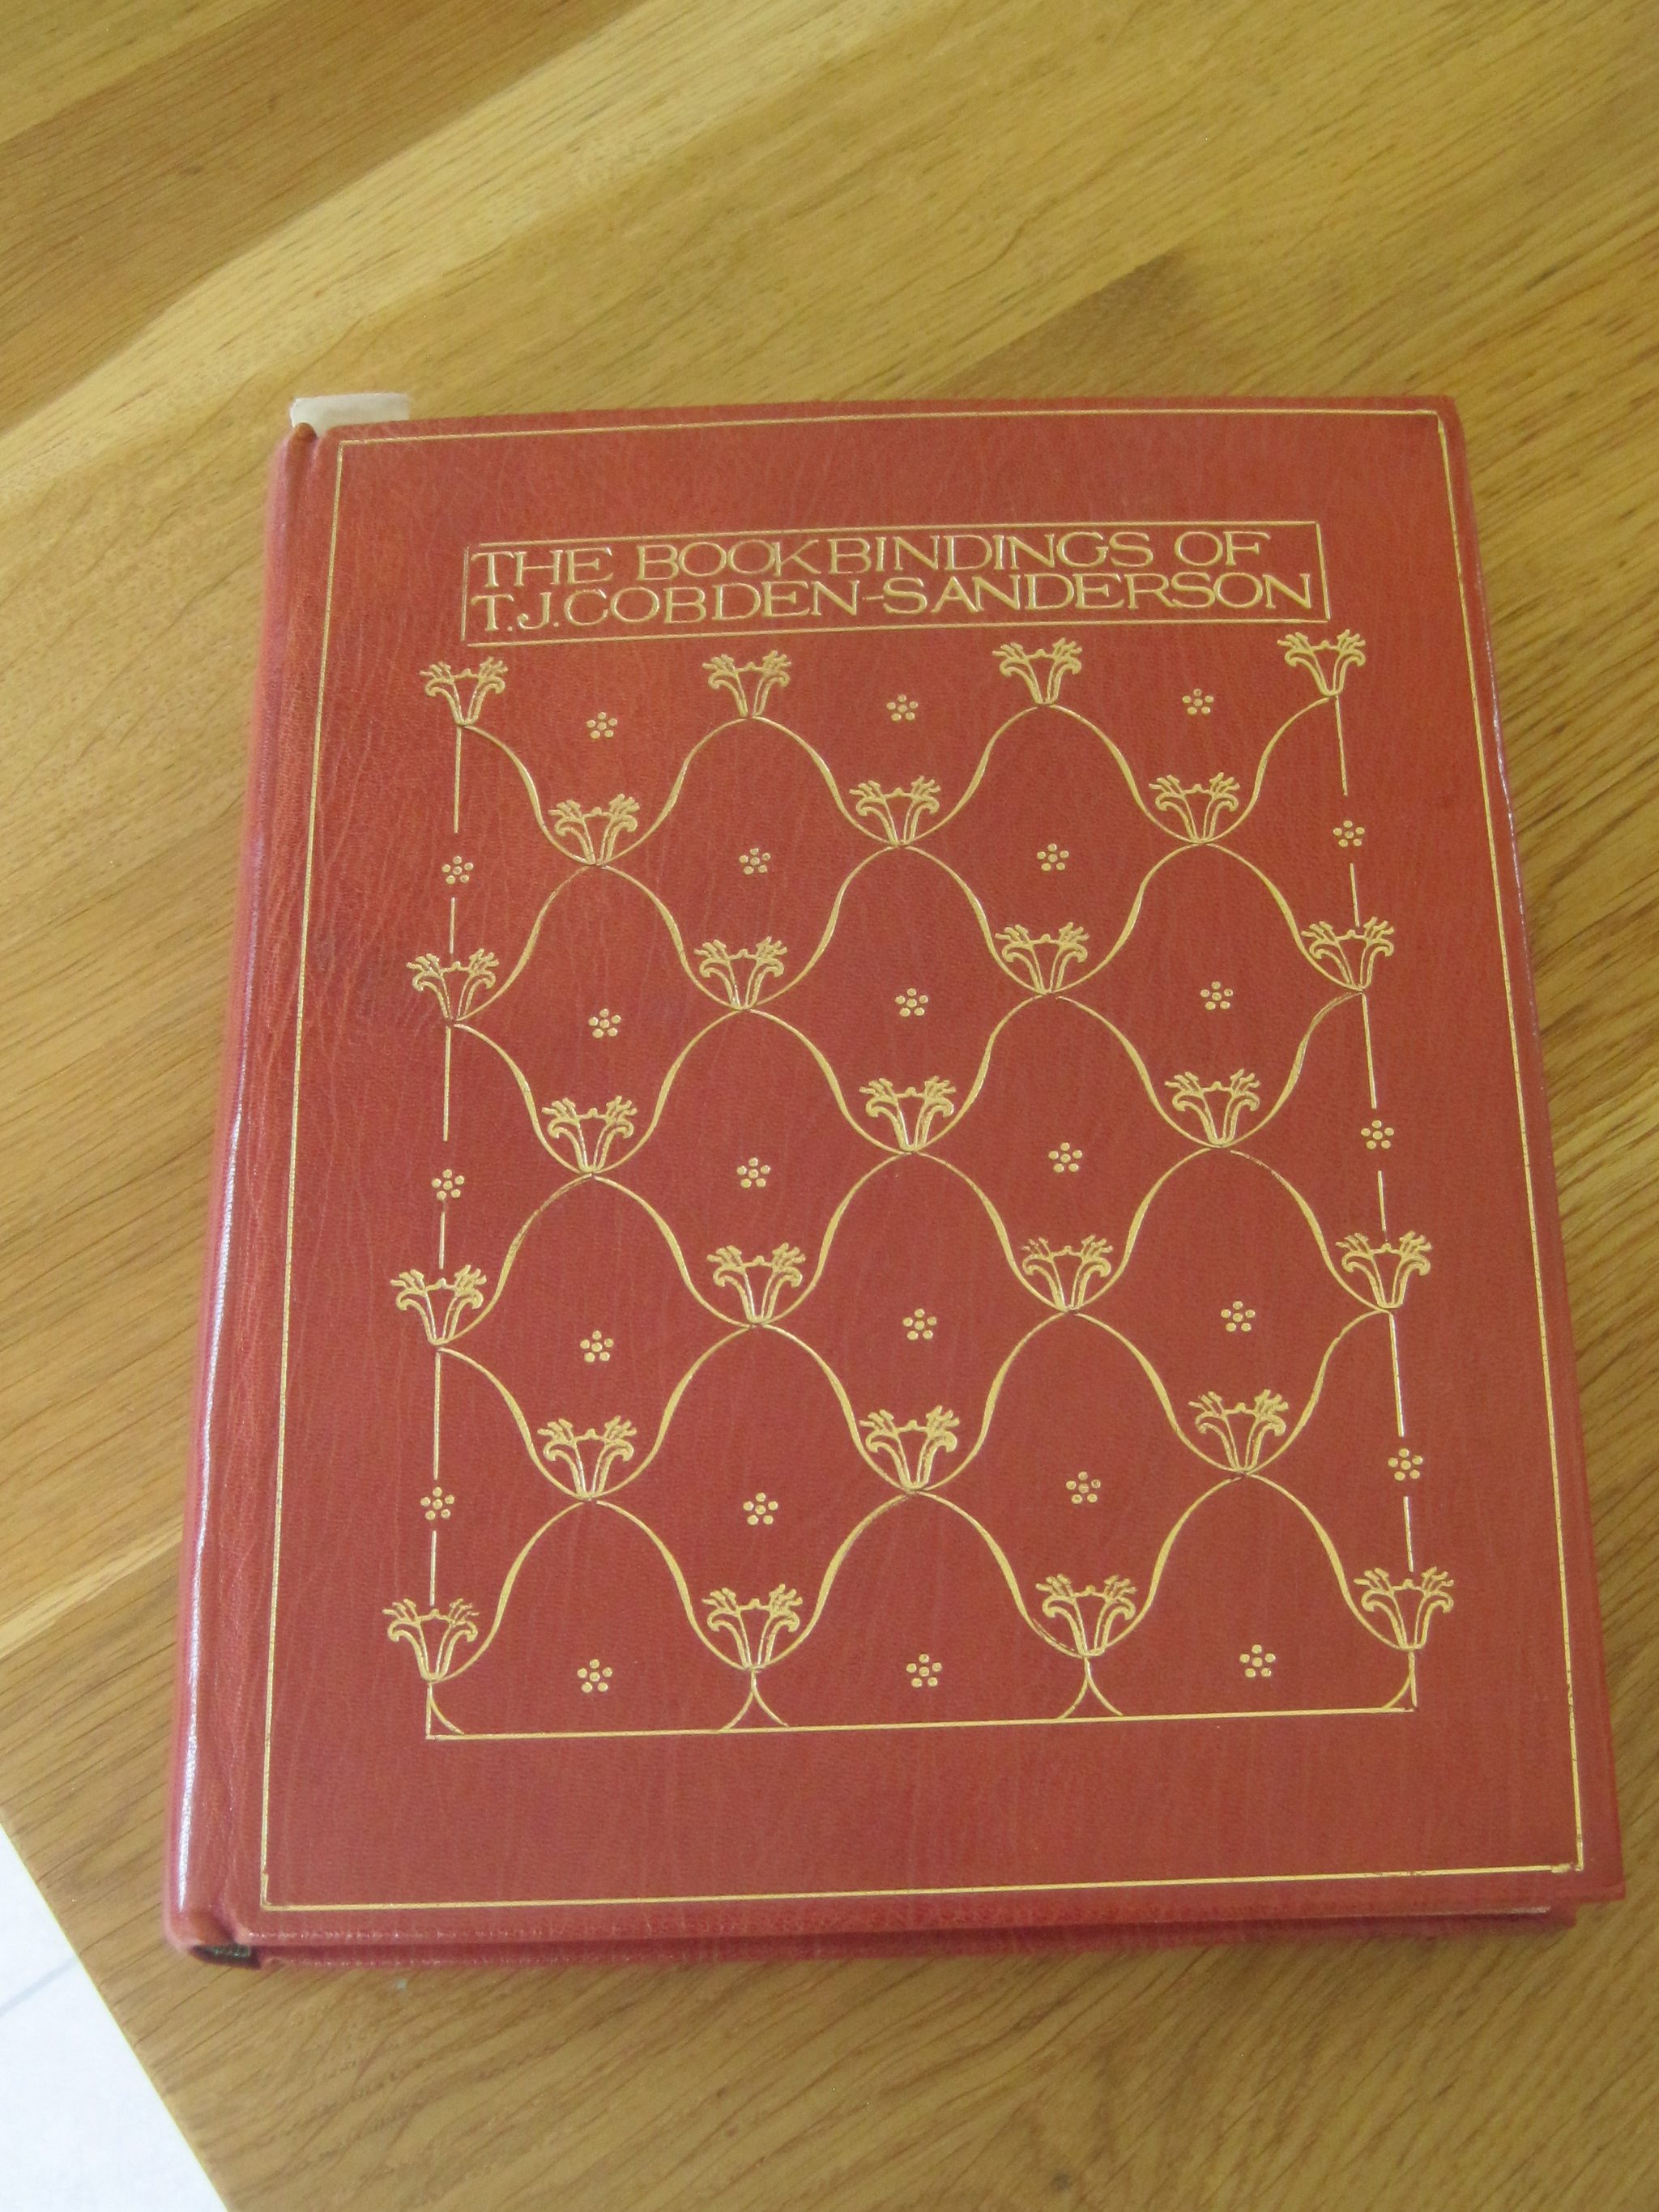
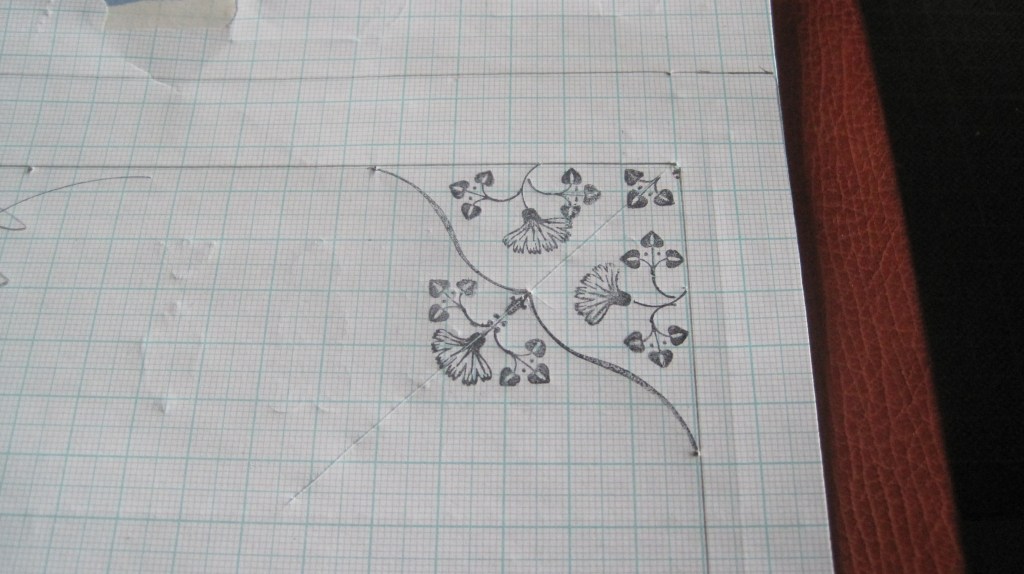
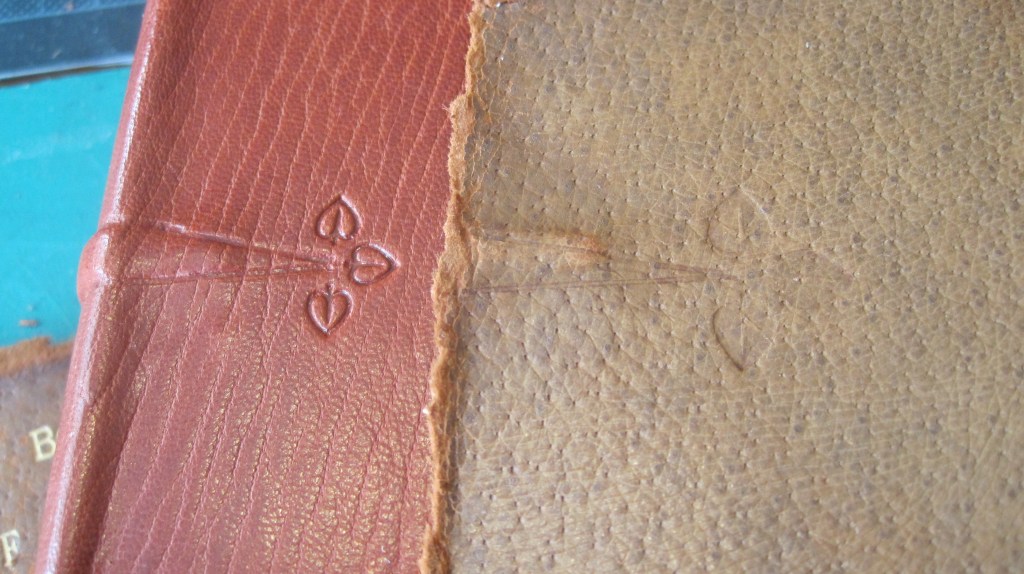
I have been interested in Cobden-Sanderson’s work for many years and acquired Miriam Tidcombe’s authoritative study of his bindings when it was published in 1984. About ten years ago I got round to re-binding it.
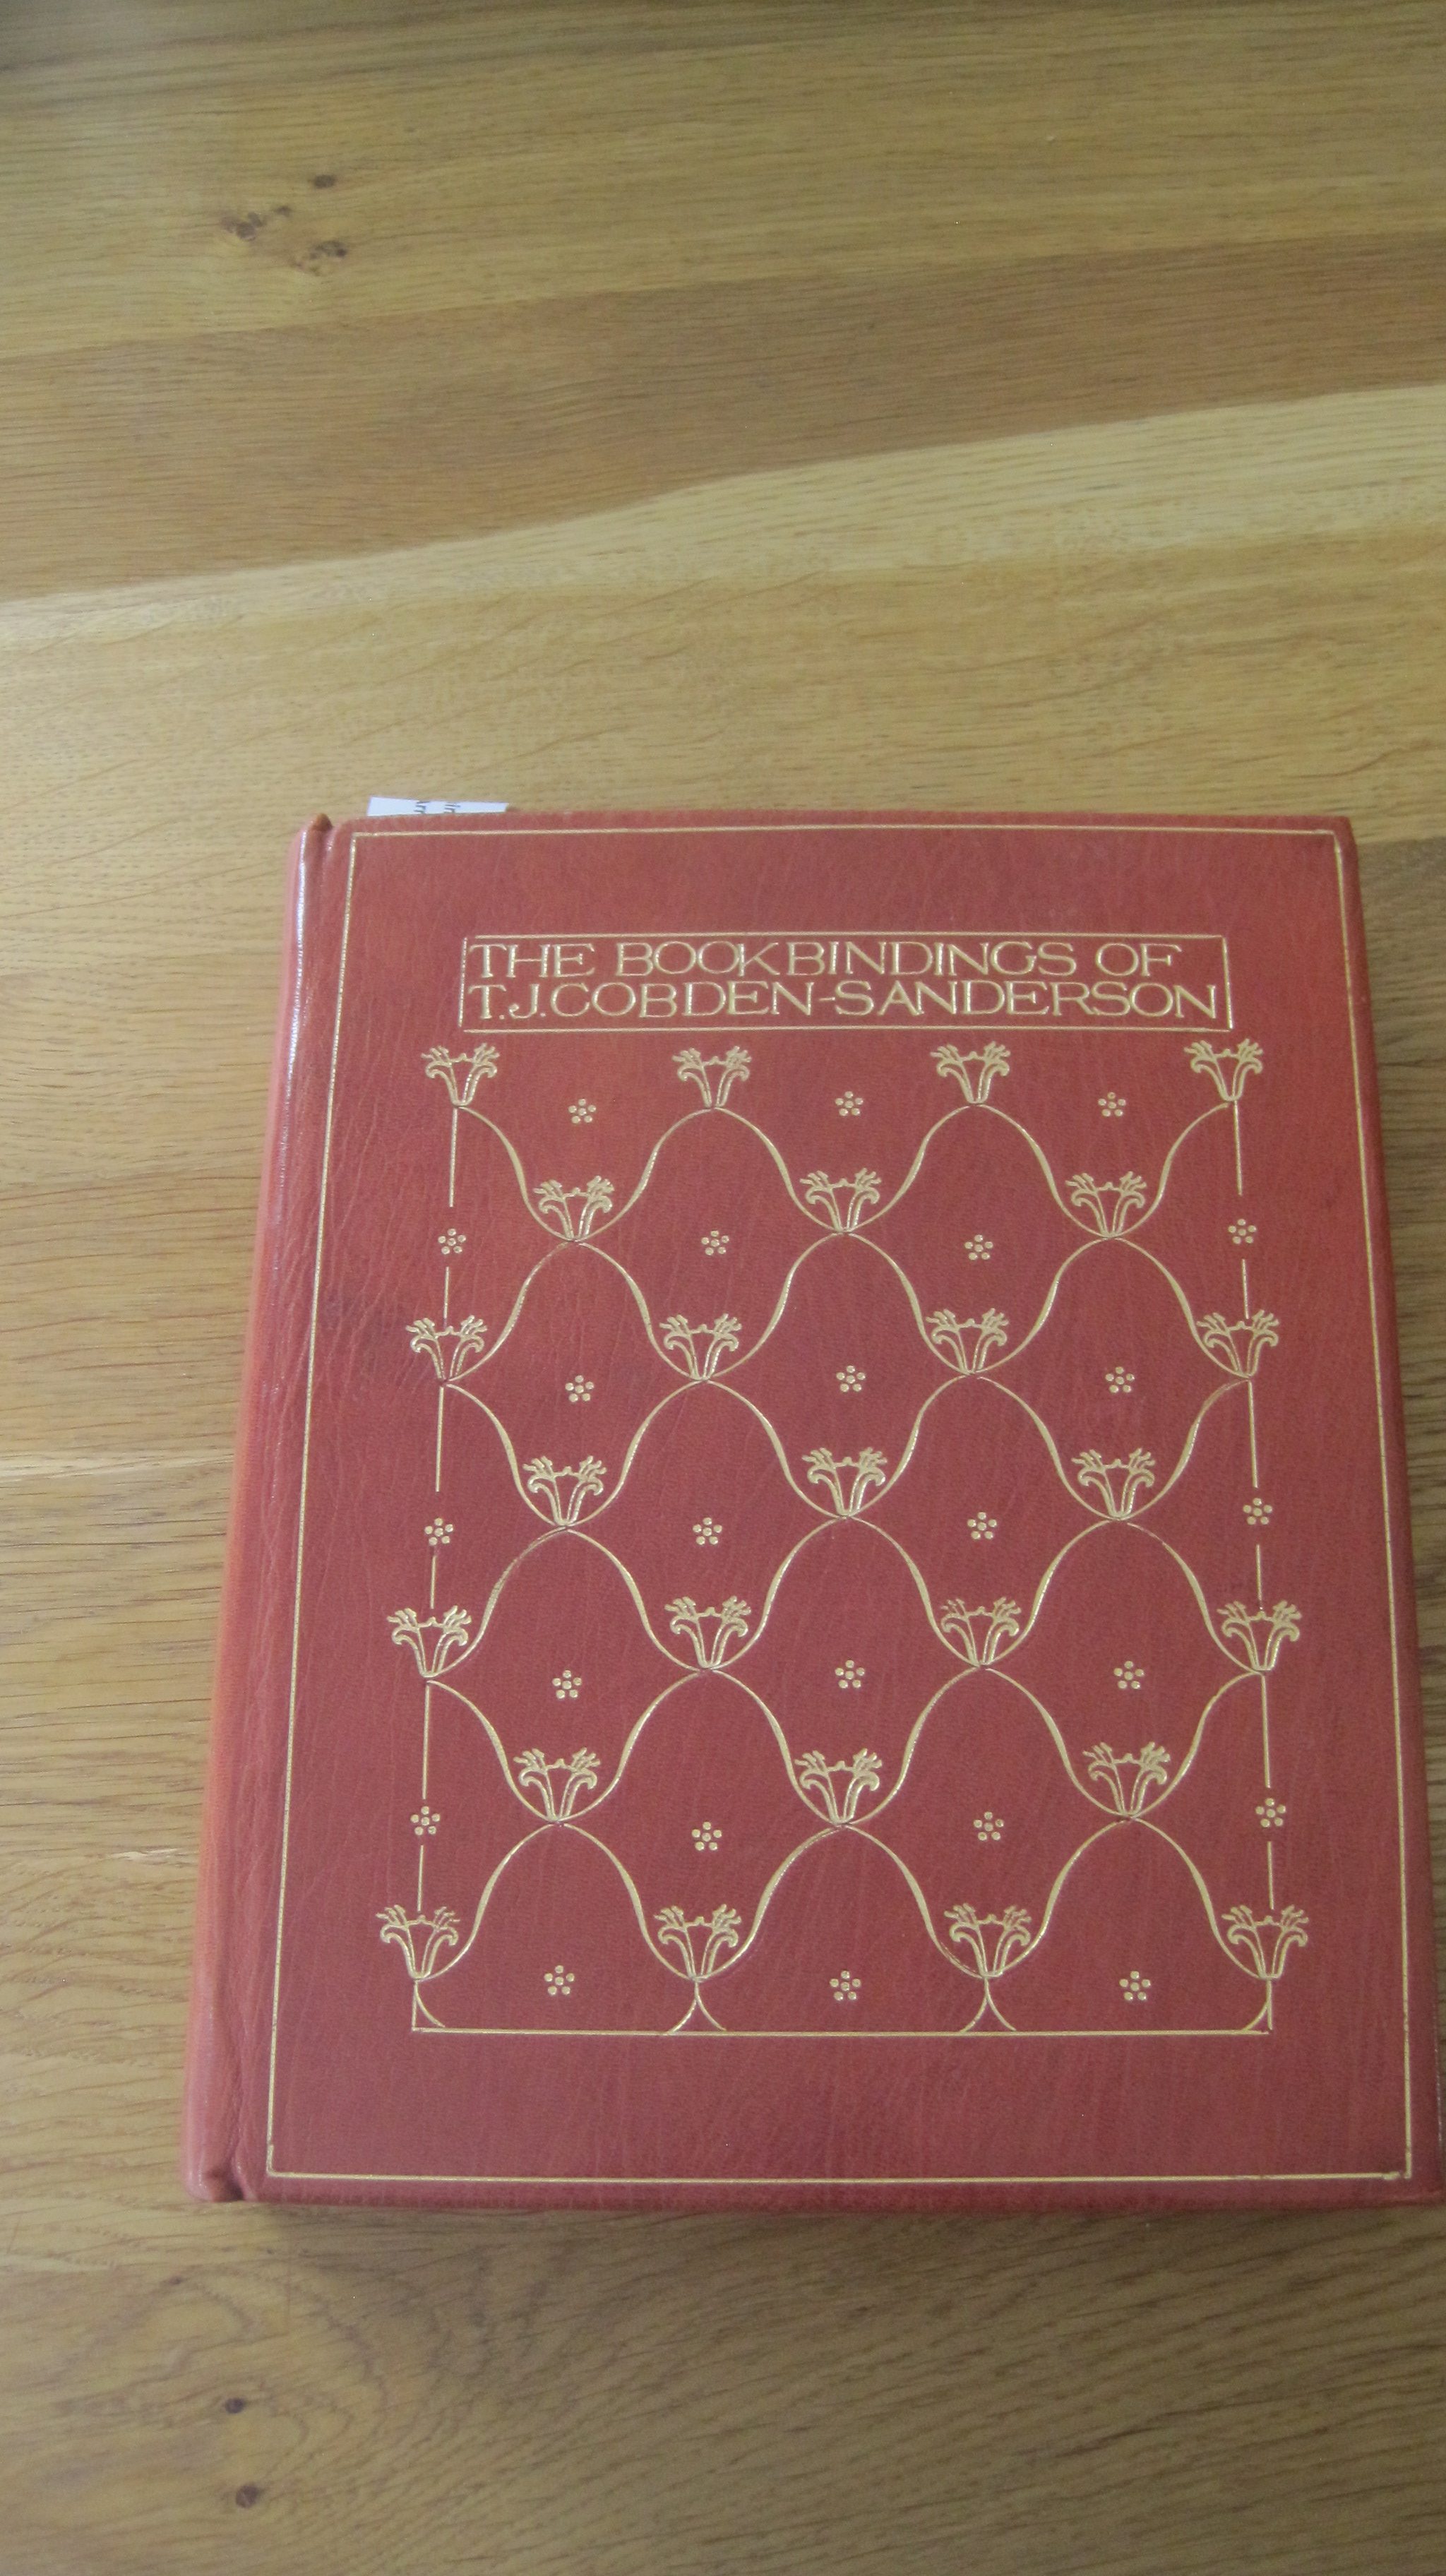
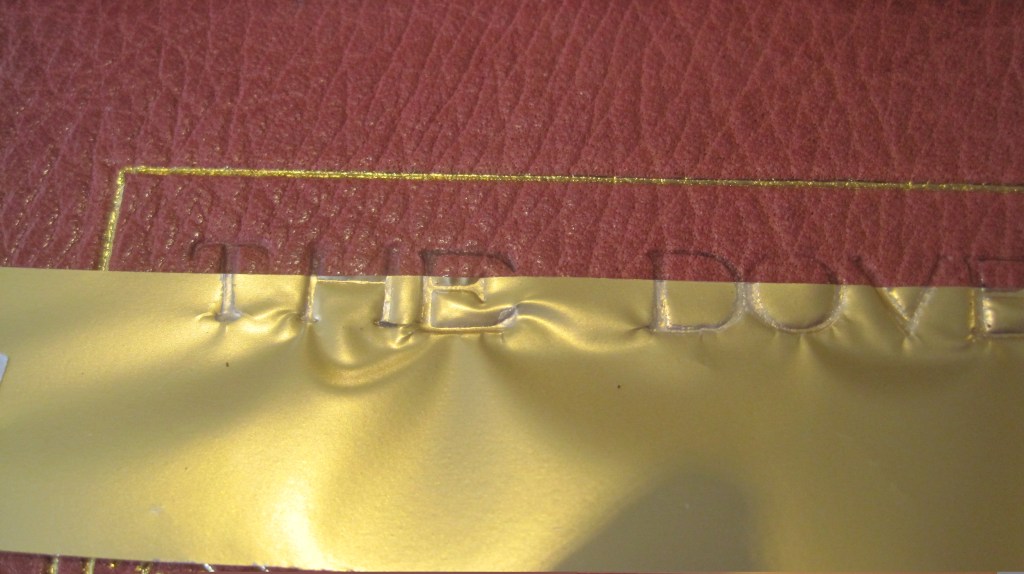
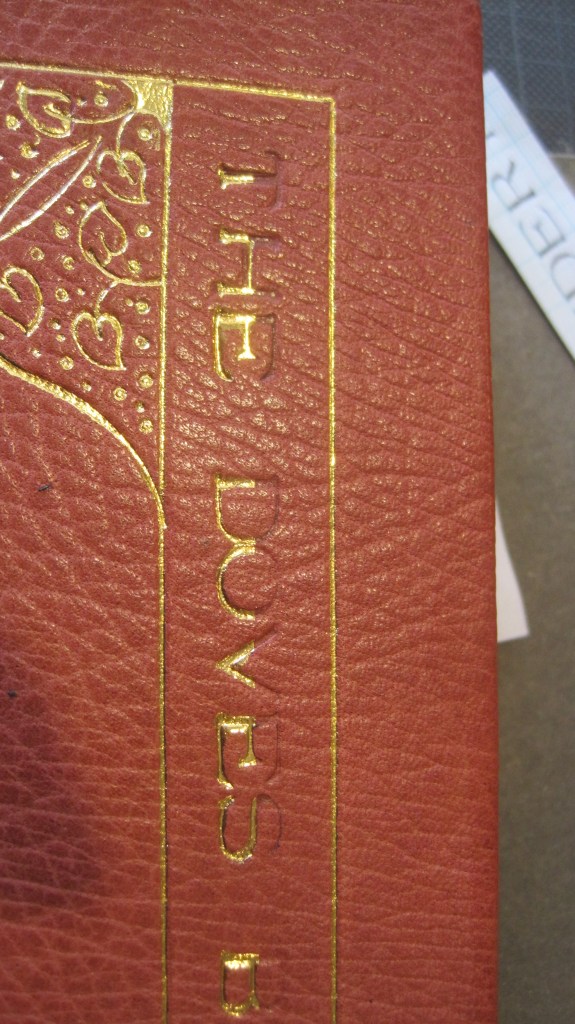
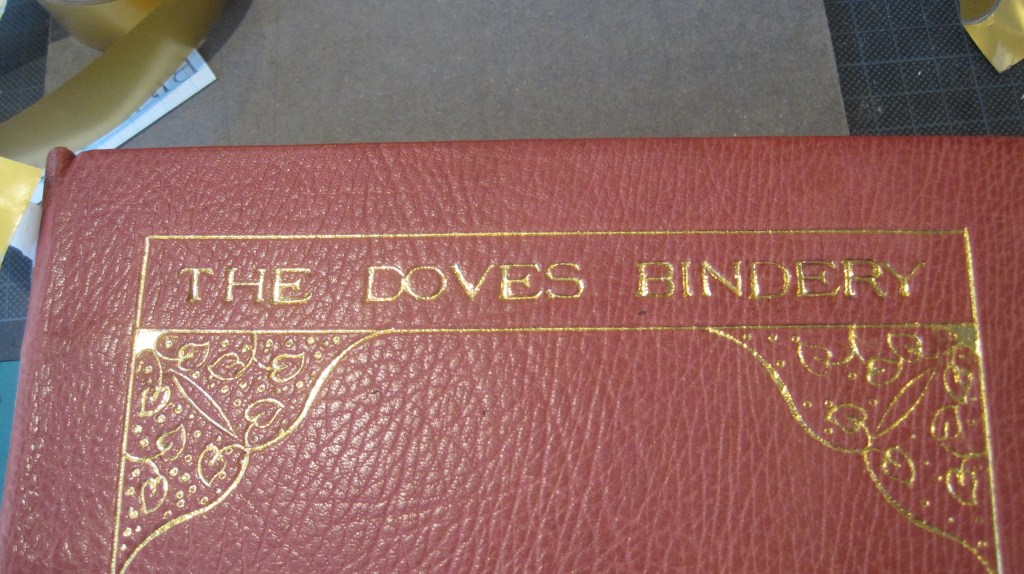
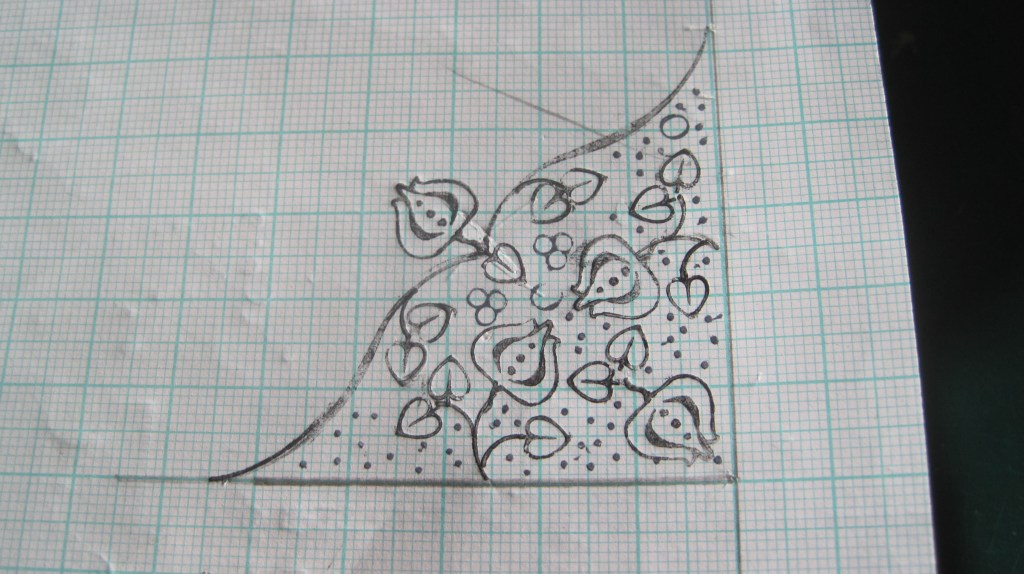
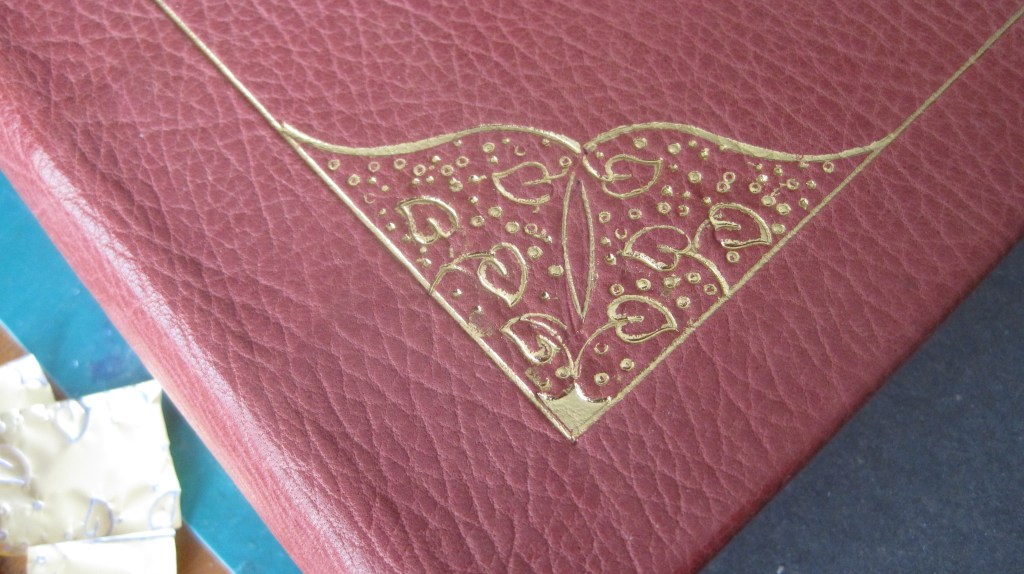
I had been lucky to find the flower tool in a job-lot bought at auction some 20 years ago and a bit of research proved that it was identical to one of Cobden-Sanderson’s own tools, both made by Knights and Cottrell around 1900. The long s-shape gouges are the same as used on the French renaissance-style binding above.
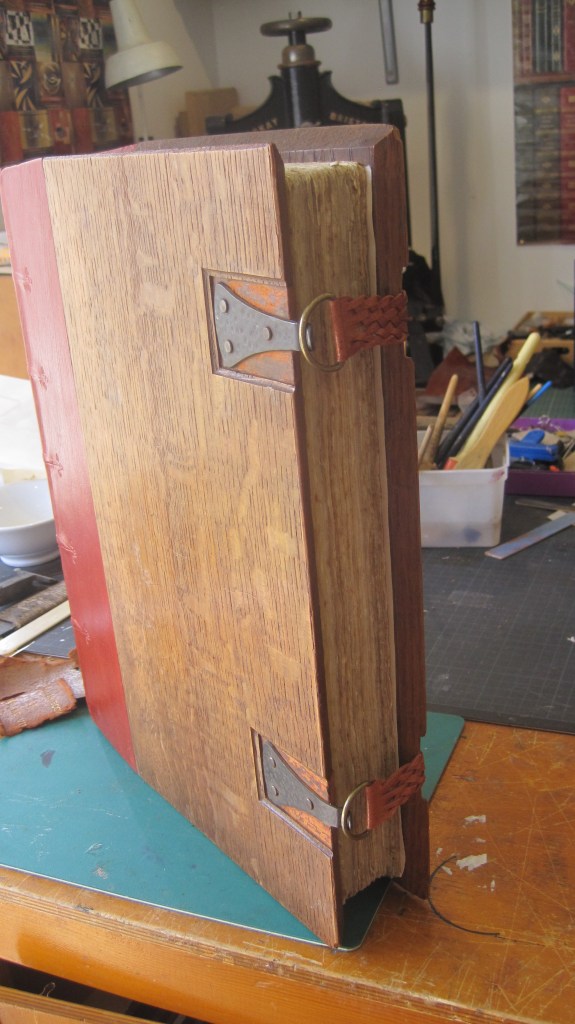
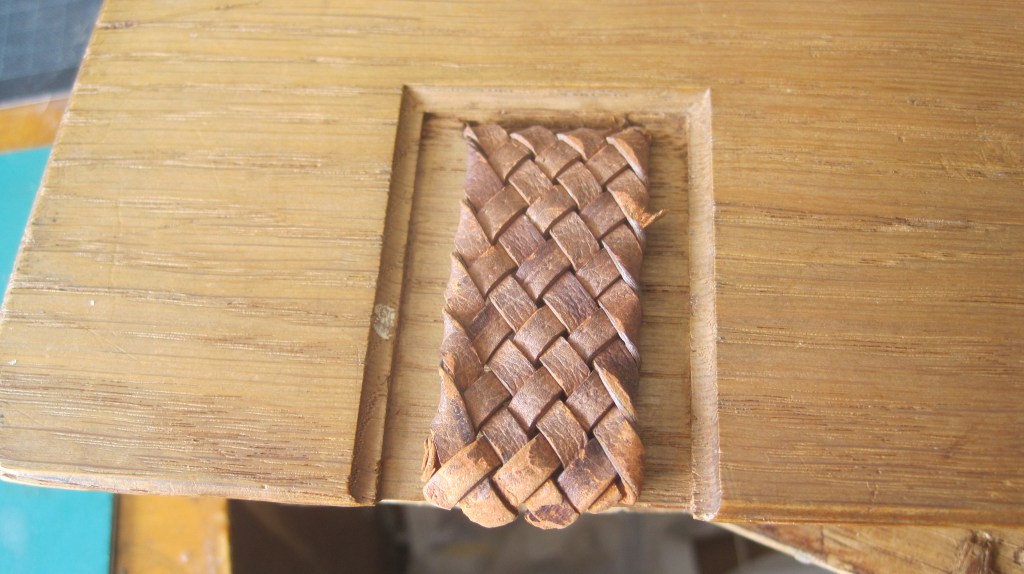
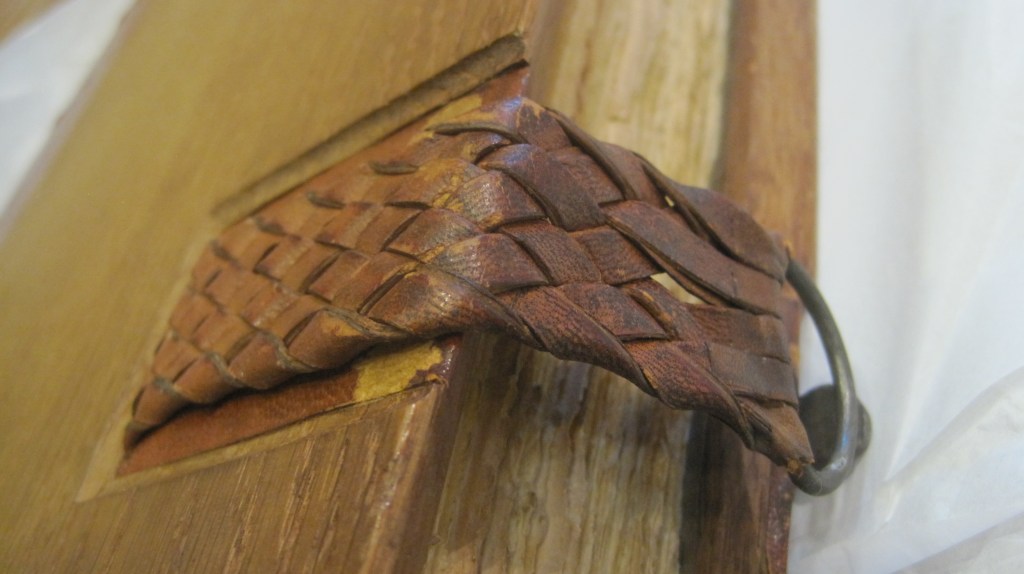
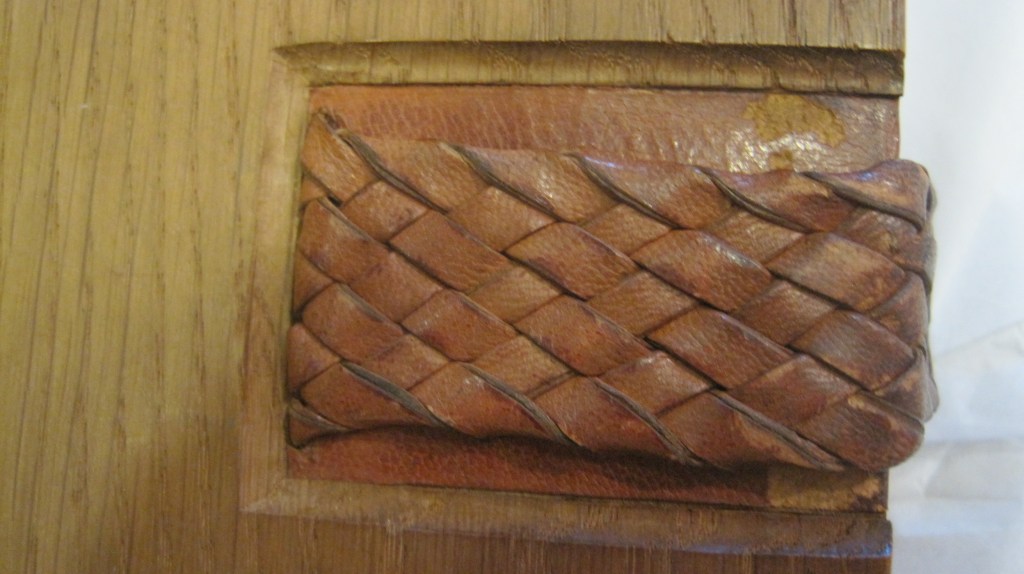
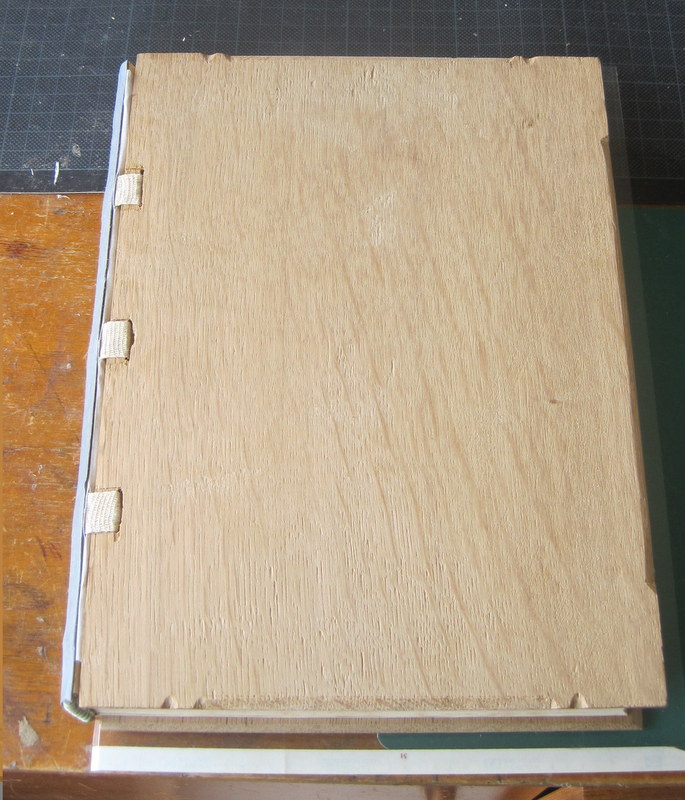
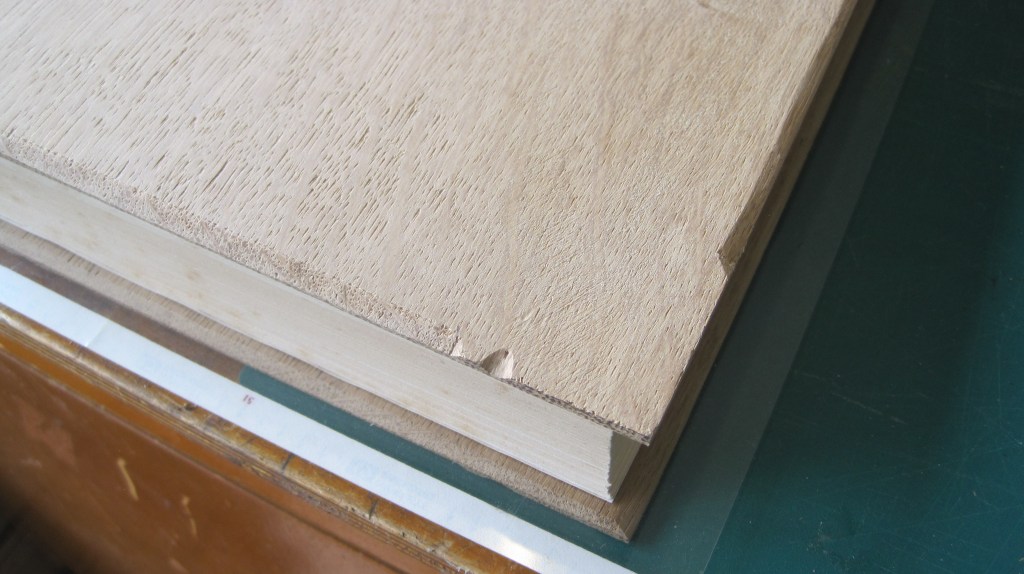
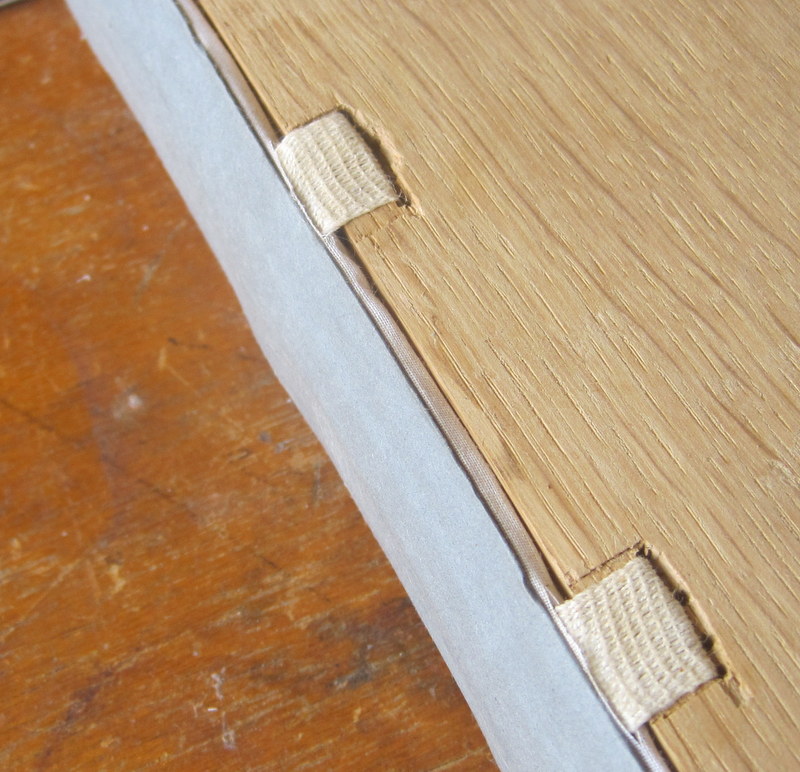
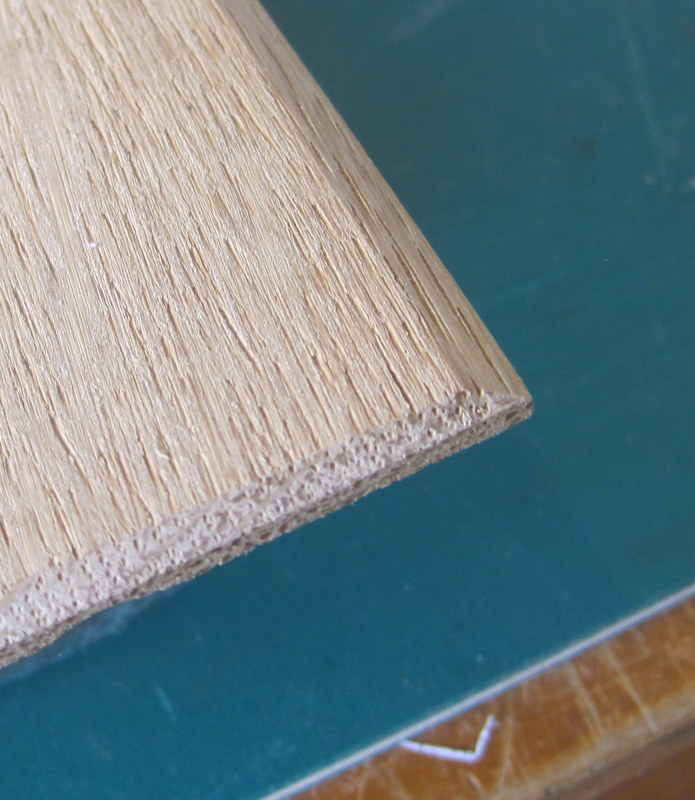
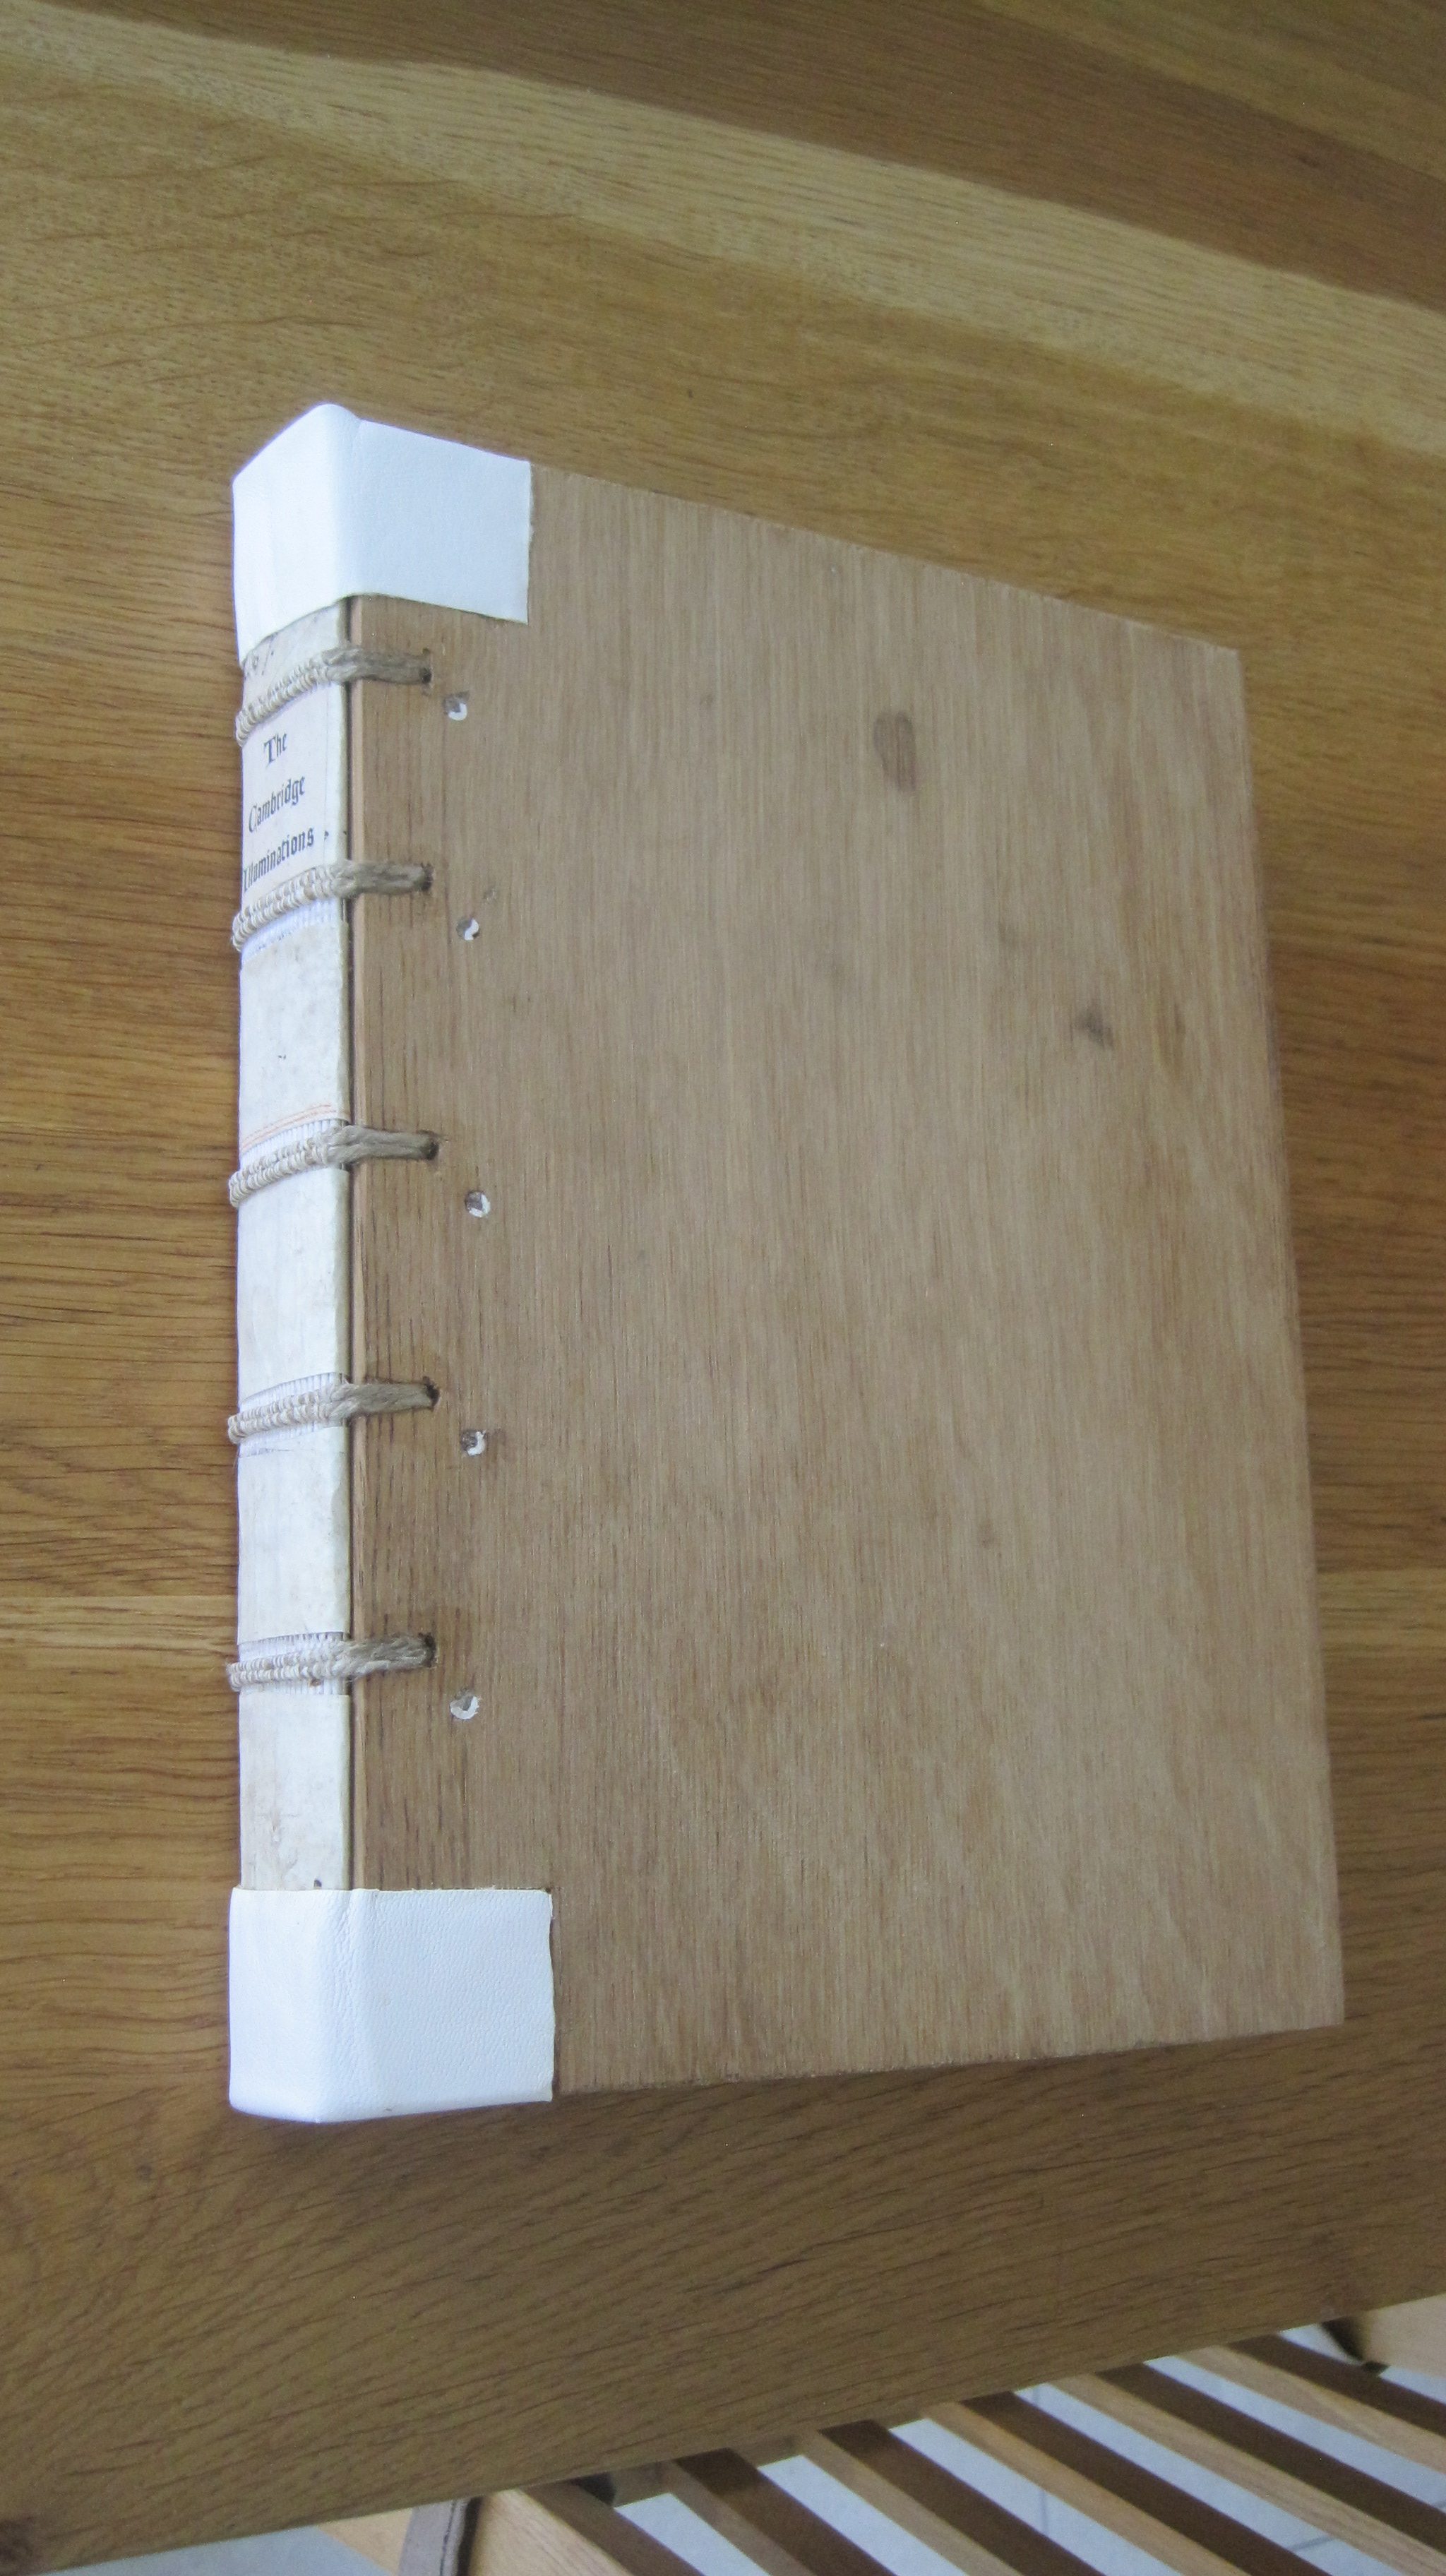
Another fine catalogue that was well worth binding properly is of the exhibition of illuminated manuscripts in Cambridge libraries put on at the Fitzwilliam Museum in 2005. In this case I bound it in oak boards with the spine and insides of the boards exposed. I have used this to demonstrate medieval binding techniques in a couple of illustrated talks.
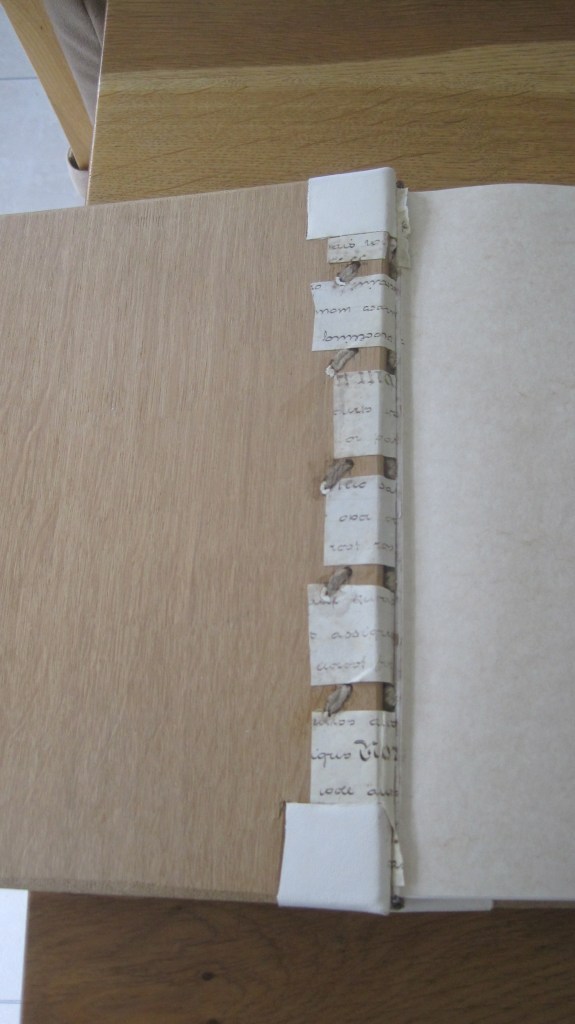
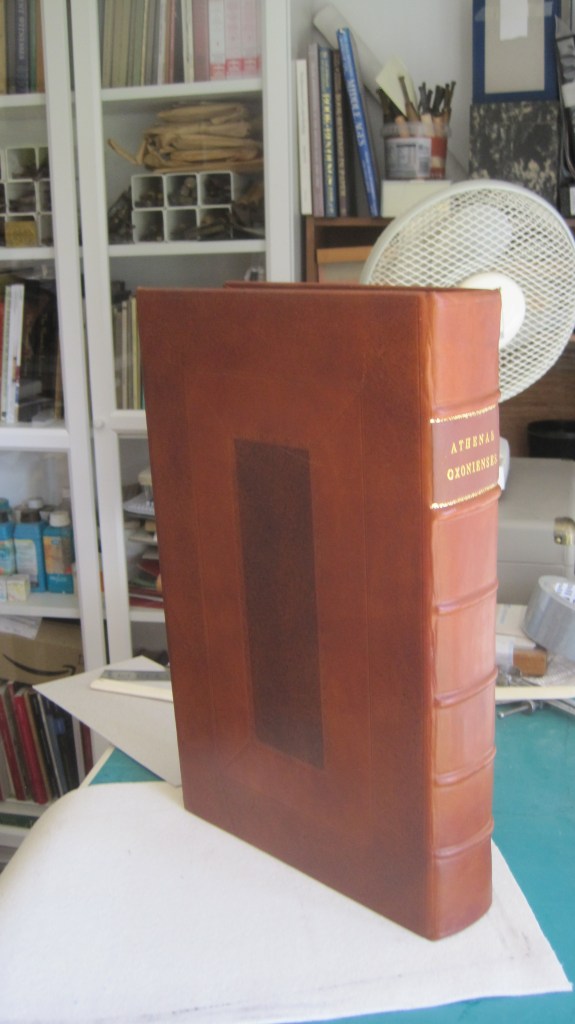
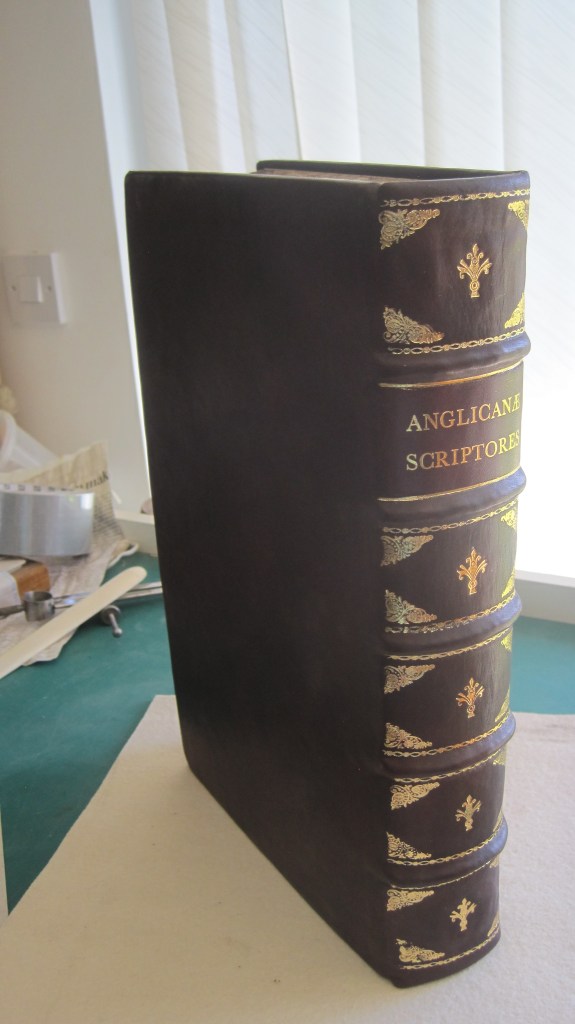
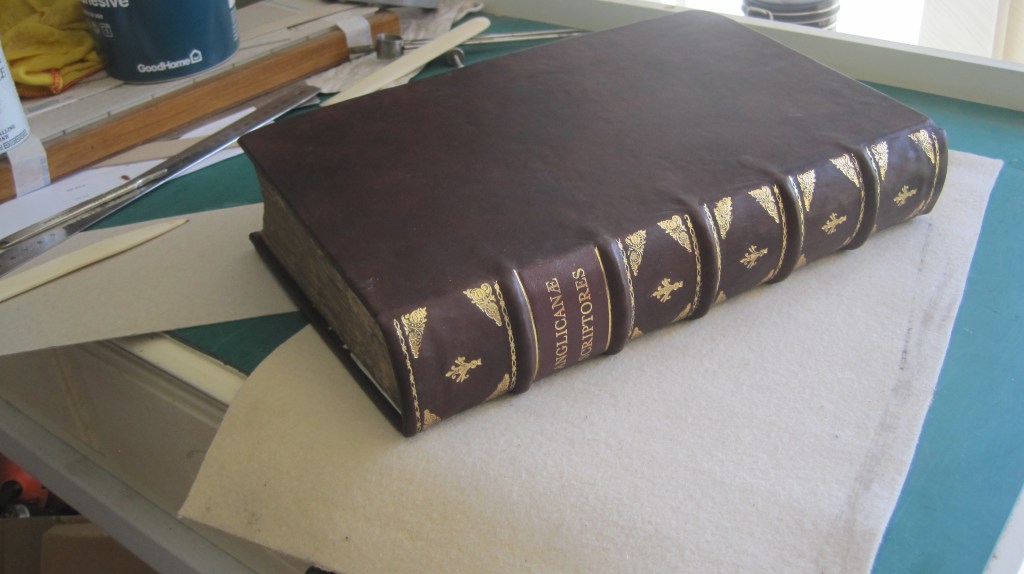
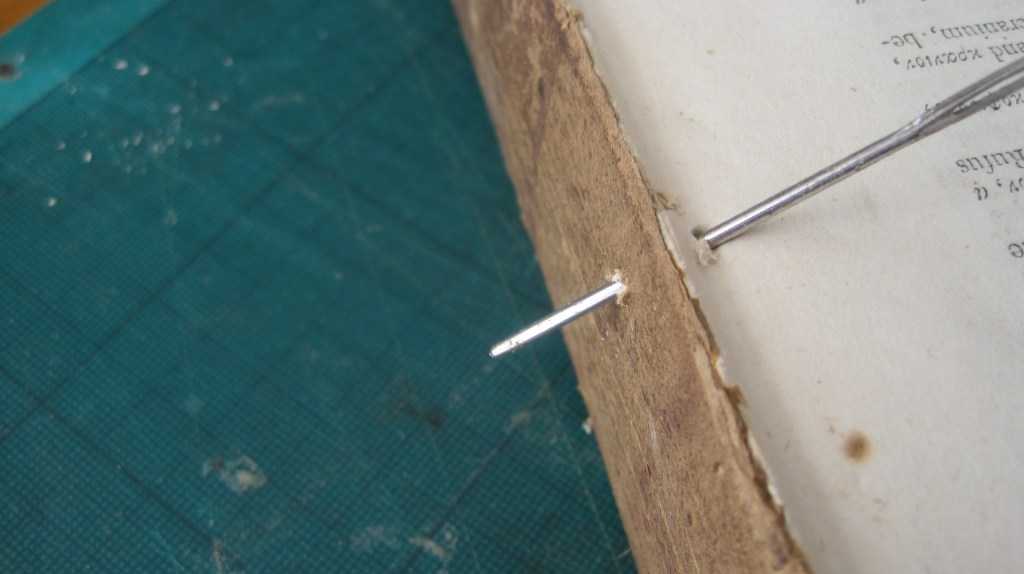
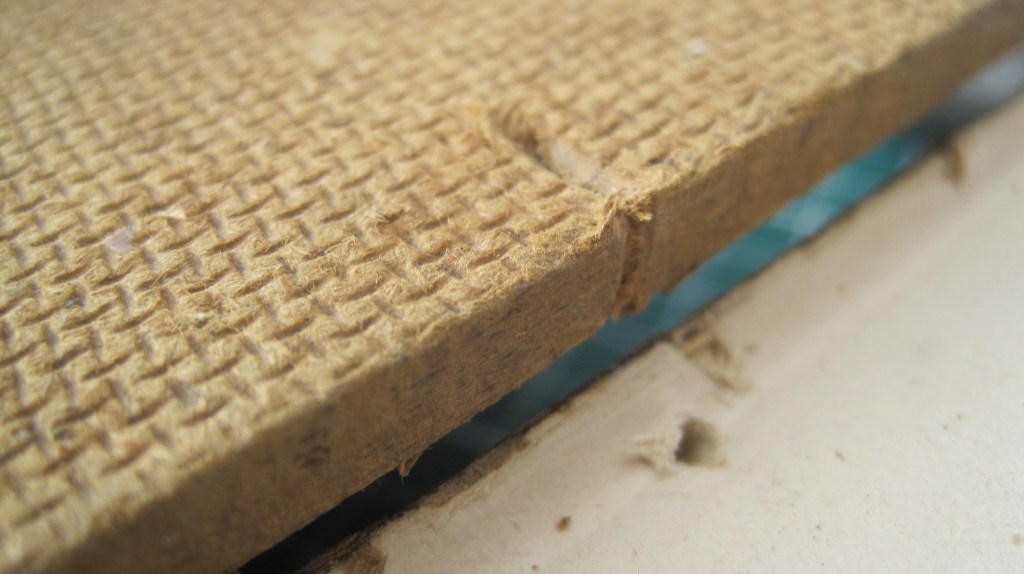
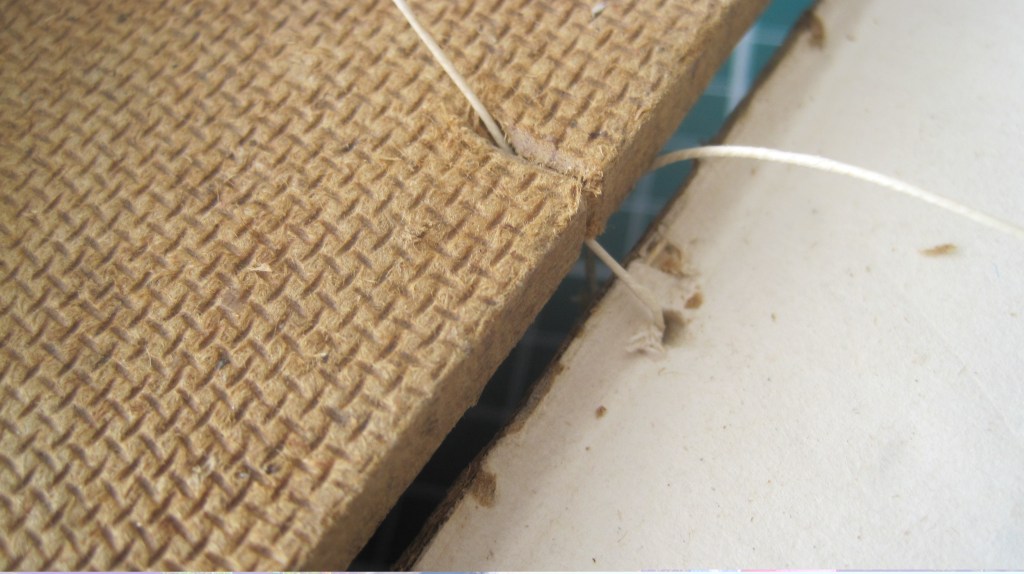
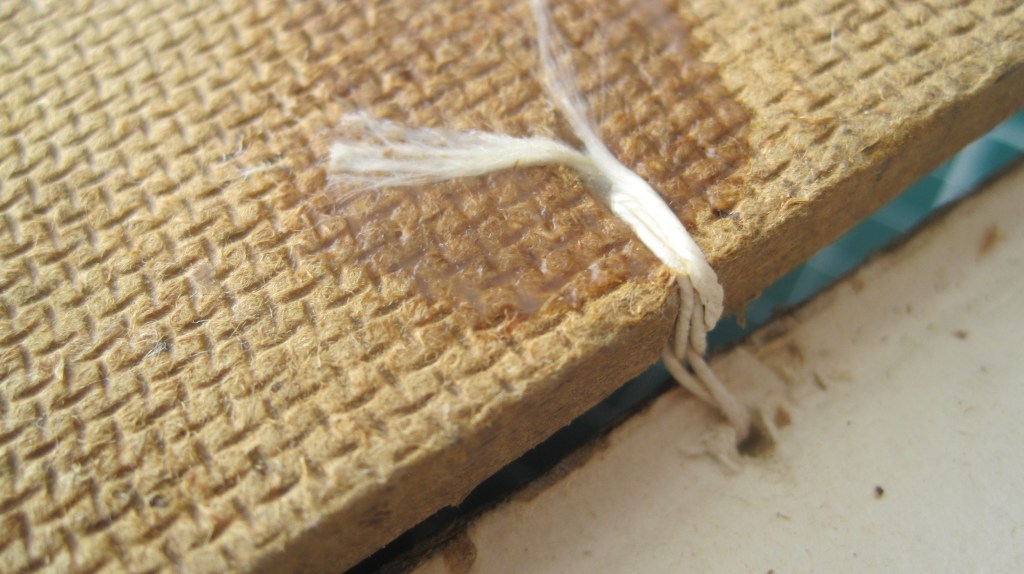
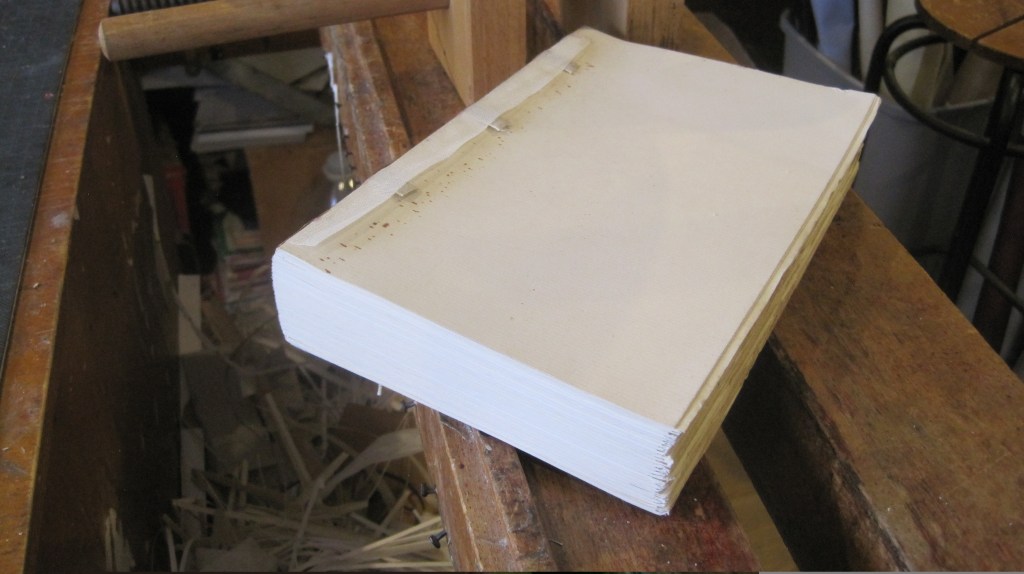
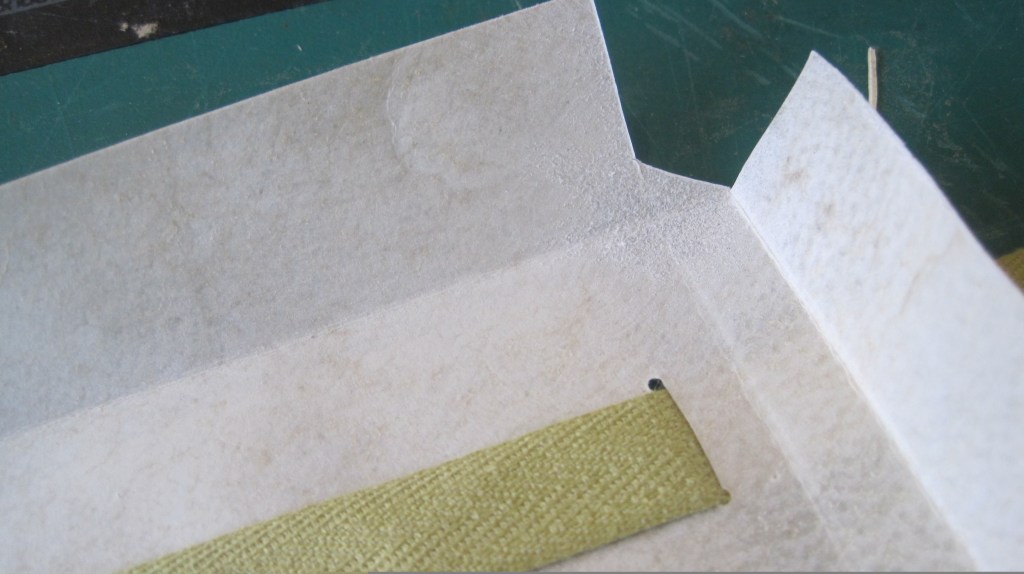
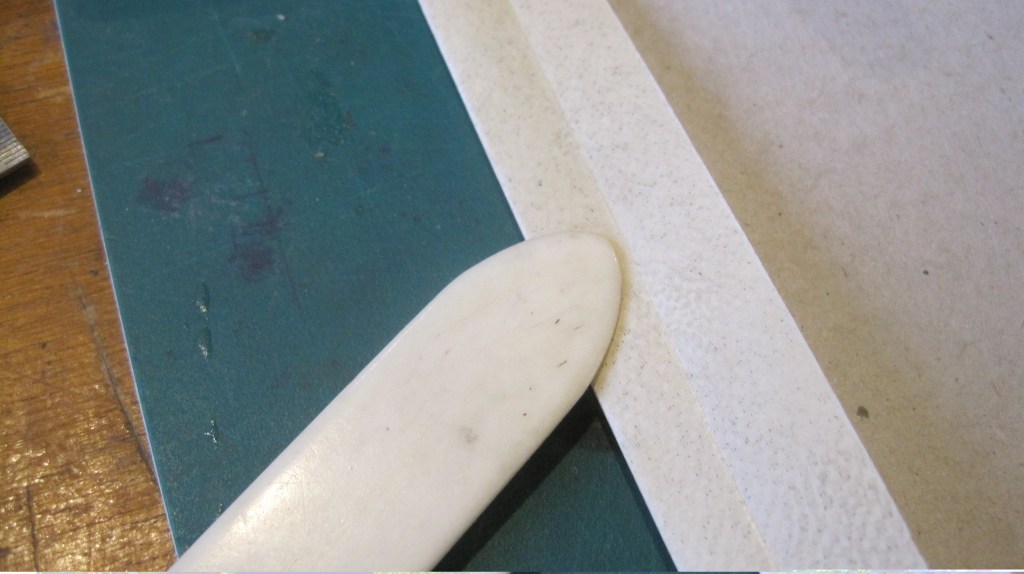
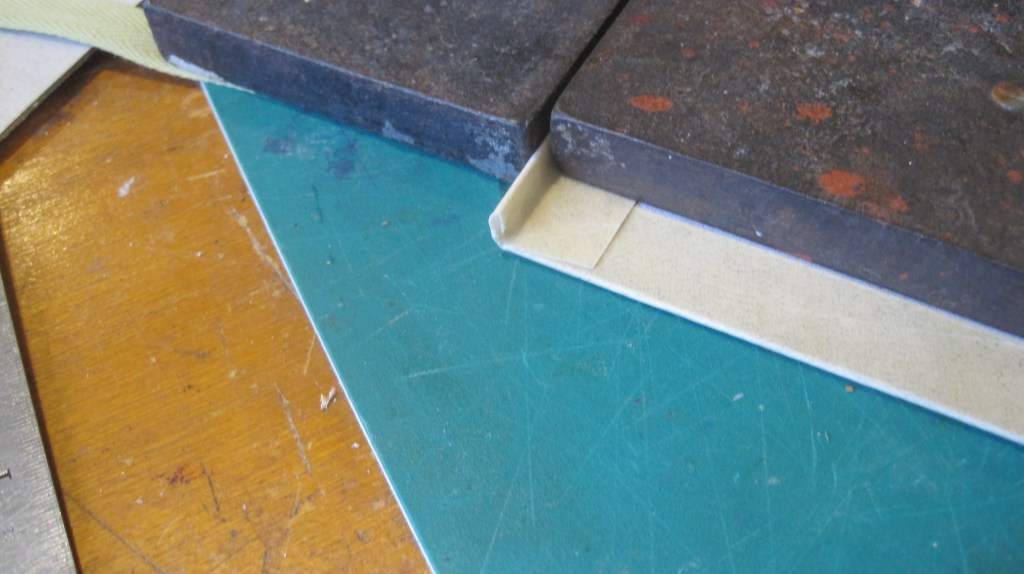
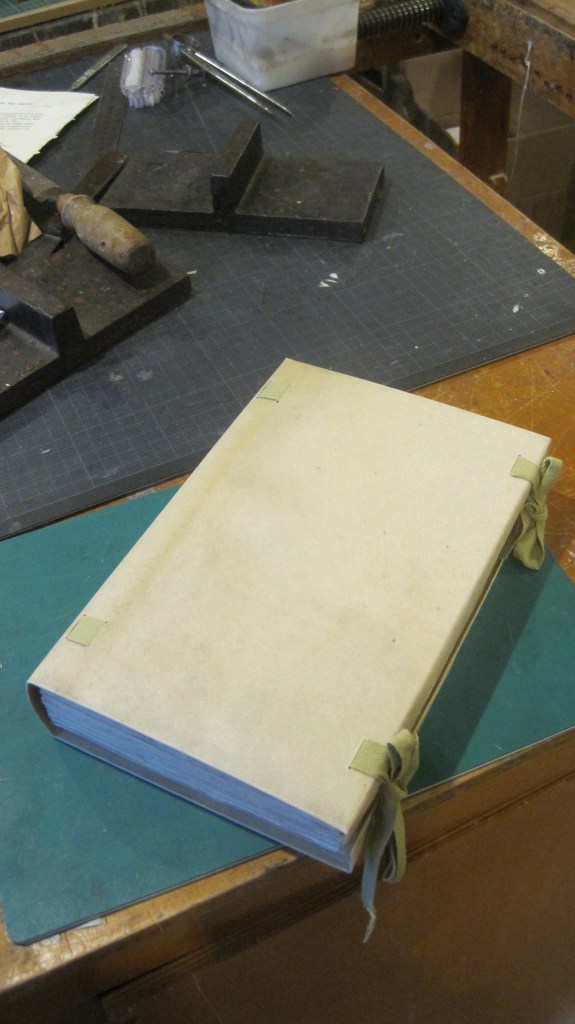
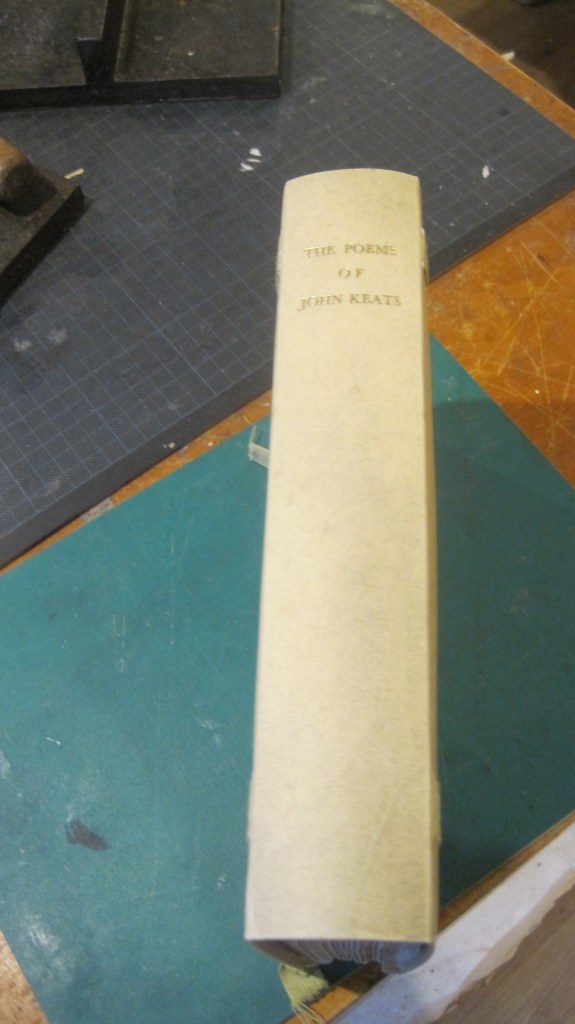
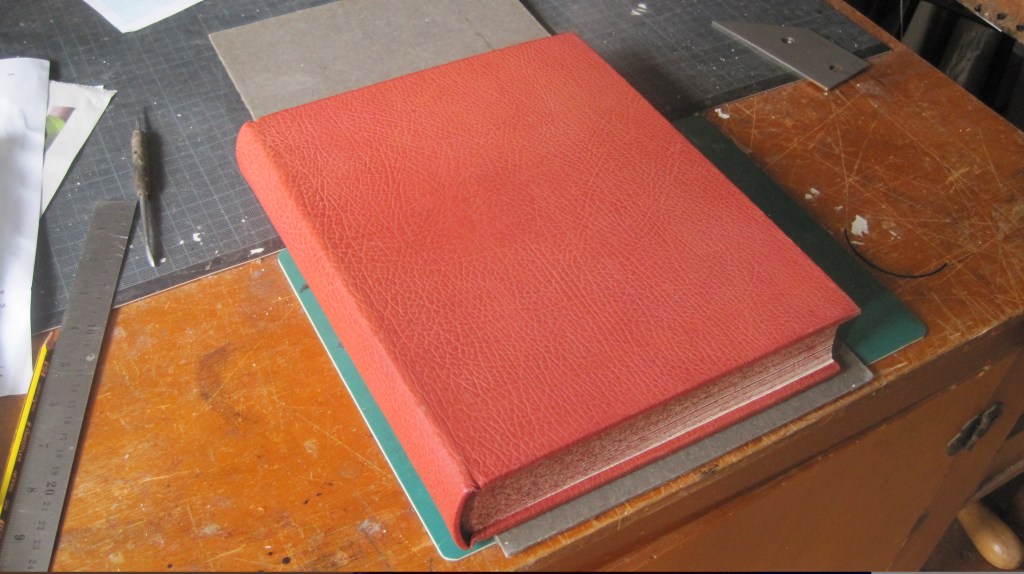
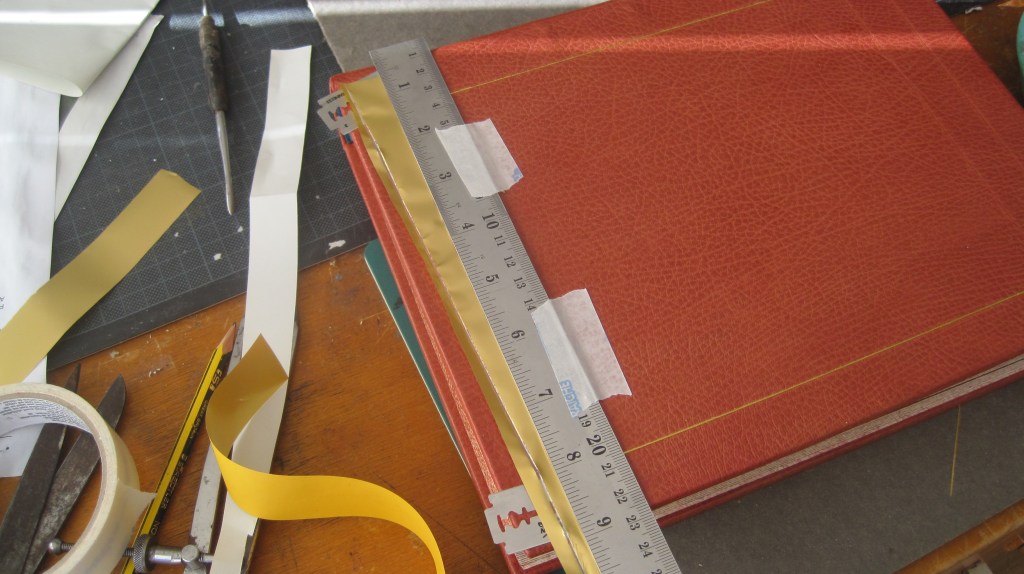
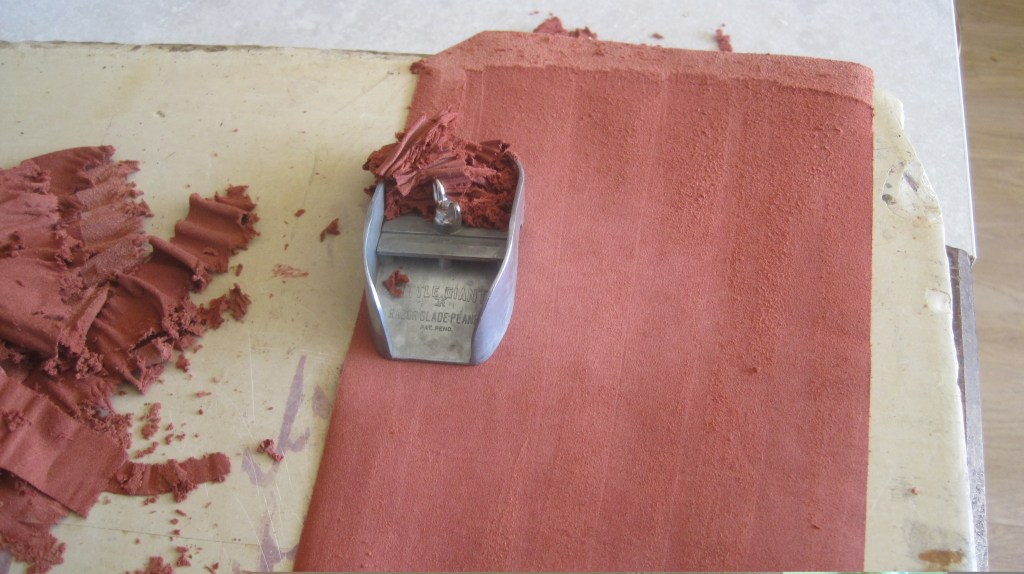
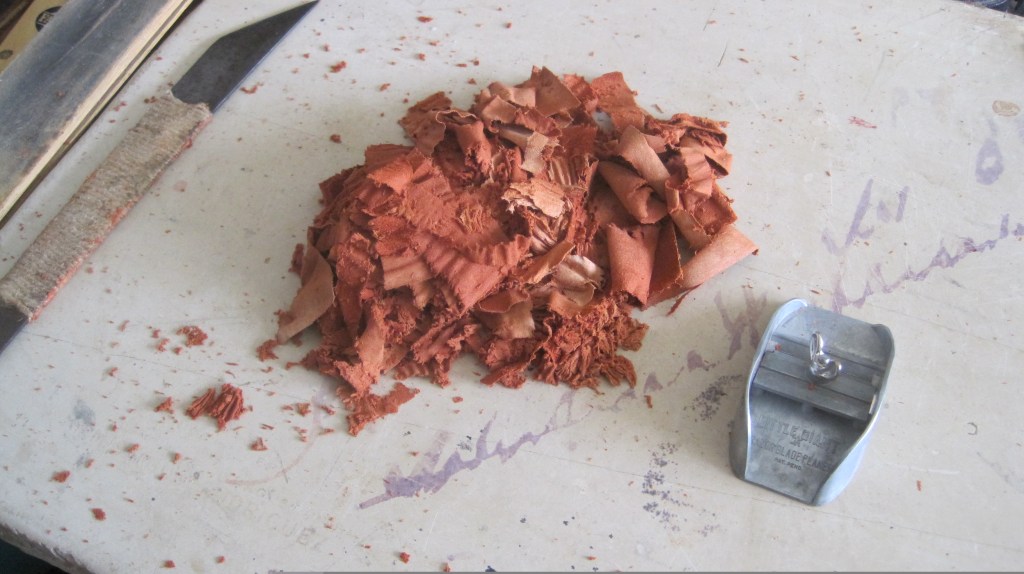
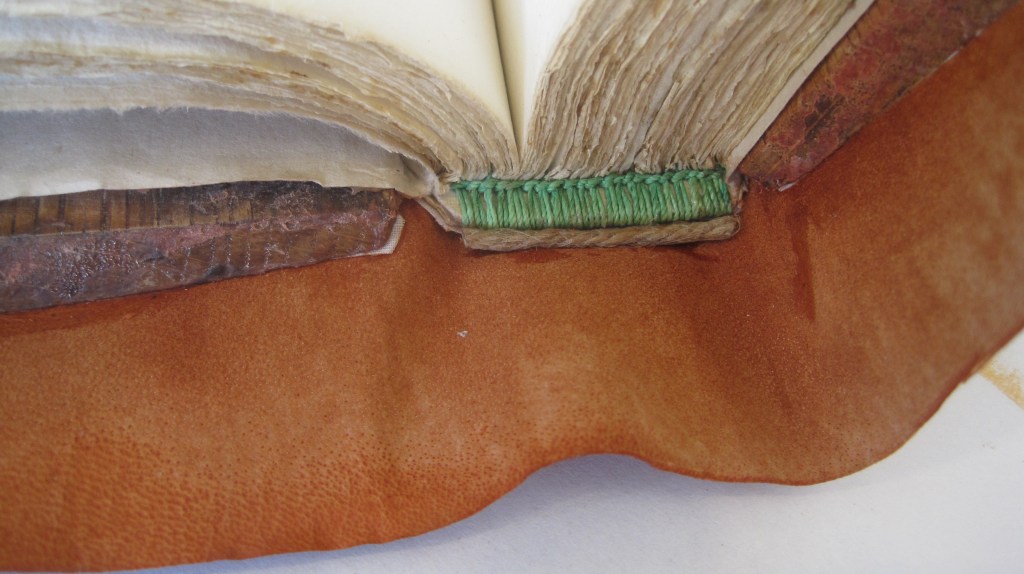
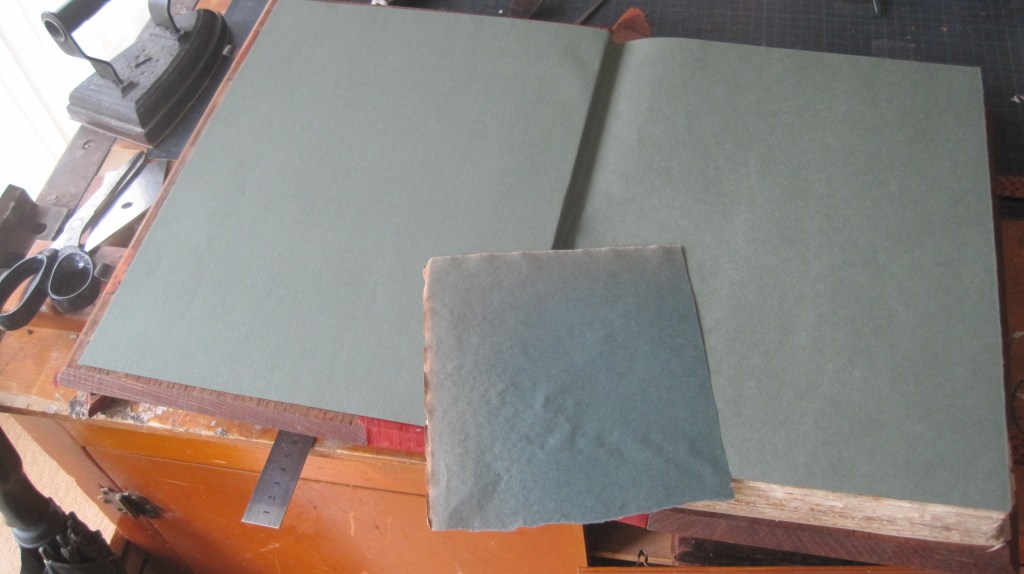
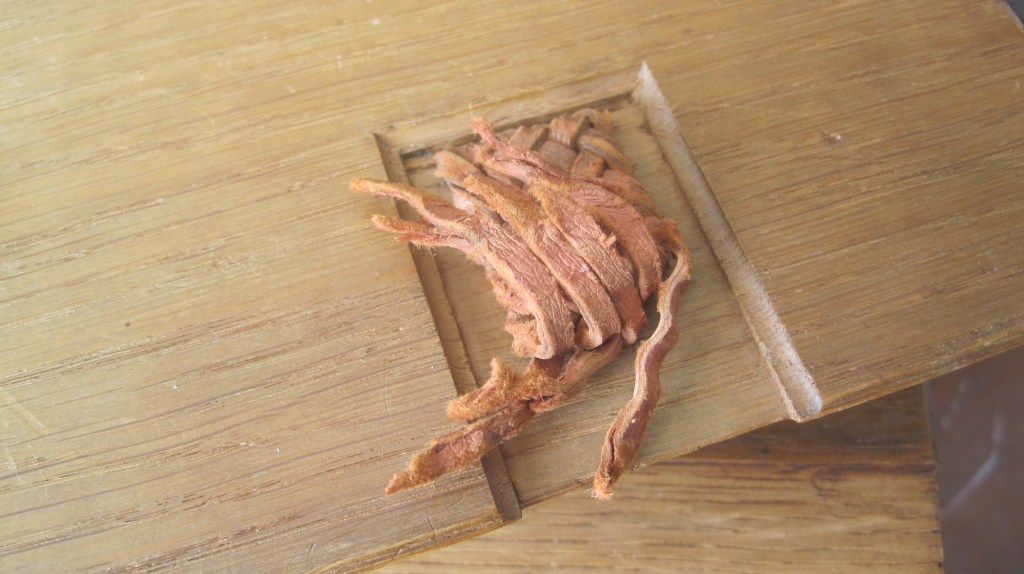
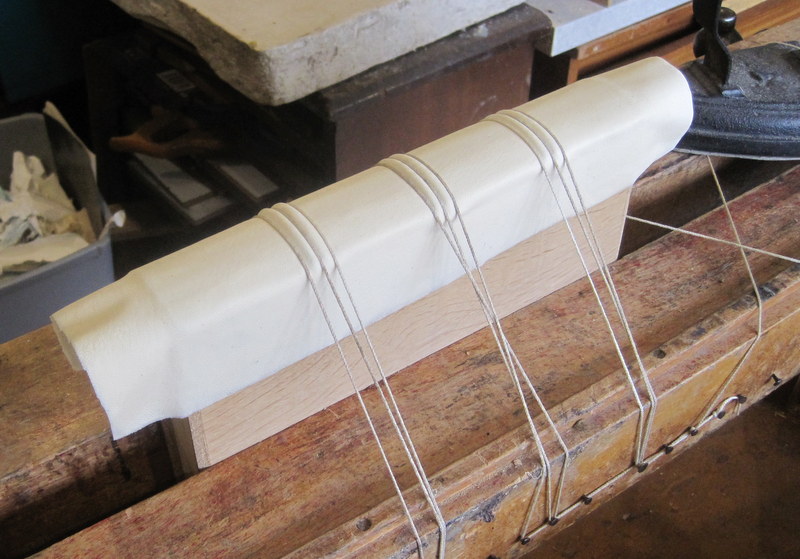
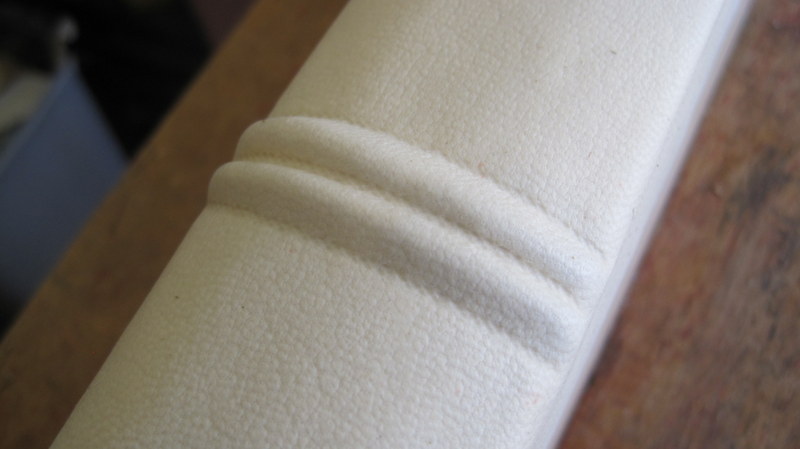
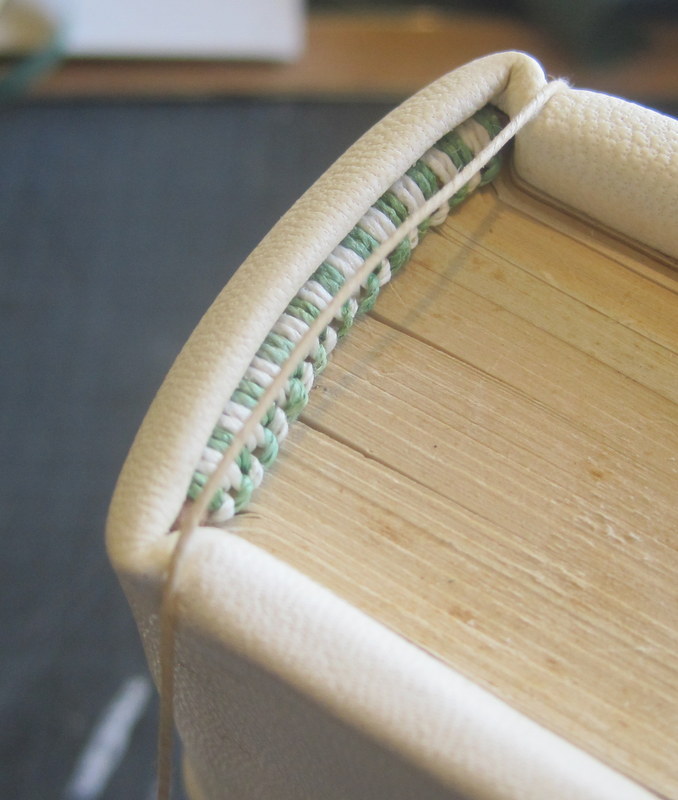
But now for the Wormsley project: The text was in octavo sections which were carefully pulled from the adhesive flat spine and re-sewn on four tapes. The edges were ploughed and rounded and backed, then sprinkled in two colours and endbands sewn on, also two colours. The spaces between the tapes on the spine were filled with leather, pared at the side edges. That gives a very flexible spine, suitable for the rather heavy art paper pages to fall open easily.
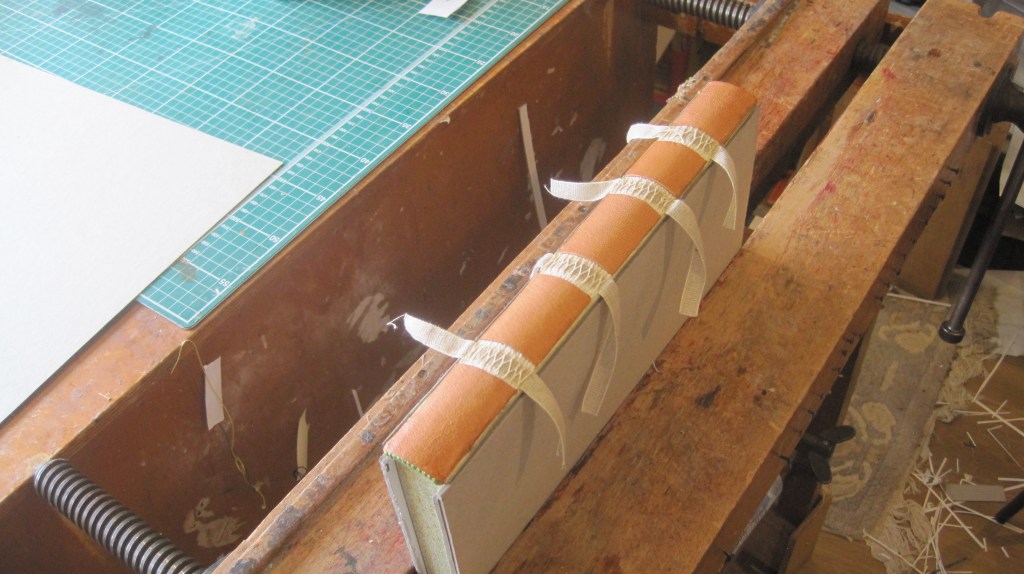
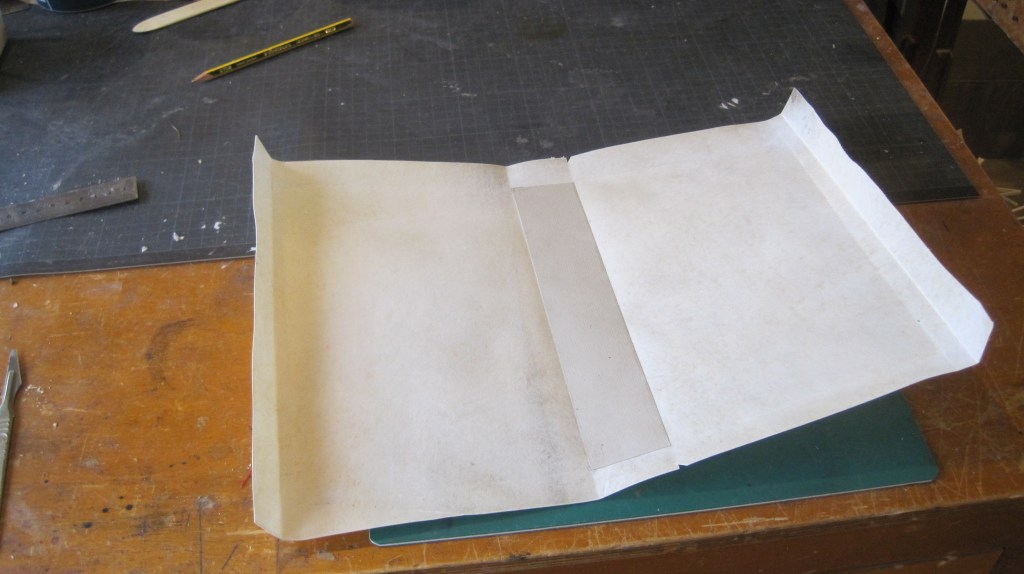
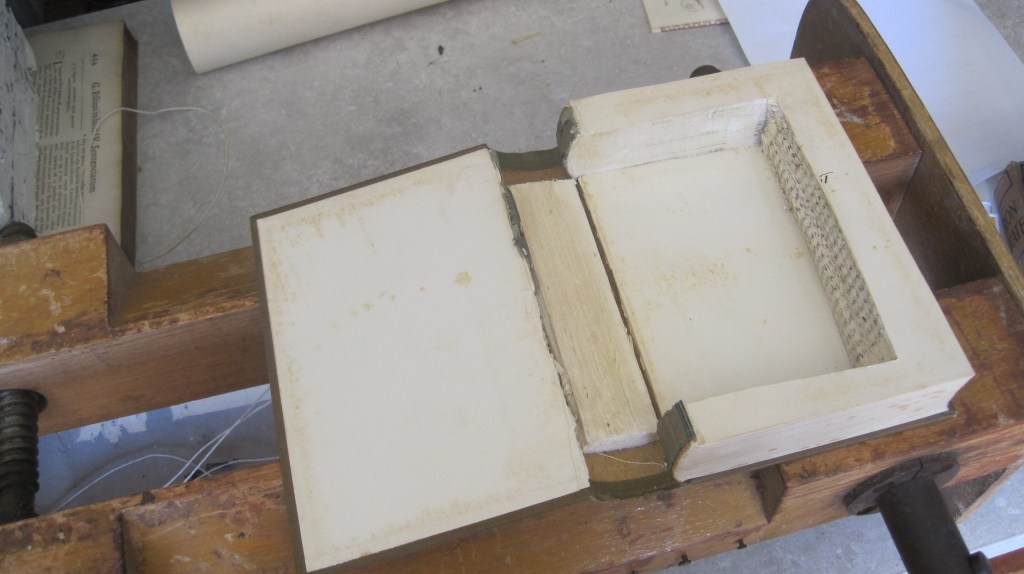
Boards were made of two thicknesses of 2mm greyboard, each lined with paper and then cushioned all round. They will be attached by insetting the tapes on the inside of the boards which will be anchored firmly by the infill card after covering with the leather.

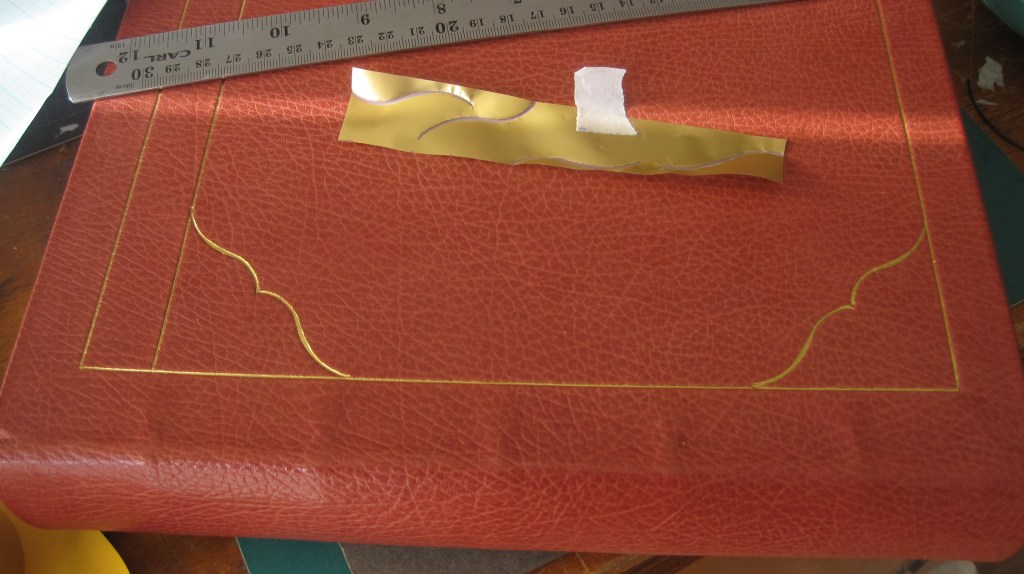
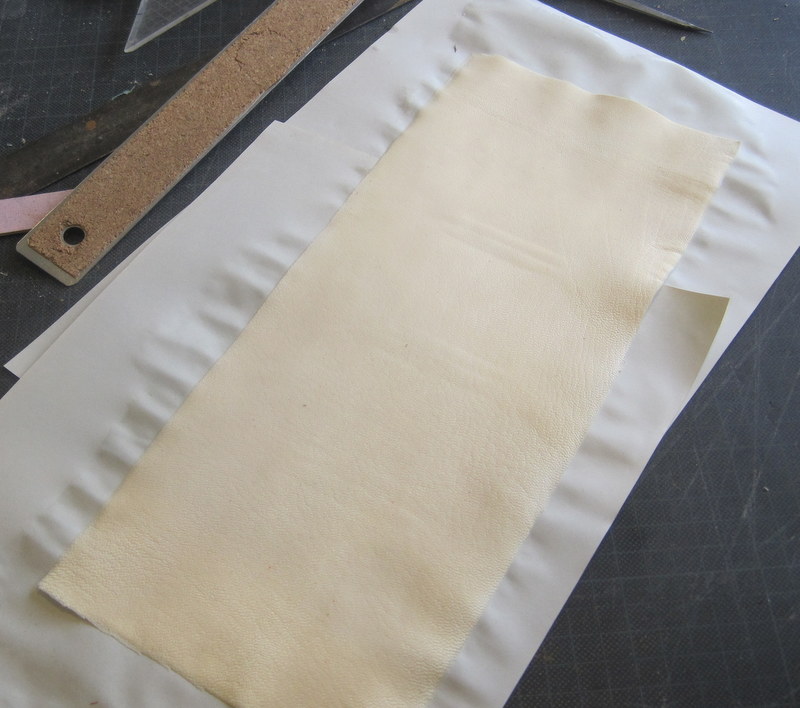
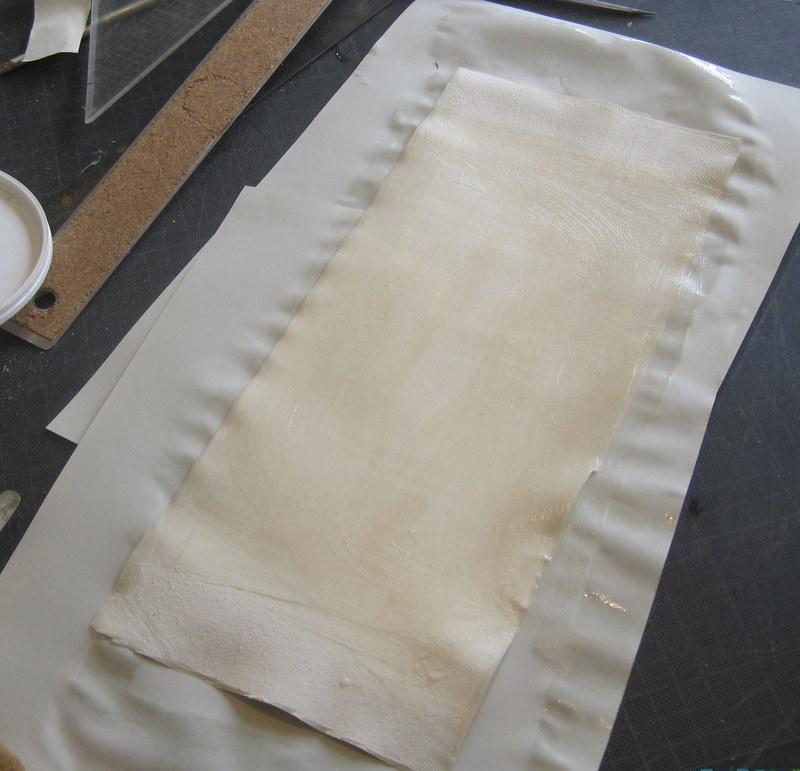
I have a nice piece of dark green morocco which will take gold tooling very well.

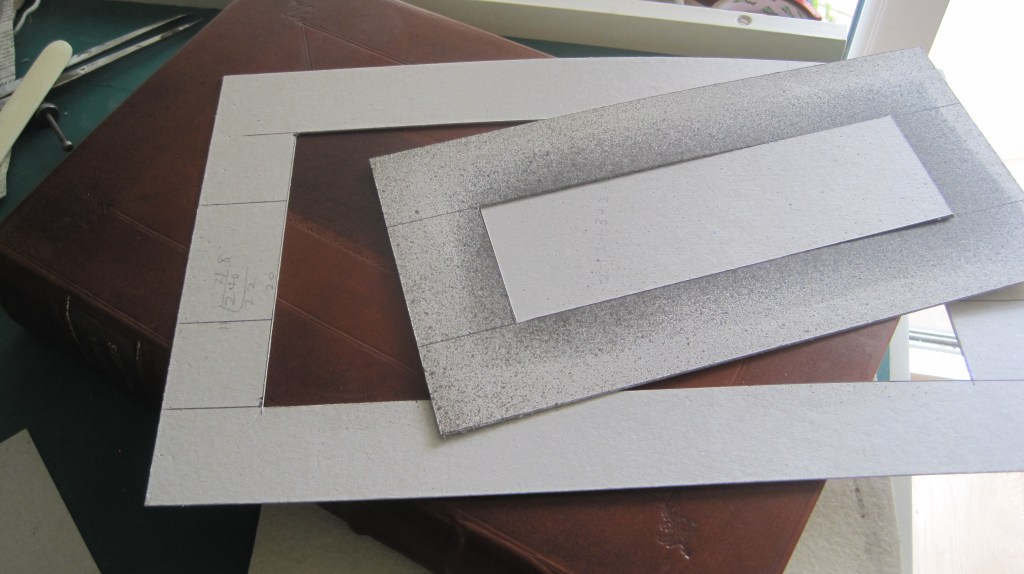
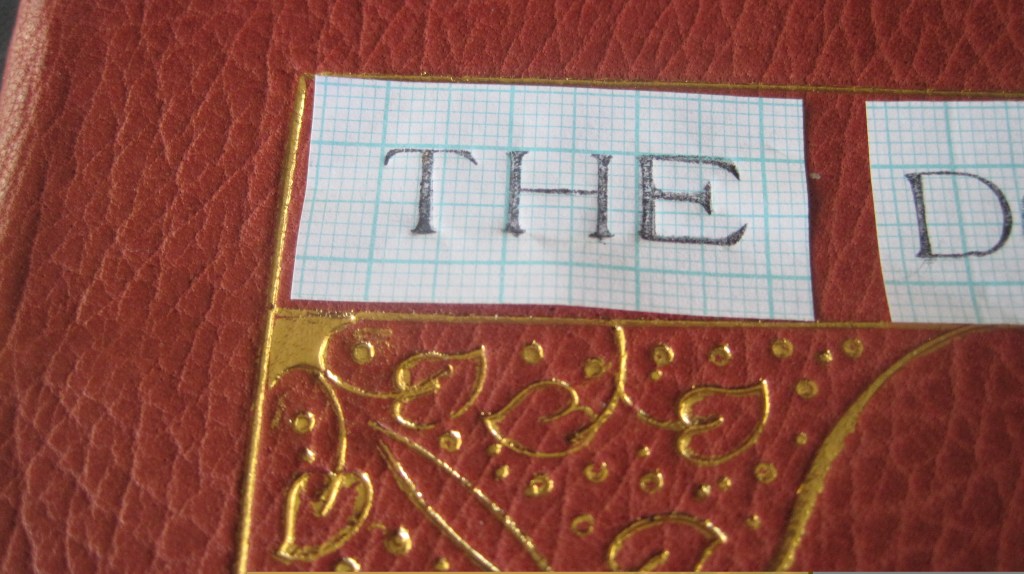
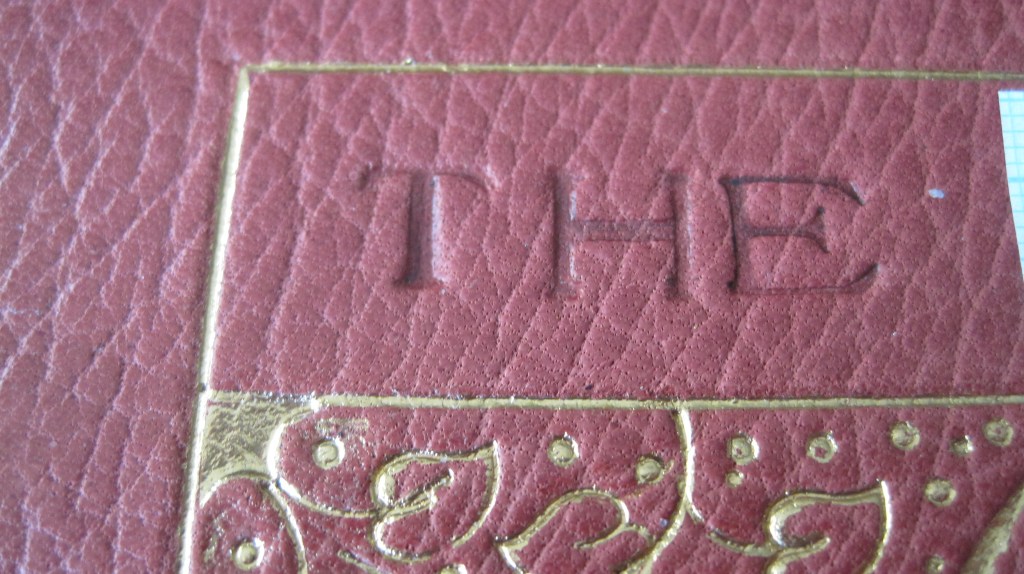
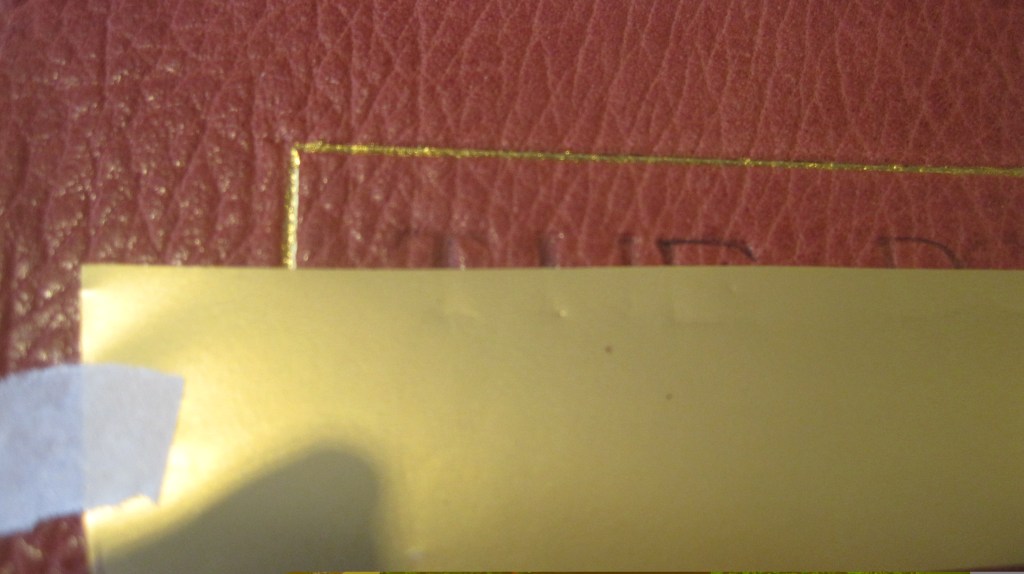
But first I need to work out a design. I think the Cobden-Sanderson design worked well, but I no longer have the flower tool that it was based on. But I have another, so this is the plan at present:

I will let you know how I get on…….